Sony BVM-A14F5U Button Repair Kit


Print Profile(2)

Description
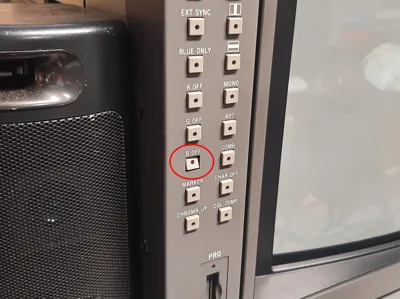
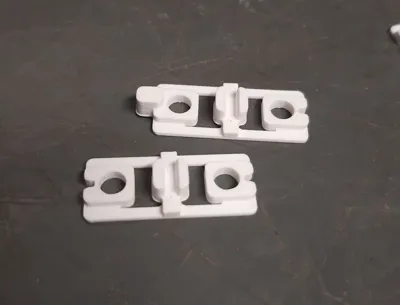
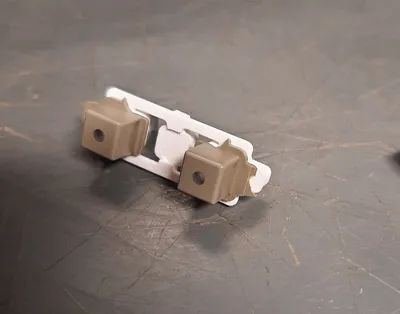
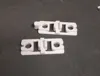
Sony's BVM-A14F5U broadcast monitors often suffer from broken buttons on the left side of the panel. This is because the plastic sprue holding the buttons in place becomes brittle and snaps off. This print fits over the original buttons, restores their function, and is impossible to see once installed. Three patterns are included: One with the original buttons completely intact, and two with replacement actuators (in case the original has broken off on one or both sides).
Printed in PETG with a 0.2mm nozzle. PLA would probably work but may not be as flexible. It prints best with an AMS and a PLA support interface for the gap in the center. Standard supports work fine but are more work to clean up.
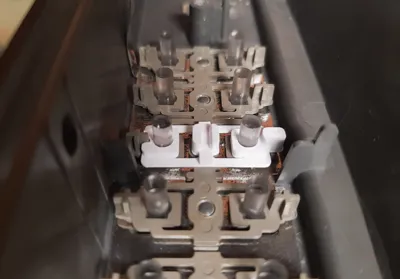
To install, remove the front bezel and the PCB assemblies on the left side. Identify the faulty buttons, and cut the plastic sprues on both sides of the assembly:

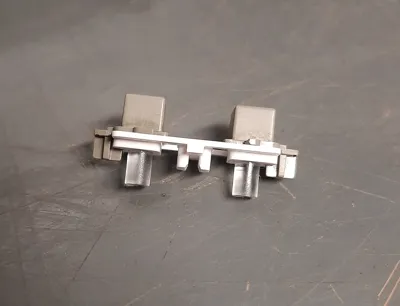
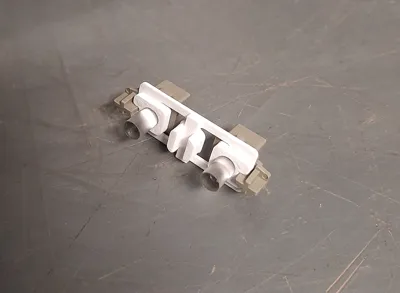
Take both buttons and push the replacement sprue on to the center posts. It should hold in place, if not you could try applying a small amount of glue:

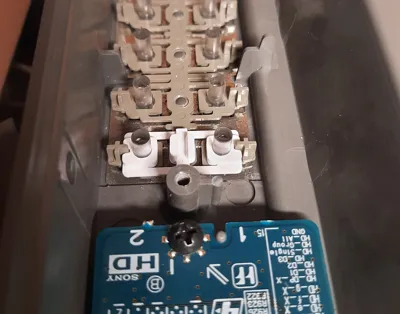
Place the new button assemblies face down into the bezel and reinstall the PCB on top:


After the PCB is screwed on, check it from the front to make sure the buttons line up and function properly. You may have to move them slightly. Once that's been verified, the rest of the bezel can be reassembled.

Comment & Rating (2)