
Zero-Hardware Modular AMS1/2 Rack (Stackable 2-4 )
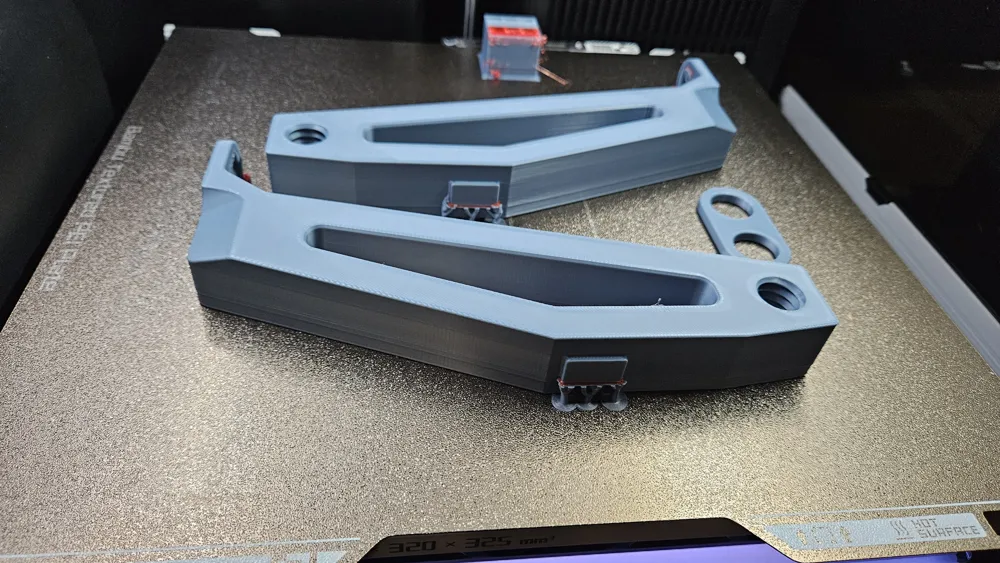
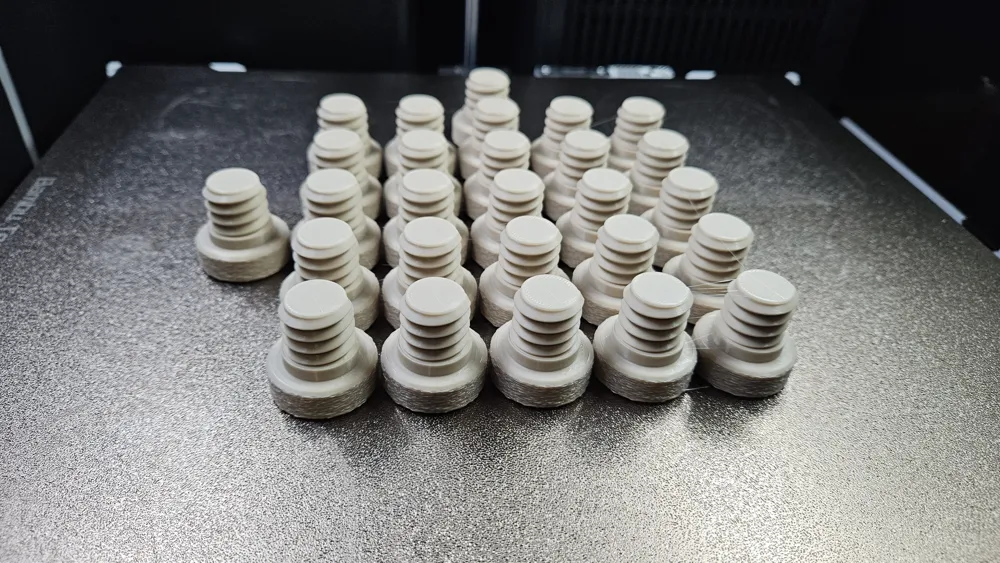
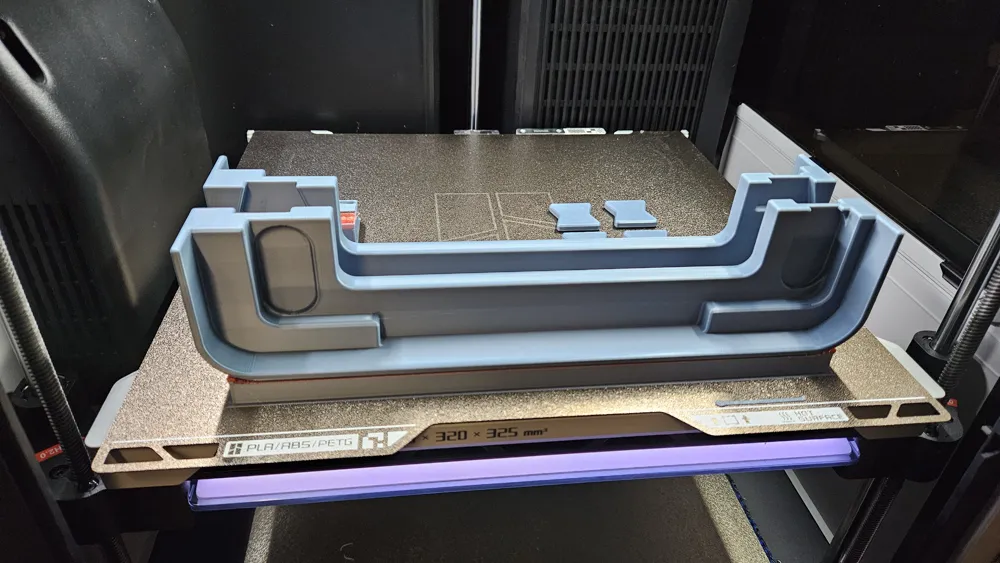

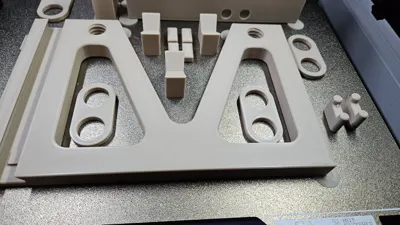
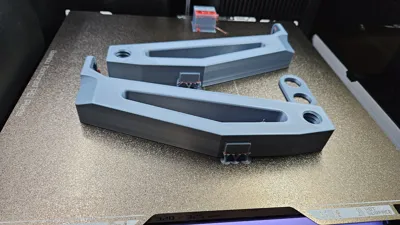
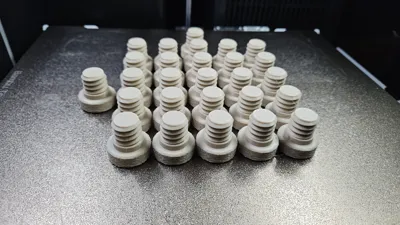
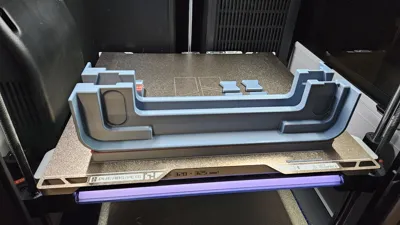
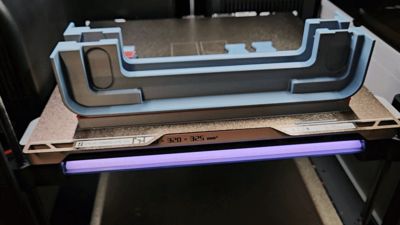
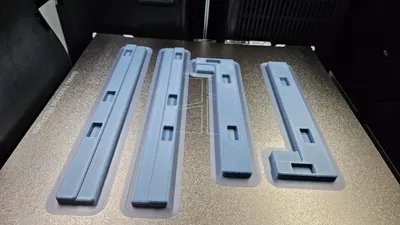
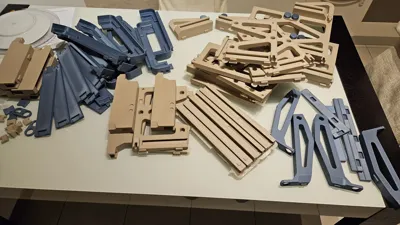
Print Profile(6)
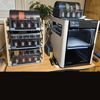
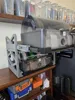
Description

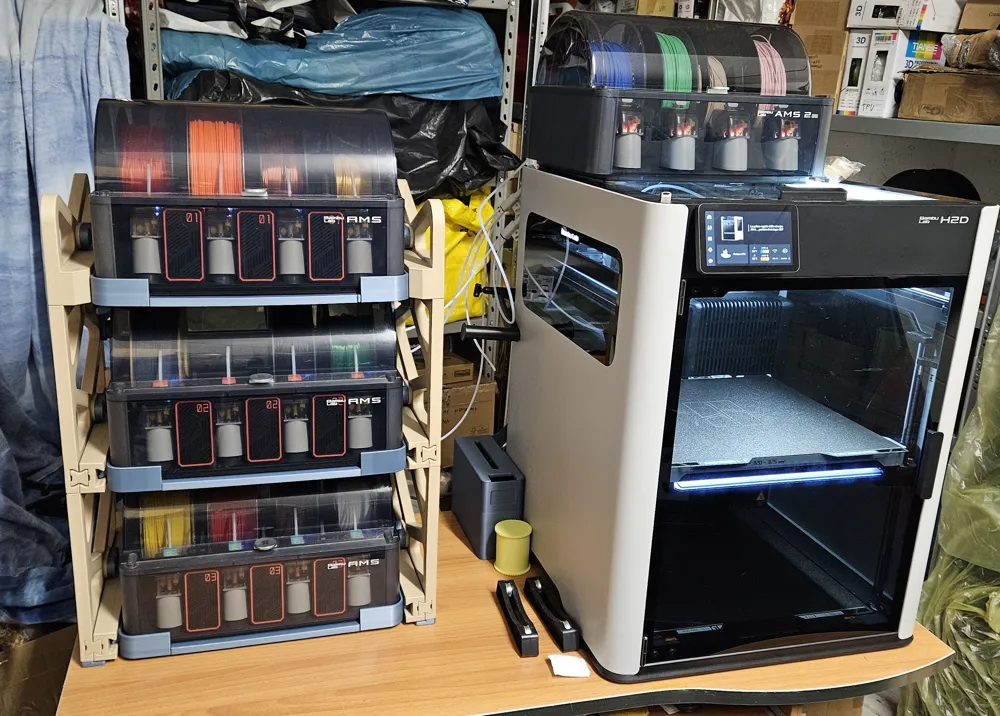
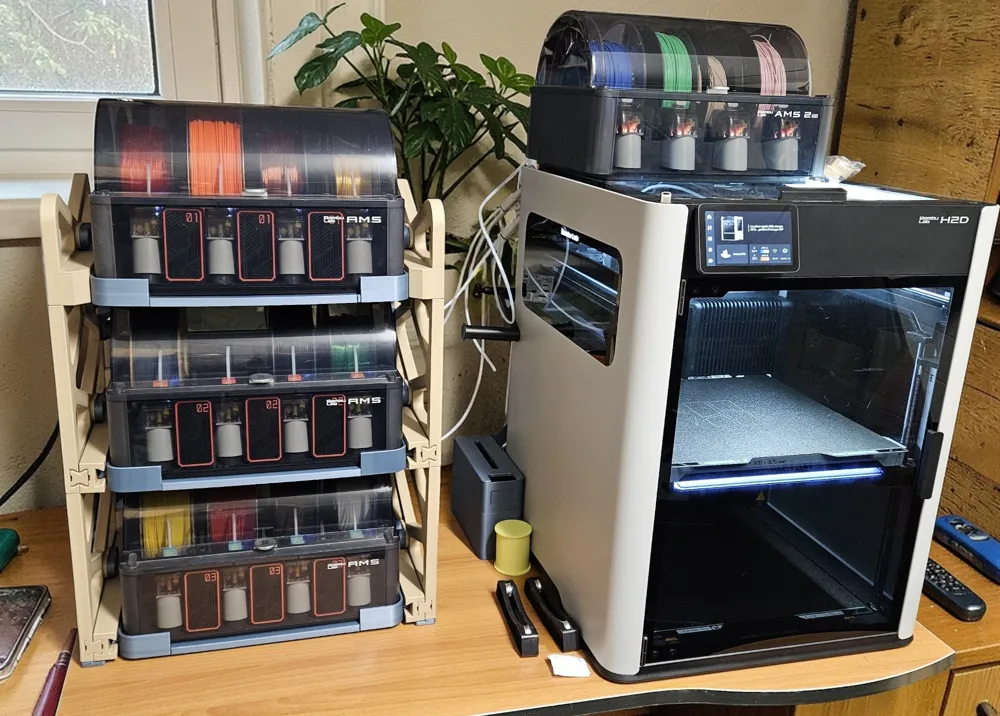
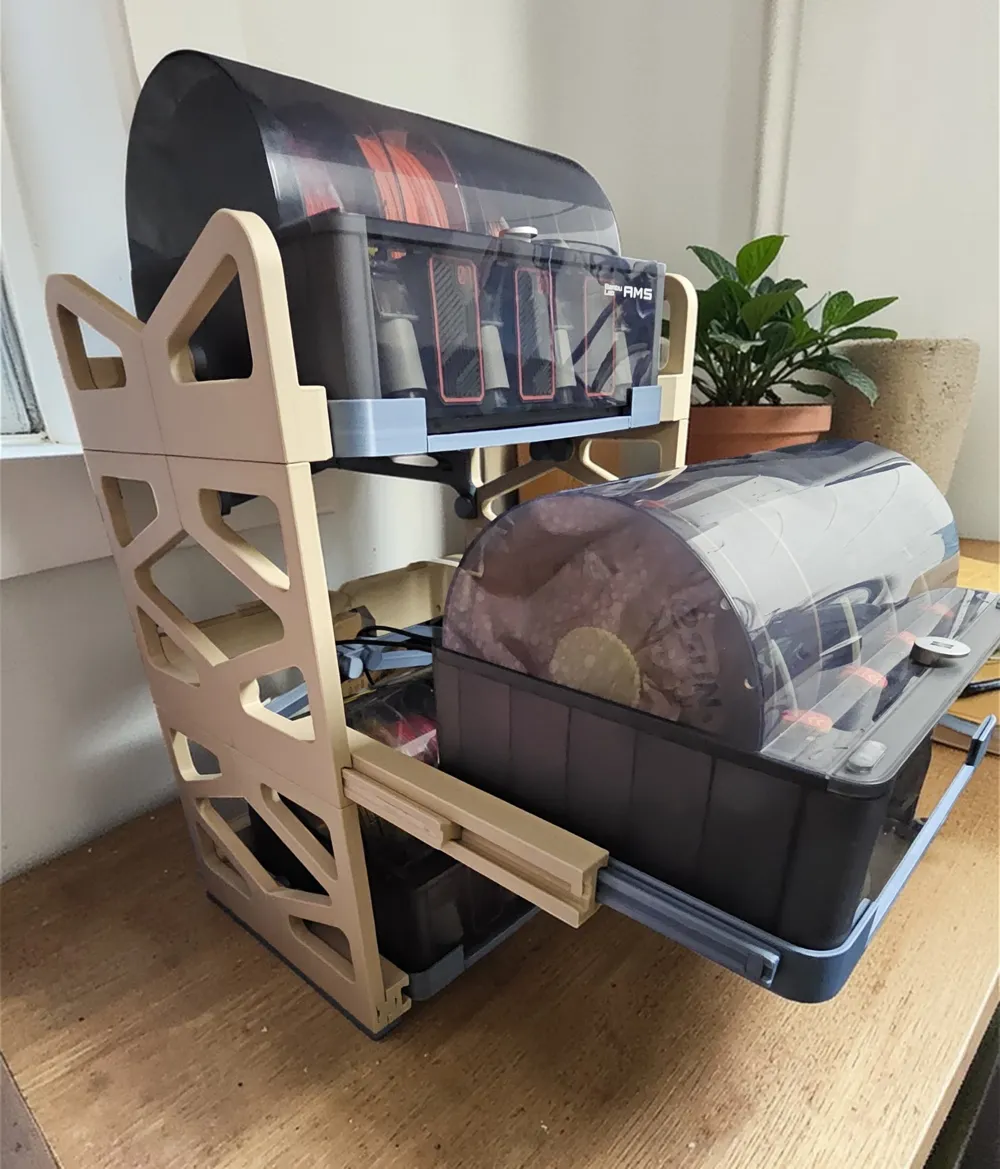
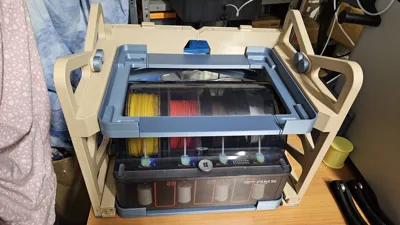
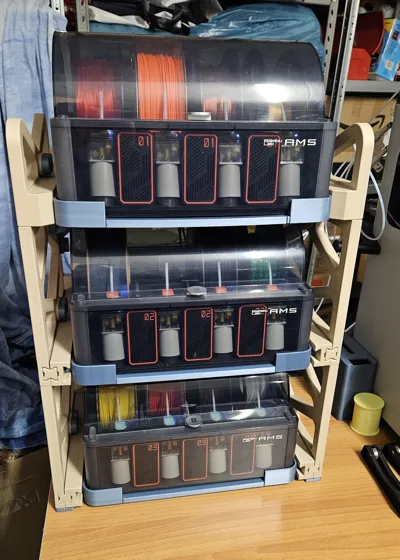
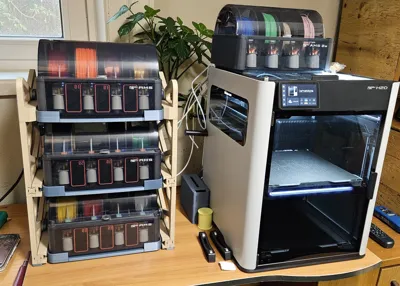
Tired of bulky AMS racks that require screws, expensive metal rails, and bearings? Here is the most compact and 'pure' system ever designed: 100% 3D Printed, zero external components
🌟 Why is this Rack different from others?
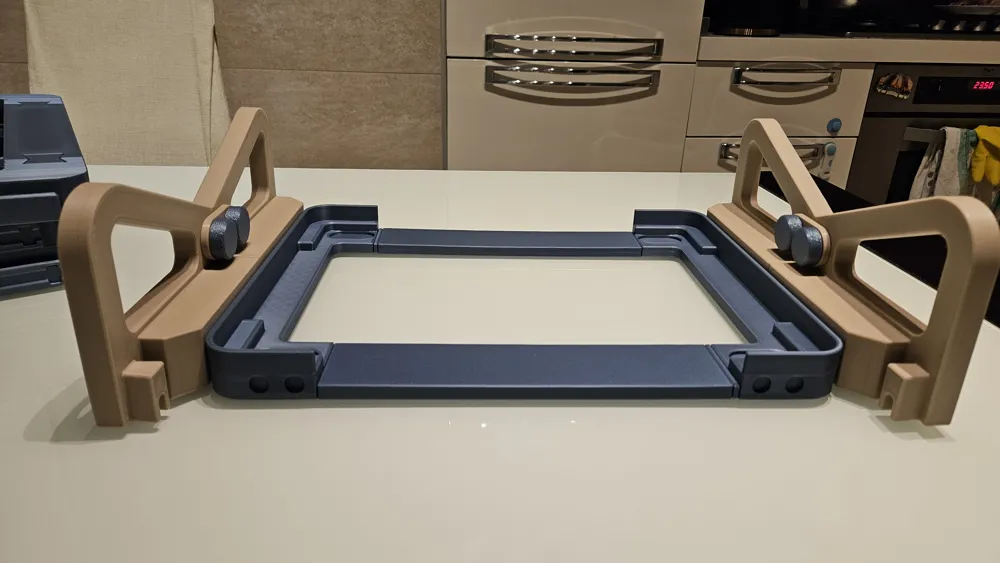
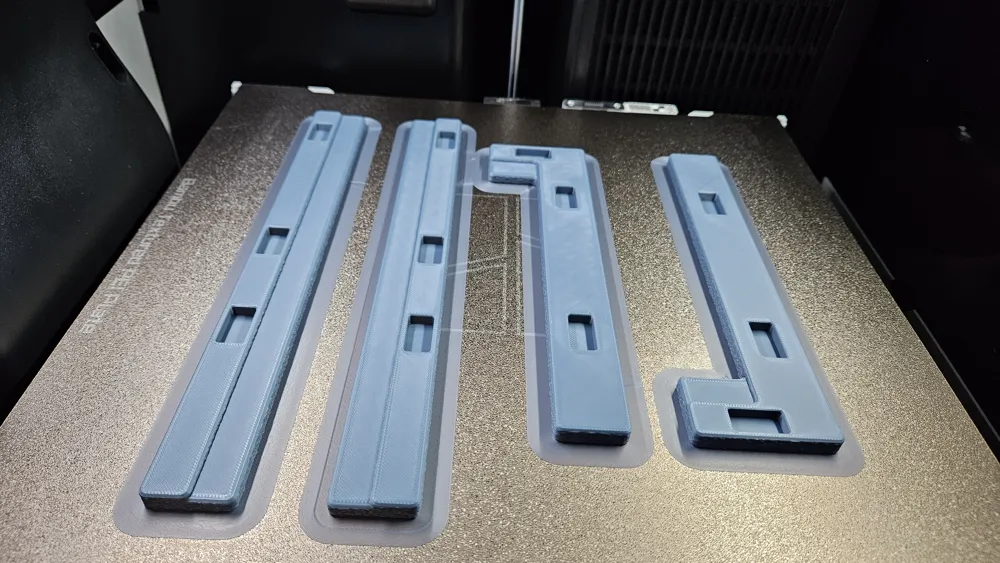
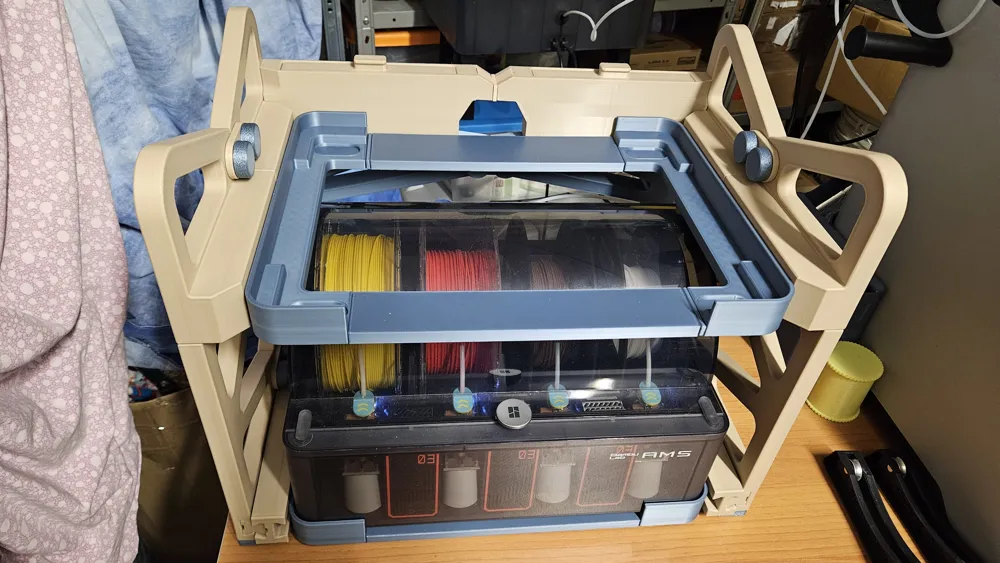
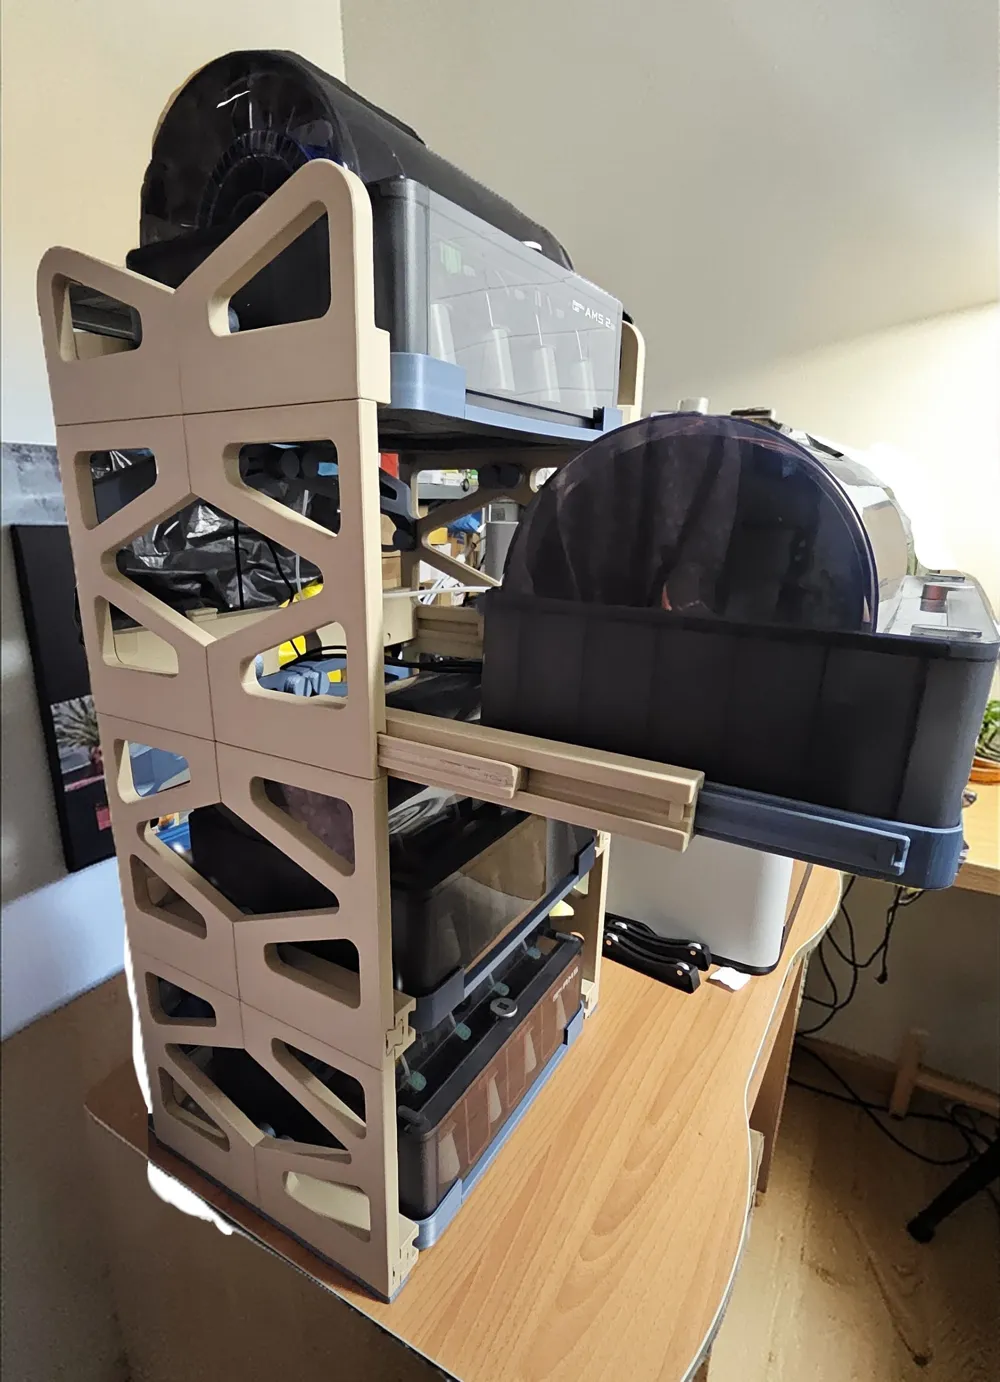
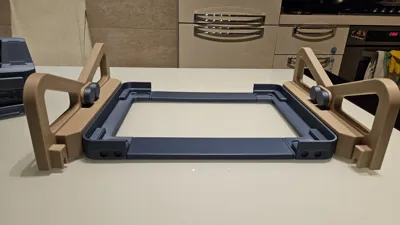
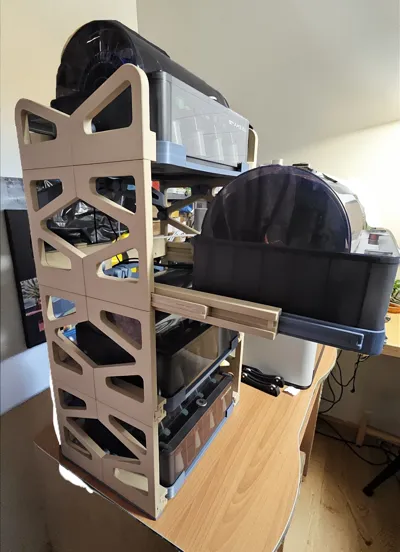
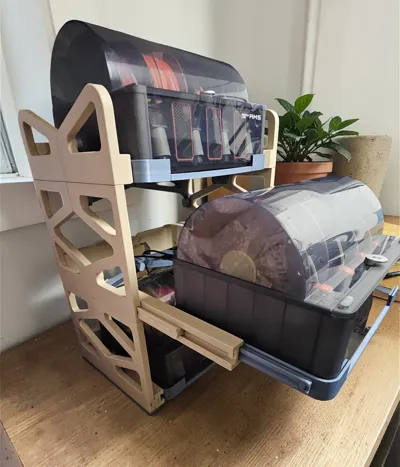
- 💎 100% 3D Printed (Zero Hardware): Forget hardware, screws, threaded inserts, or furniture rails. The entire sliding and support mechanism is integrated into the design. Save money and print everything you need!
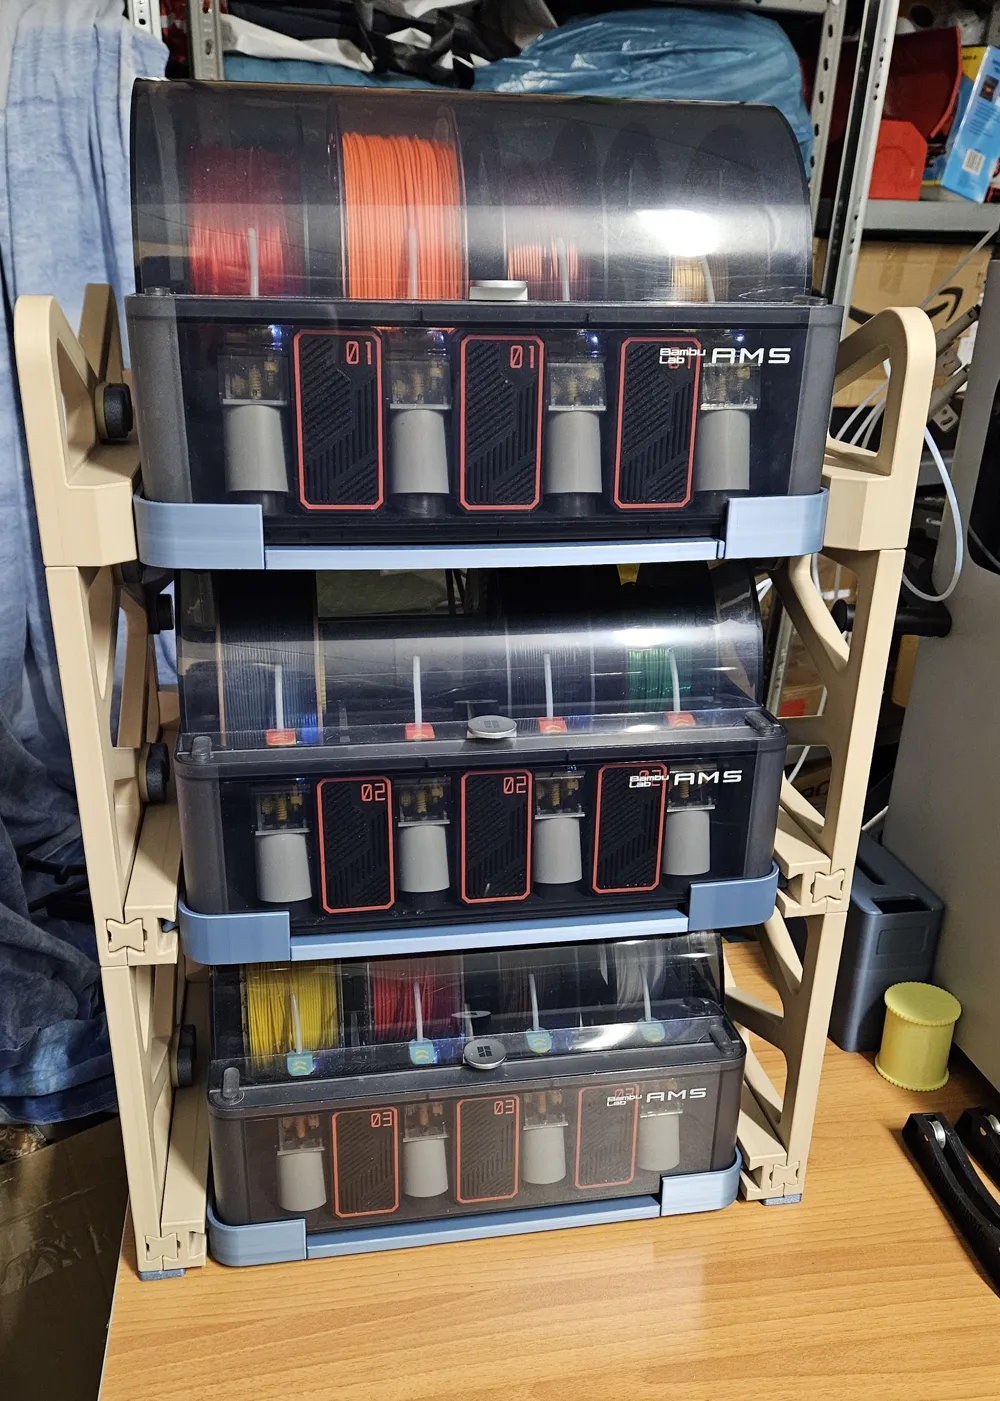
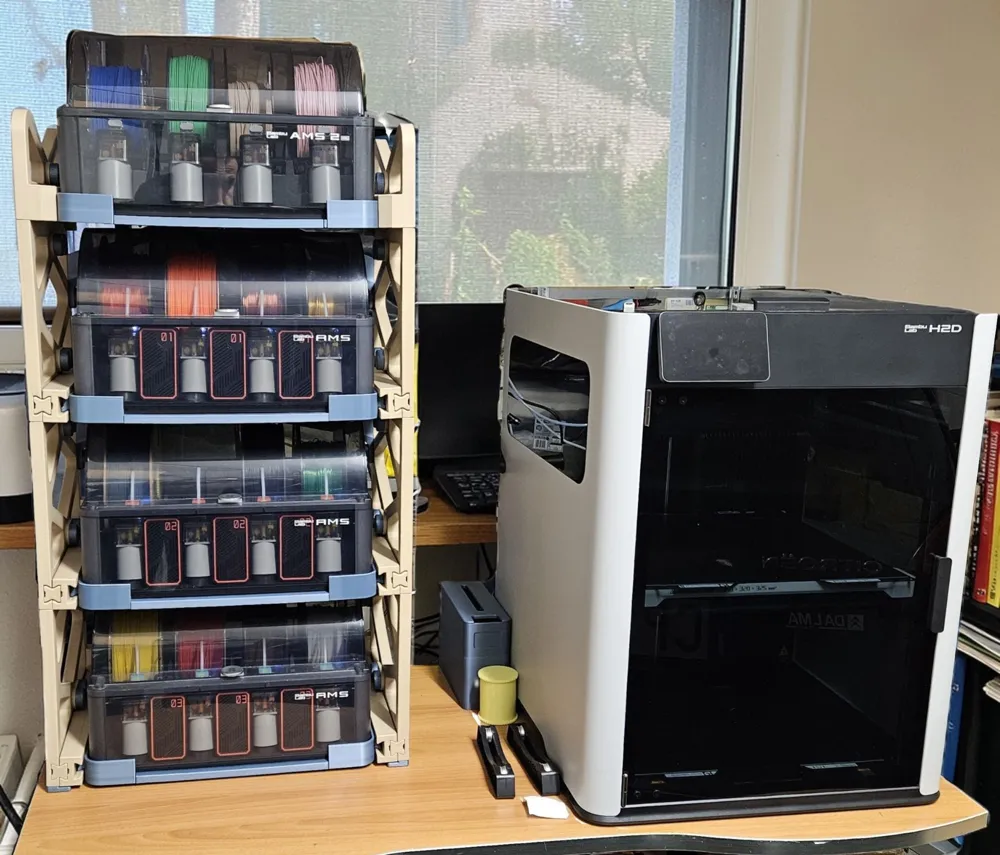
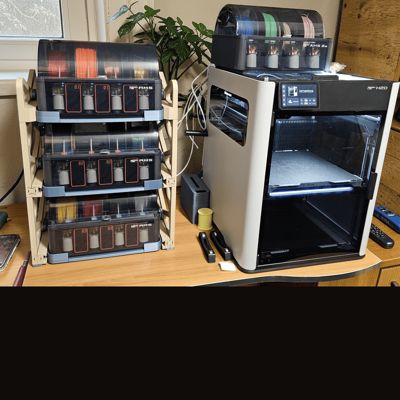
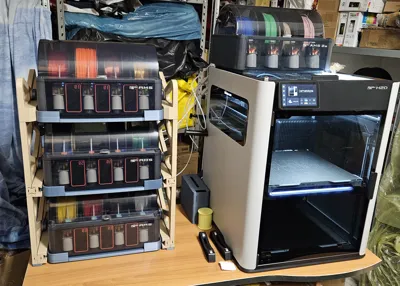
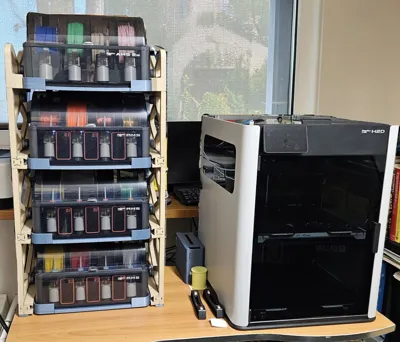
- 📏 The most compact on Maker World: Designed to minimize space between units. With 4 stacked AMS, the total height barely exceeds that of BambuLab H2S/D/C series printers, allowing you to maintain a clean and aligned setup
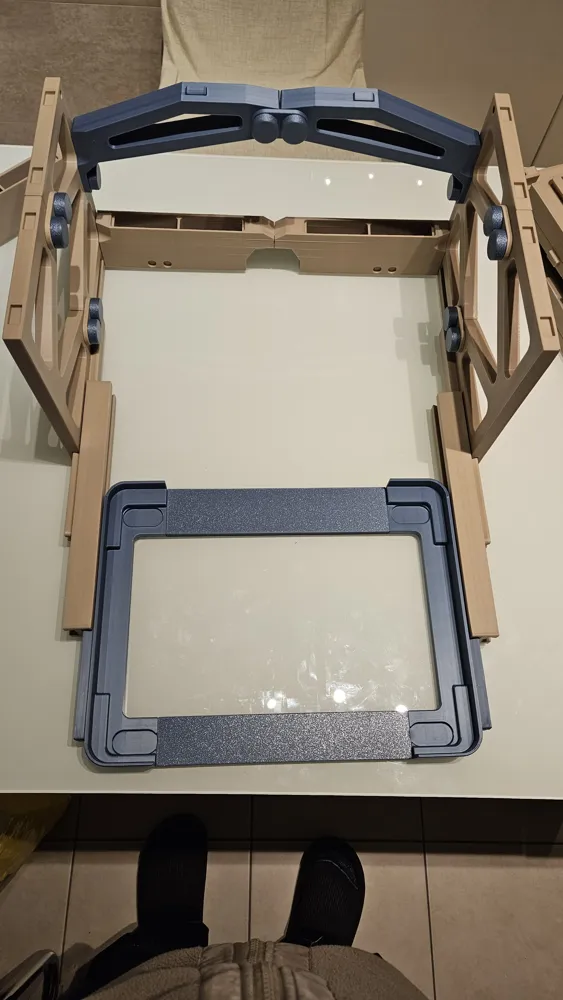
- ⚖️ Smart Balancing: The back part is hollow and designed to be filled (sand, lead pellets, etc.). This shifts the center of gravity backward, ensuring absolute stability even when you pull out the upper AMS units
- 🧲 Anti-Vibration Security: Provision for inserting small magnets on the back to lock the AMS units in the closed position, preventing accidental openings due to printer or table vibrations
- 🧩 Modular and Versatile: Configure it as you prefer! You can stack 4 units vertically to save desk space, or create two blocks of 2+2
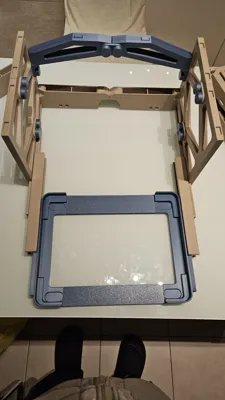
- 🛠️ 'Easy-Lean' Assembly: For assembly, you only need a few basic tools: a few drops of glue, a pair of flush cutters, and a deburring tool. No complicated instructions
- 🚫 Non-Slip Base: Base design optimized for maximum grip on any surface
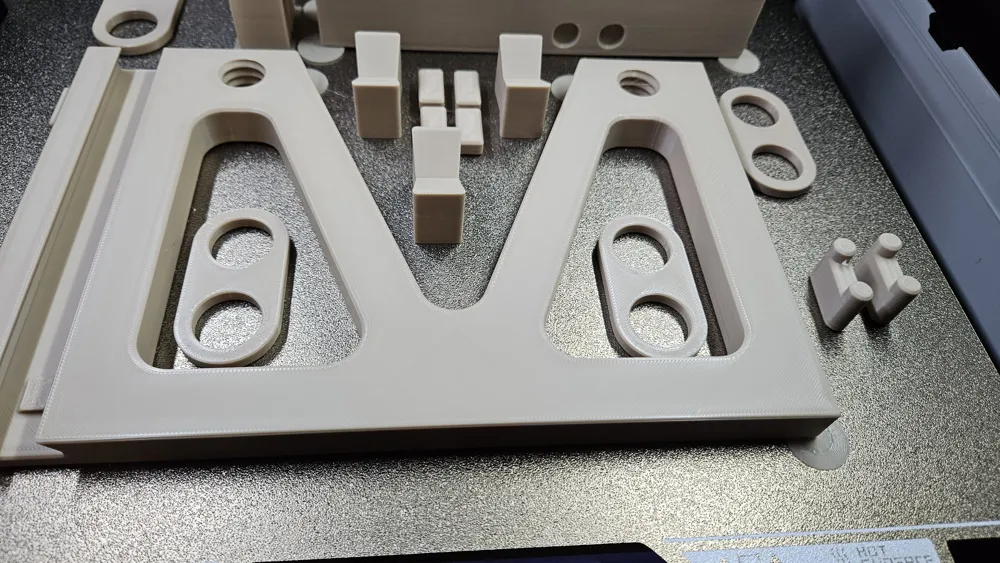
📋 Recommended Print Specifications
- Material: PLA (if you want to use the AMS2 Pro heater heavily and continuously, I recommend PETG for the extraction tray where the AMS is located)
- Walls: Minimum 4-5 for rigidity
- Infill: 10-15% Gyroid
- Post-Processing: Use a deburring tool on the rails to make the sliding 'buttery smooth' from the first use
🔧 Quick Instructions
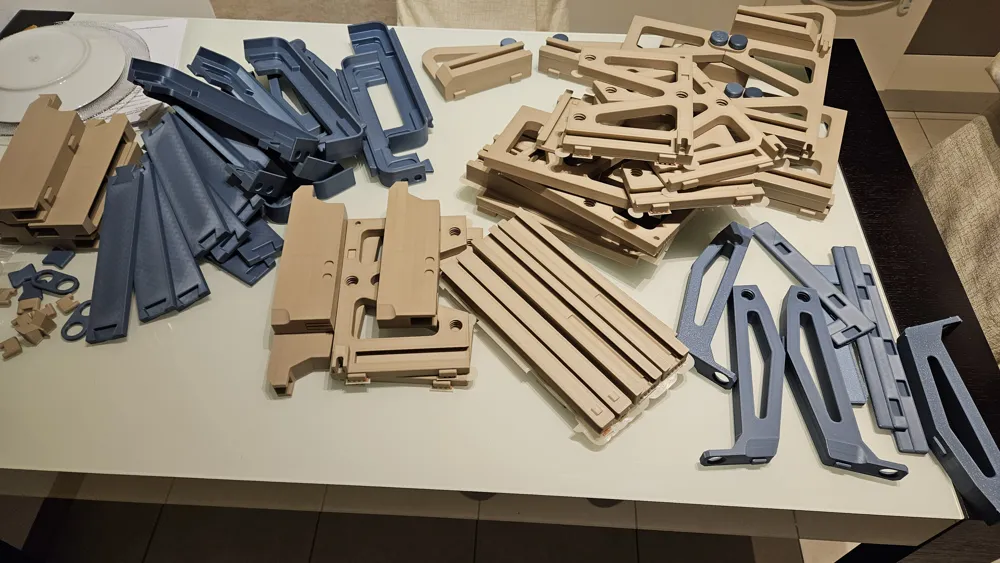
- Print the necessary modules (Base + Intermediate Supports)
- Apply a drop of glue at the indicated joint points to lock the structure
- Fill the rear compartment with heavy material (optional but recommended for 4 AMS)
- Insert your AMS units and enjoy the reclaimed space
💡 Tip: If your table vibrates a lot, insert the magnets into the rear slots for a secure closing 'click'
📂 Download Contents:
- Optimized print profiles for BambuLab
- Base modules and expansion modules
- Visual assembly guide
Here are the total dimensions (in Millimeters) of the 2 AMS Rack
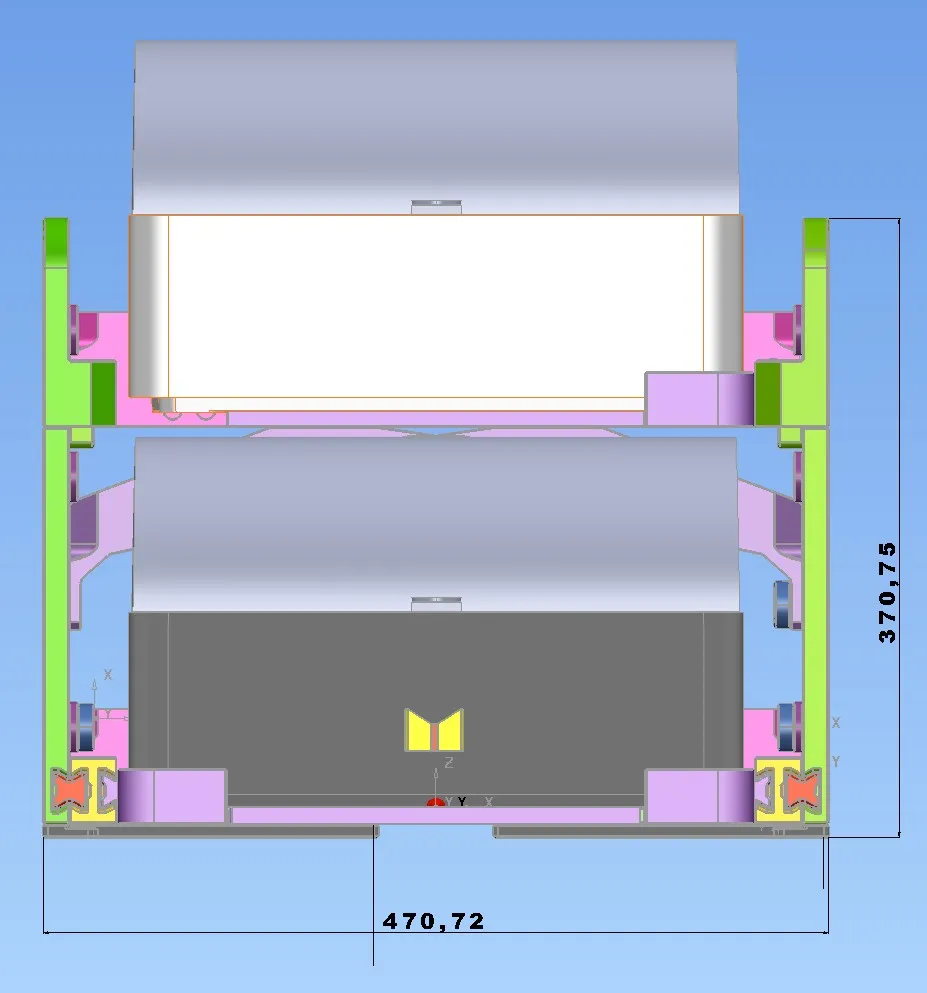
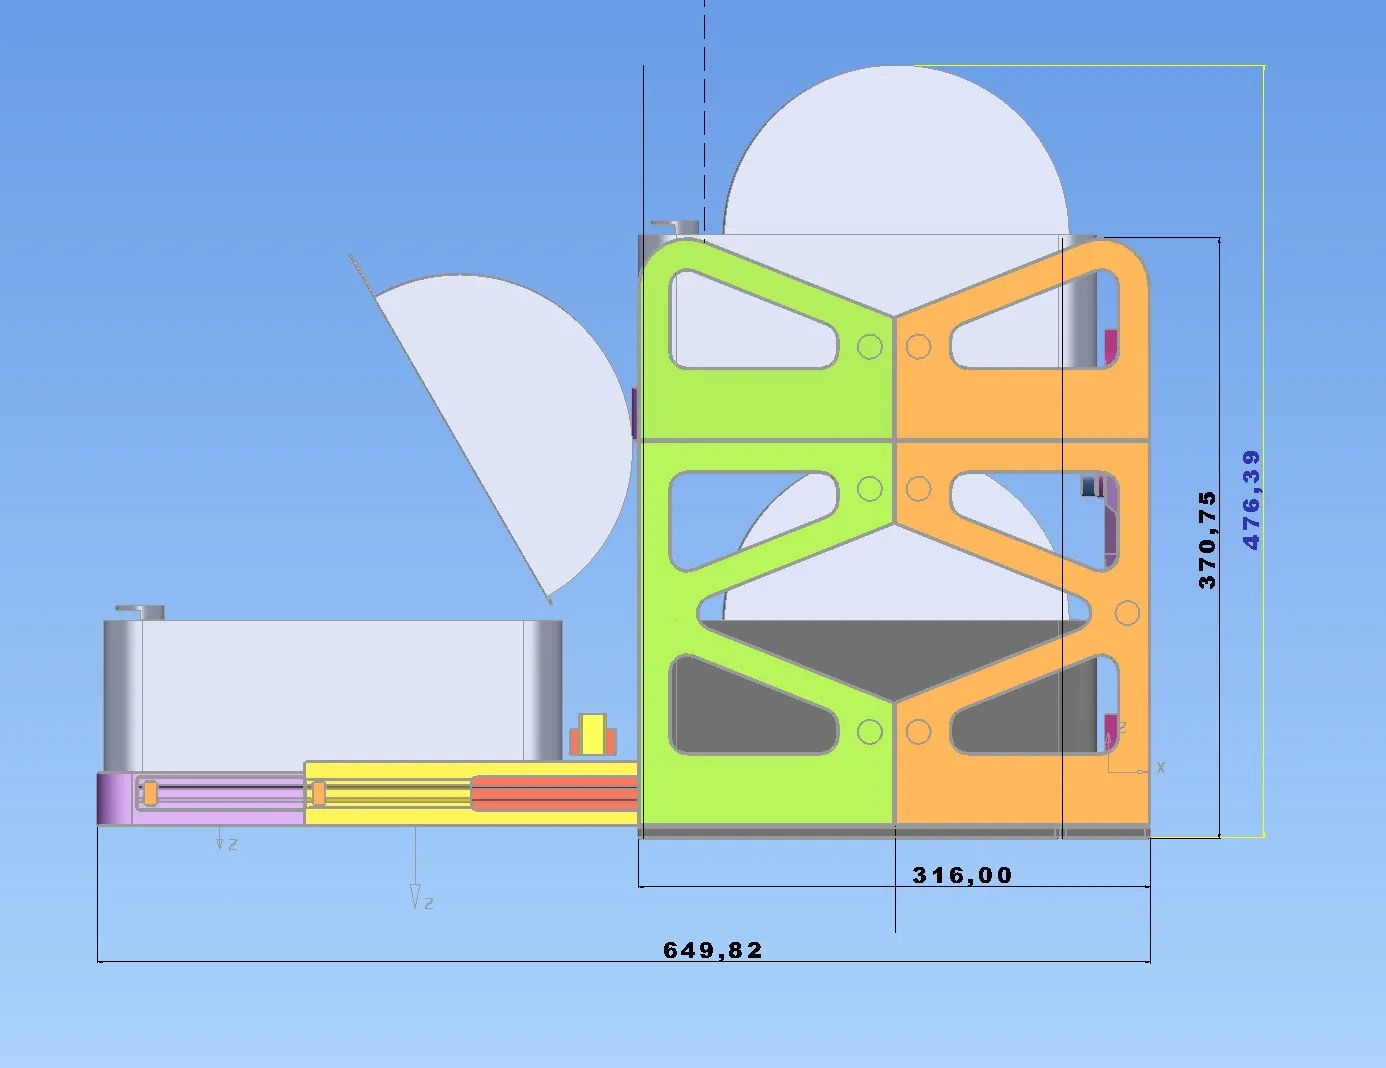
Do you like the 'Zero Hardware' concept? Leave a Like and a Boost, I'll be grateful!
Below are the assembly instructions, including links to various videos that simplify everything
Documentation (2)
License

You shall not share, sub-license, sell, rent, host, transfer, or distribute in any way the digital or 3D printed versions of this object, nor any other derivative work of this object in its digital or physical format (including - but not limited to - remixes of this object, and hosting on other digital platforms). The objects may not be used without permission in any way whatsoever in which you charge money, or collect fees.


Comment & Rating (125)