
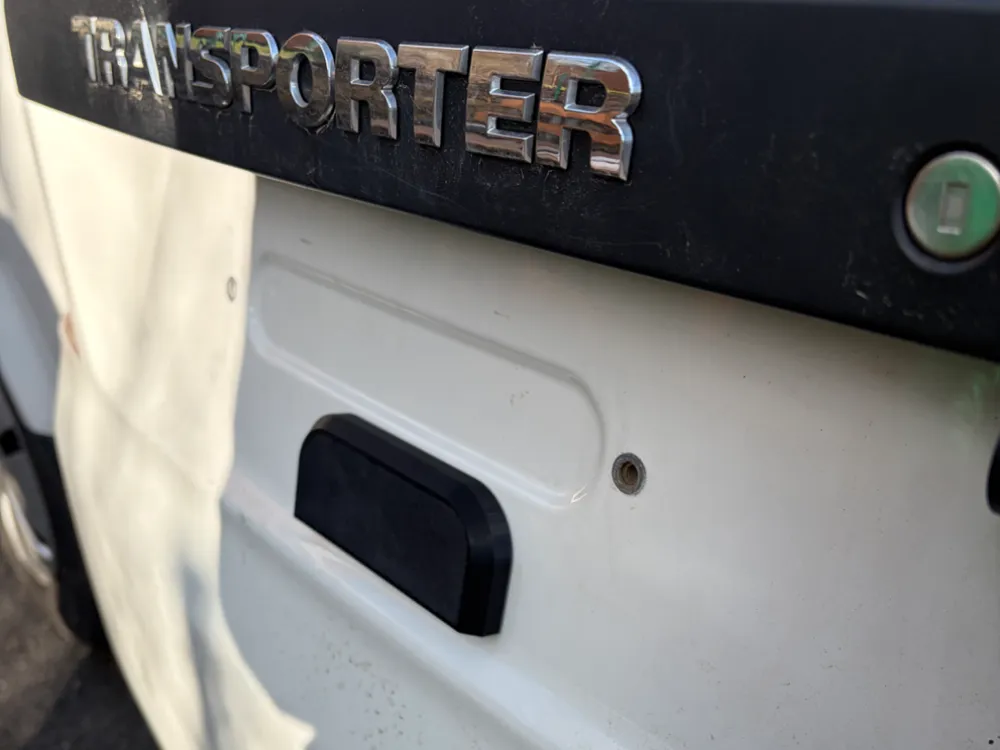
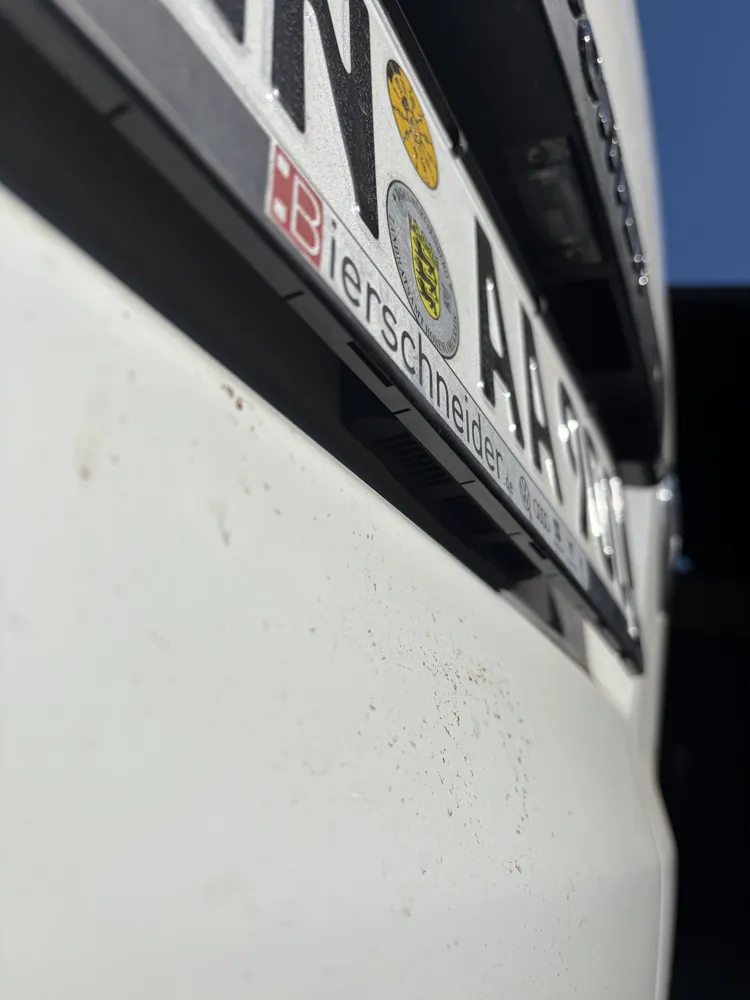
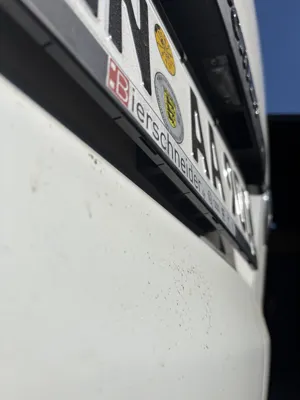
T6.1 hidden ventilation under license plate
Print Profile(1)
Description
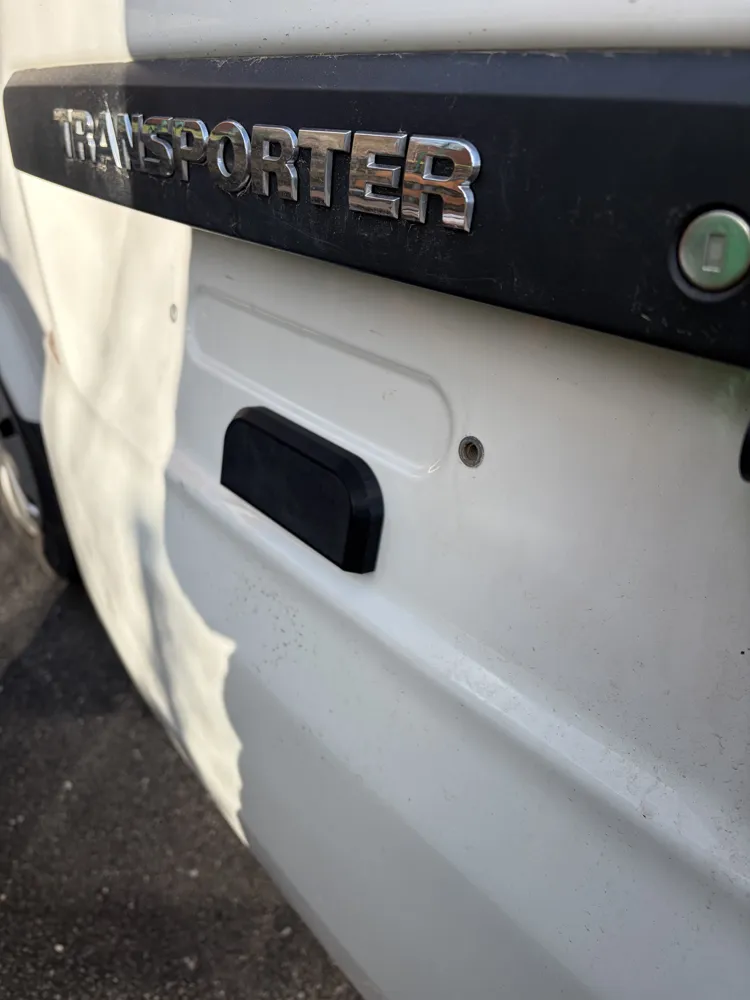
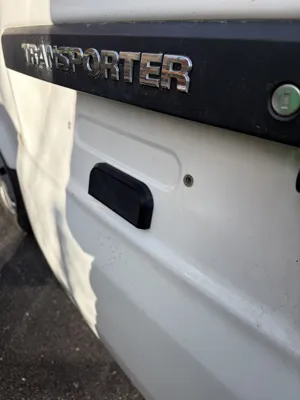
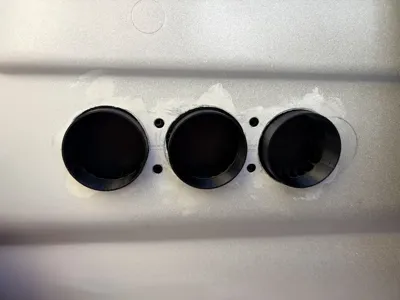
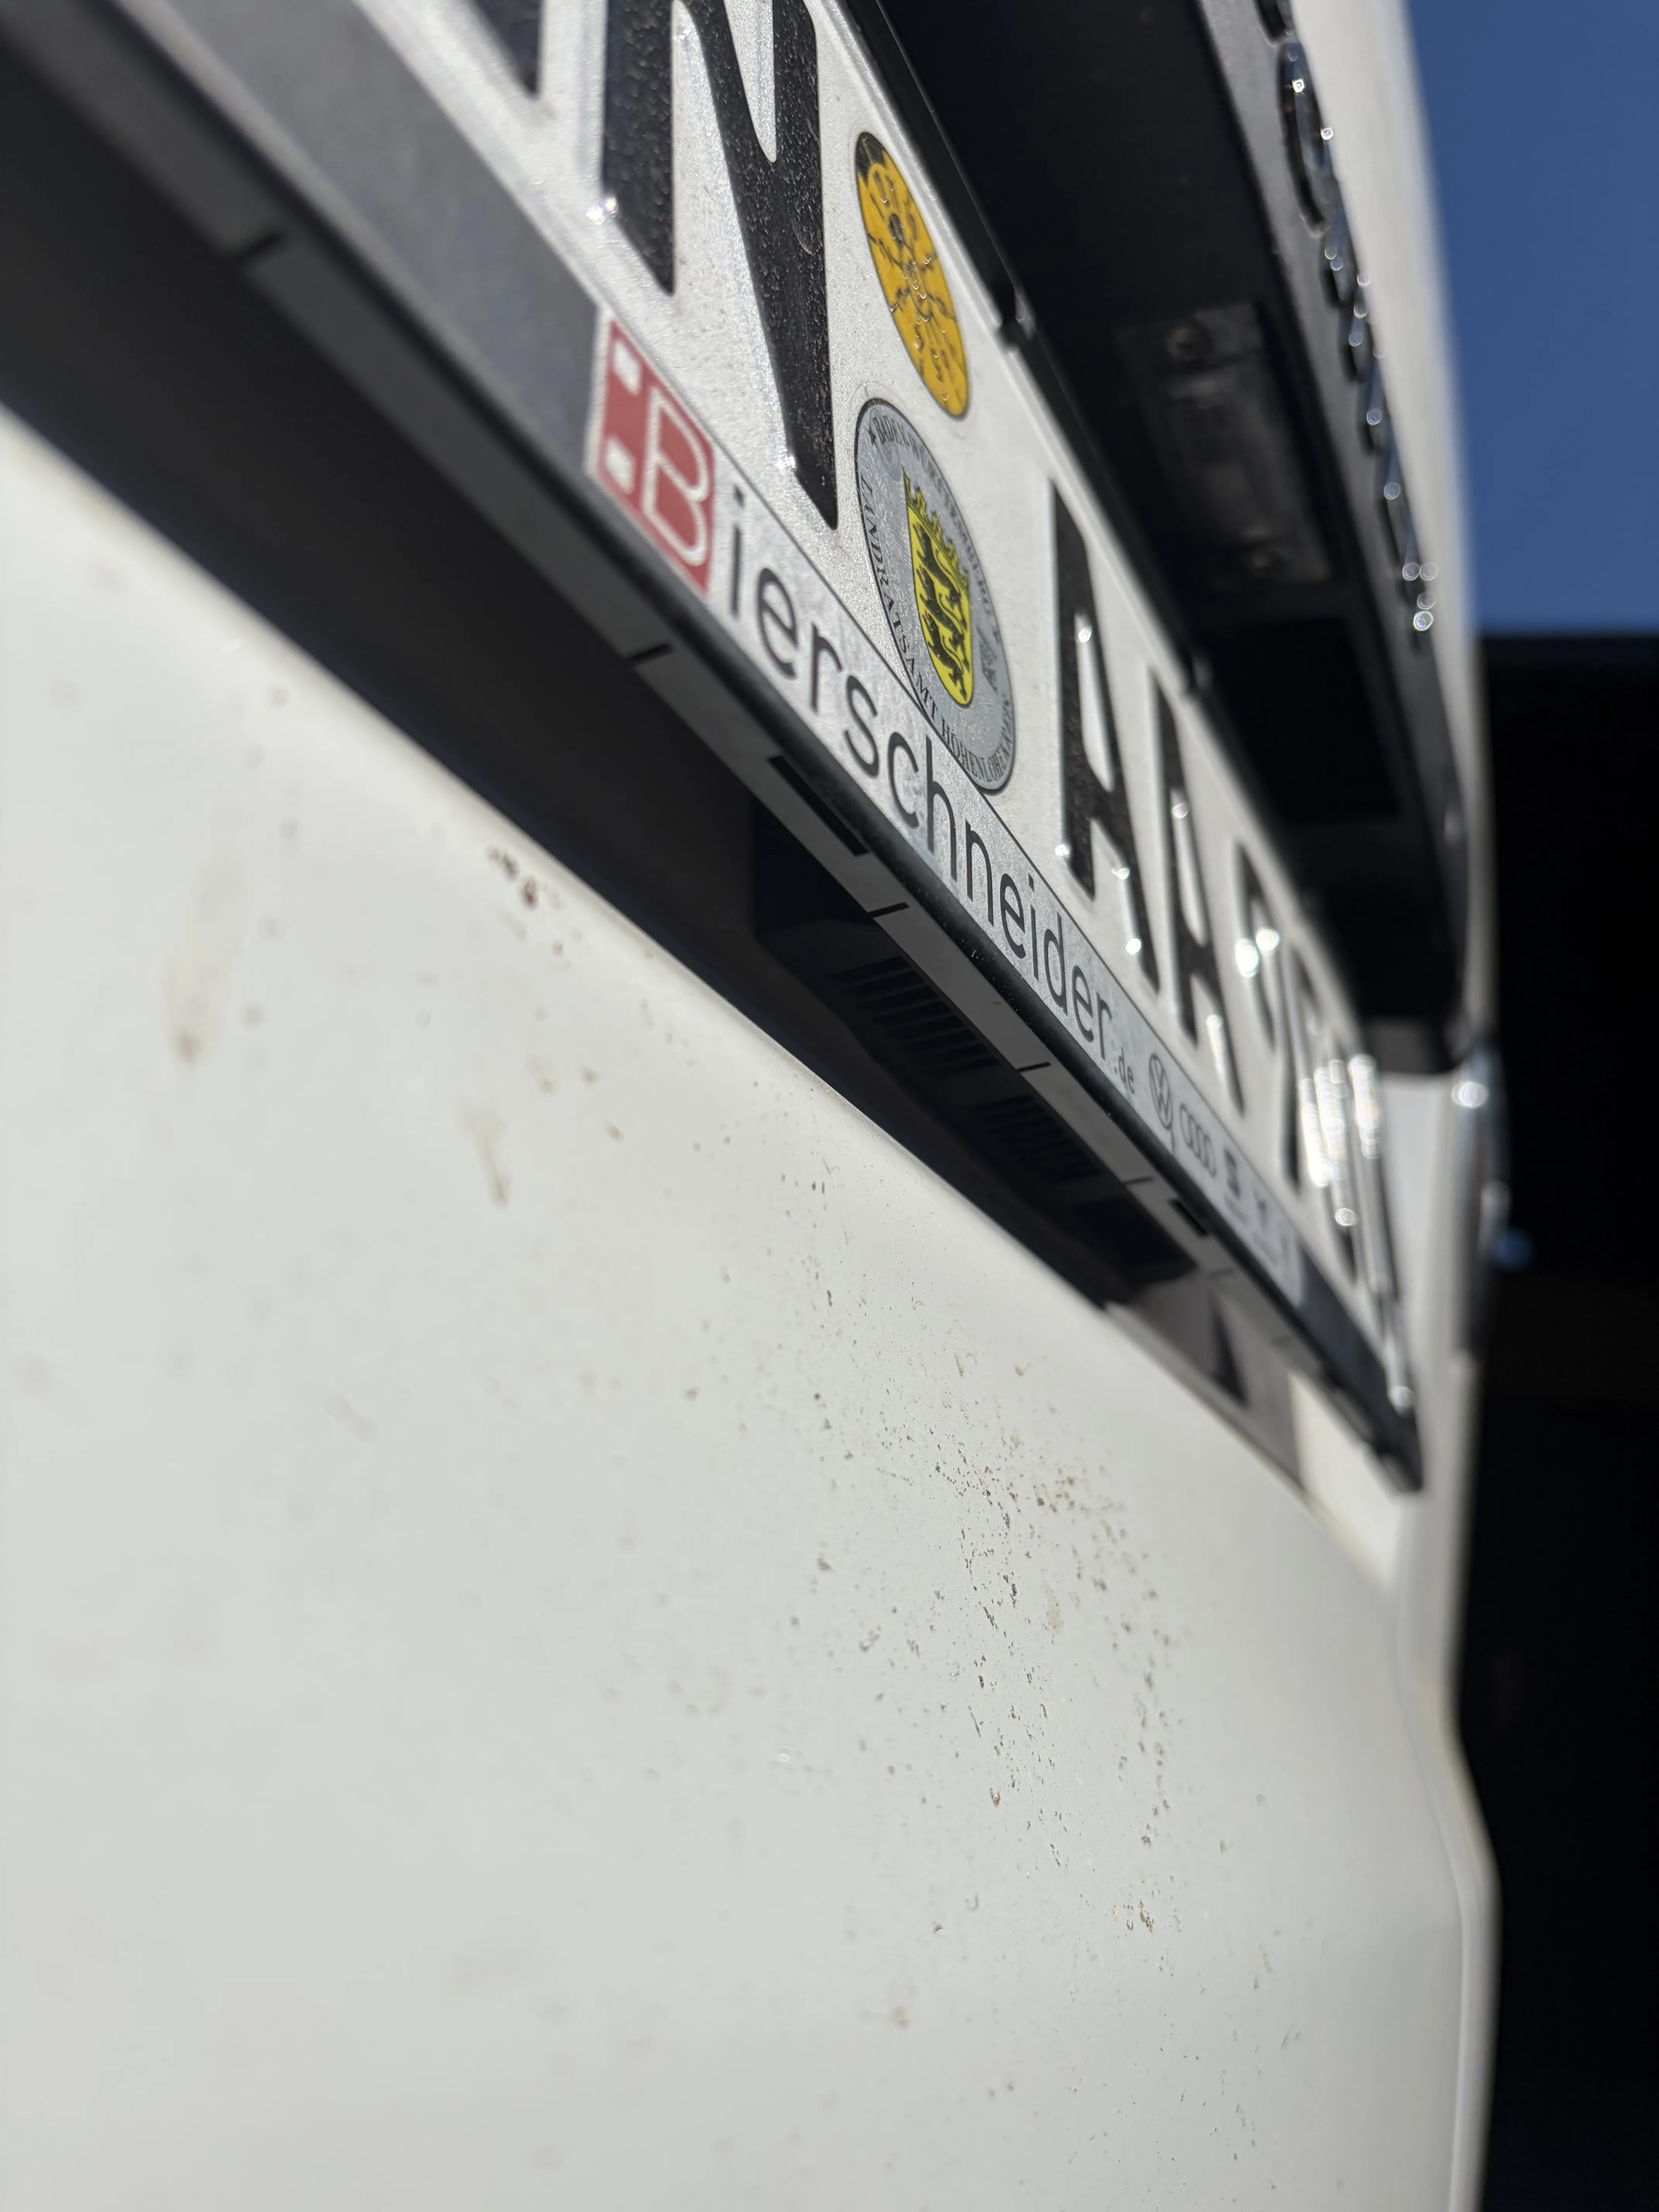
When converting my VW T6.1 Transporter into a camper van, I was looking for a way to mechanically ventilate the interior – as discreetly and invisibly from the outside as possible. Since commercially available solutions were often expensive or visible, this own project was created.
I am making the print files available here to everyone who has a similar problem and dares to install them.
Note: Holes must be drilled into the sheet metal during installation! There is no guarantee that this solution will remain permanently sealed, be functional, or comply with legal requirements. Use at your own risk.
Suitable vehicles
• VW T6.1 Transporter with barn doors
• T5 and T6 models are very similar, but not yet tested
I welcome feedback and will gladly add to the list here.
Required materials and tools
• Hole saw 32 mm
• Metal drill bit 4 mm
• Temperature-resistant filament (e.g. PETG HF)
• approx. 20cm butyl cord 3 mm
• Rust protective paint
• 4x wood screws 3 × 15 mm
• 4x screws for fan (recommended: 4.2 × 40 mm self-drilling screws)
• 1x fan: AC Infinity Multifan S2
• 12x flat magnets 4 × 2 mm
• Adhesive tape
• 2x screws M6 × 25 mm
Installation instructions
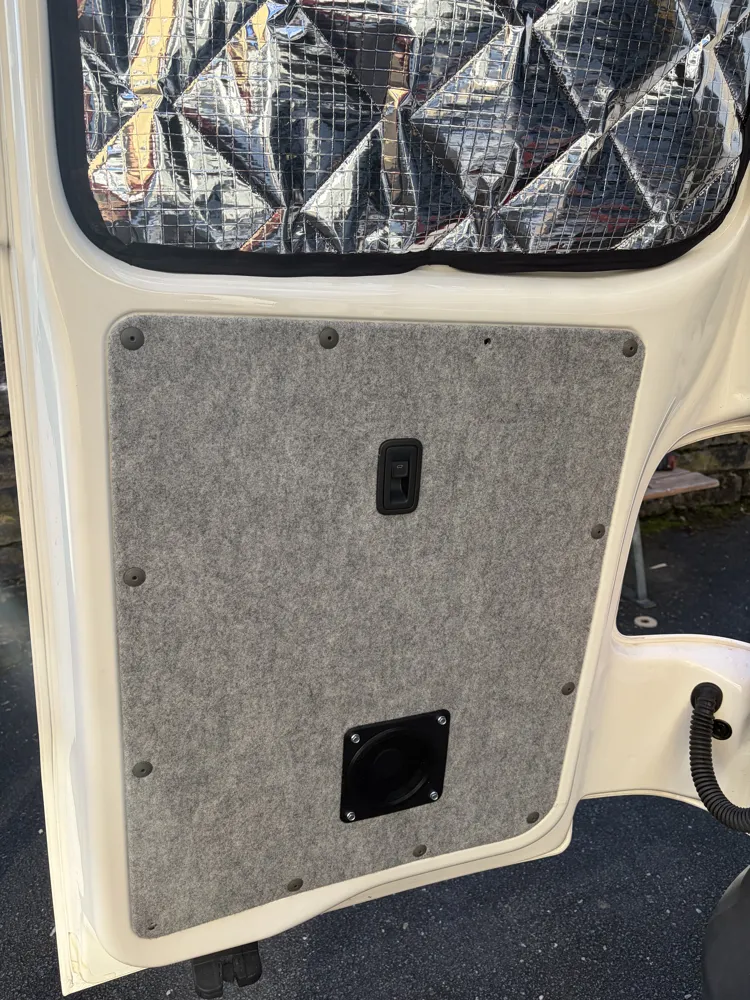
- Remove door panel and license plate
First, remove the inner door panel and the license plate to expose the work area. - Prepare drill holes
Print the provided drilling template.
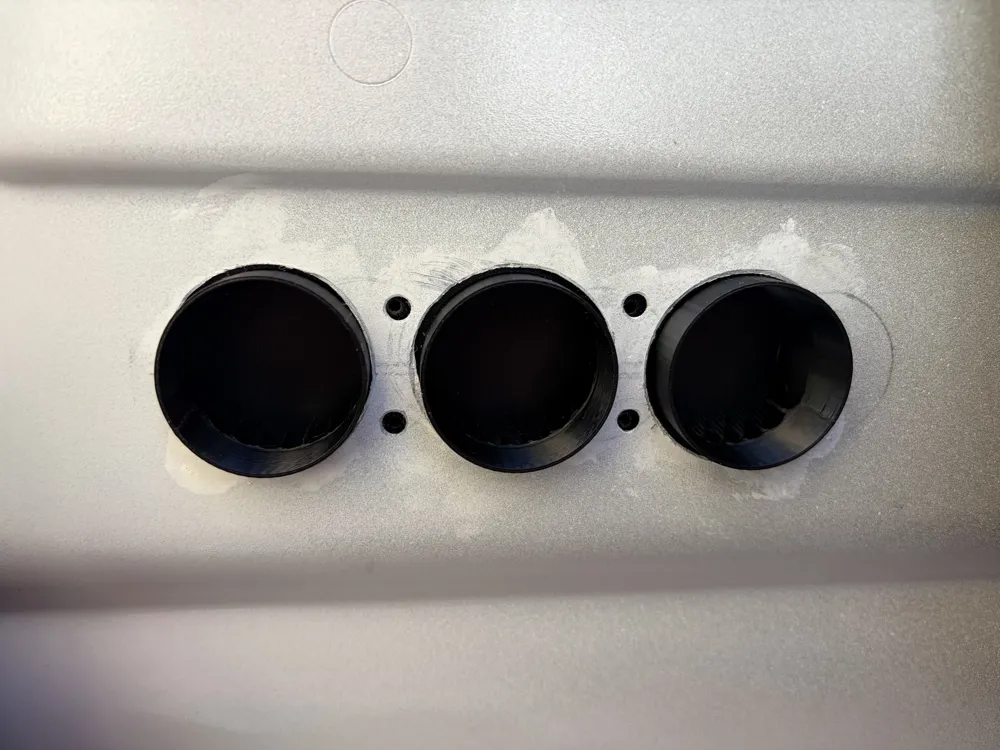
First, drill the leftmost or rightmost hole, then place the template with the locating ring and mark the other drilling points through the cutouts of the template and drill the holes (do not forget the screw holes)
Tips: Punching facilitates accurate drilling. Vacuum up chips when drilling so that nothing falls into the door - Apply rust protection
Carefully treat all bare metal areas with rust protective paint and let them dry completely.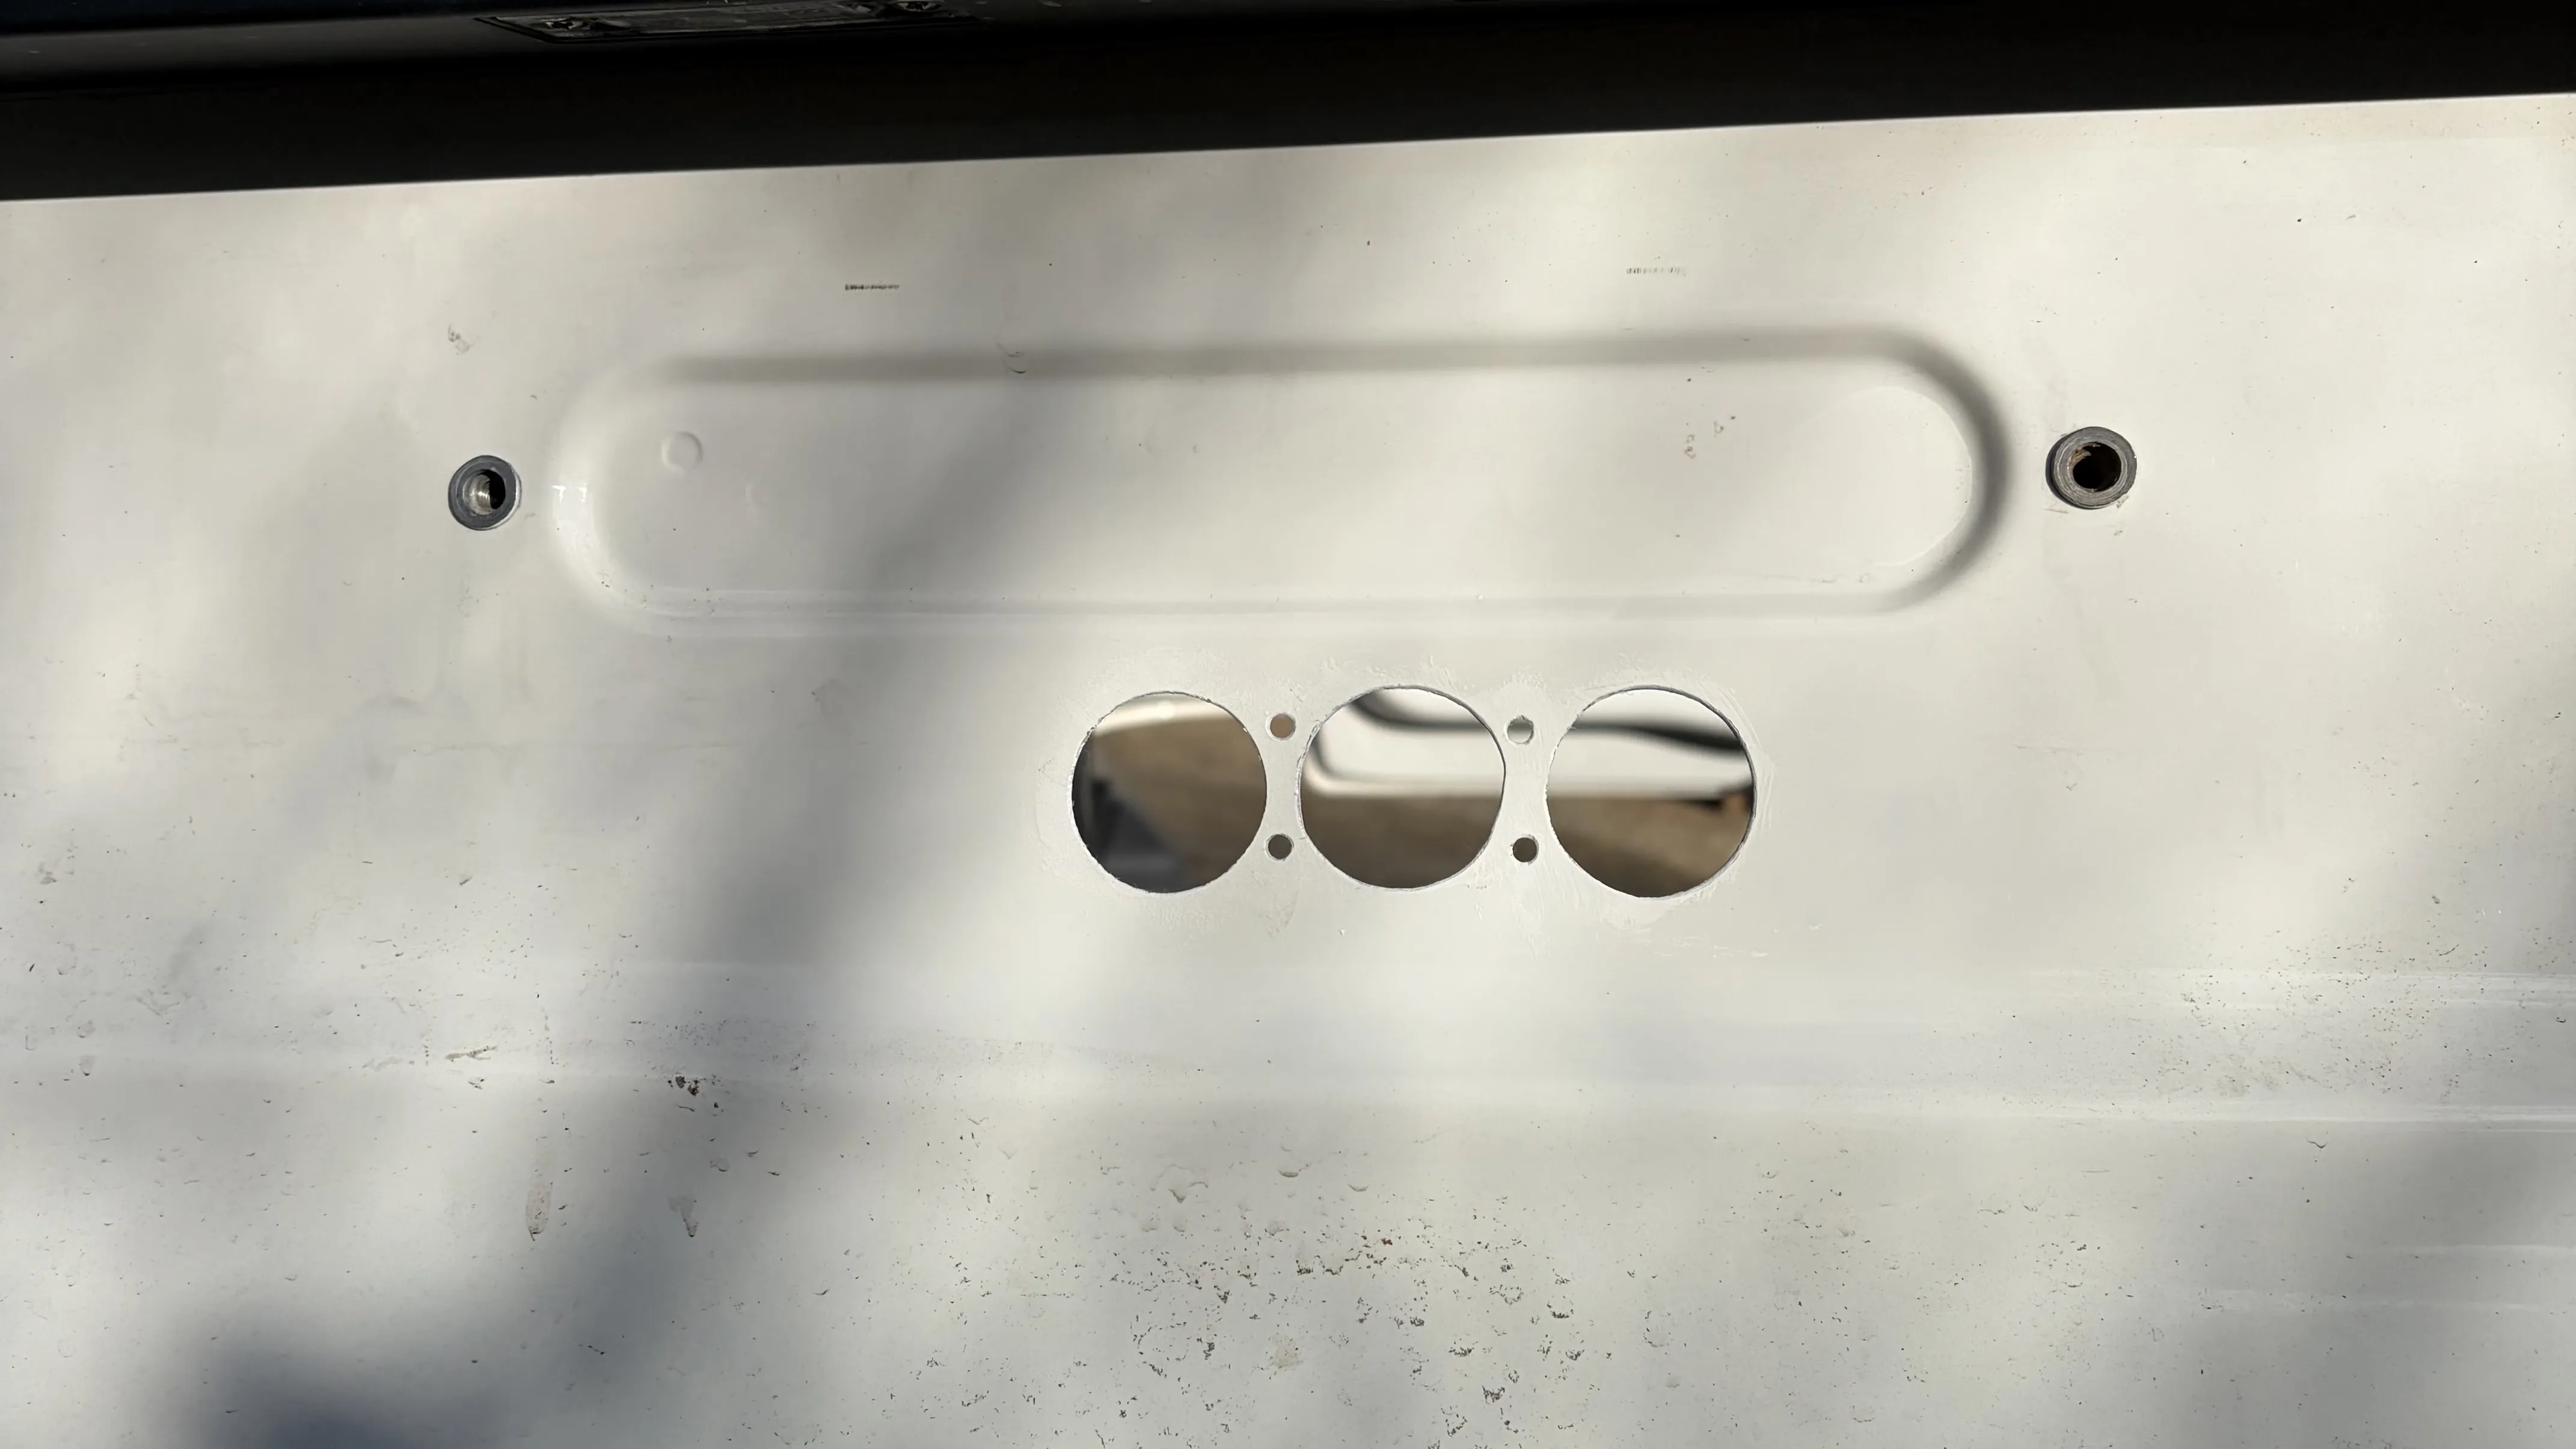
Screw on and seal outer part
Clean and degrease the contact surfaces.
Place the butyl cord (3 mm) into the designated groove (joint ideally at the bottom).
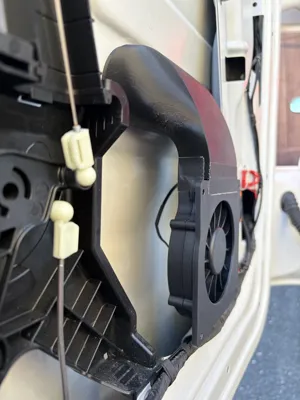
Press the outer cover through the drill holes, place the inner cover on and screw it tightly from the inside with the wood screws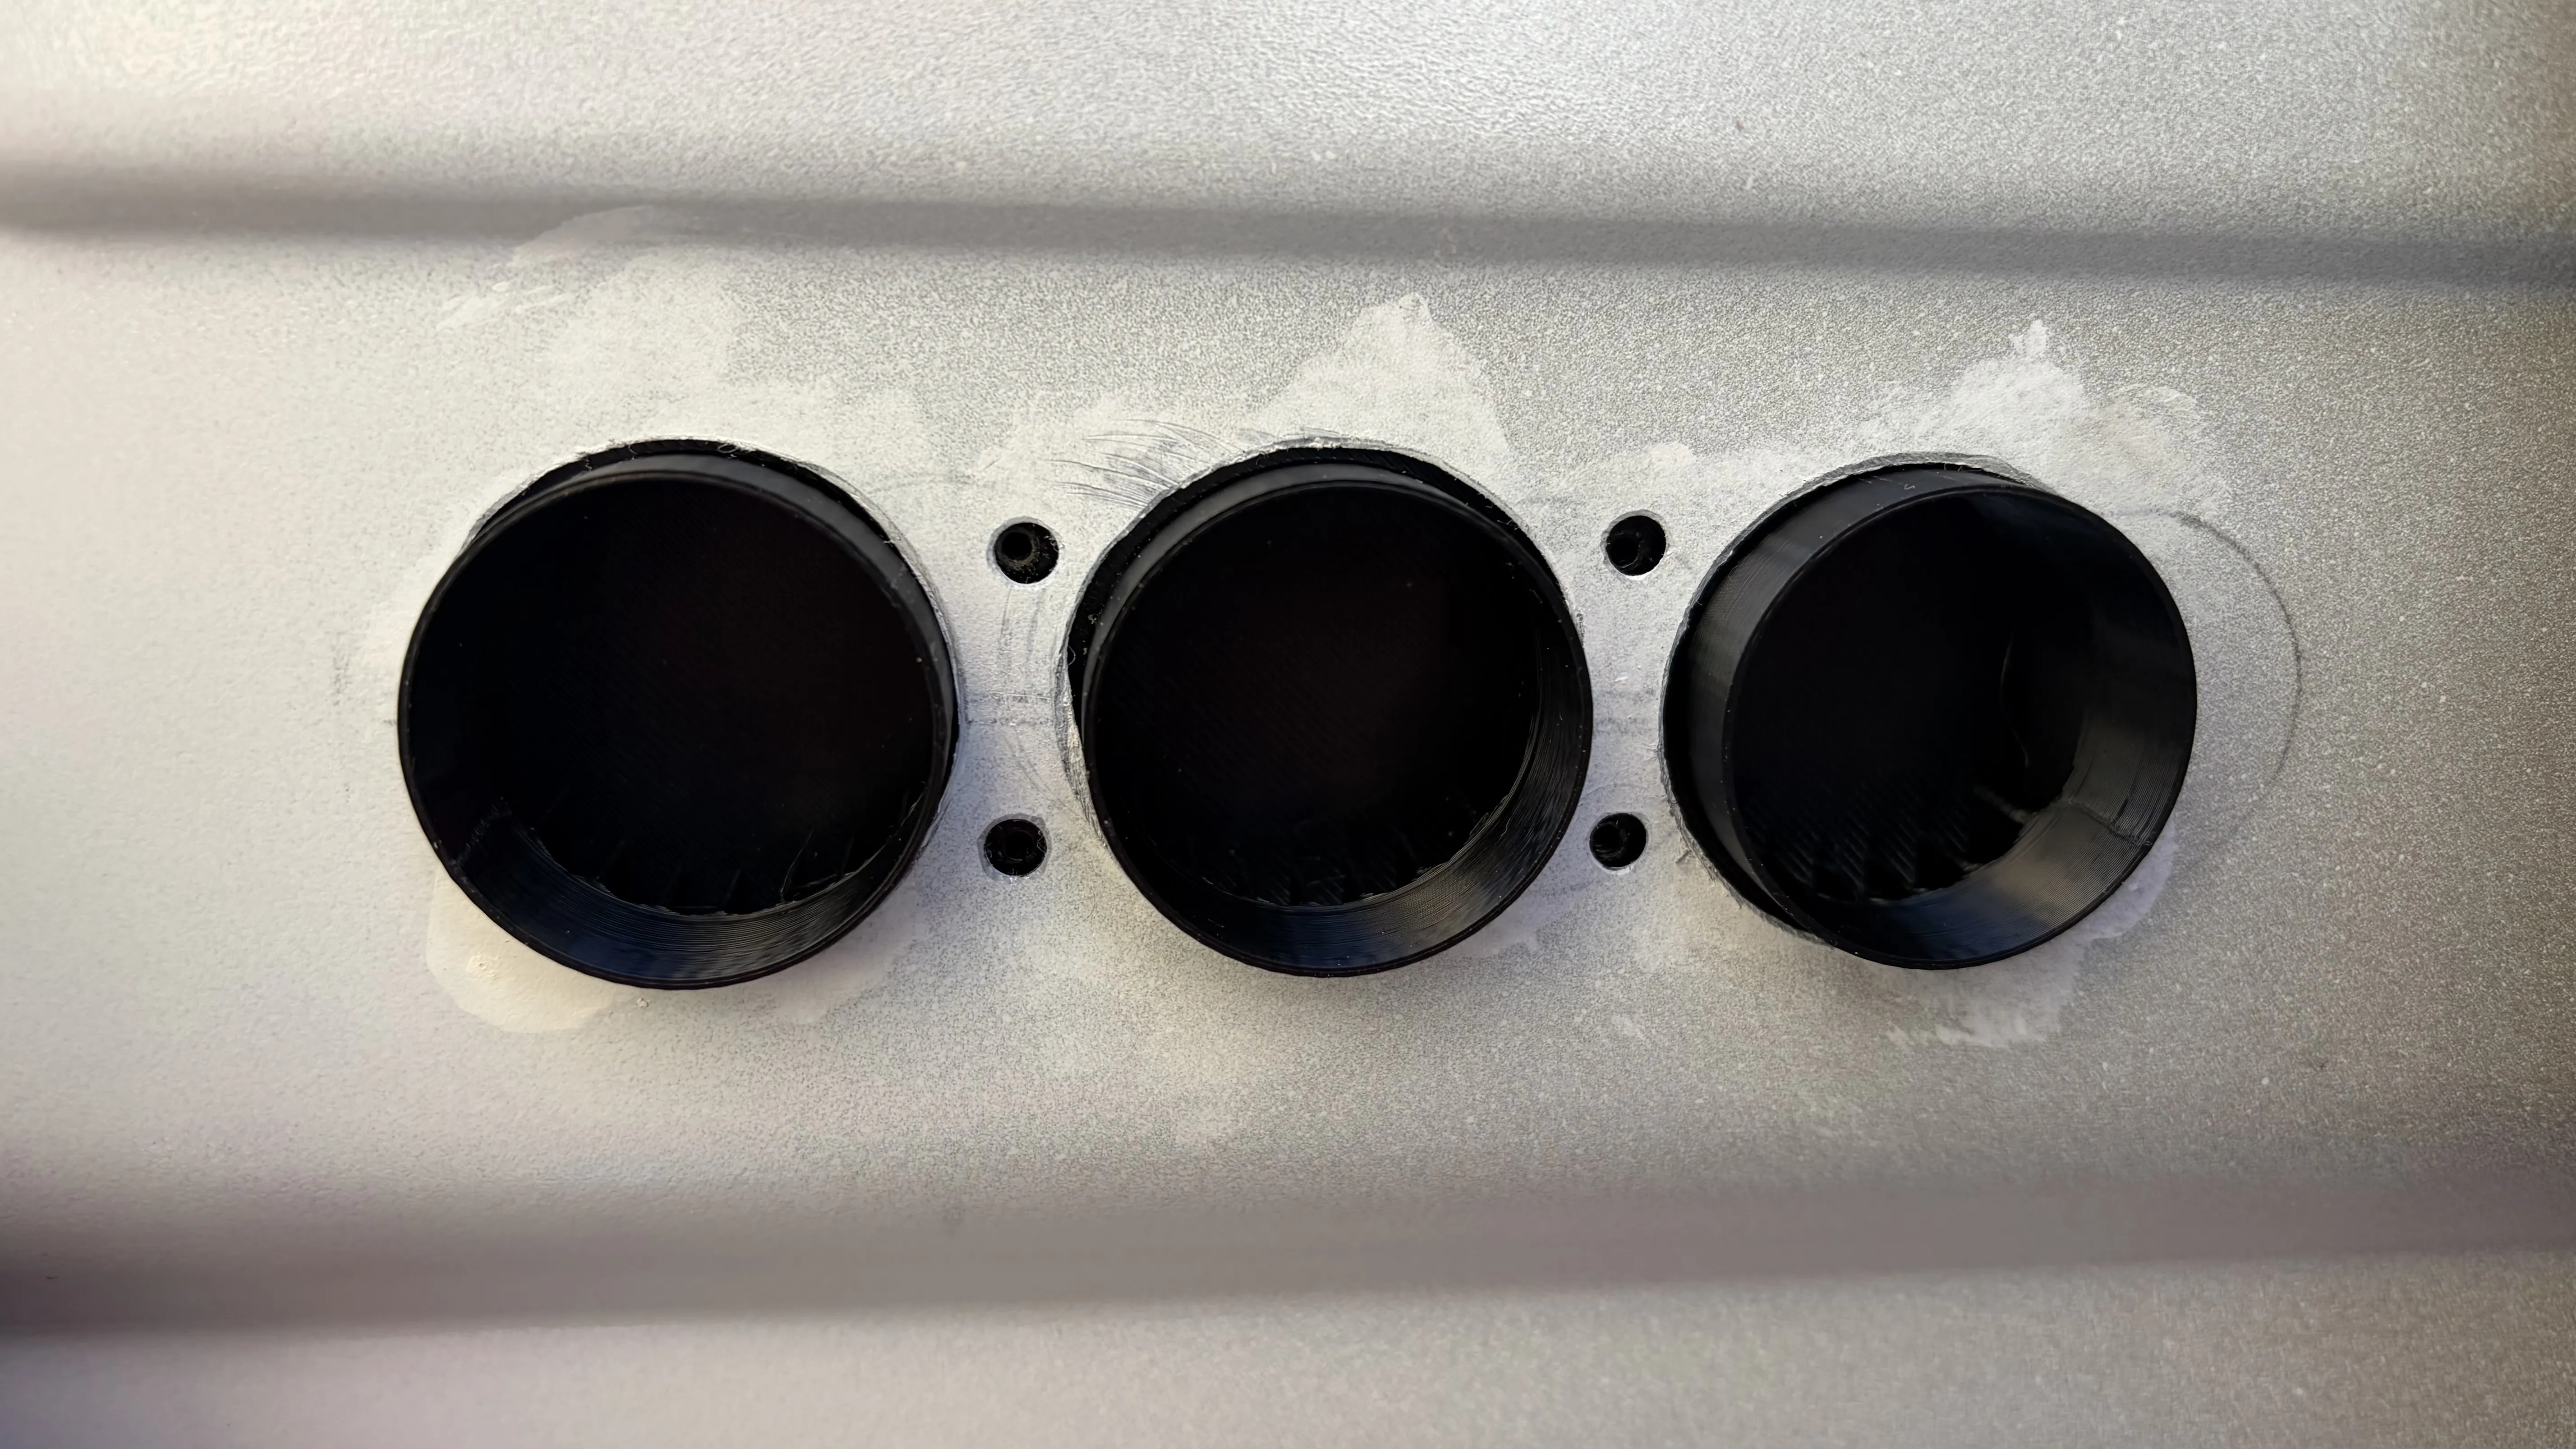
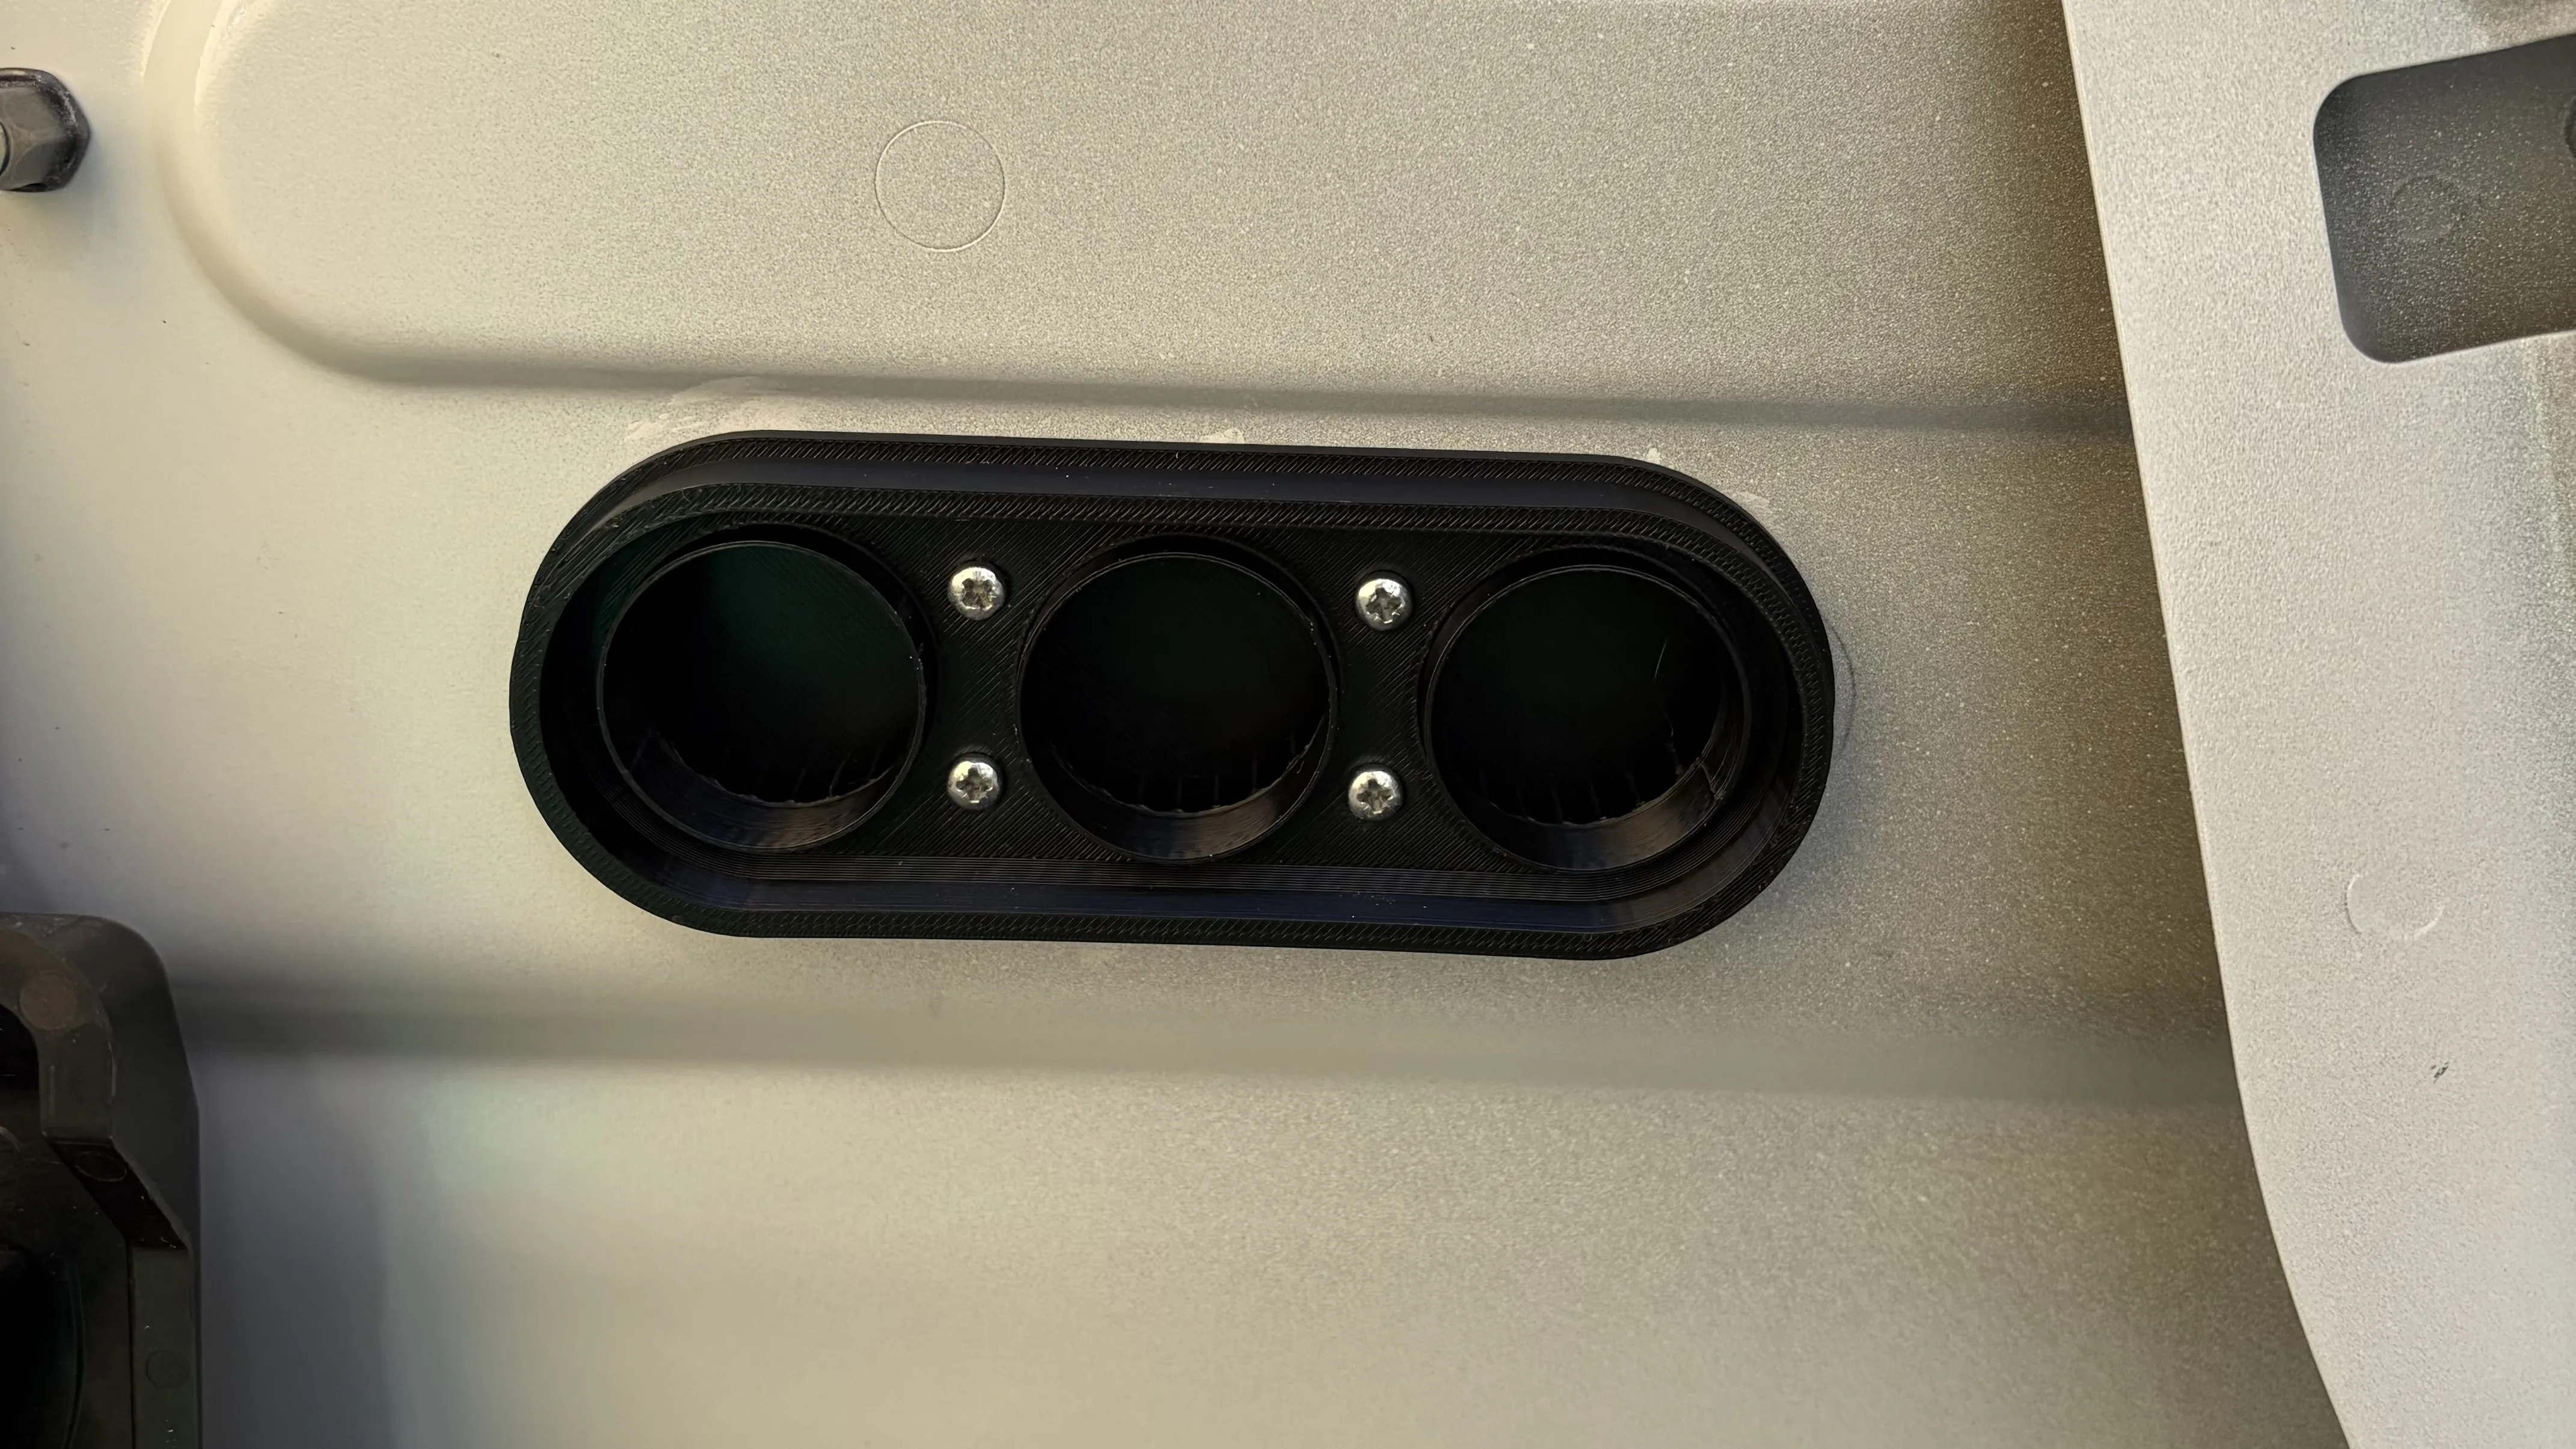
- Install fan
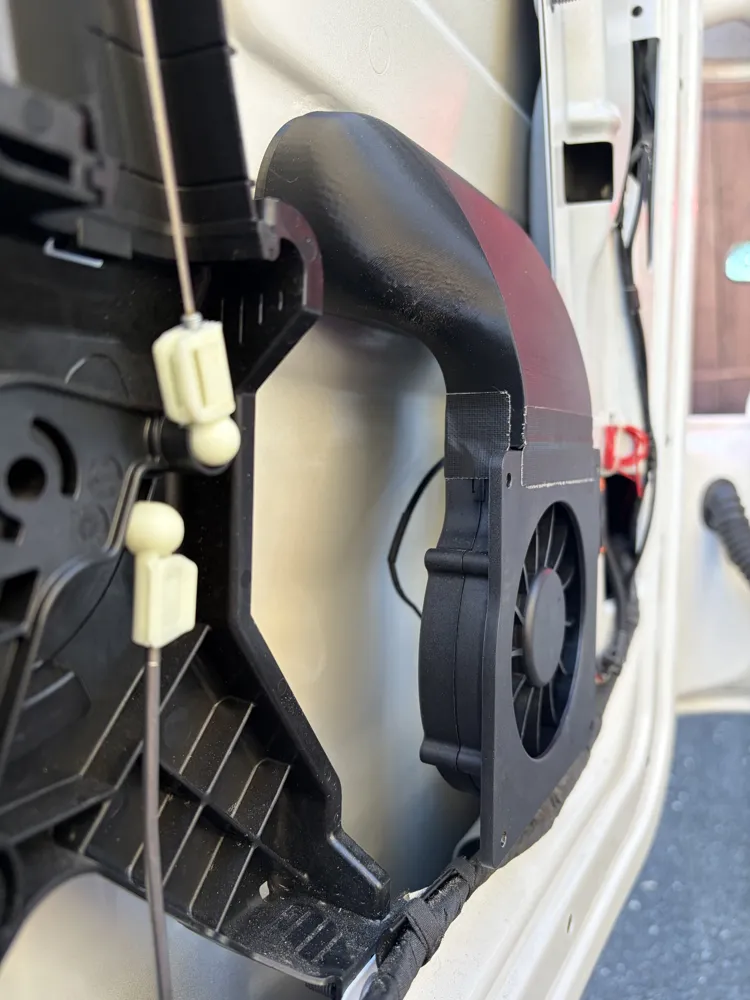
Tape the elbow to the fan.
Place the unit onto the inner cover and screw everything securely. - Electrical connection
Wire the fan accordingly. I cut off the USB cable (incl. controller) and ran my own cable through the cable gland of the door. There, I used a transformer to reduce the voltage of my onboard battery from 12V to 3.3V. This makes the fan run even slower than in the first stage at 5V.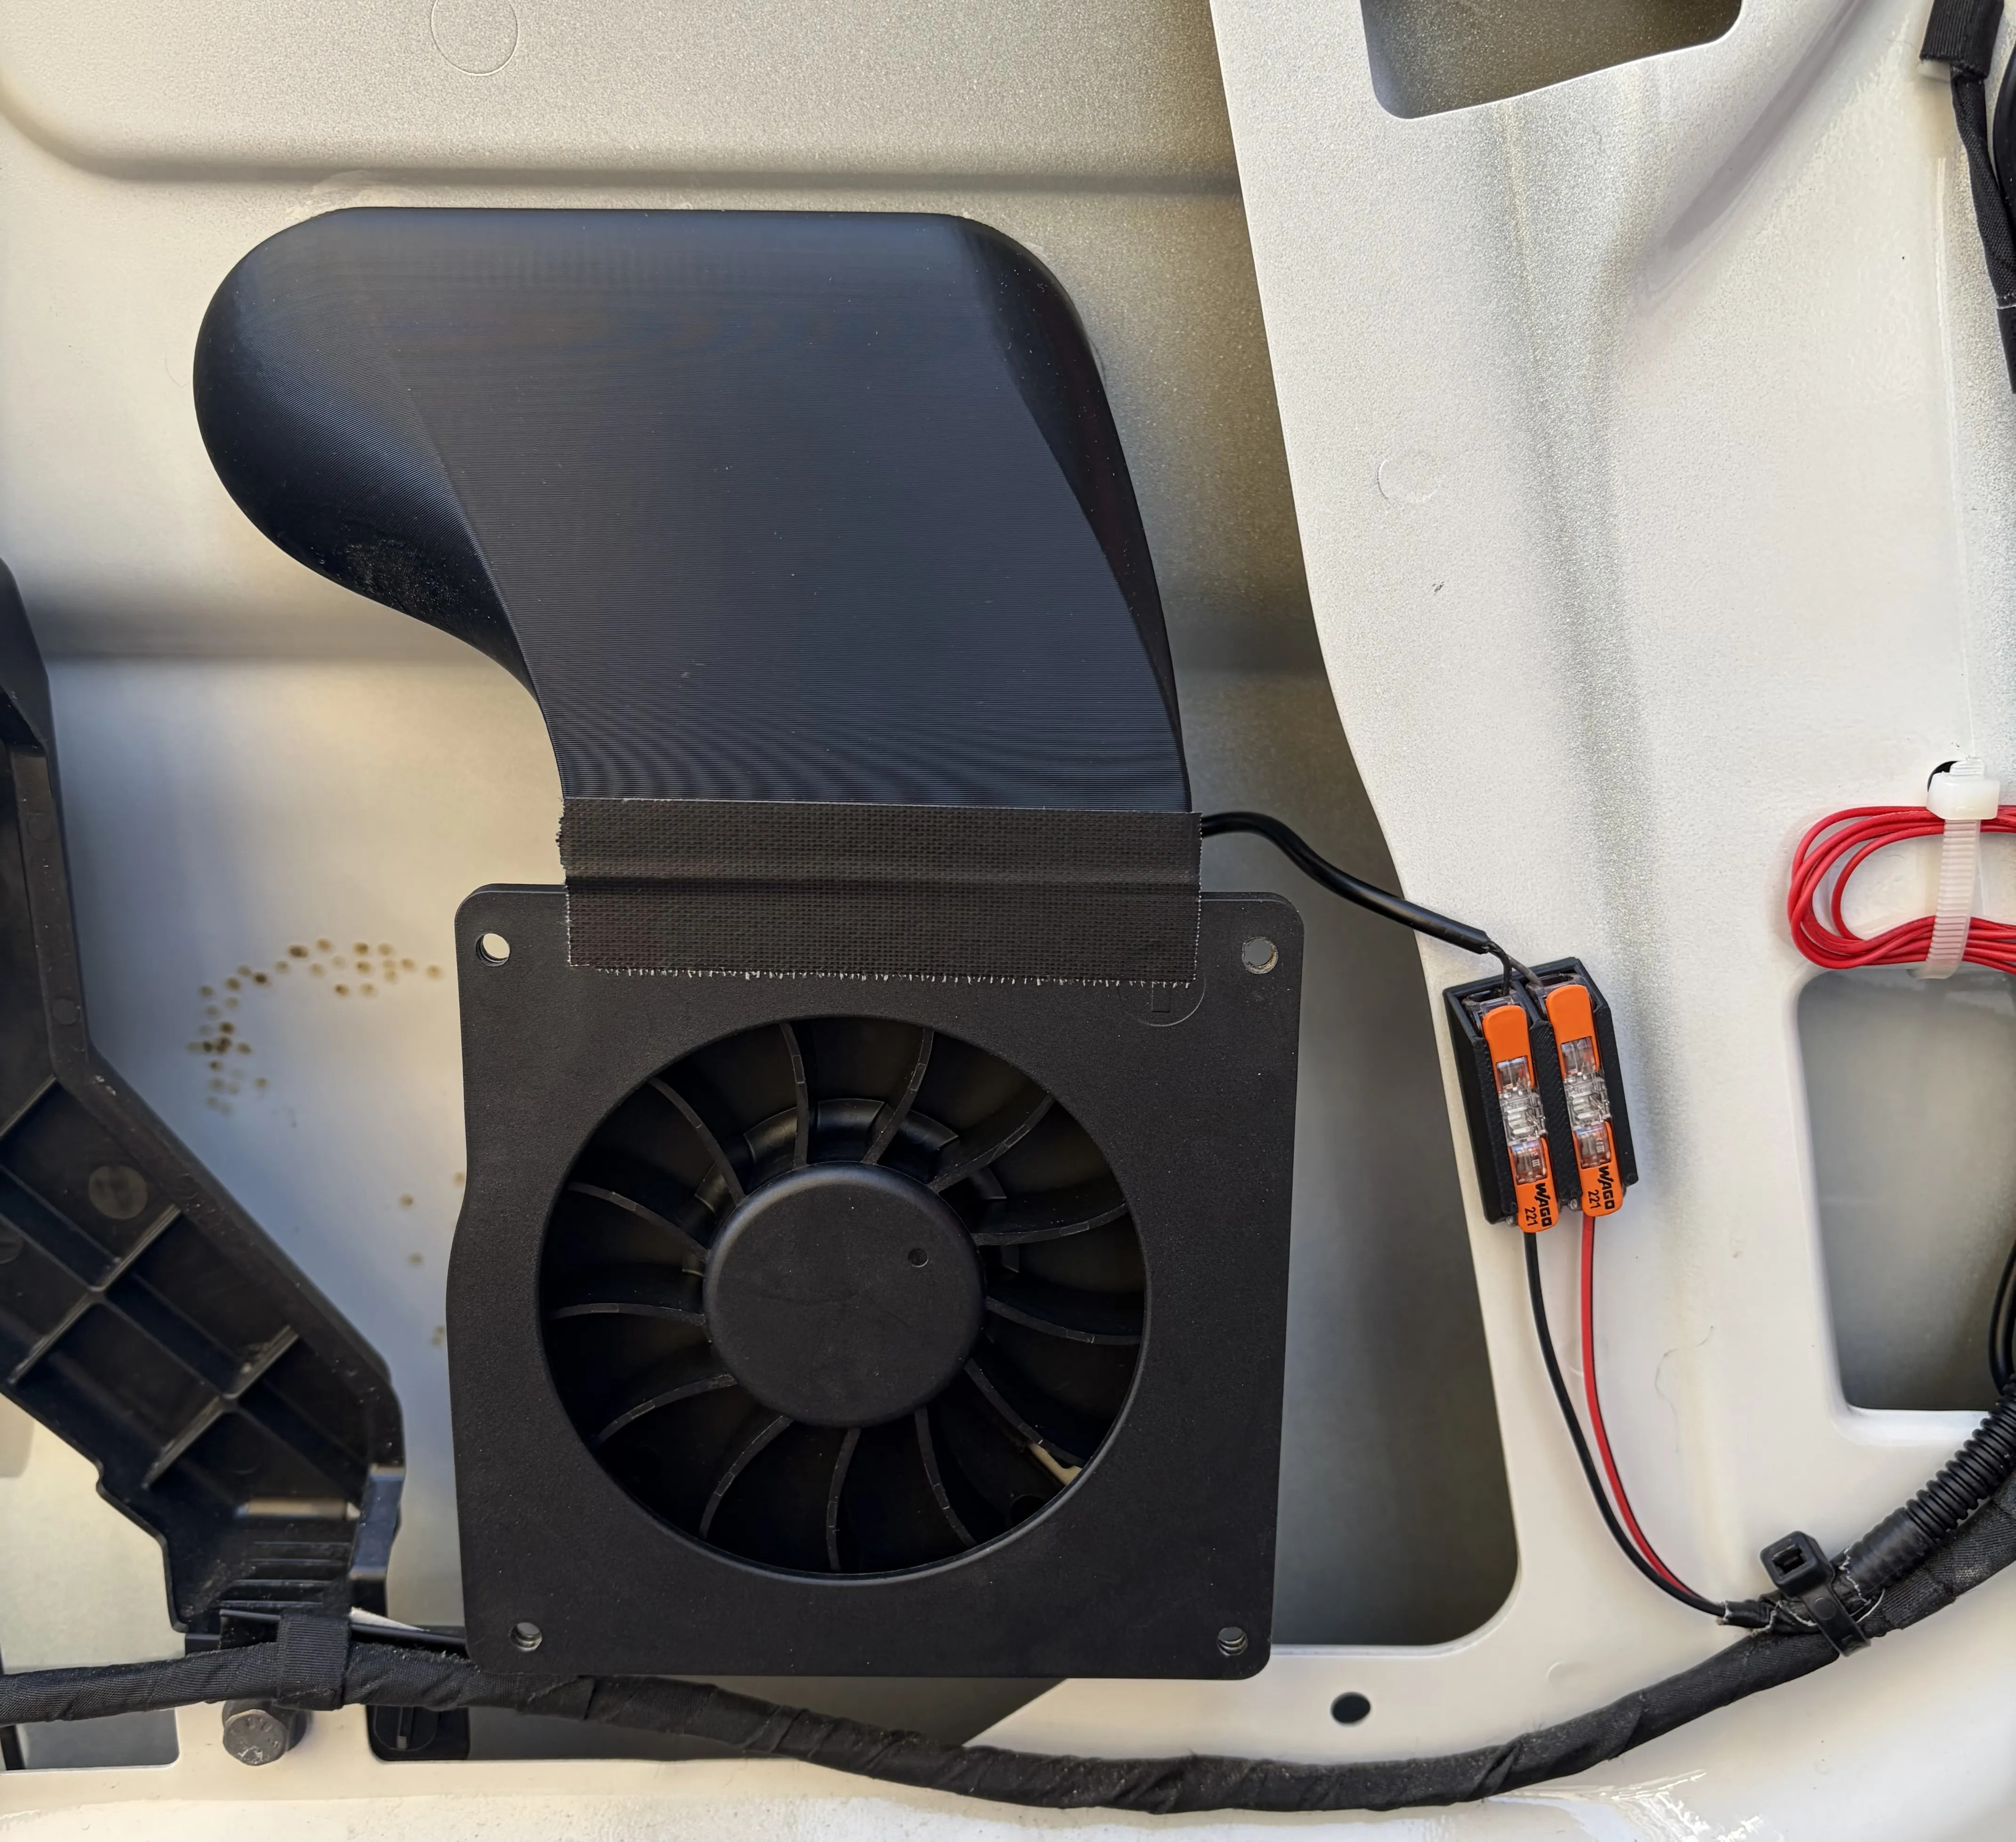
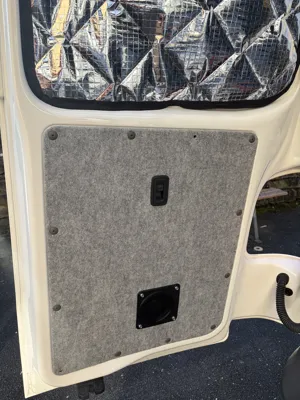
- Adjust interior trim
Temporarily place the door trim, mark the approximate position of the fan opening, and drill a small pilot hole.
If the position is correct, enlarge this round until it is about 1 cm larger than the fan hole.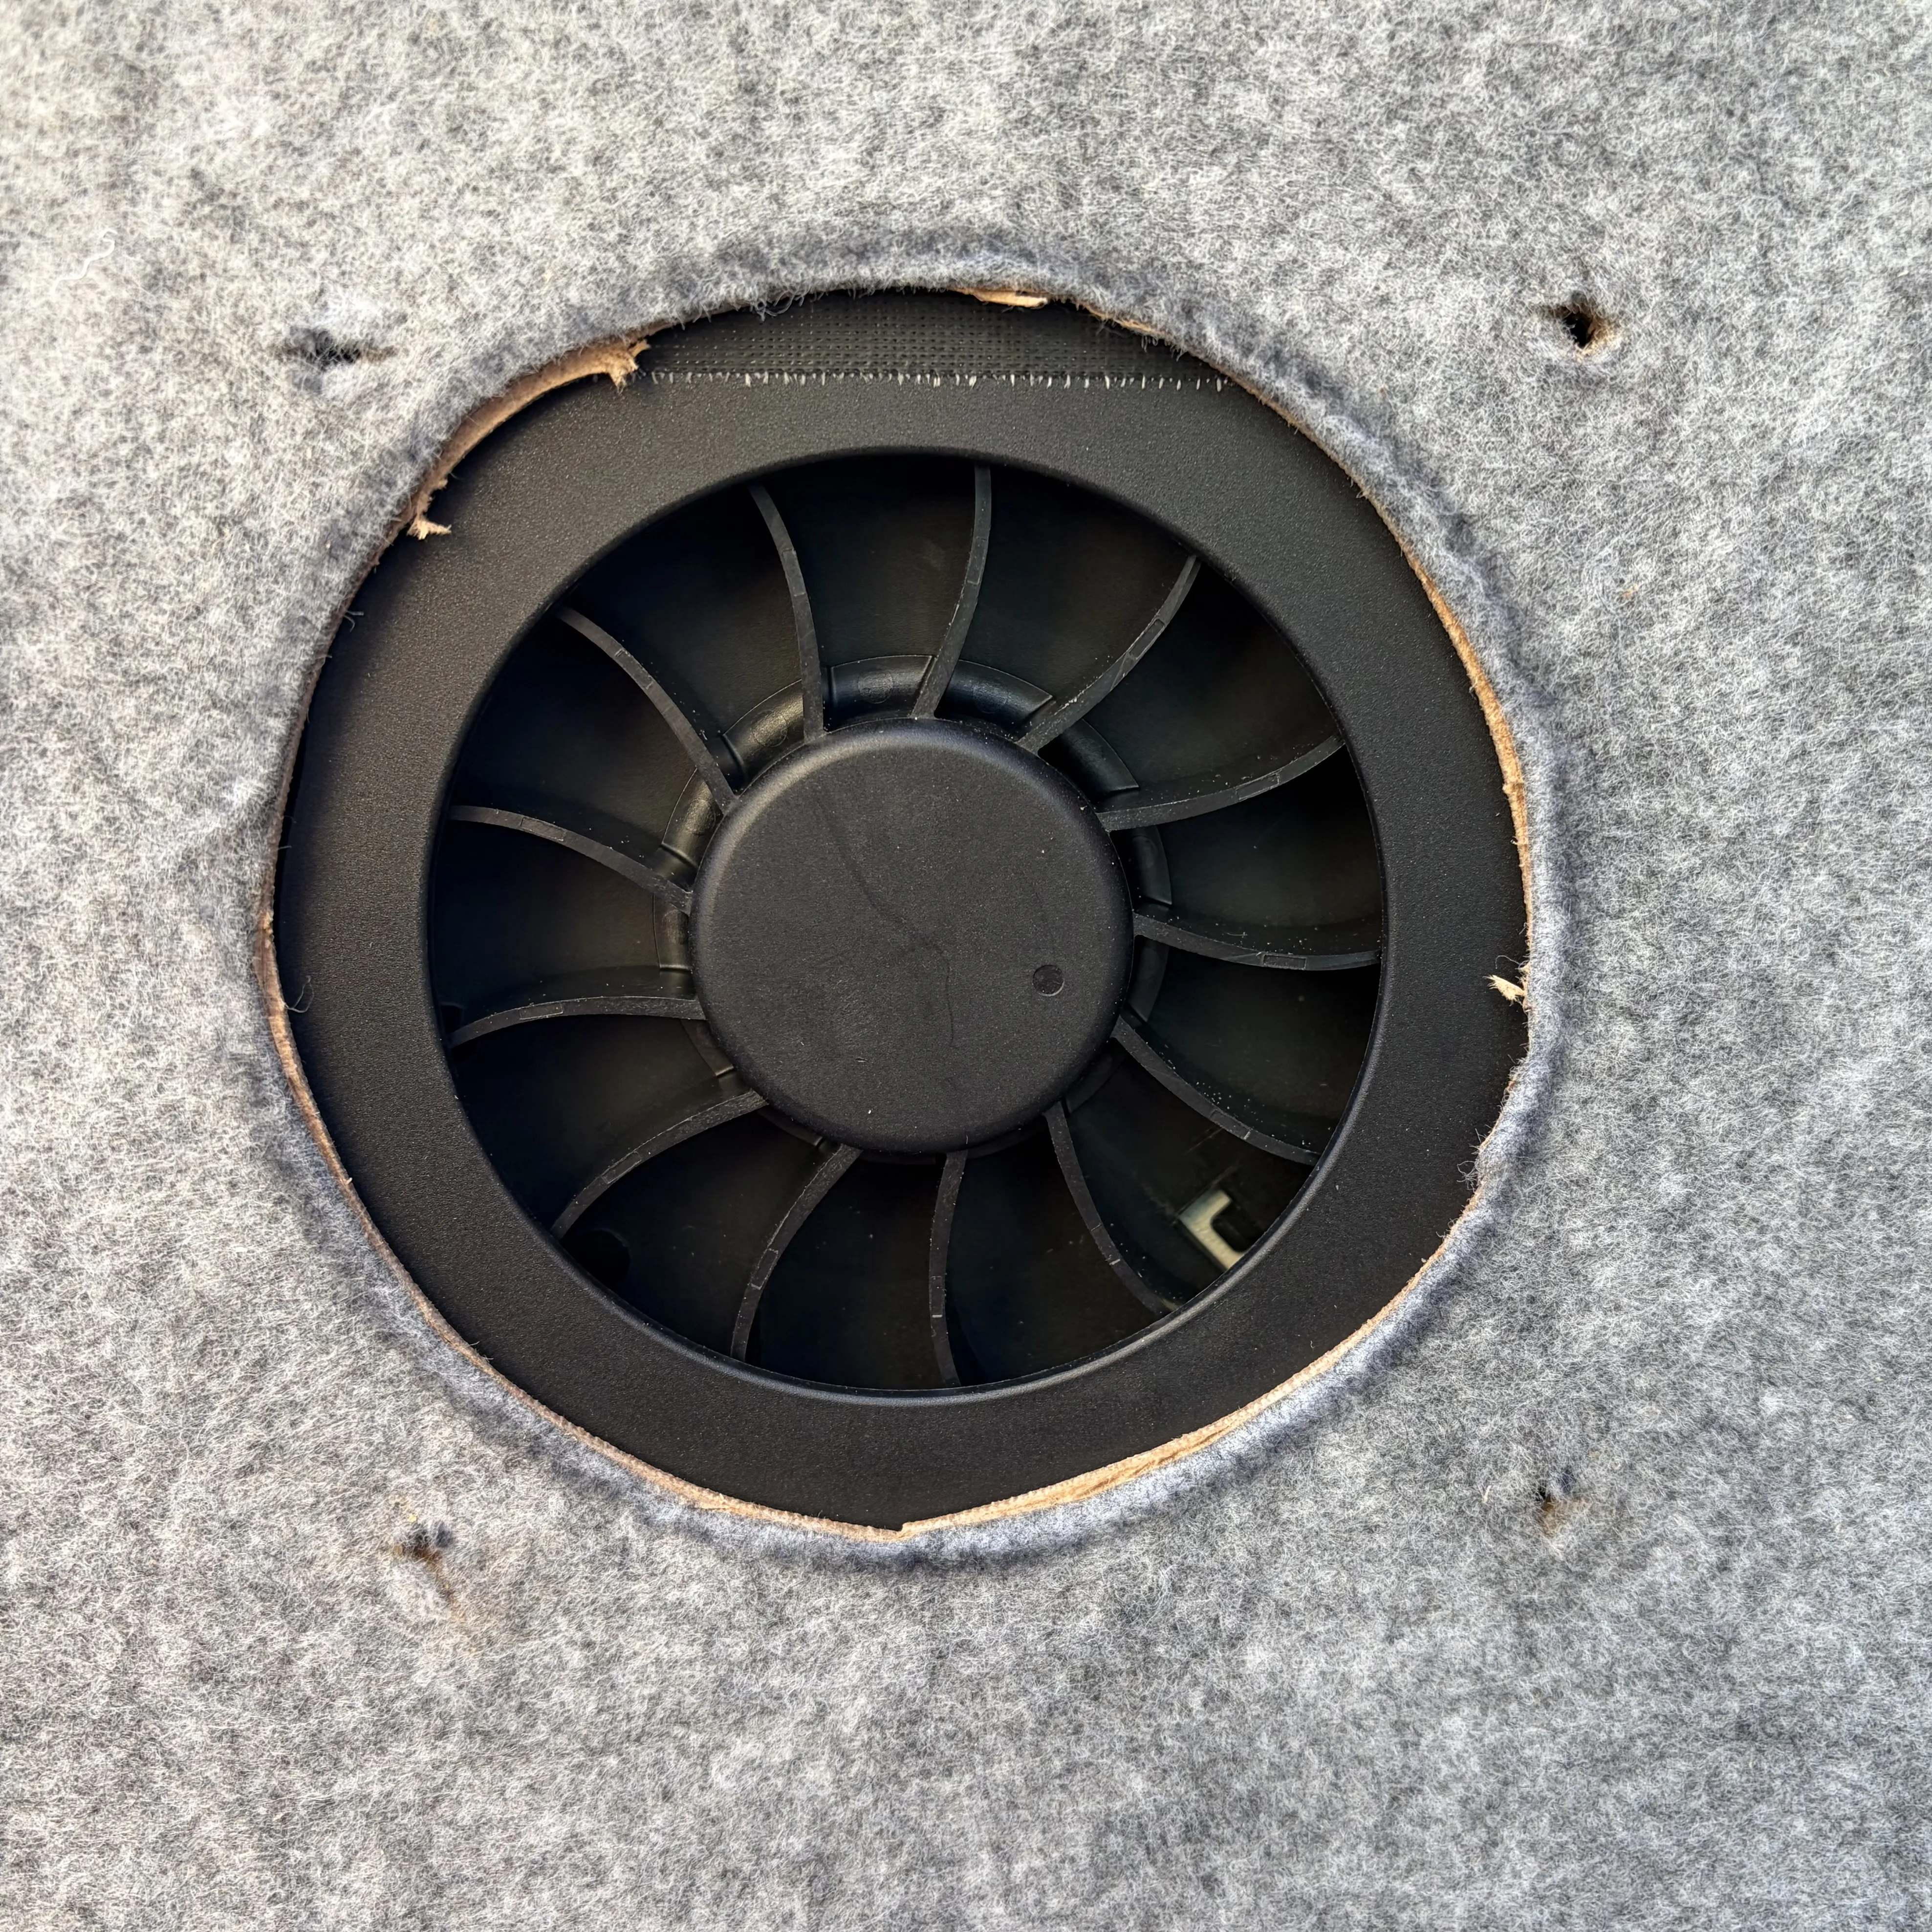
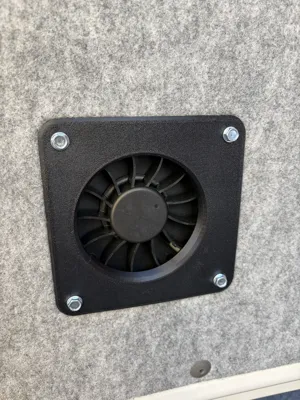
- Mount cover
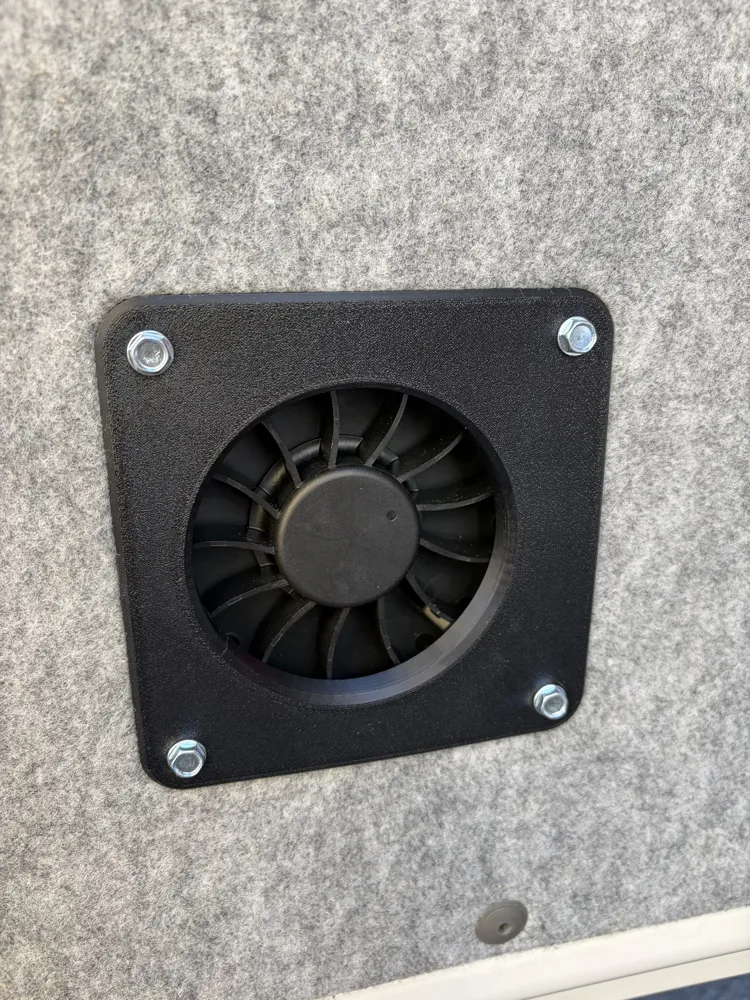
Place the cover on the fan (locating ring in the fan hole).
Mark and drill the appropriate screw holes, then attach the cover. The optional fan grille is simply attached by the magnets.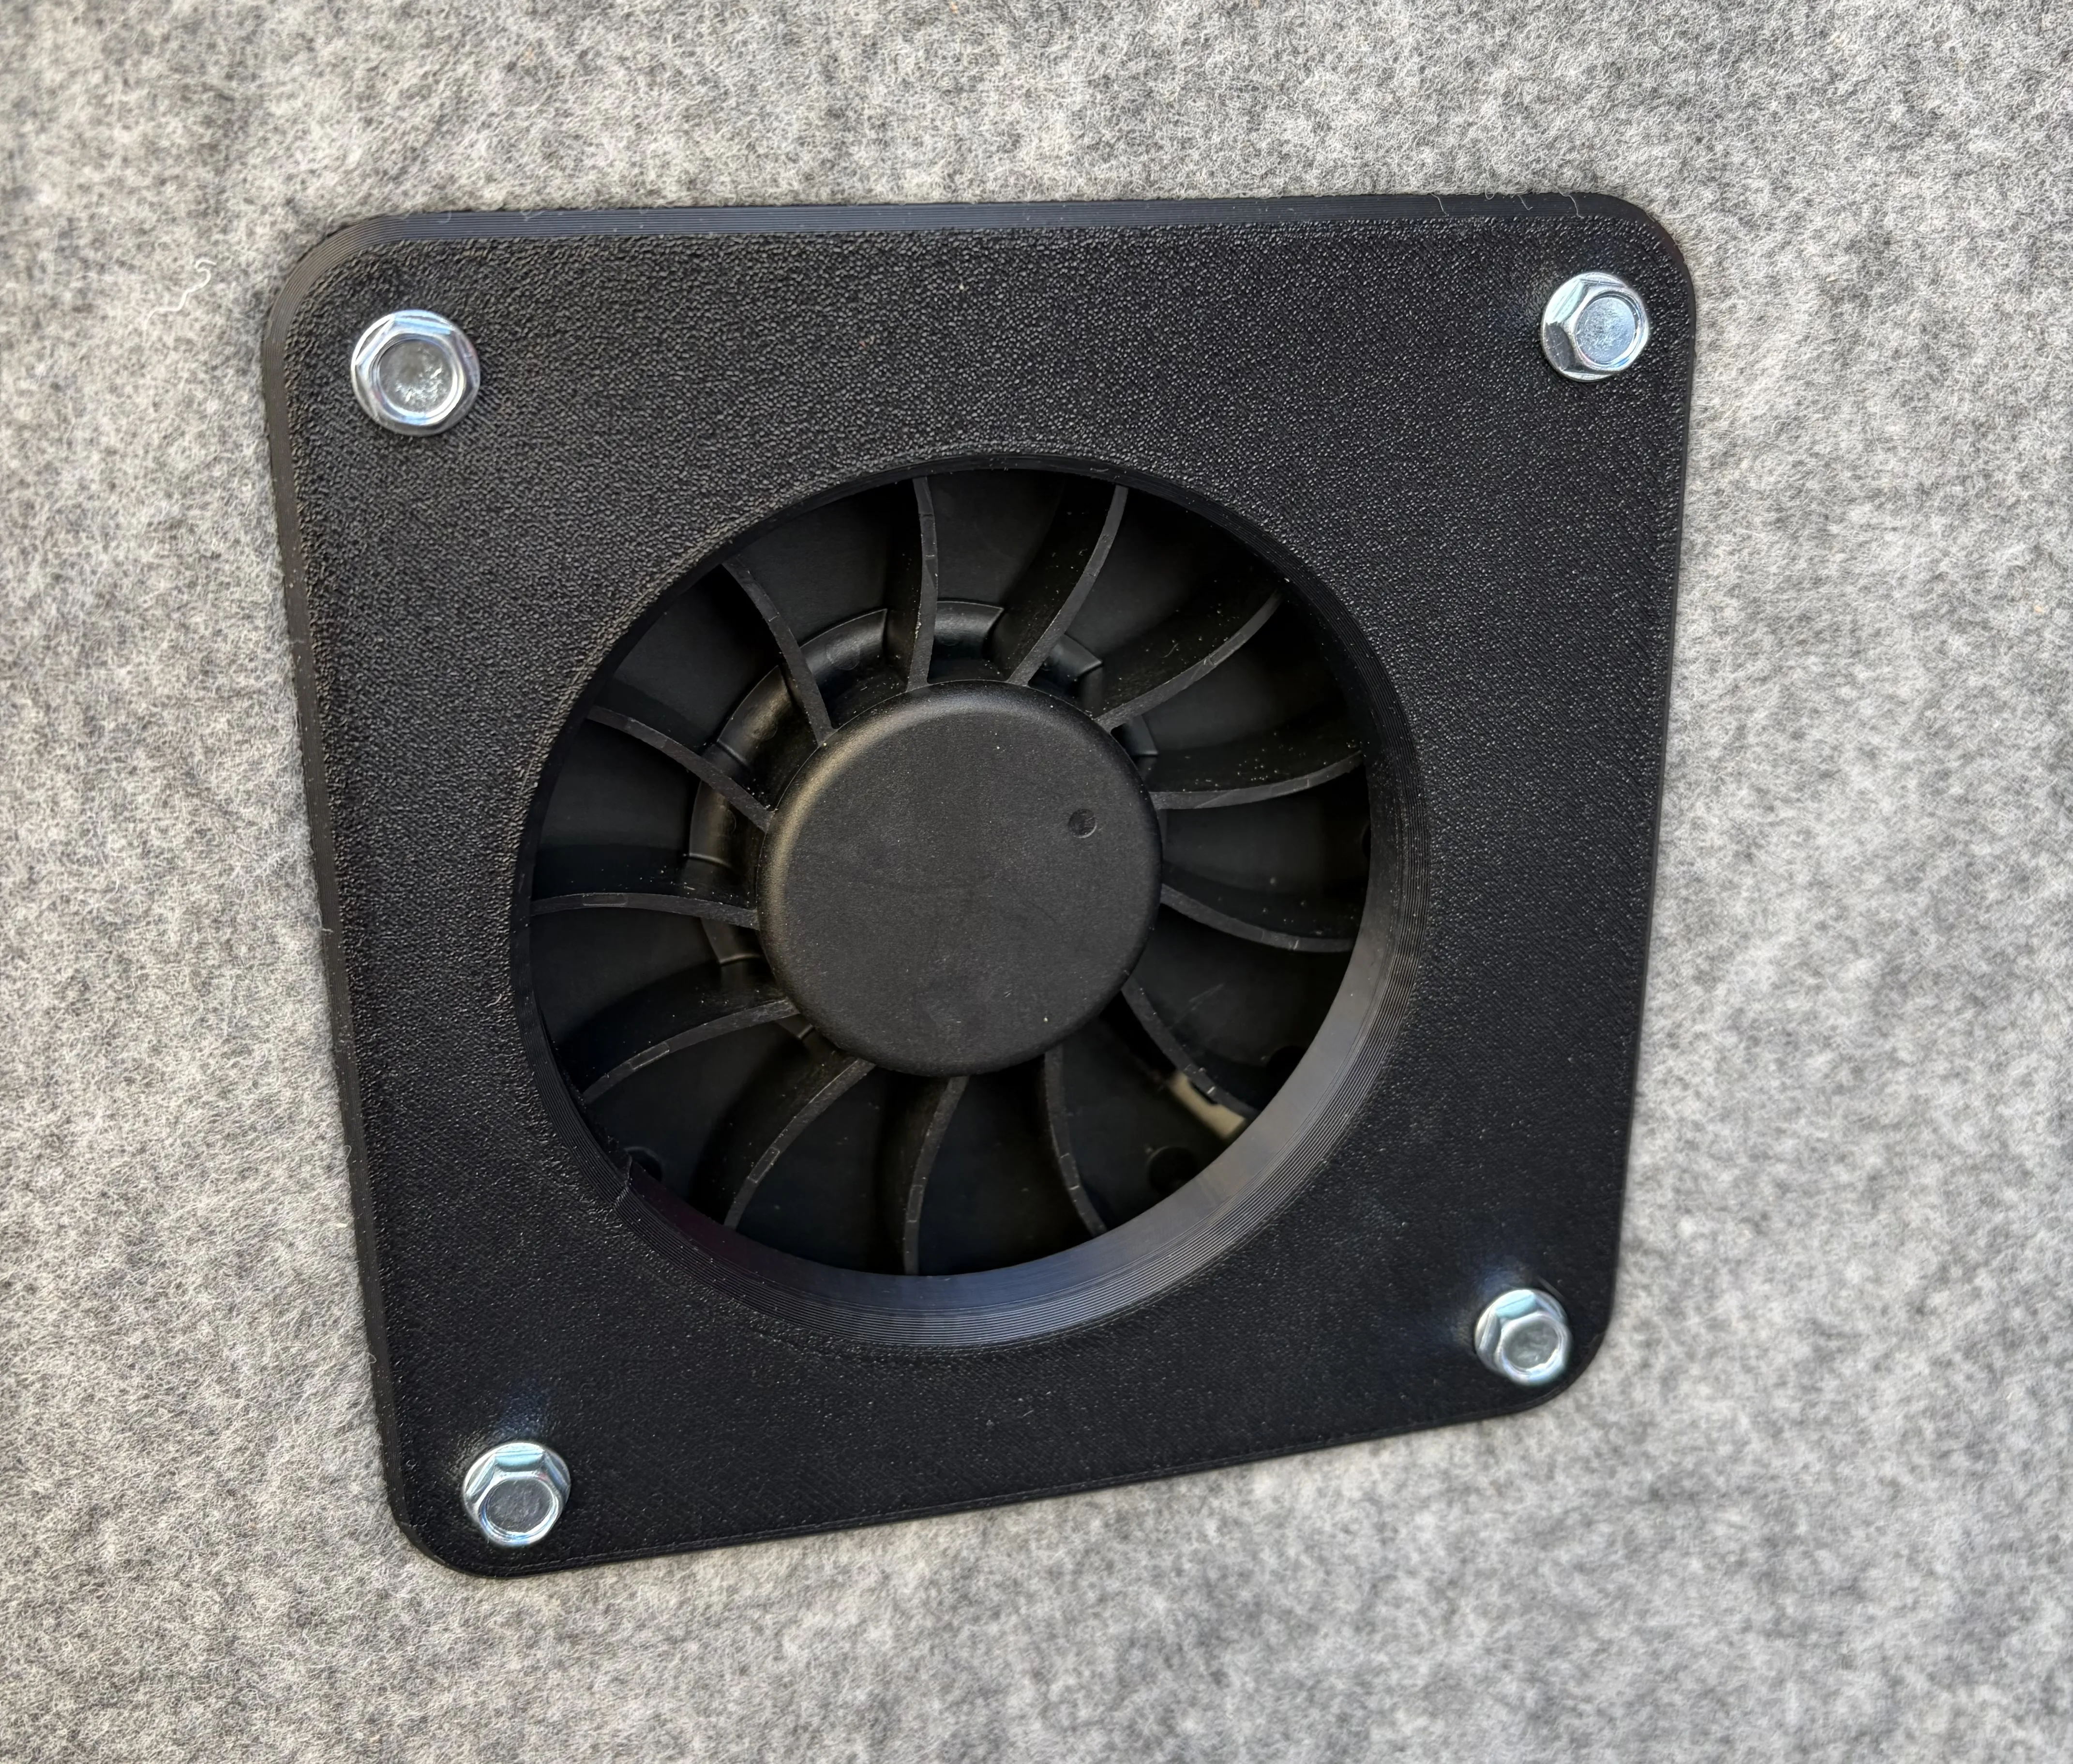
Reinstall license plate
Reattach the license plate with M6 × 25 mm screws and spacers.
If you made it this far, I would appreciate a boost or a like.
Boost Me (for free)
License

You shall not share, sub-license, sell, rent, host, transfer, or distribute in any way the digital or 3D printed versions of this object, nor any other derivative work of this object in its digital or physical format (including - but not limited to - remixes of this object, and hosting on other digital platforms). The objects may not be used without permission in any way whatsoever in which you charge money, or collect fees.


Comment & Rating (0)