Animal Crossing "Stalk Market" Turnip Magnets


Print Profile(1)
Bill of Materials


Description
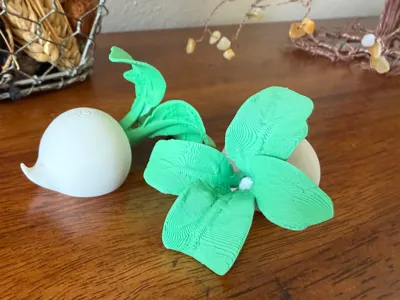
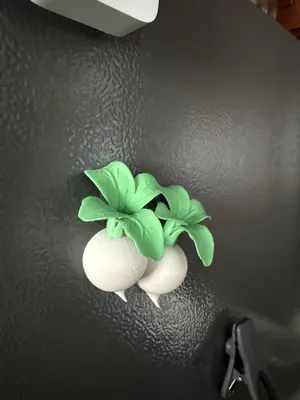
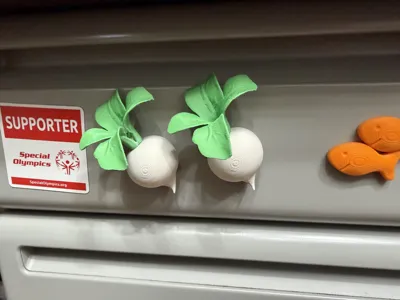
Bring a piece of the "Stalk Market" to your kitchen with these high-detail Animal Crossing Turnip magnets. This model captures the iconic organic shape of the in-game vegetable, scaled to about 80x45x45mm to provide a substantial feel and better printability for the delicate foliage.
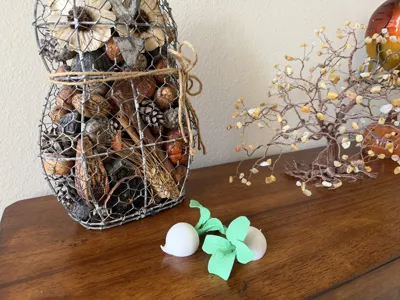
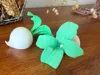
Note on reducing size: I tried it at about 35mm on the long end and the leaves got to thin. (see photo)
Design Features
- Optimized Scale: Scaled to 50mm, which naturally provides the wall thickness needed for the leaves to print cleanly without gaps.
- Heavy-Duty Hold: Designed specifically for 10x3mm Neodymium Magnets. At this size, the turnips have a satisfying weight and a very strong grip that won't slide down your fridge door.
- Customizable Magnet Fit: The magnet hole is included as a Negative Part in the slicer. This allows you to easily rescale or move the hole to accommodate different magnet sizes (like 8x3mm or 12x3mm) without needing to edit the original 3D mesh.
- Filament Usage: A pair of these turnips (Bulbs + Leaves) uses approximately 14g of filament including the necessary supports. Used Bambu Grass Green Matte PLA and Bambu Bone White Matte PLA
Assembly Instructions
- Magnet Install: The base features a 10.2mm recessed hole for a snug fit. Press your 10x3mm magnet into the base. (A tiny drop of CA glue/Super Glue is recommended for a permanent bond). My magnets were a bit on the large size. You may need to resize the negative hole part to best fit your magnets.
- Attach the Tops: Optional use CA glue to bond the green leaves into the socket turnip, although it should stay together without.
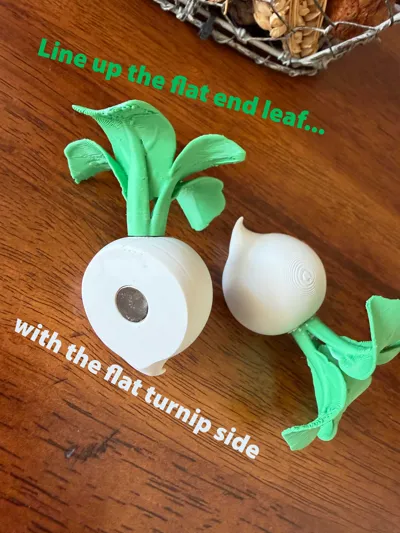
- Crucial Alignment: Align the leaf that has the flat/cut-off end with the flat side of the turnip bulb. This ensures the leaves do not interfere with the fridge surface, allowing the magnet to make solid, flush contact.
Recommended Print Settings (Bambu H2S)
- Wall Generator: Arachne (highly recommended to handle the tapering tips of the leaves).
- Layer Height: 0.20mm (Standard). While 0.12mm offers more detail, the 0.20mm default provides a great organic texture and faster print time.
- Supports: Tree (Organic). Use a 0.28mm Top Z distance to ensure they snap off cleanly from the leaf underside.
- Infill: 15%
License
You shall not share, sub-license, sell, rent, host, transfer, or distribute in any way the digital or 3D printed versions of this object, nor any other derivative work of this object in its digital or physical format (including - but not limited to - remixes of this object, and hosting on other digital platforms). The objects may not be used without permission in any way whatsoever in which you charge money, or collect fees.
Comment & Rating (3)