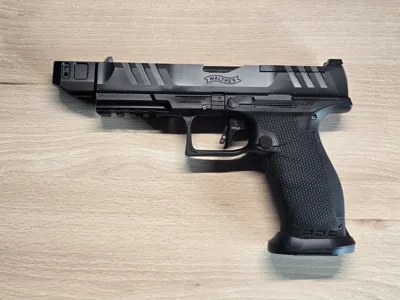
Walther PDP / Canik Magazine Baseplate (OEM Style)


Print Profile(1)

Description
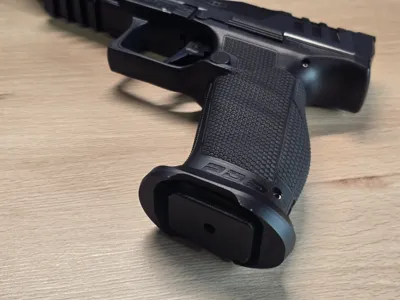
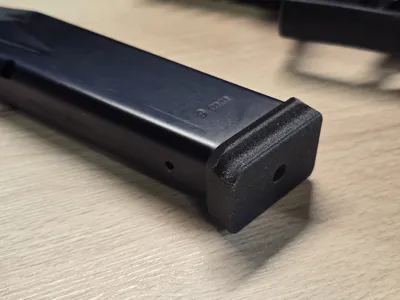
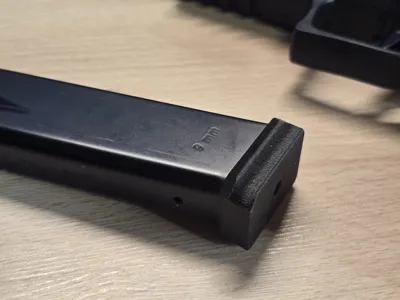
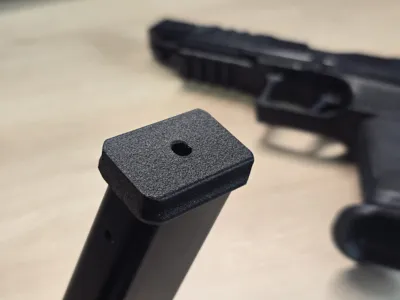
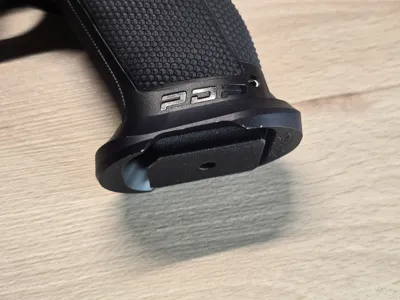
Lost or damaged your original magazine baseplate? This is a custom-modeled, 3D-printable replacement for the standard Walther PDP magazine baseplate. It maintains the exact same low profile, dimensions, and aesthetics as the factory original, with no added length and no increase in ammunition capacity (+0).
Features:
- 3D Printing Optimized: While it faithfully mimics the factory look on the outside, the internal geometry and overhangs have been specifically tweaked for FDM 3D printing. This ensures accurate tolerances, a perfect fit, and an easy print that requires minimal to no supports depending on your printer.
- Factory Look & Feel: Perfect for those who want to keep their firearm in its original configuration for everyday carry (EDC) or standard range use.
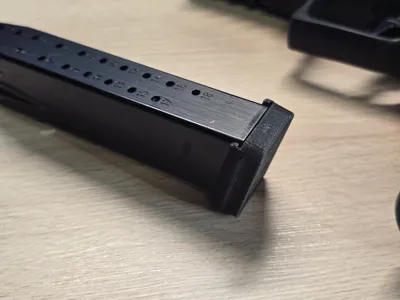
- Canik / Mec-Gar Compatibility: Because Walther (PDP/PPQ) and Canik (TP9/Mete series) utilize very similar magazine tubes manufactured by Mec-Gar, the locking tabs and profiles are nearly identical. This basepad should also serve as a perfect replacement for standard Canik magazines.
- Drop-In Fit: Designed to seamlessly replace the factory baseplate using your original magazine spring and retainer plate.
Printing Guidelines:
- Recommended Material: I highly recommend printing this in PA6-CF (Carbon Fiber Nylon) for maximum durability, impact resistance, and a matte finish that matches the factory polymer.
- Alternative Materials: ABS, ASA, PETG, or PC are also excellent choices. PLA/PLA+ will work fine for basic use, but stronger materials are recommended if you plan on dropping your magazines during reloads.
- Infill: 40-100% (Higher infill is strongly recommended to survive impacts on hard surfaces).
- Walls/Perimeters: 4+ for crucial structural integrity around the sliding rails and locking lips.
- Orientation: Print flat on its bottom surface.
Installation: Ensure your firearm is completely unloaded. Depress the locking pin on the bottom of your factory magazine, carefully slide off the baseplate (keep your thumb over the spring!), and slide this new 3D-printed replacement on until the retainer clicks securely into the hole.
Safety Note: Always treat your firearm as if it is loaded. Ensure it is clear and safe before handling or modifying any parts.
Boost Me (for free)
Boost me for free for more designs.
License
You shall not share, sub-license, sell, rent, host, transfer, or distribute in any way the digital or 3D printed versions of this object, nor any other derivative work of this object in its digital or physical format (including - but not limited to - remixes of this object, and hosting on other digital platforms). The objects may not be used without permission in any way whatsoever in which you charge money, or collect fees.
Comment & Rating (3)