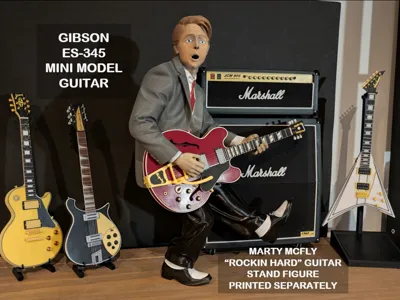
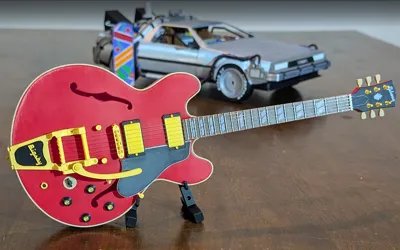
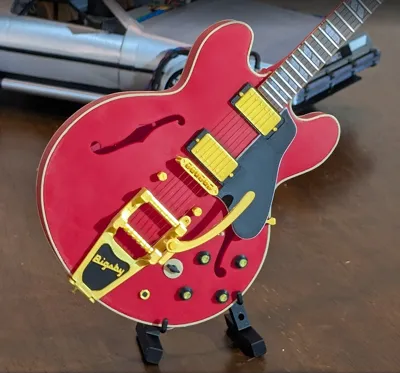
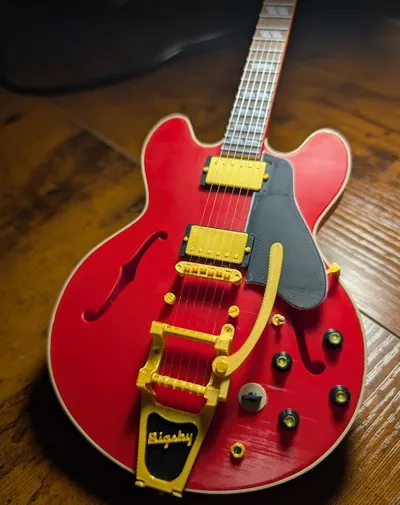
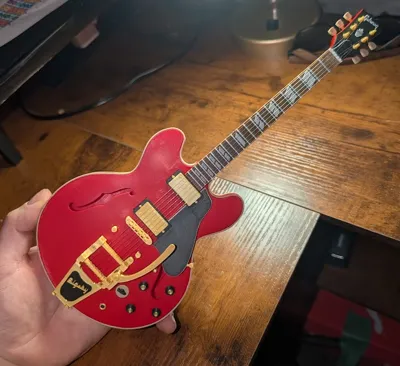
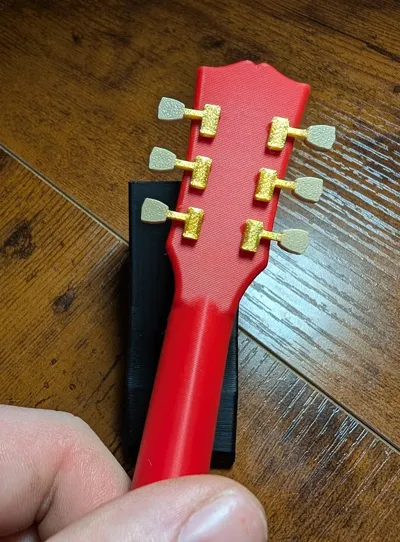
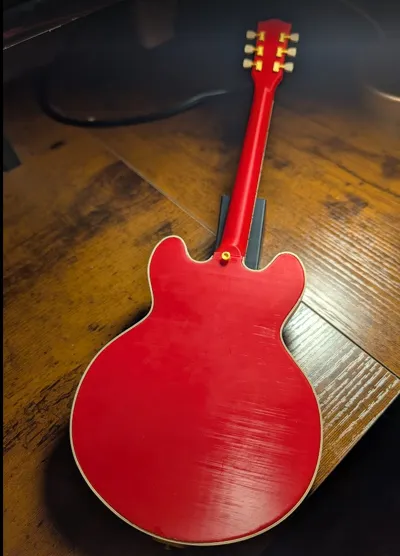
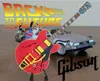
Back to the Future - Marty's Gibson ES-345 guitar


Print Profile(2)
Description
Hi, and welcome to my model page. I predominantly create miniature model guitars. But I sometimes make other things as well. To see my many model guitars models, please come see mine and ML Innovations collection of guitar models and accessories using this link below: https://makerworld.com/en/collections/5352306-wallymocha-ml-innovation
If you like this project and want to support me, please click the Boost button!
Welcome back to the Enchantment Under the Sea dance. Marty McFly plays this ES-345 guitar in the movie. I have always been a fan of this movie since I was a kid. And naturally, because of the guitar collection I am creating on Makerworld. I just had to include this beauty in the mix. Check out some of my other guitars in this collection link below. Start printing your very own mini guitar collection today!
https://makerworld.com/en/collections/5352306-wallymocha-ml-innovation
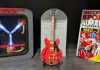
Now available! The perfect mini guitar stand for this model of guitar. I present to you Marty McFly statue model to display this guitar. There are two models to print. The Marty McFly figure, and the Stand/base for the figure model. See the links below!
https://makerworld.com/en/models/2908041-base-plate-for-marty-mcfly-model#profileId-3251926

Boost Me (for free)
Please help boost this model :)
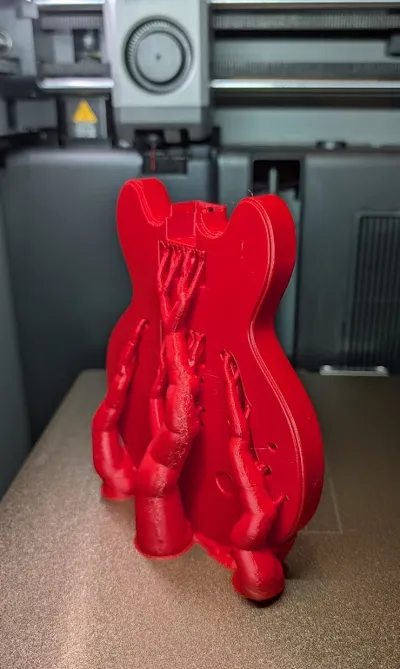
For best results when printing my model guitars, I recommend using a High Flow nozzle (I use 0.4mm HF). And a supertack cool build plate from Bambu or Biqu. These are what I recommend for best adhesion and best speed.
I have made a general video describing my many techniques of making these guitar models. I use mostly just super glue, flat file, sand paper and a select size of drill bits to build them. And I use 0.25mm fishing line to add the strings to the model. I go over this in fine detail, just follow the link below for more:
Boost Me (for free)
Thank you for your support with a free boost :) A small and free contribution from you, goes a long way for me.
If you like my models and would like to support me directly by buying me a coffee. Please follow this link: https://buymeacoffee.com/waldek911ws. Any support is greatly appreciated and helps me print more models to share. :)
I am still very new to this hobby. Especially with BambuLab. If you ever experience any troubles with my prints. Please do not hesitate to contact me directly in the Makerworld chat. I will troubleshoot to the best of my abilities and as promptly as I can. Thank you, and happy printing my friends.
Wally
License
You shall not share, sub-license, sell, rent, host, transfer, or distribute in any way the digital or 3D printed versions of this object, nor any other derivative work of this object in its digital or physical format (including - but not limited to - remixes of this object, and hosting on other digital platforms). The objects may not be used without permission in any way whatsoever in which you charge money, or collect fees.
Comment & Rating (52)