
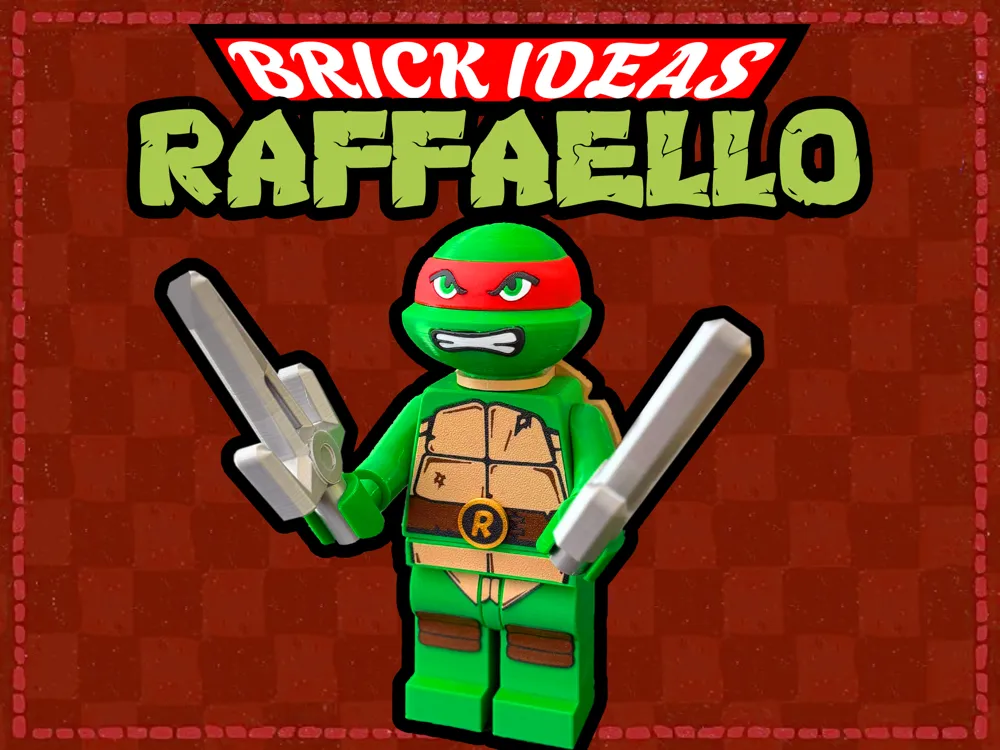
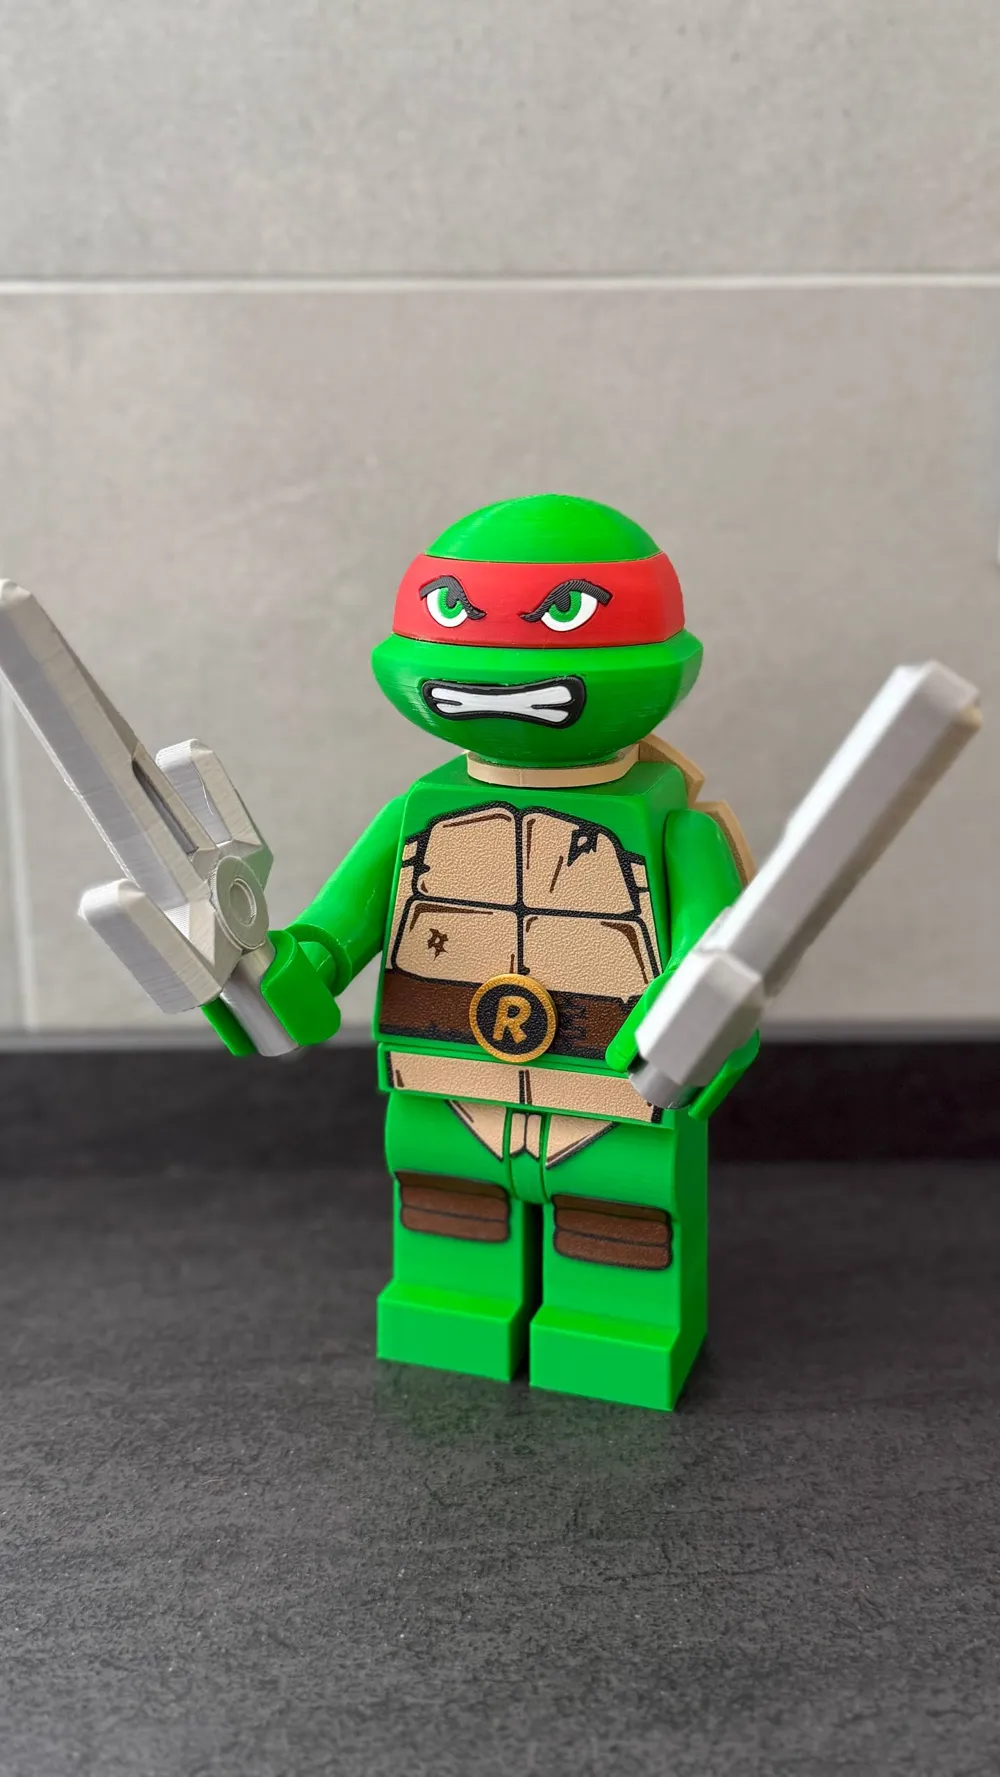
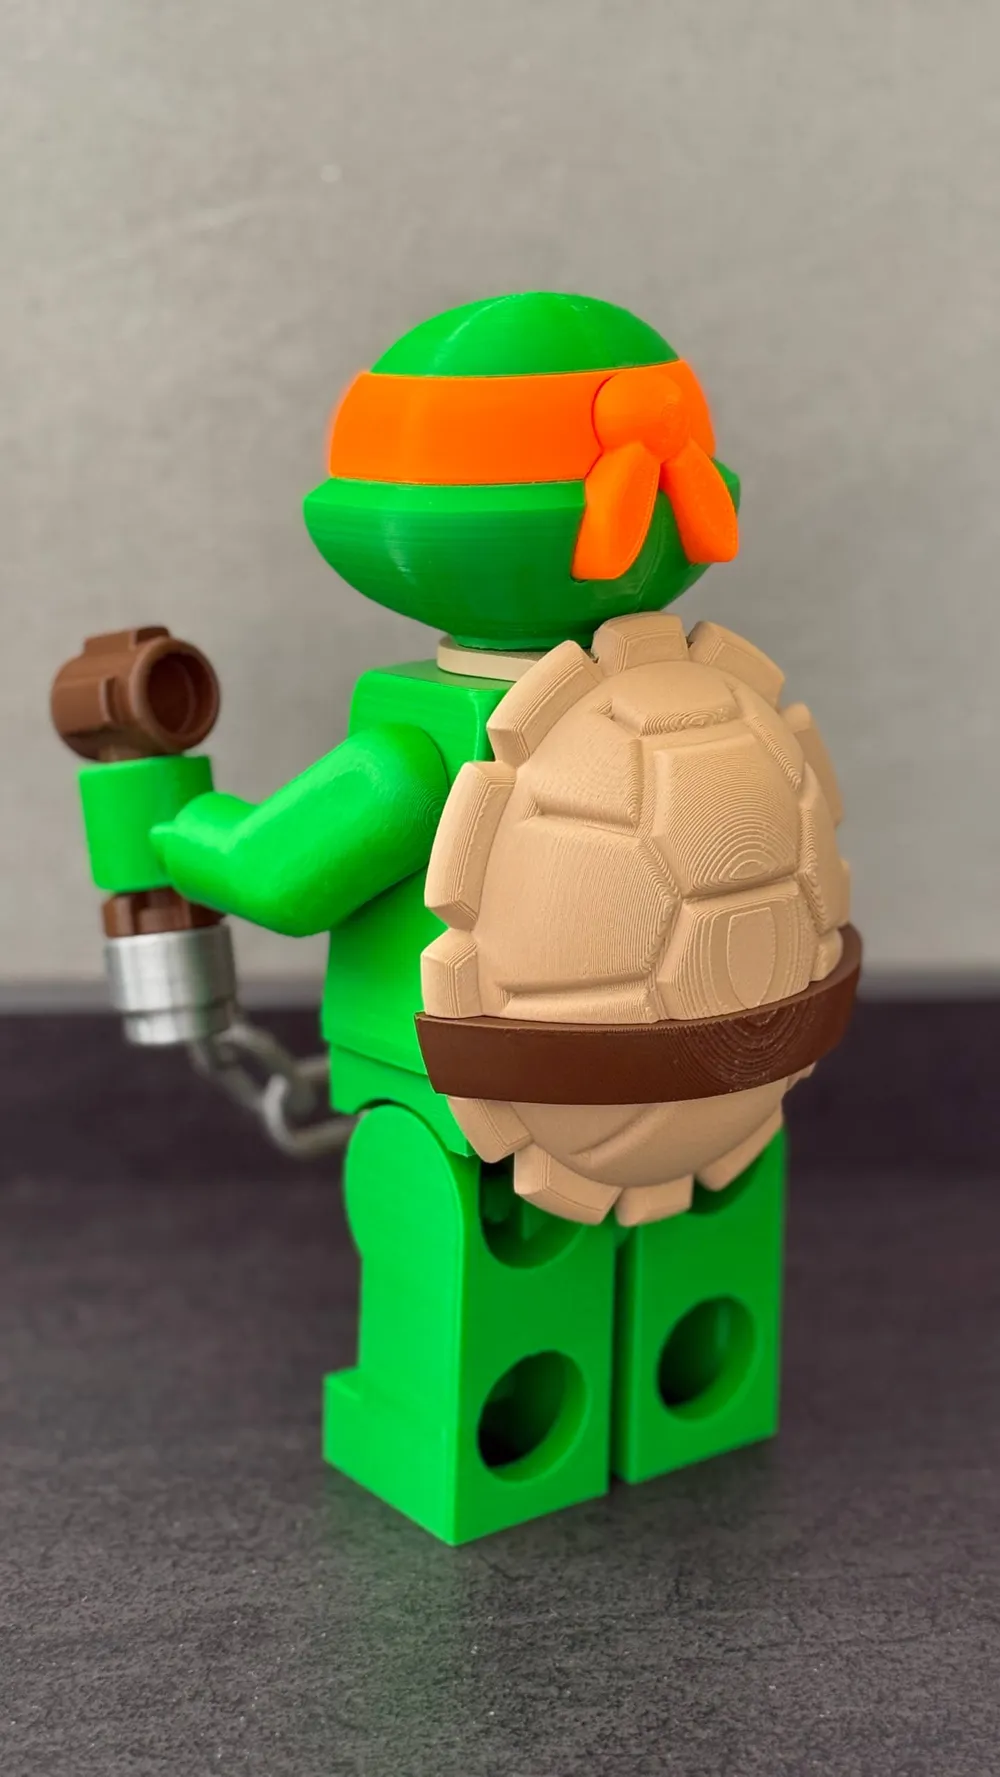
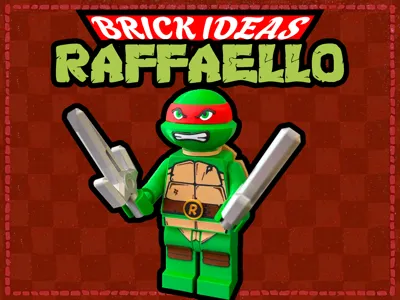
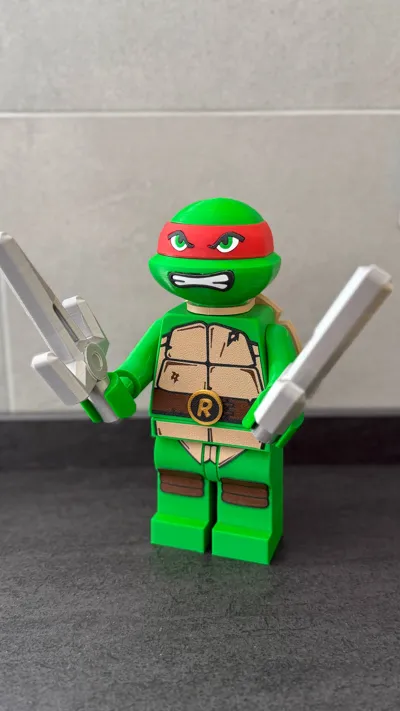
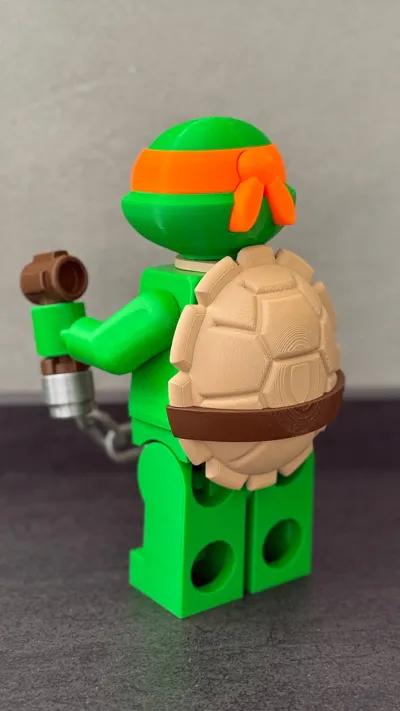
Raffaello NinjaTurtles brick-style - 500%
Print Profile(2)
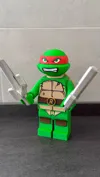
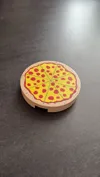
Bill of Materials









Description
I was 3 years old when the Teenage Mutant Ninja Turtles cartoon arrived in Italy; it was amazing!
I fell madly in love... today, with my passion for 3D printing, I decided to create my tribute.
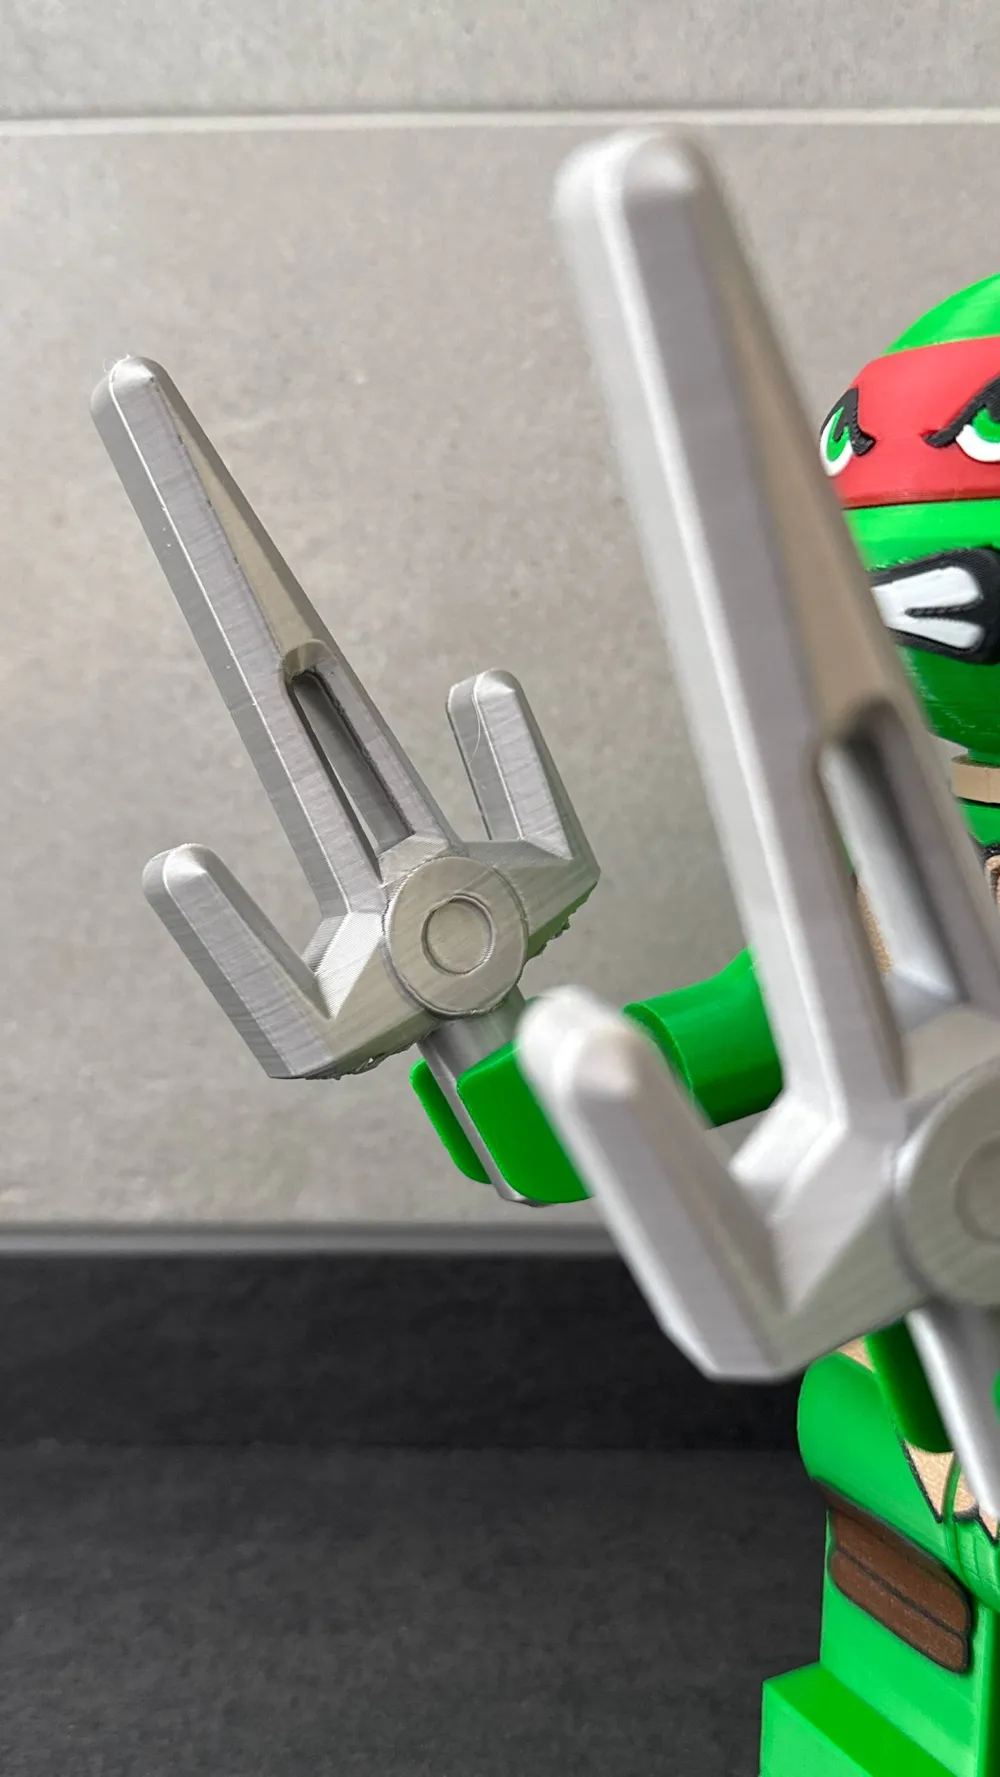
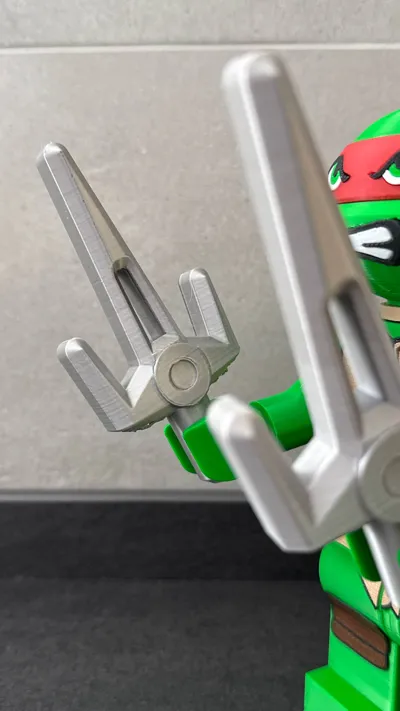
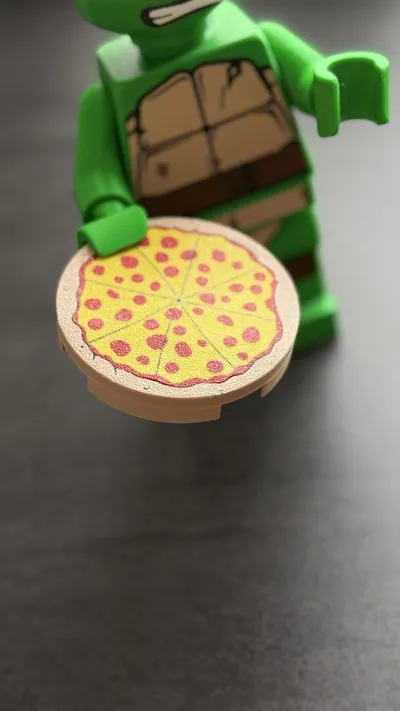
I made Raphael, my nephew's favorite character. I'm also designing the other brothers! Ninja Turtles are ageless!
Cowabunga!
INSTRUCTIONS:
- First of all, your printer MUST be well calibrated (my A1 mini for example needs a slight compensation on the X-axis, do some tests!)
- Recommended material PLA
- There are few supports, and if printed with basic settings, they are easily removable
- I also added a brim to the small parts, but as a basic tip, always keep the print bed clean and degreased so you don't have adhesion problems. I didn't have any 😉
- The parts that go on the legs should be slightly heated and reshaped so they can be glued correctly. I recommend heating the print bed to 80°C, placing the pieces on it, and waiting until they become soft, then reshaping them directly on the target area, blowing to cool, and you're done! Then use the glue you prefer; if you use cyanoacrylate glue and see white halos, don't worry, just apply some WD40 (or similar) and they will magically disappear 😉
All the pieces interlock and the movement will be "controlled"; if the pieces move too much, I advise you to do some tests by gradually increasing the print size in +0.5% steps;
UPDATE V2
- New head design
- Interlocking head components! No more 10-hour or longer prints! Mouth, eyes, colored band, and bow! Glue is ONLY needed to attach the neck part, the colored band, the bow, and the head! The rest interlocks! Interlock all parts BEFORE inserting them into the final head! You might need to clean up some residue or print imperfections (it happened to me, it's normal!!!)
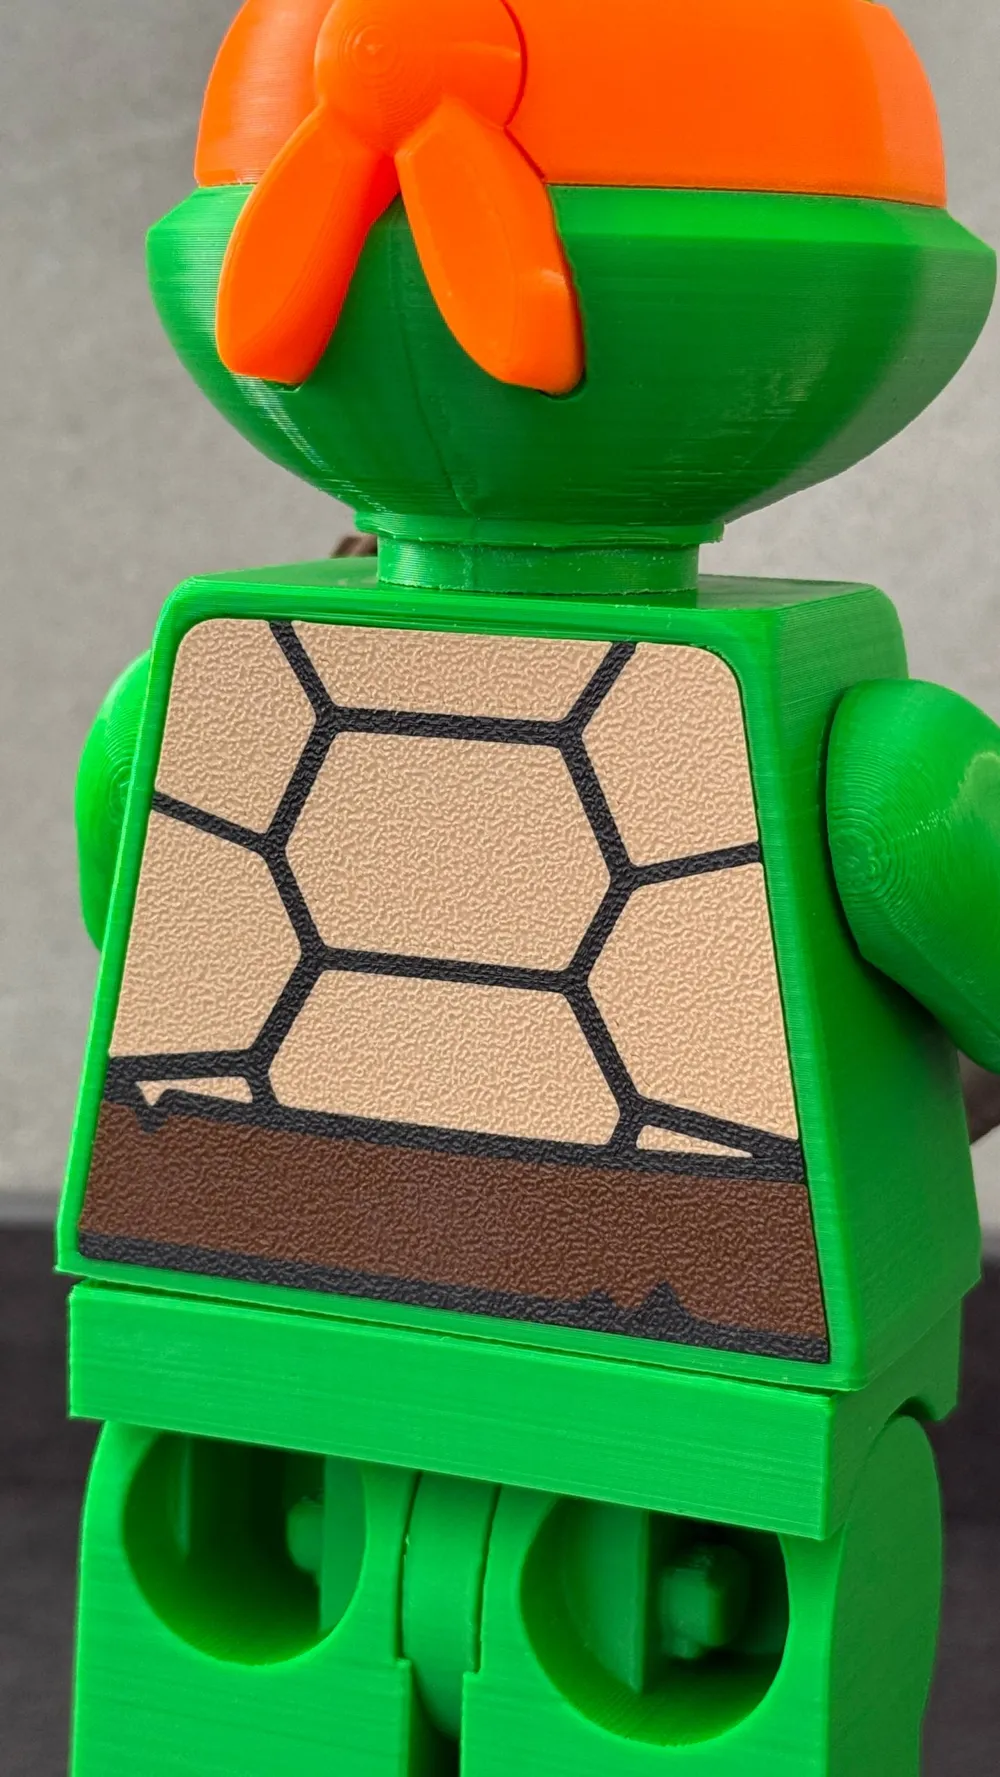
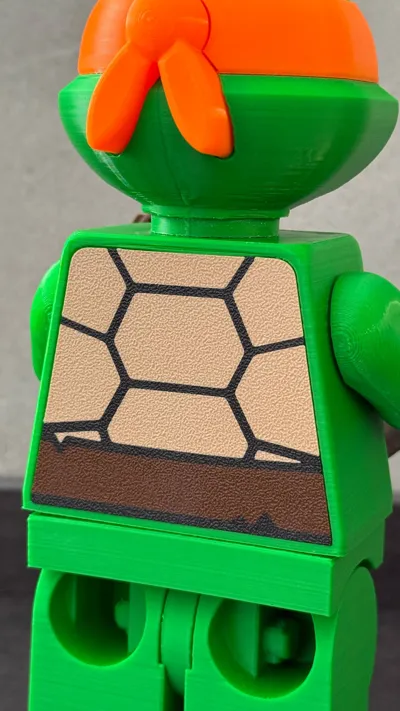
- Added the fake back shell (it can also be glued directly to the body you printed before the update)
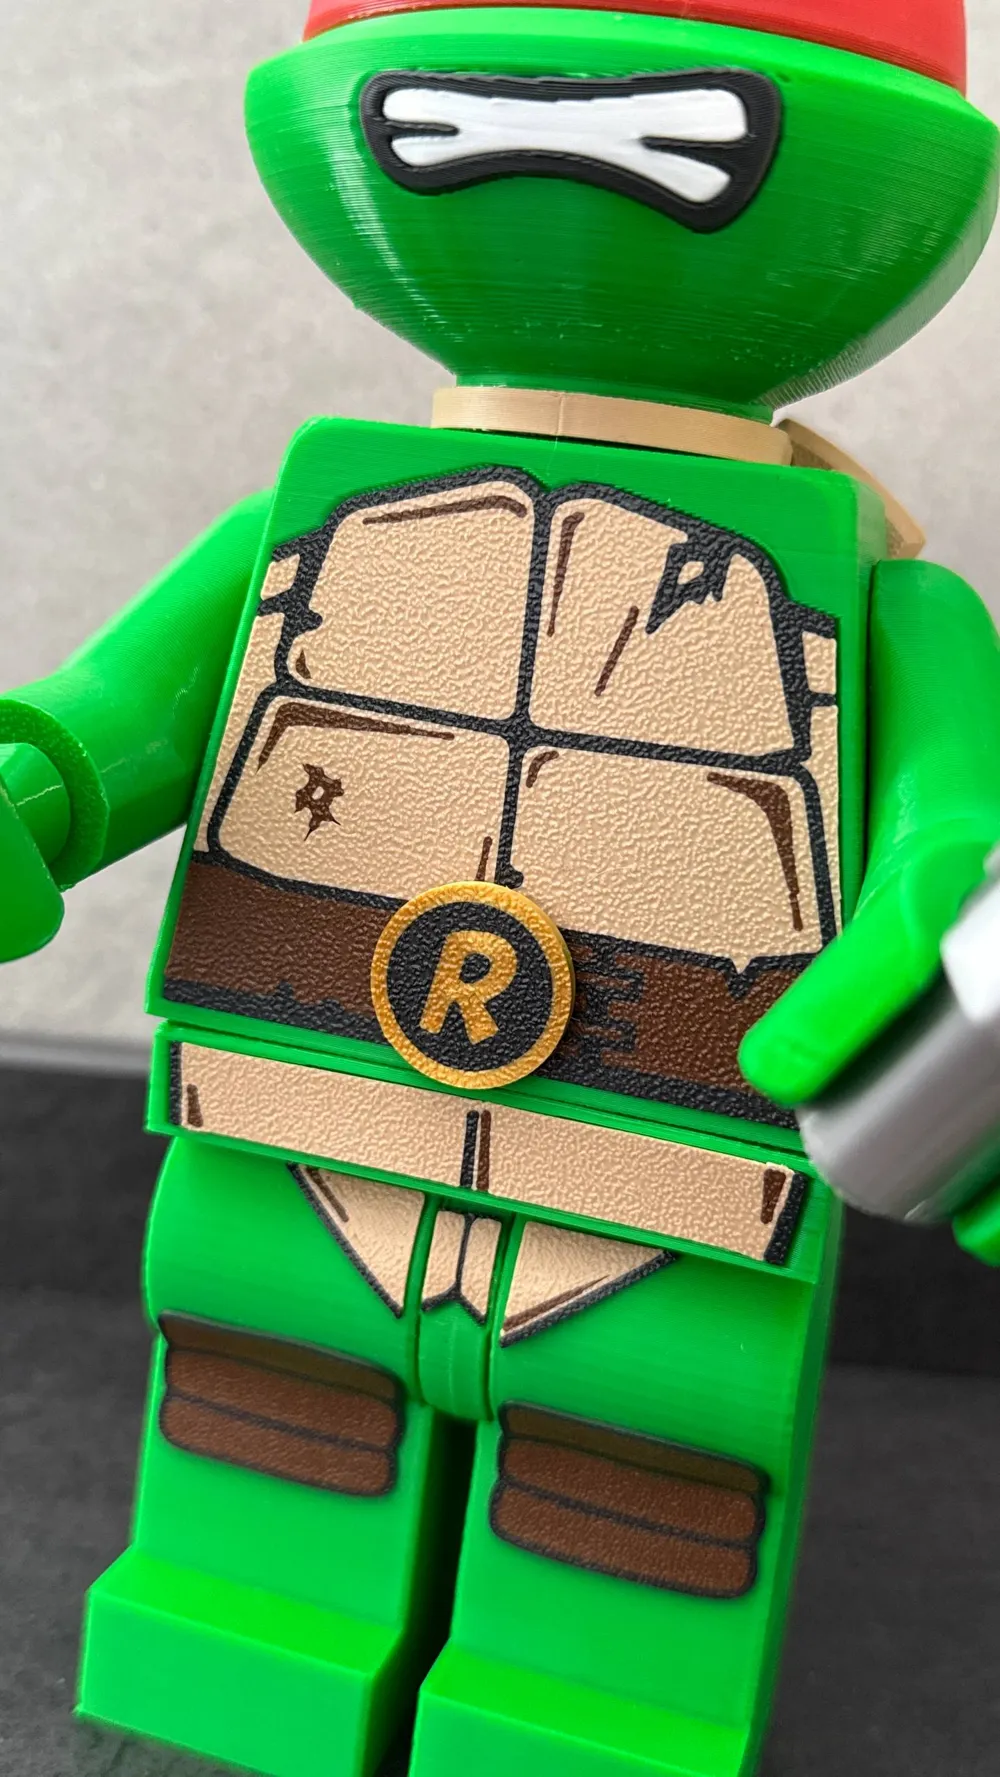
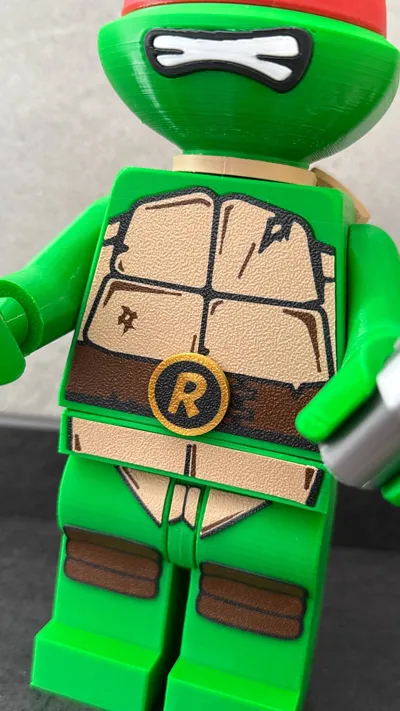
- Updated the body with the outline for the fake back shell, and the turtle's letter on the upper part of the neck
- Tolerances revised, now everything should be more precise and also make the gaming experience more fun
- Letter to be applied to the belt with double-sided adhesive
The other brothers MICHELANGELO, LEONARDO, and DONATELLO are available!
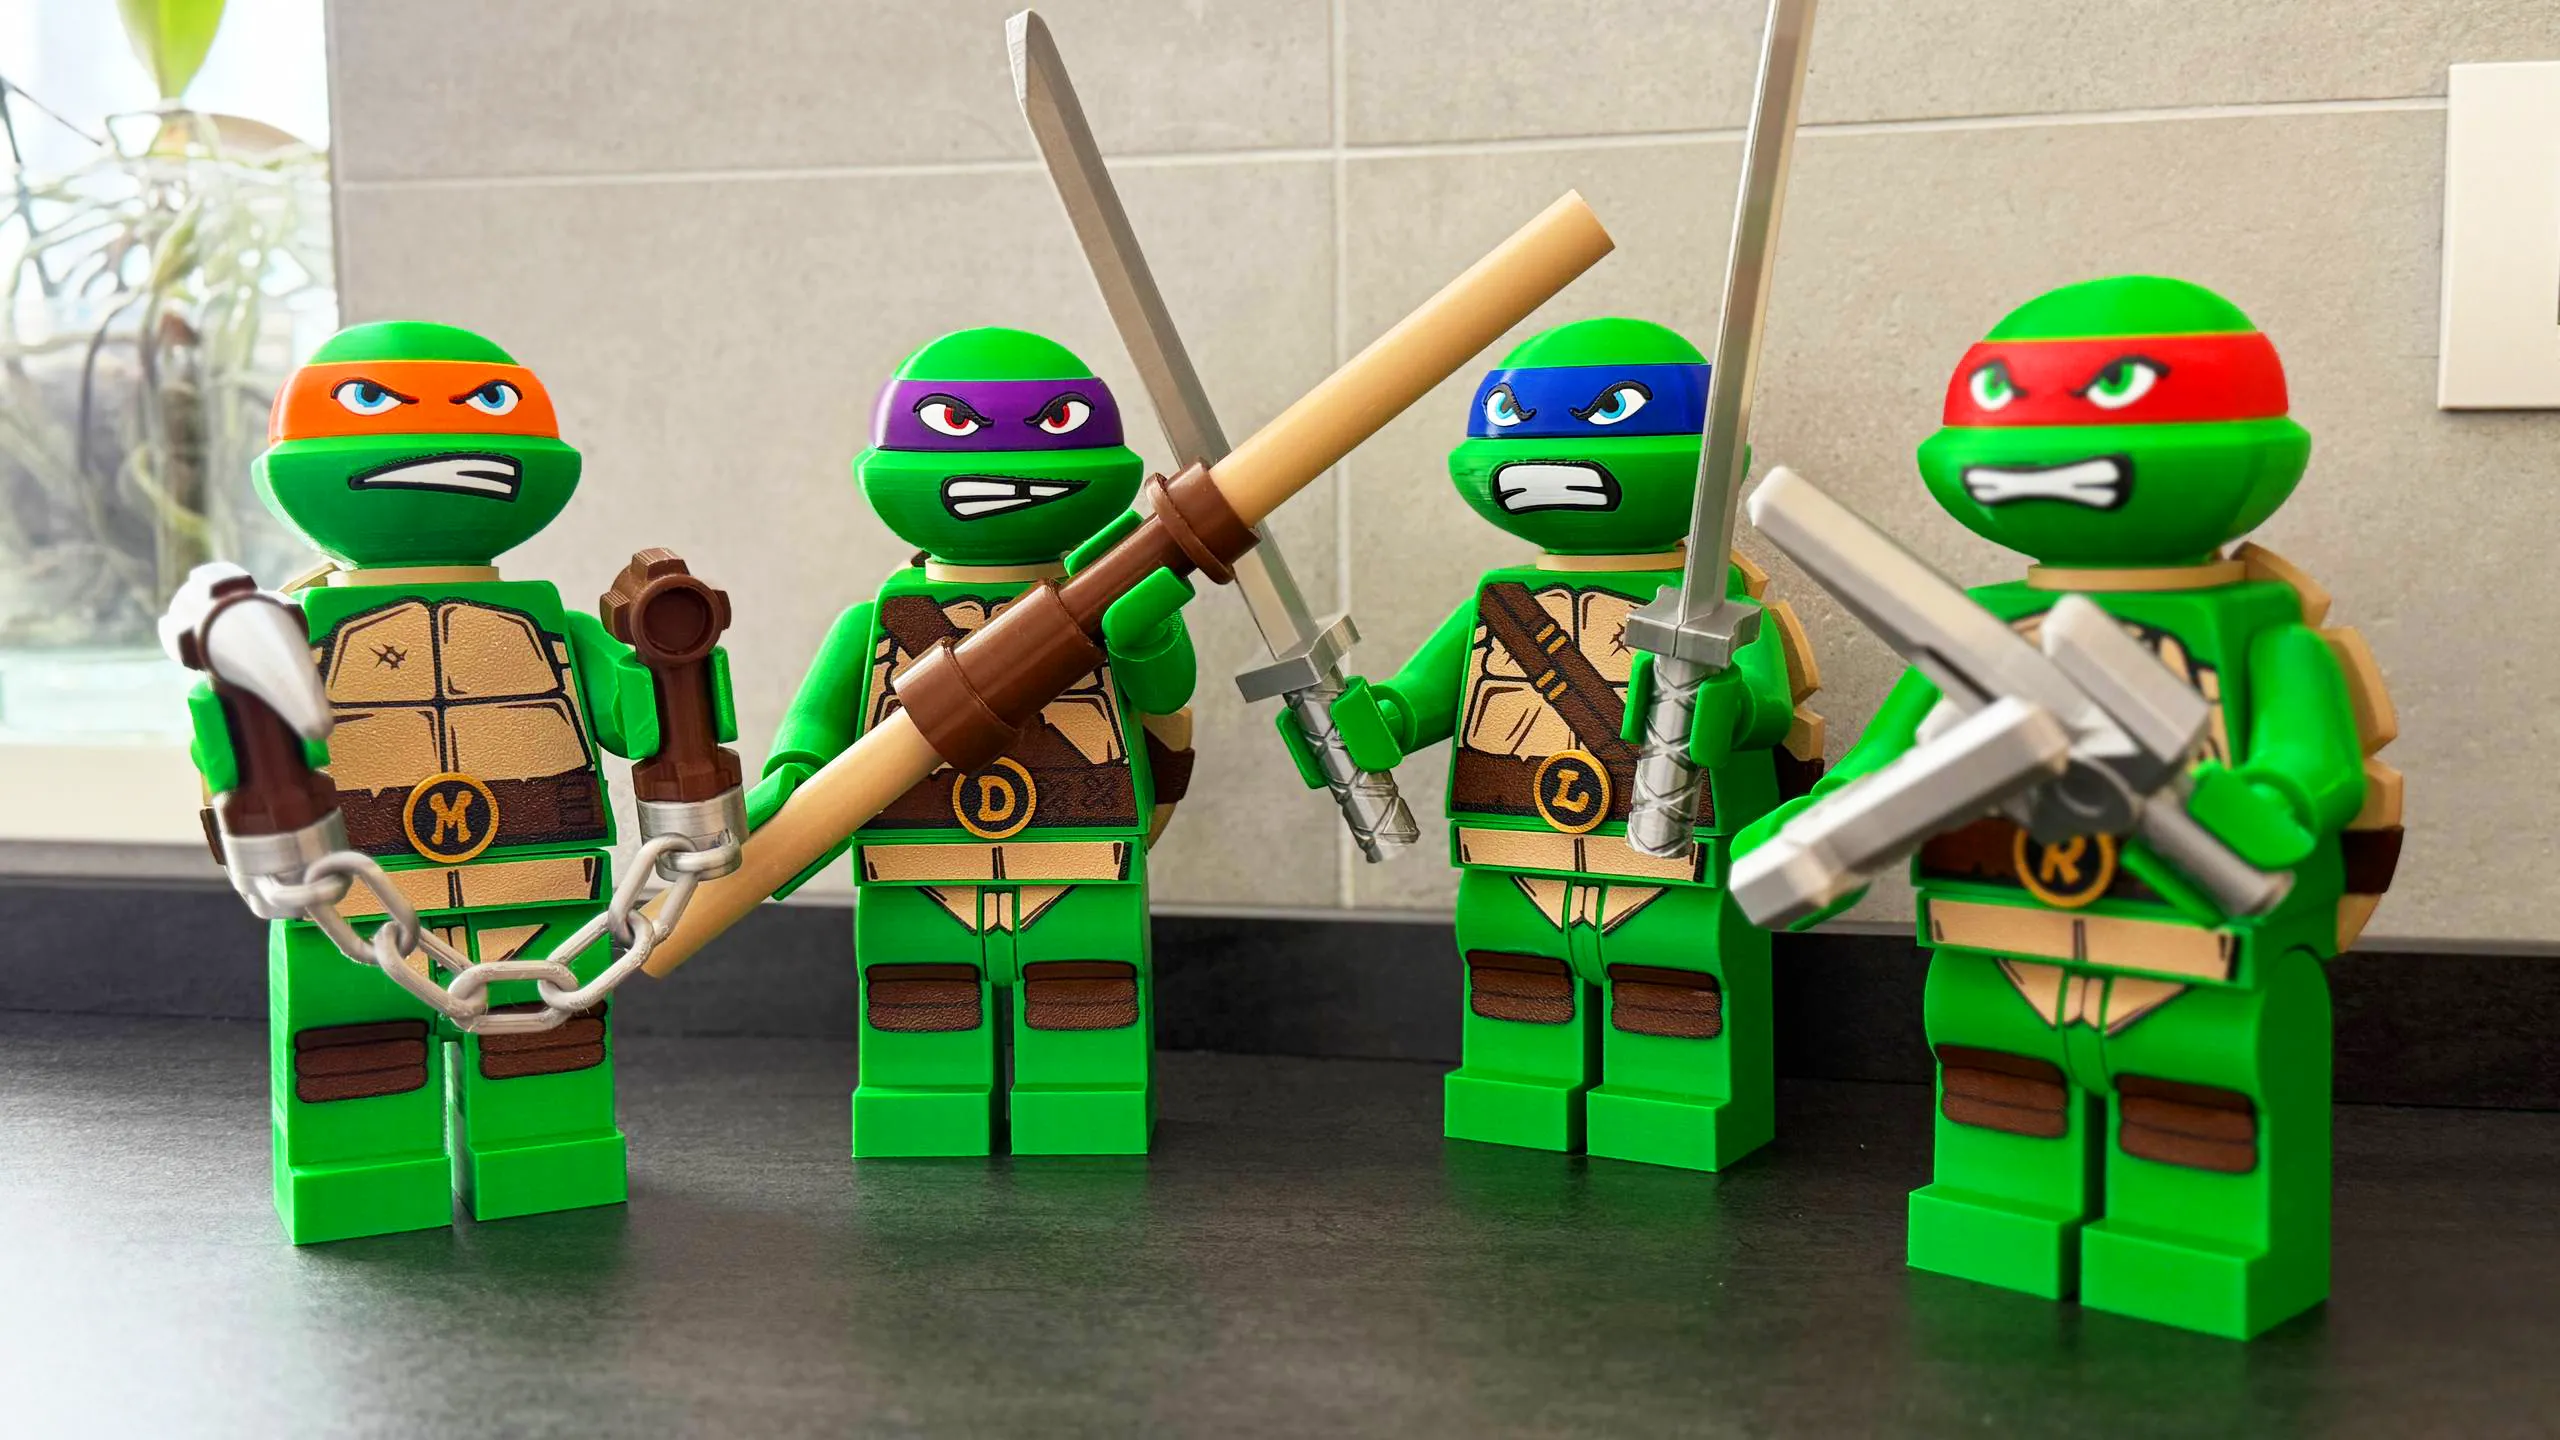
Happy printing!
Boost Me (for free)
😎😎😎 And why not a boost?! 🚀🚀🚀 It is free for you, but the value for me is unbelievable! 😊😊😊
License

You shall not share, sub-license, sell, rent, host, transfer, or distribute in any way the digital or 3D printed versions of this object, nor any other derivative work of this object in its digital or physical format (including - but not limited to - remixes of this object, and hosting on other digital platforms). The objects may not be used without permission in any way whatsoever in which you charge money, or collect fees.


Comment & Rating (41)