
DIY Stop Motion Stand – Top-Down & 3D
Print Profile(1)
Description
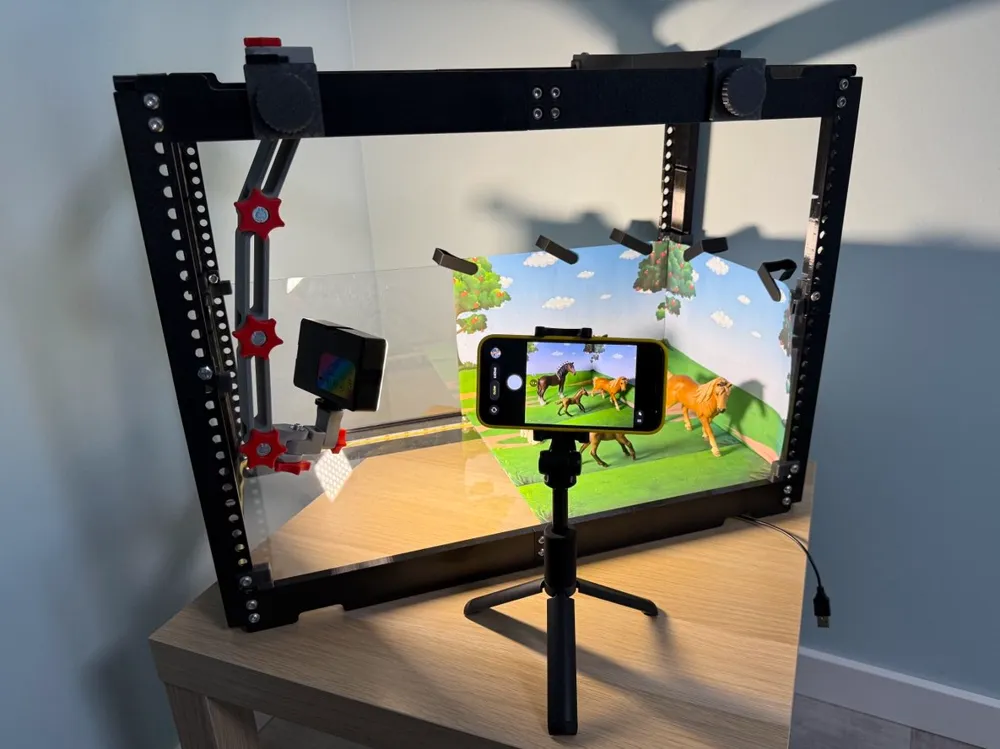
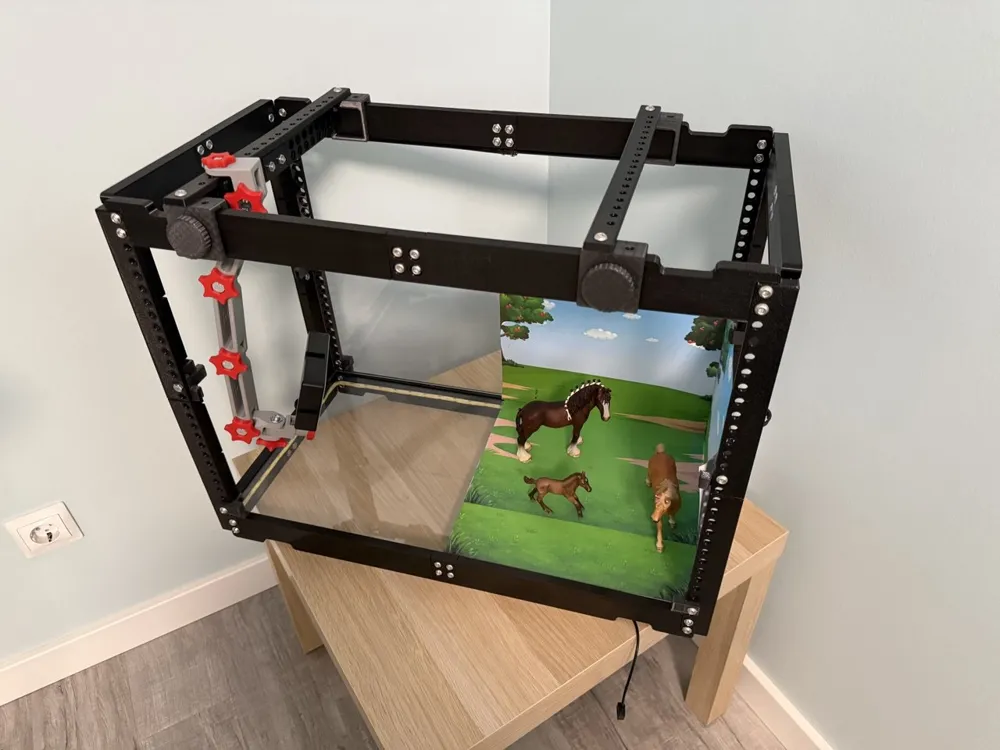
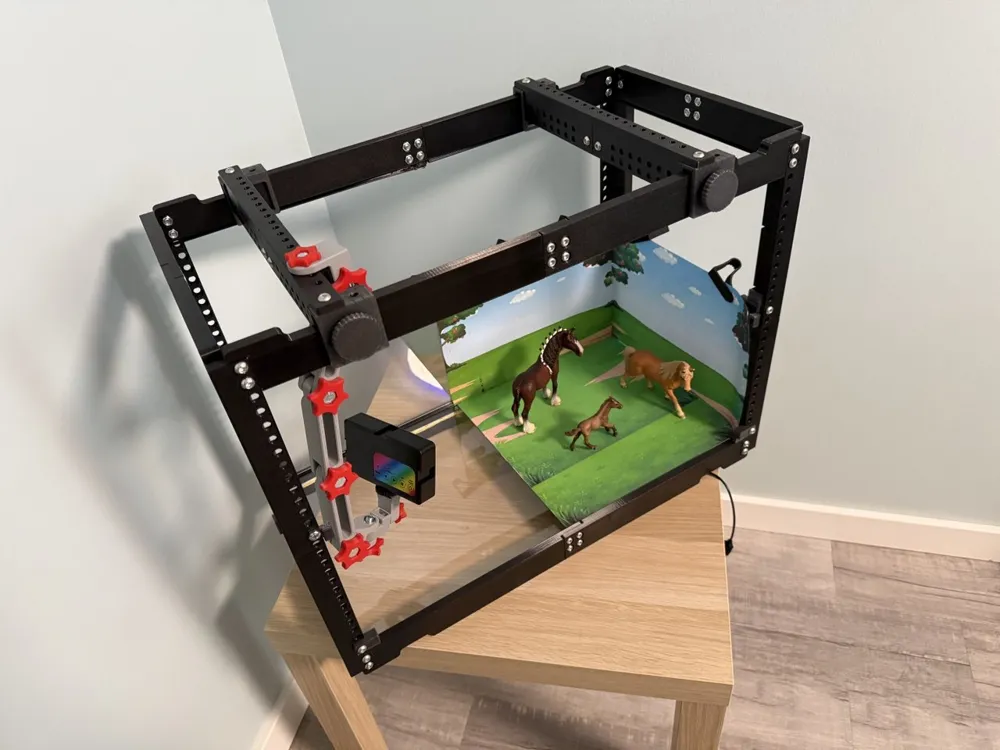
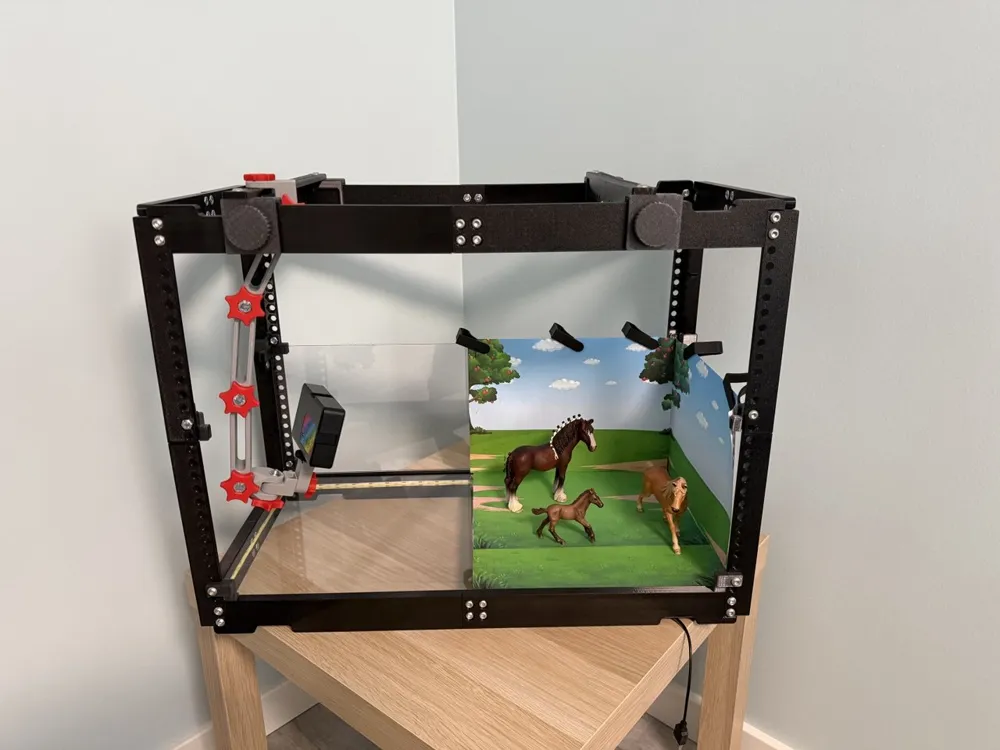
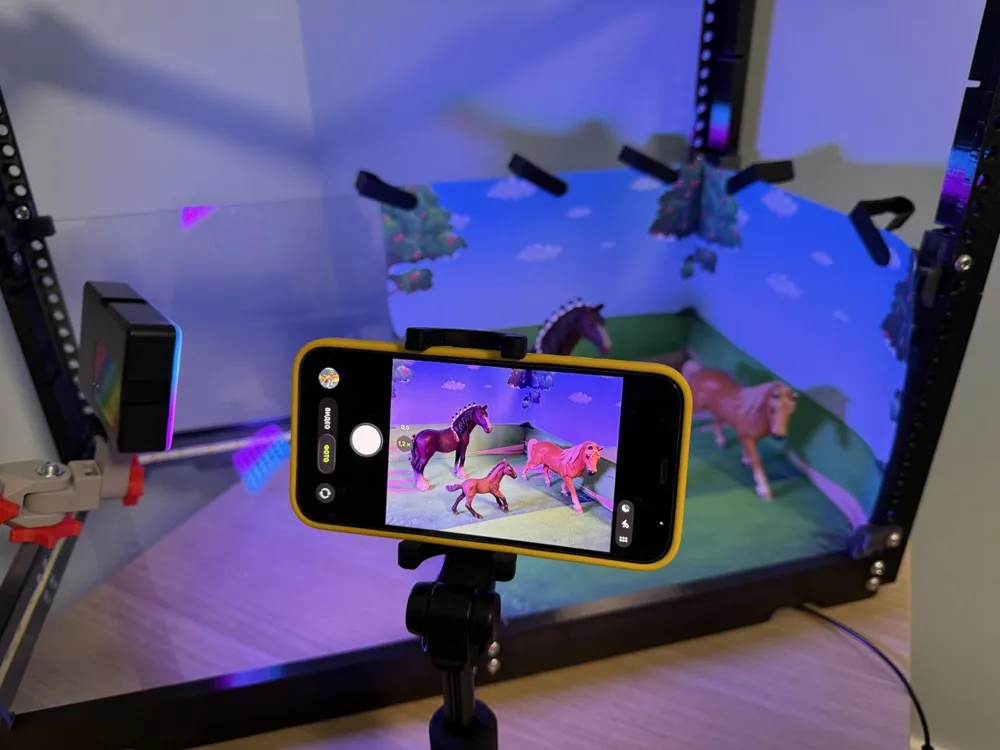
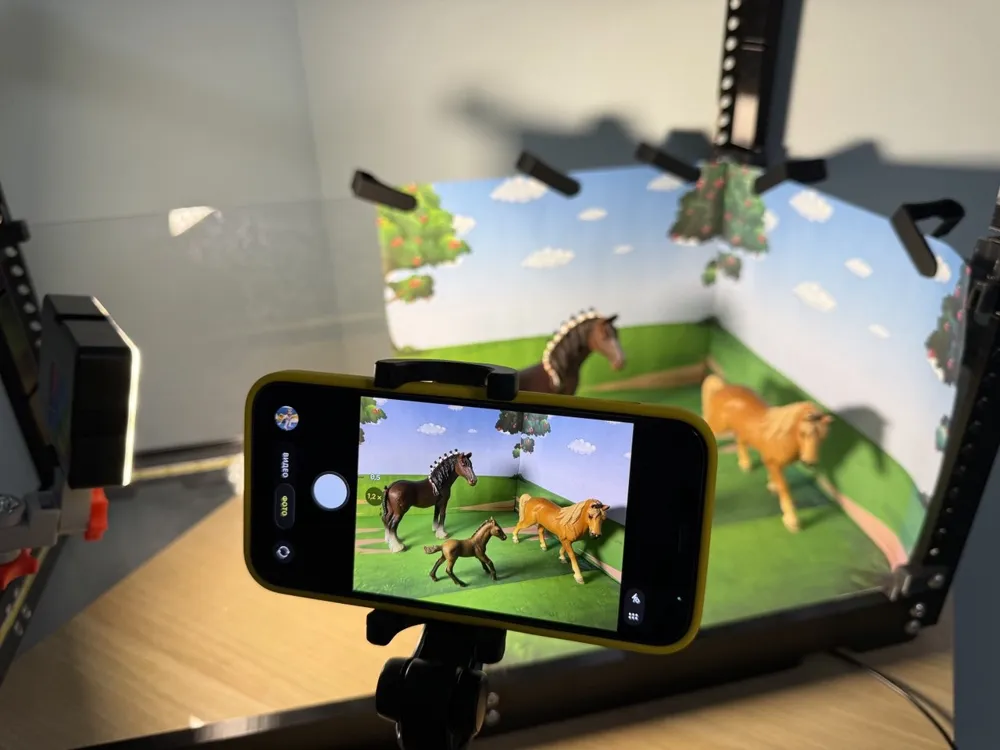
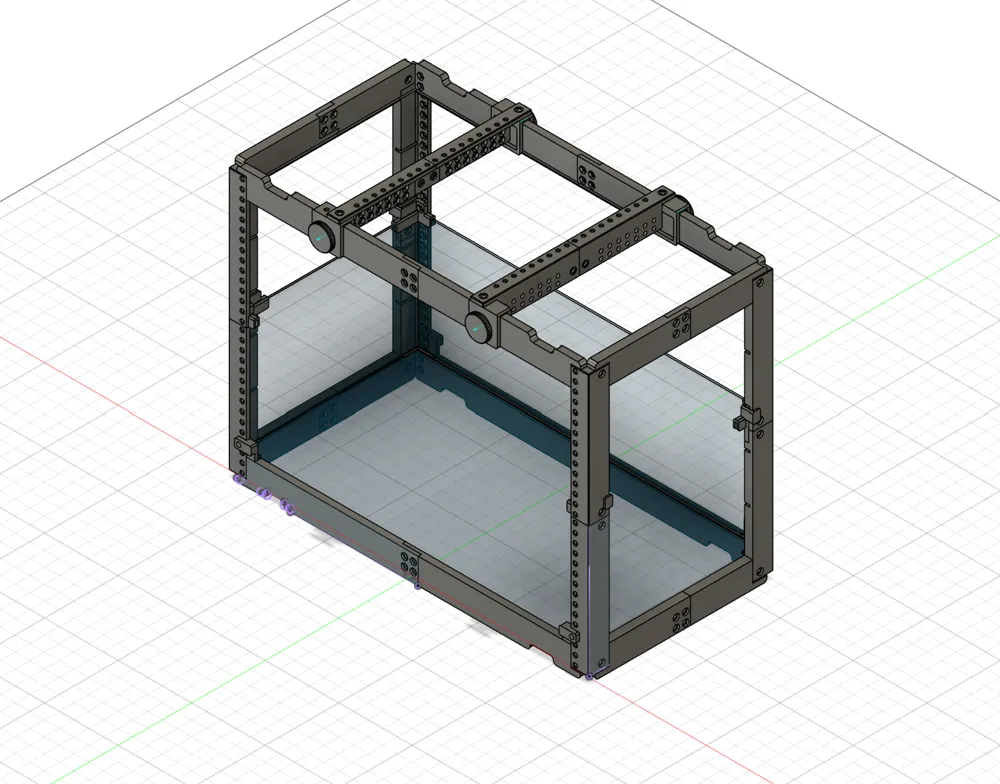
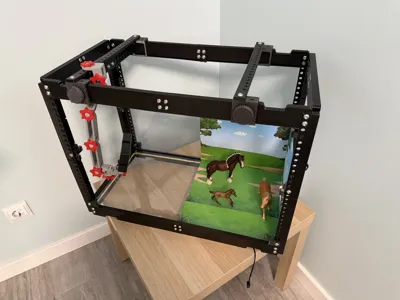
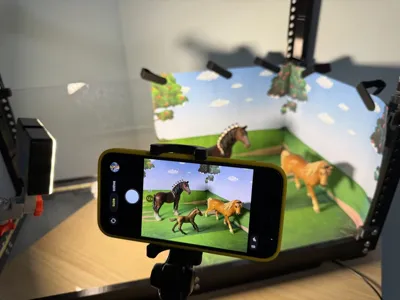
This Stop Motion Animation Studio Stand is designed to help create simple stop motion animations with kids while learning basic storytelling and multiplication concepts.
It supports both:
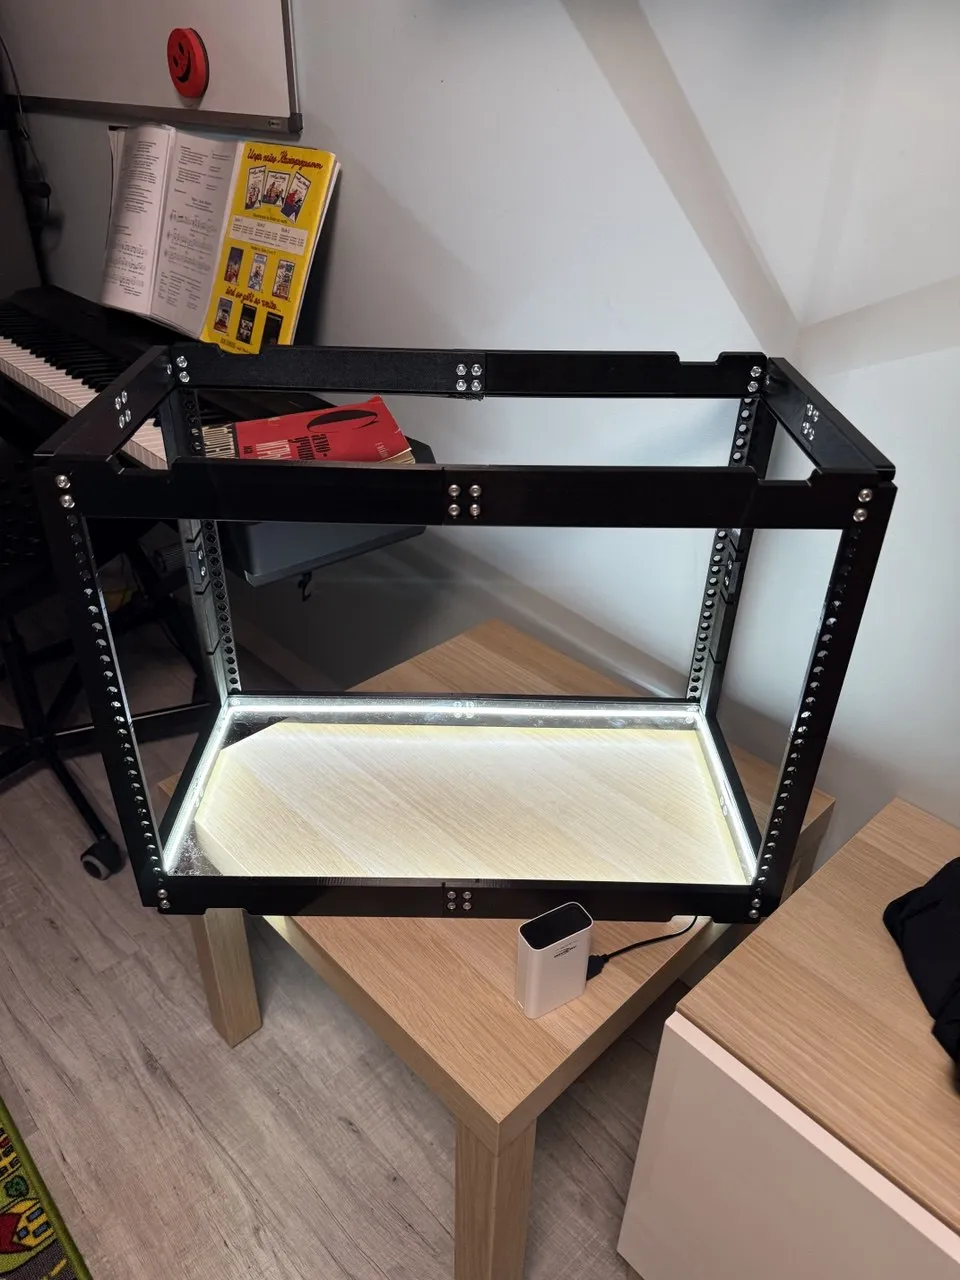
- Top-Down scenes (flat lay animation)
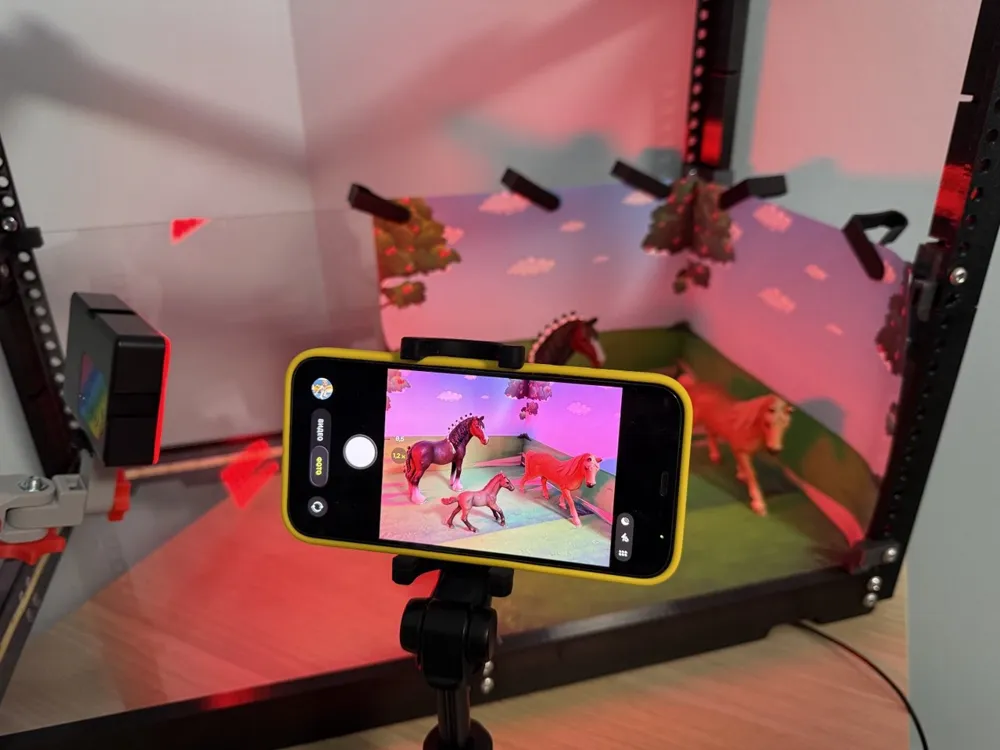
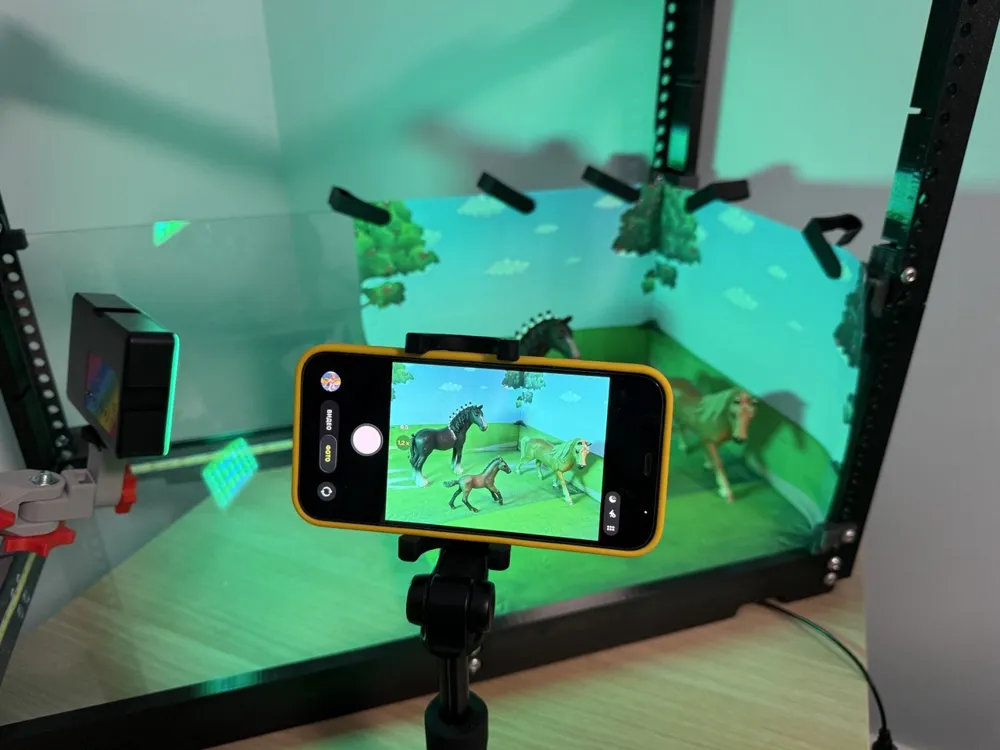

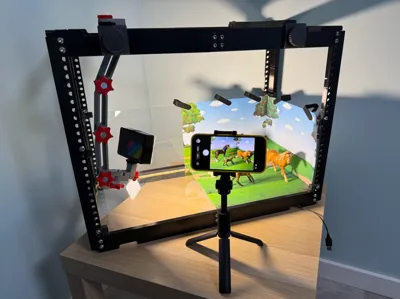
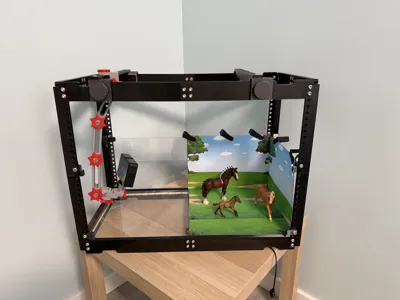
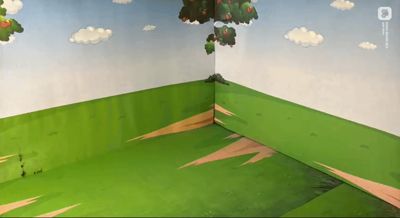
- 3D box scenes (mini diorama style)
This is a home DIY project. I originally searched for ready-made solutions, but most were either too expensive or not flexible enough. So I designed my own modular and affordable version.
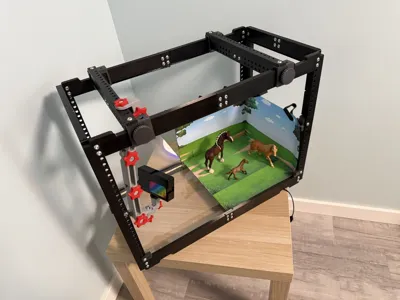
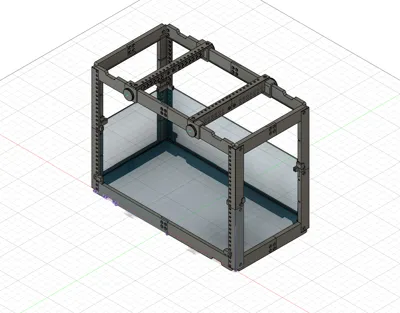
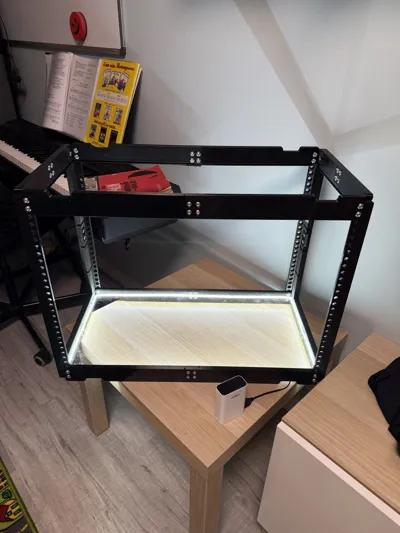
The frame is fully 3D printed and assembled with standard hardware. It is strong, adjustable, and easy to modify.
What is NOT 3D printed (required parts)
You will need:
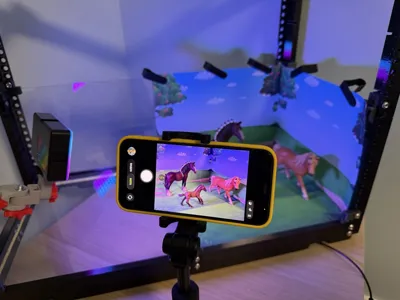
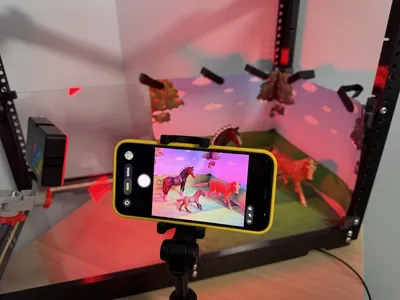
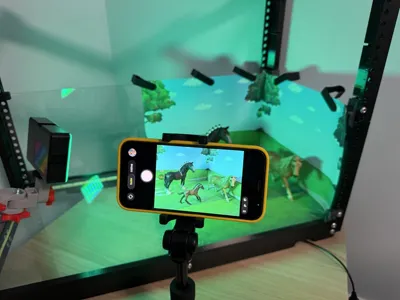
- Universal RGB light (to create different moods and effects)
- Plexiglass 60×30 cm – 1 pc (bottom floor)
- Plexiglass 60×20 cm – 1 pc (back wall)
- Plexiglass 30×20 cm – 1 pc (side wall)
- M6×12 DIN (ISO) 7380 bolts + nuts – approx. 100–150 pcs
Optional parts
- Plexiglass 60×30 cm – 1 pc (additional middle layer for Top-Down scenes — useful for depth effects: background below, foreground above)
- Xiaomi Mi Selfie Stick Tripod Monopod with Bluetooth button (or similar) – to trigger shots remotely and avoid camera shake
- 5V USB COB LED strip (white, ~2m) - recommended for bottom illumination in Top-Down scenes. Install under the plexiglass floor for smooth and even light distribution.
You can use any iPhone or Android device with a tripod and your preferred stop motion software.
I used the free version of Stop Motion Studio.
Important: your software should support Bluetooth shutter button input for easy frame capture.
Lighting
For lighting, you can print any mount you prefer.
I personally use Modular Clamping Camera/Phone Arm (MakerWorld) because it allows flexible positioning and custom configurations.
Perfect for:
- Kids creative projects
- Homeschooling
- DIY animation beginners
- Educational math storytelling
- Tabletop mini-scene creators
License



Comment & Rating (3)