
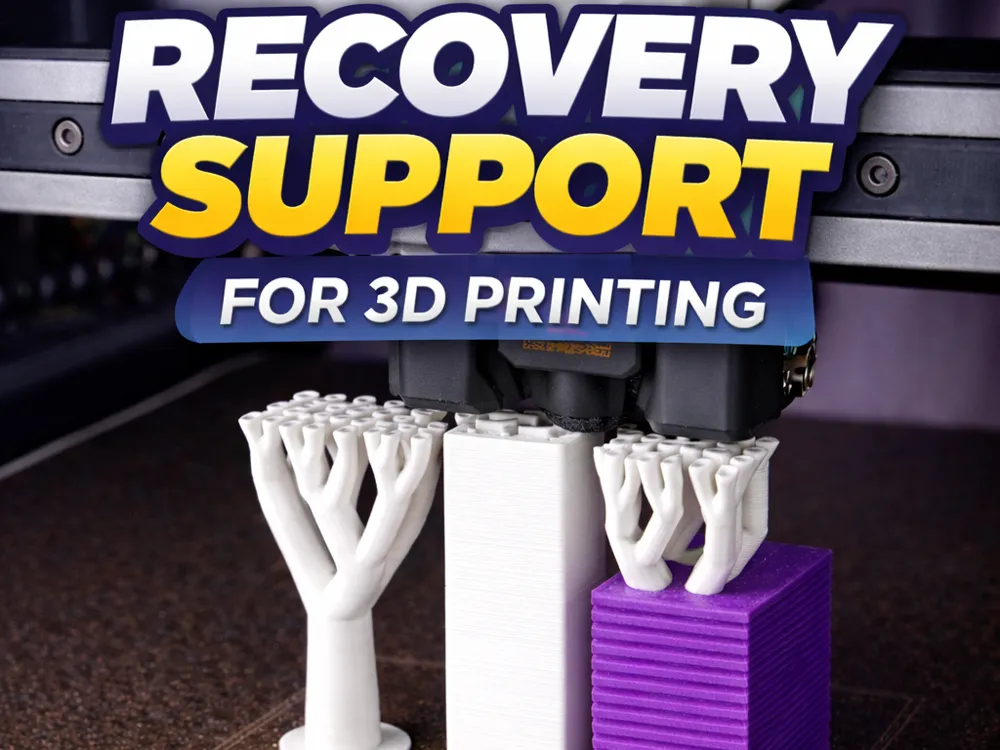
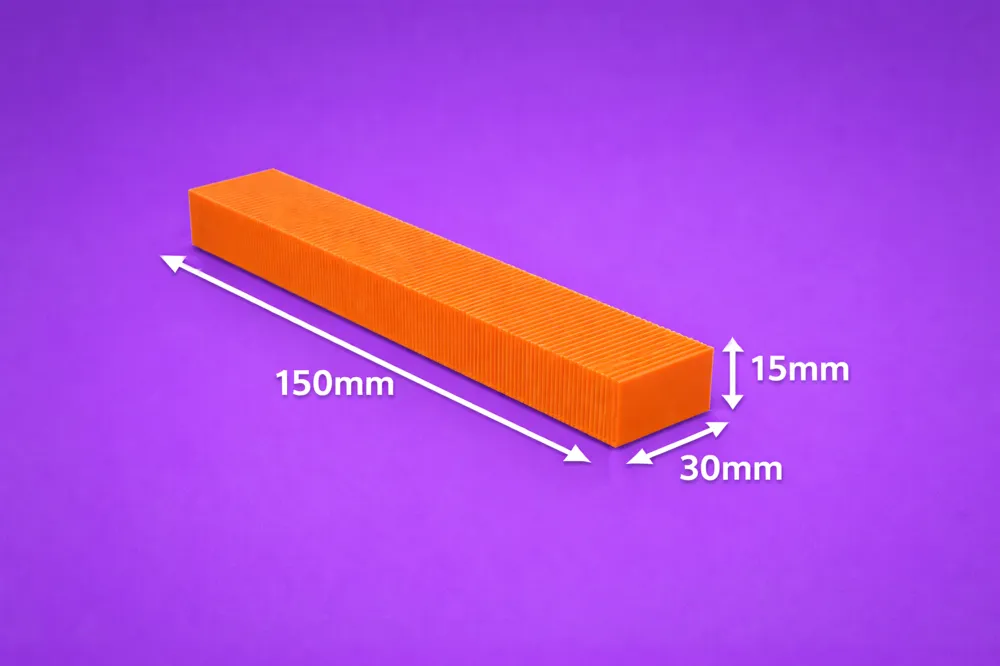
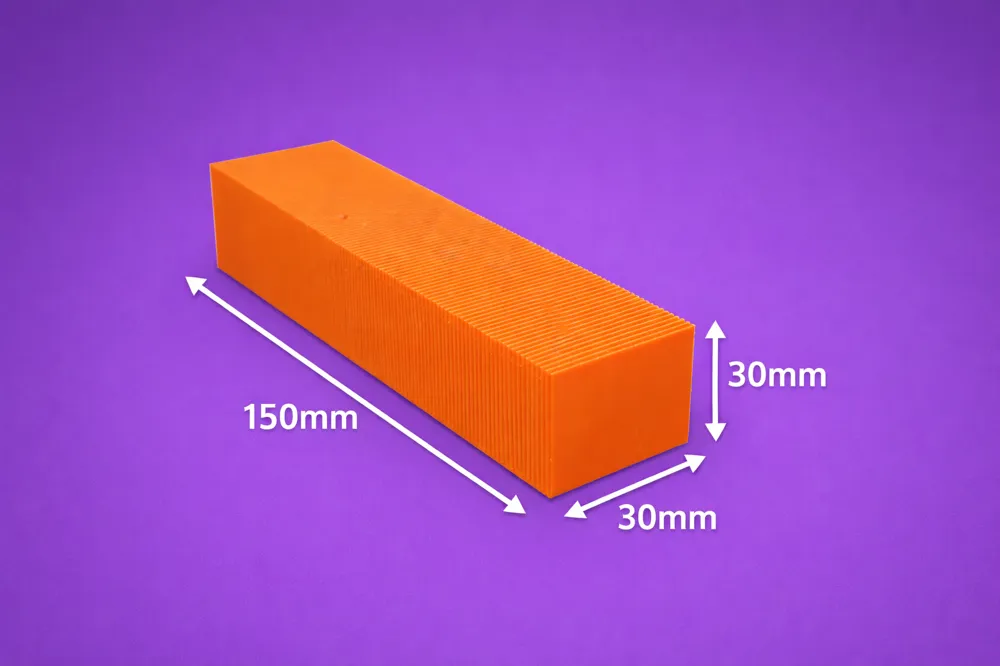
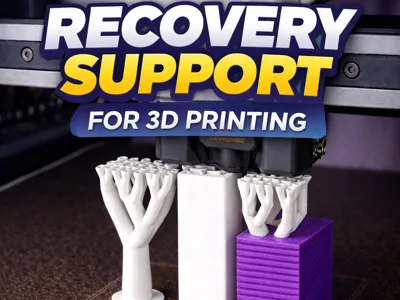
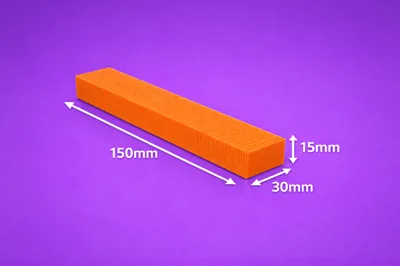
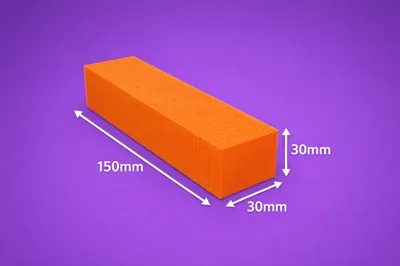
Print Saver – Recovery Support Block
Print Profile(1)
Description
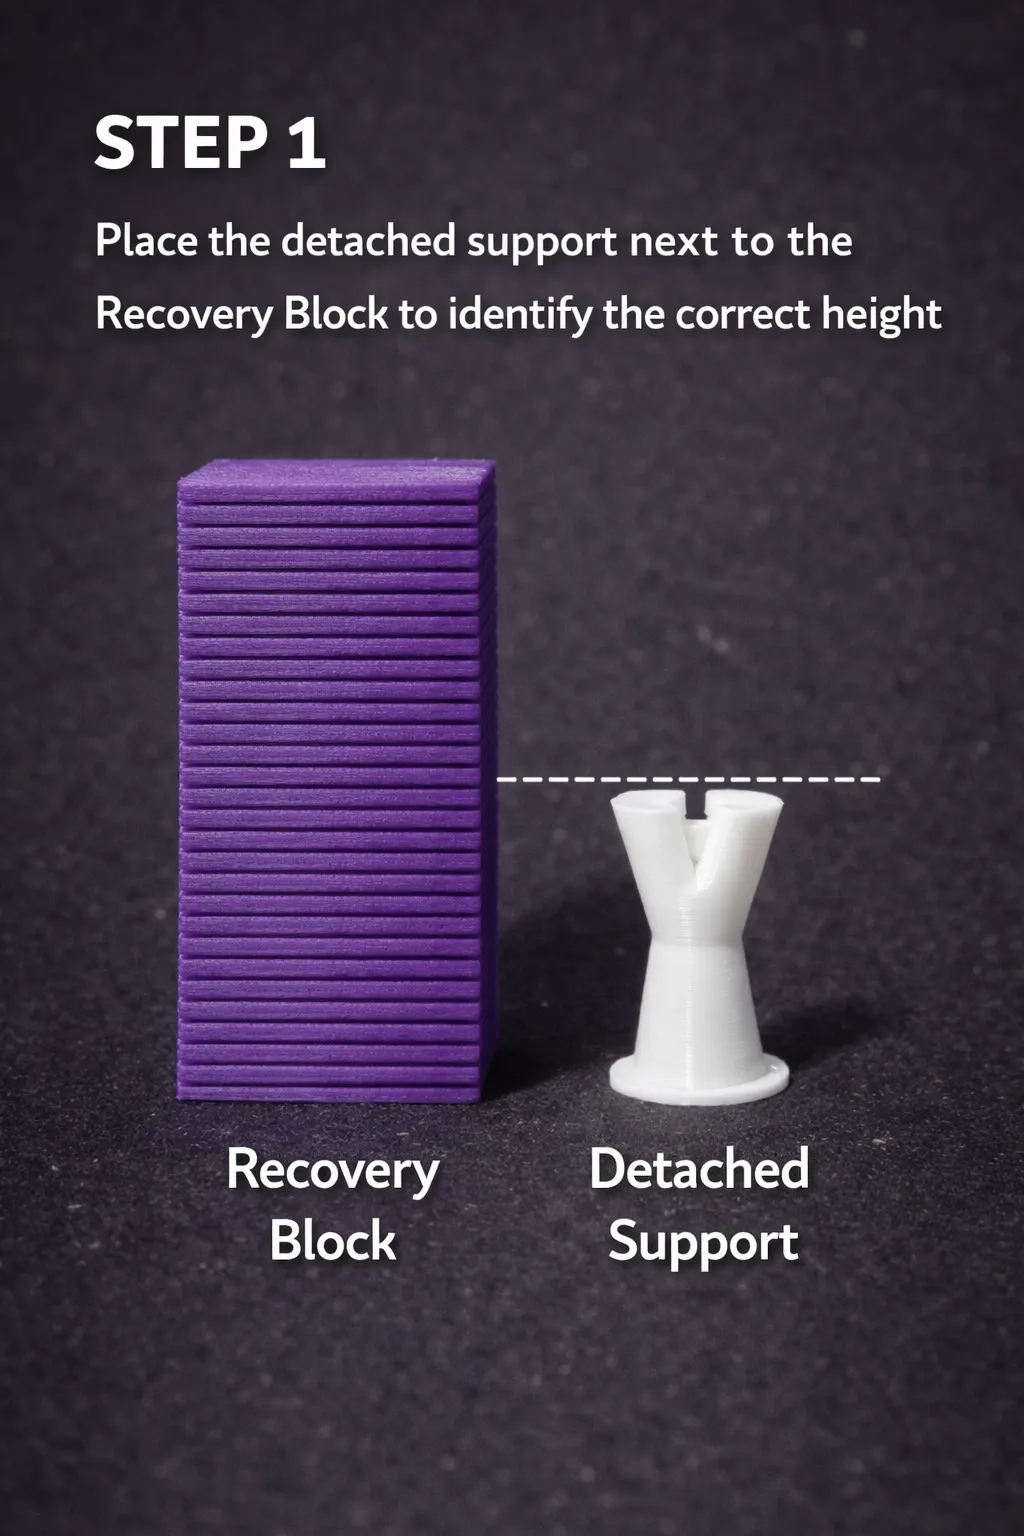
STEP 1 – Height Reference
Place the detached support next to the Recovery Block to identify the exact failure height.
Align the top surface of the detached support with the layered structure of the Recovery Block.
This allows you to visually determine the precise layer where the support detached.
The Recovery Block acts as a physical height reference for accurate restoration.
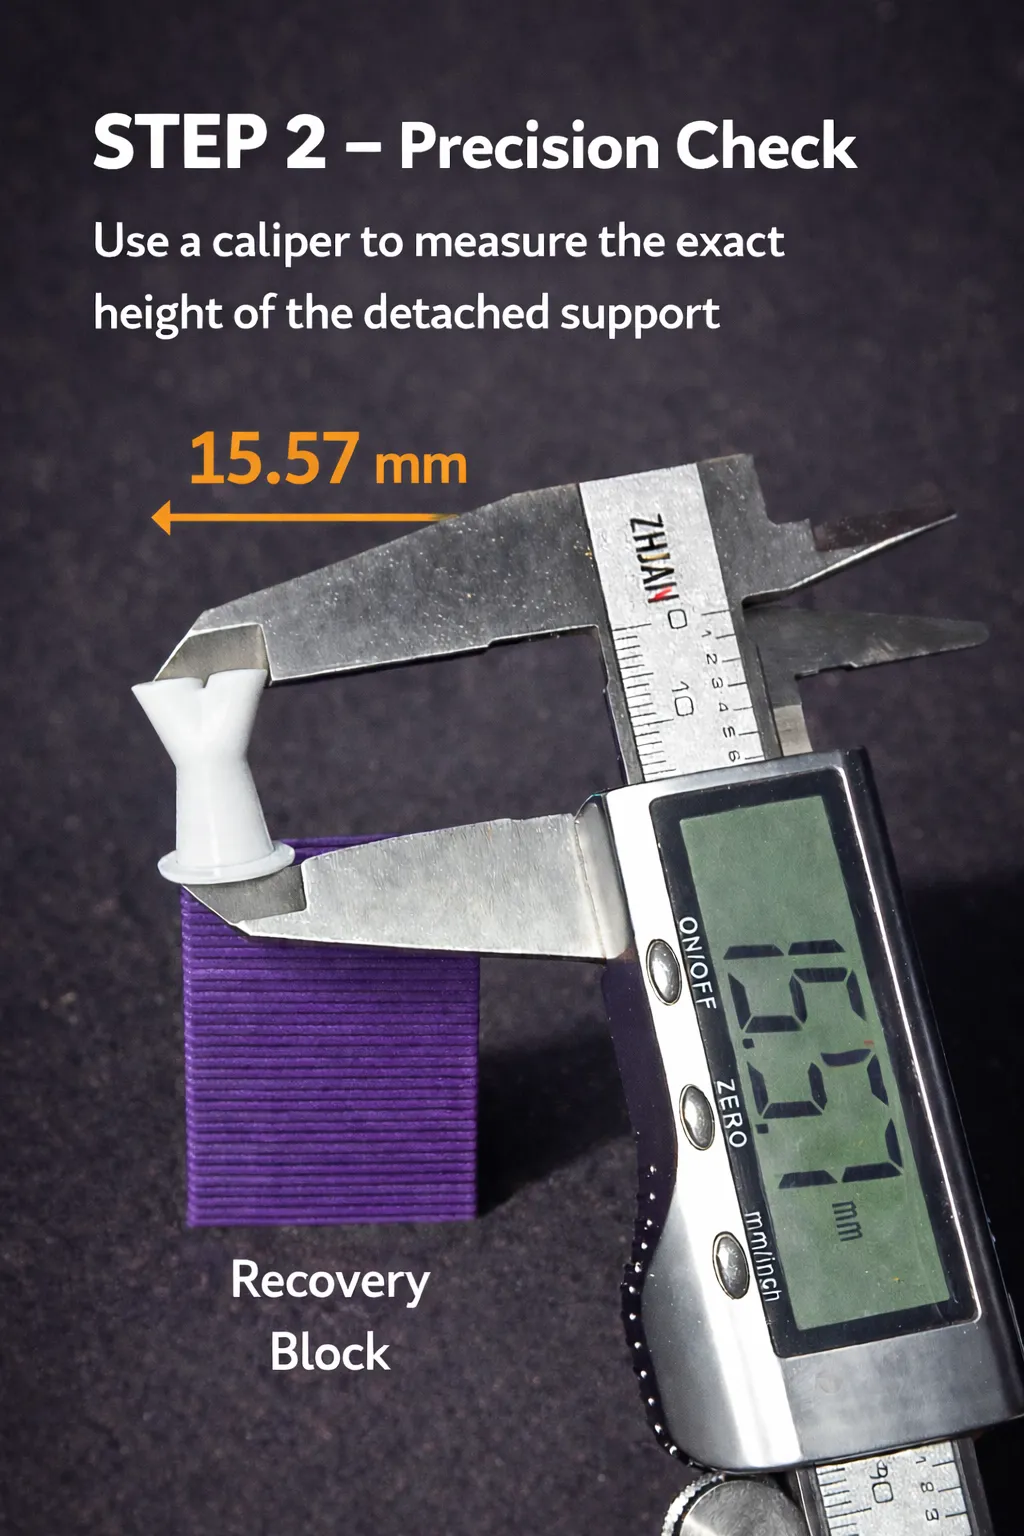
STEP 2 – Precision Measurement
Use a digital caliper to measure the exact height of the detached support.
Record the measurement (e.g., 15.57 mm) to ensure precise alignment.
This step eliminates estimation errors and guarantees accurate matching before cutting the Recovery Block.
Precision here directly impacts the success of the recovery.
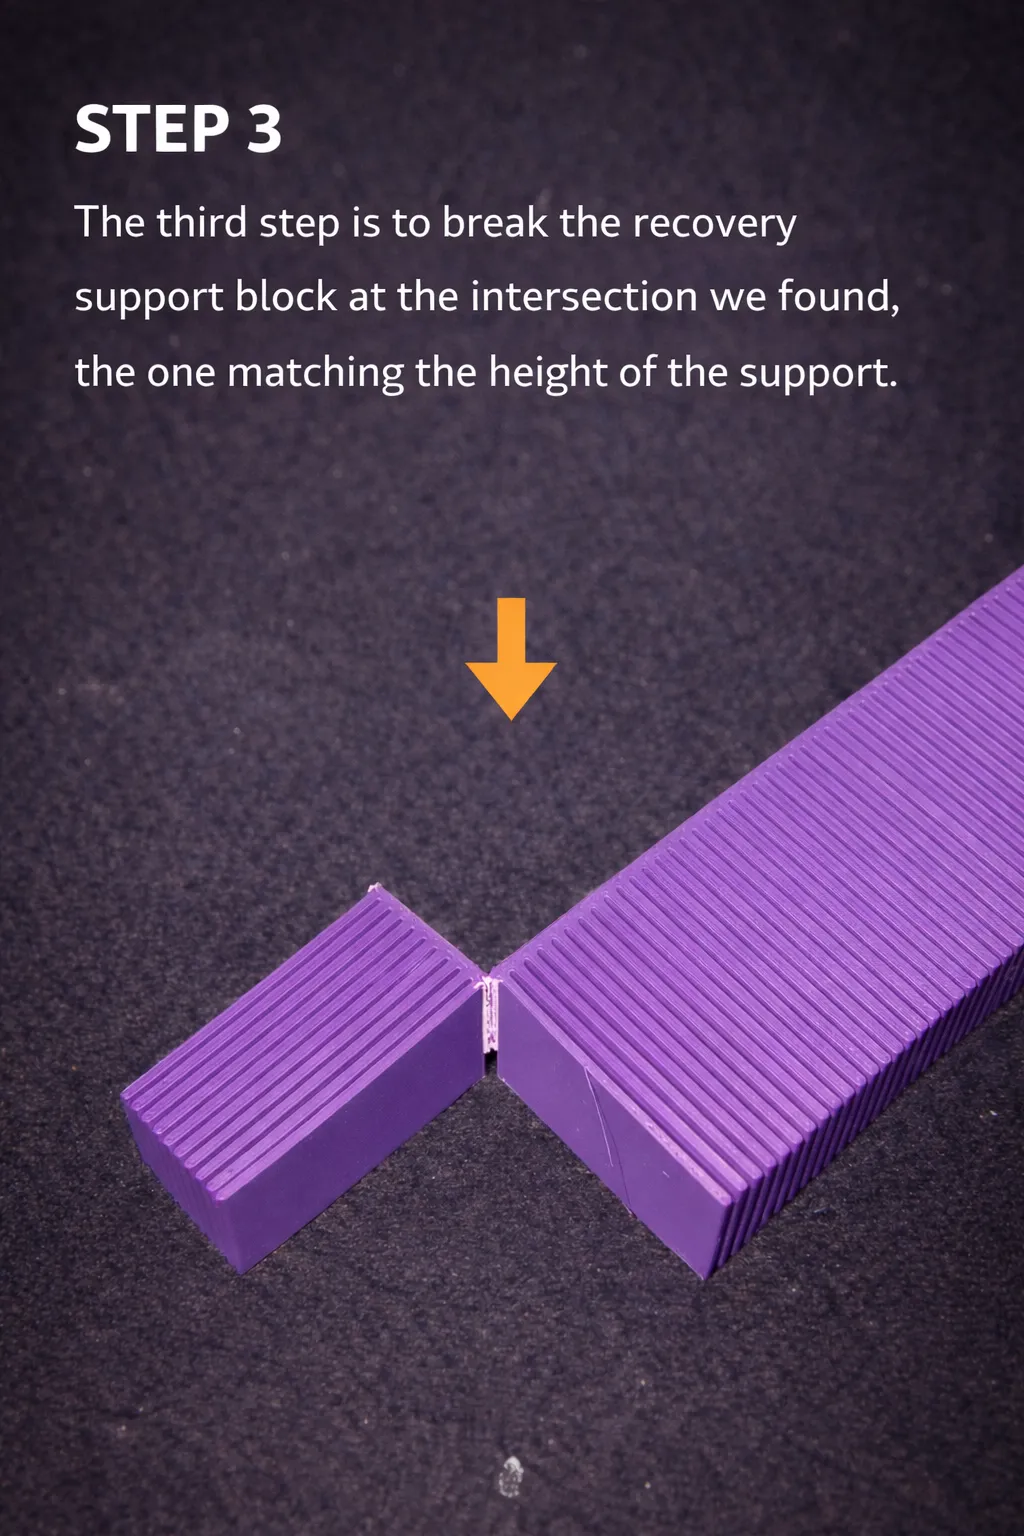
STEP 3 – Block Adjustment
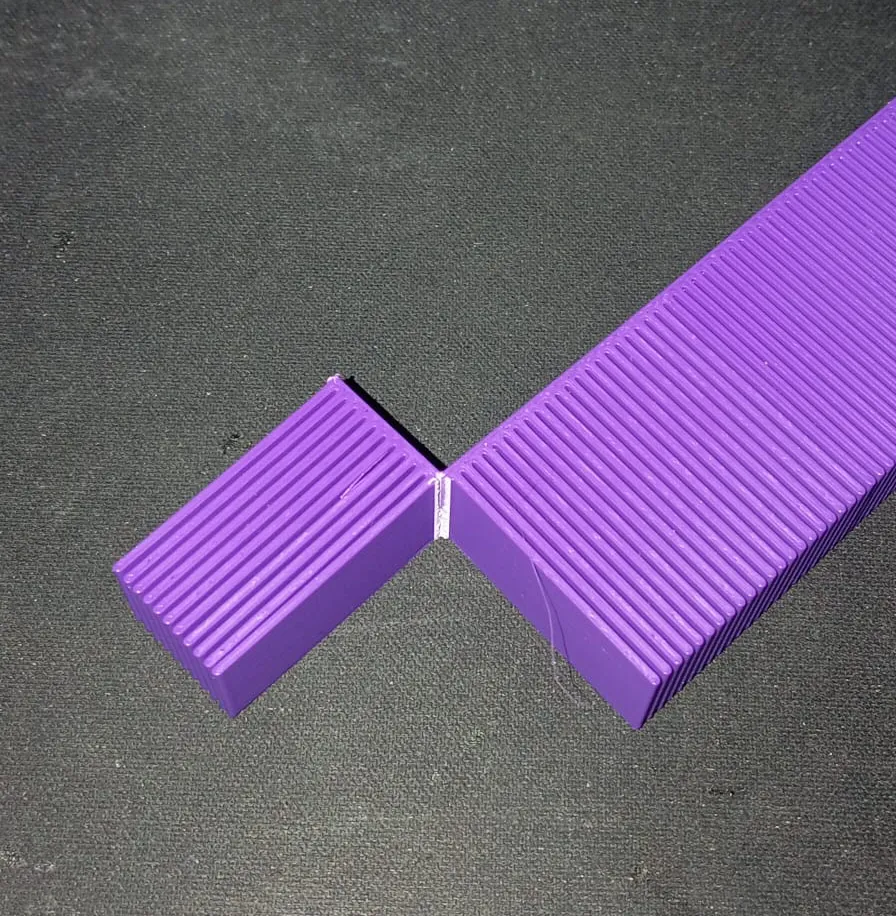
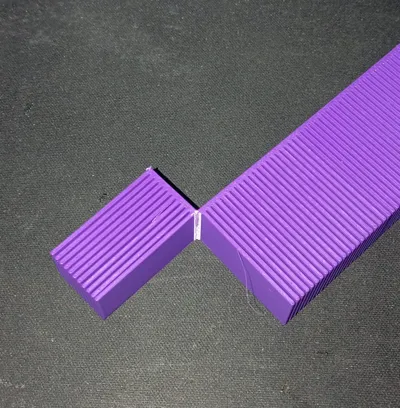
Break the Recovery Block at the layer corresponding to the measured height.
Separate it cleanly at the exact intersection identified in the previous steps.
This creates a support base that matches the detached support’s height.
Accuracy in this cut ensures seamless print continuation.
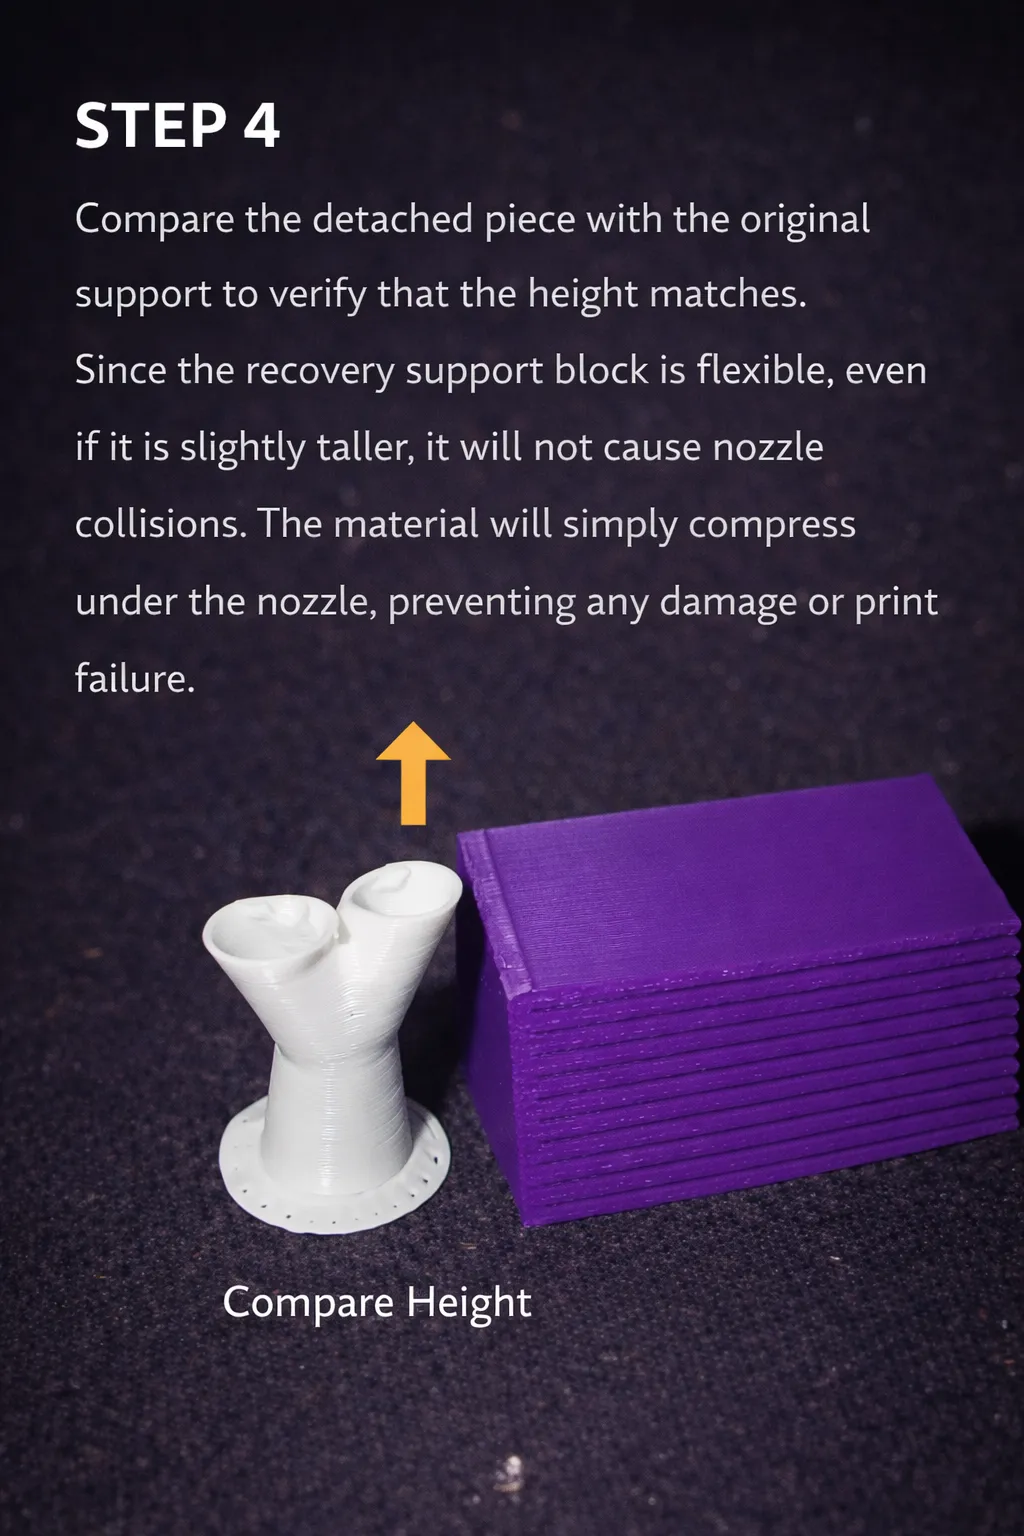
STEP 4 – Height Verification
Compare the adjusted Recovery Block with the detached support to confirm they match.
Since the Recovery Block is slightly flexible, minor height differences will not cause nozzle collisions.
If marginally taller, the material will compress safely under the nozzle without damaging the print.
This flexibility adds a safety margin during recovery.
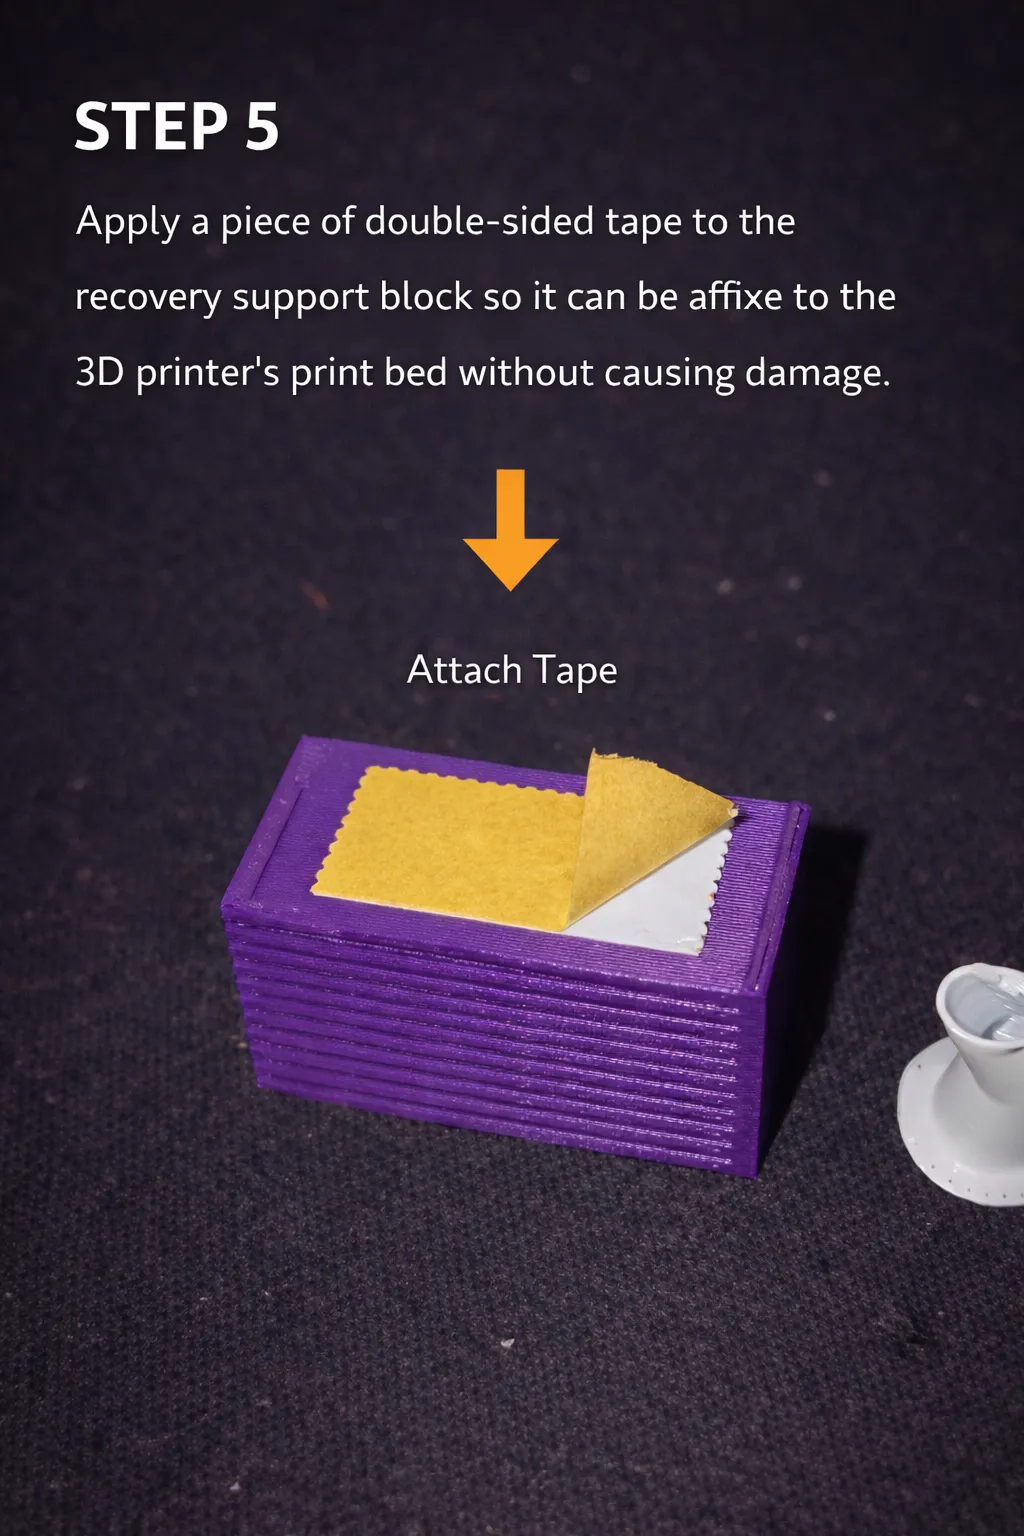
STEP 5 – Secure Attachment
Apply a piece of double-sided tape to the bottom of the adjusted Recovery Block.
This allows you to securely attach it to the print bed without damaging the surface.
Ensure firm adhesion to prevent movement during print resumption.
A stable base is critical for successful recovery.
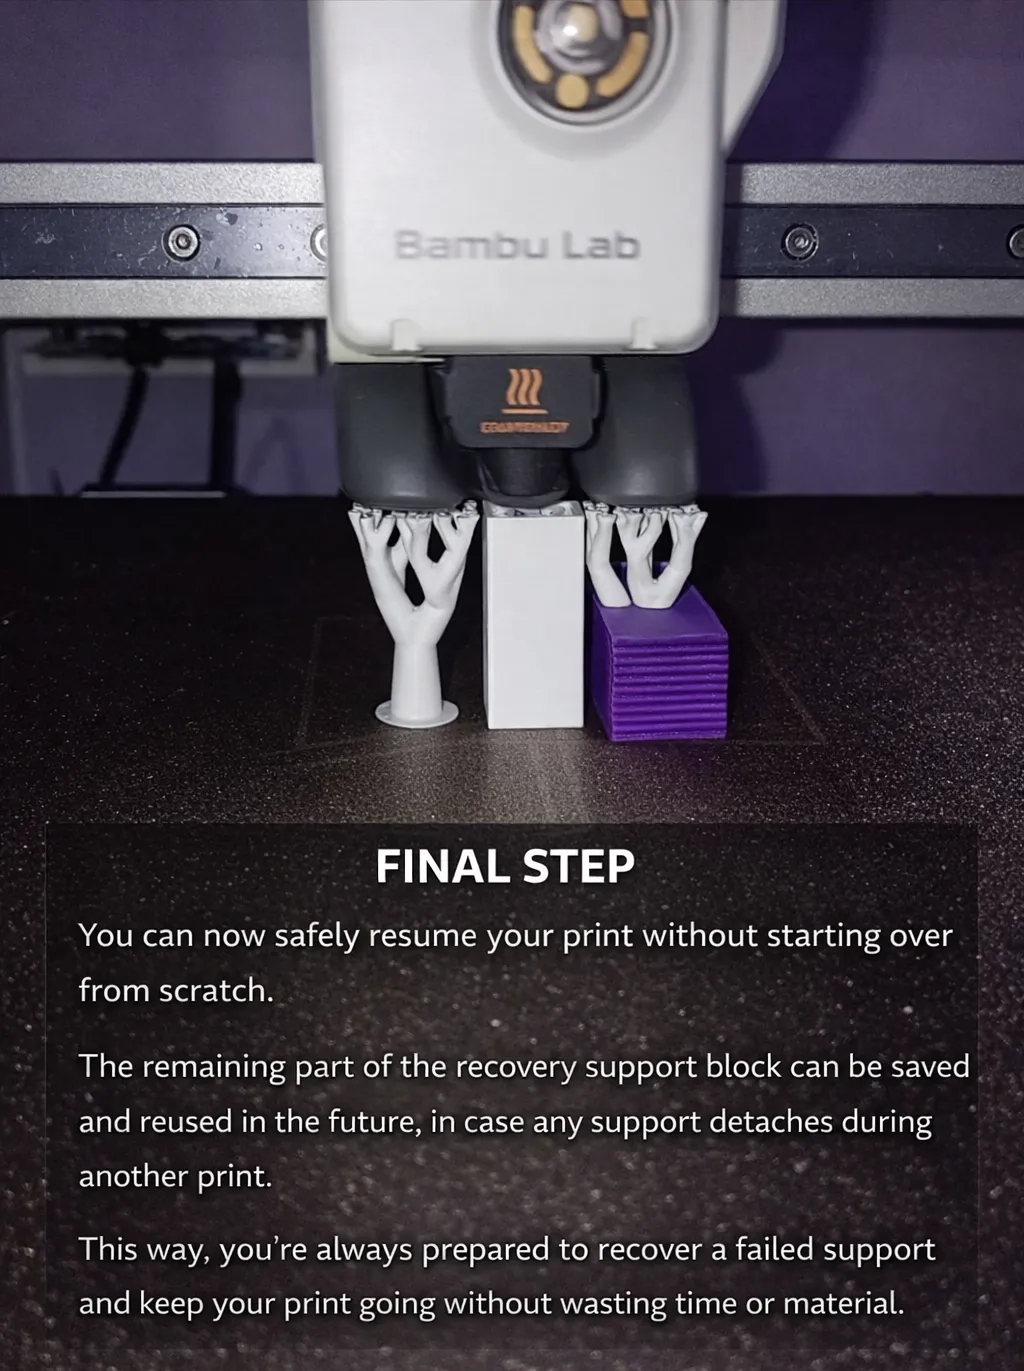
FINAL STEP – Resume Printing
You can now safely resume your print without restarting from scratch.
The remaining portion of the Recovery Block can be stored and reused for future failures.
This ensures you’re always prepared to recover detached supports efficiently.
Save time. Save material. Keep printing.
License

You shall not share, sub-license, sell, rent, host, transfer, or distribute in any way the digital or 3D printed versions of this object, nor any other derivative work of this object in its digital or physical format (including - but not limited to - remixes of this object, and hosting on other digital platforms). The objects may not be used without permission in any way whatsoever in which you charge money, or collect fees.


Comment & Rating (118)