
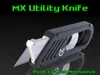
MX Utility Knife
Print Profile(5)
Bill of Materials



Description
Boost Me (for free)
⚡ Help me go further! 🚀 💖 Click Boost → it's free 😄 And it motivates me to create even more for you 🎨
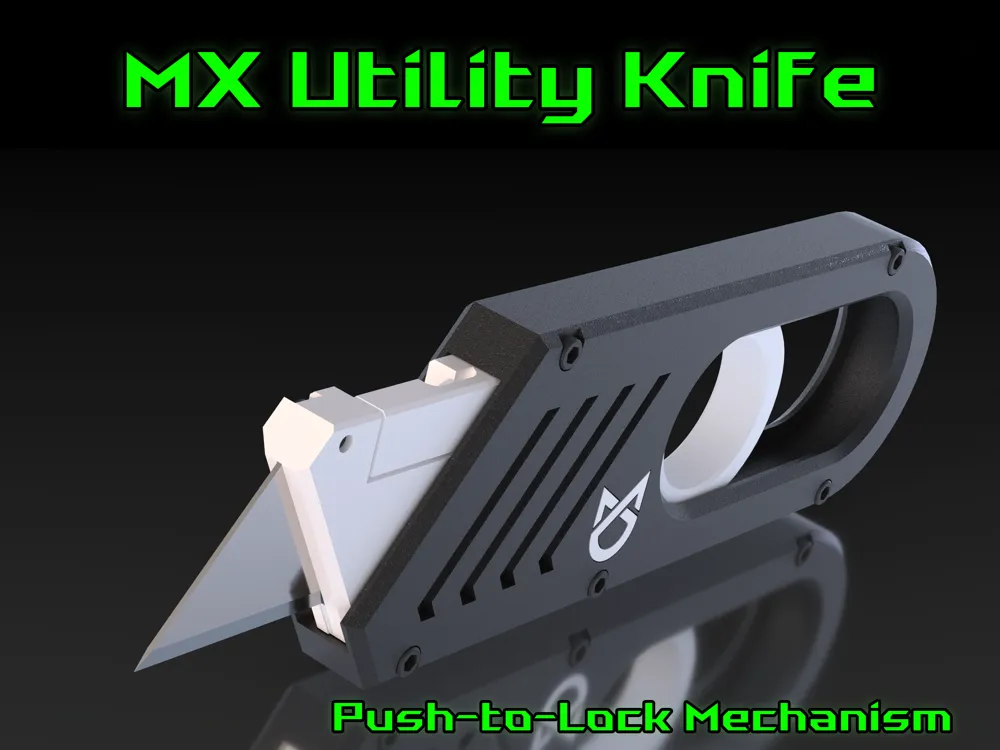
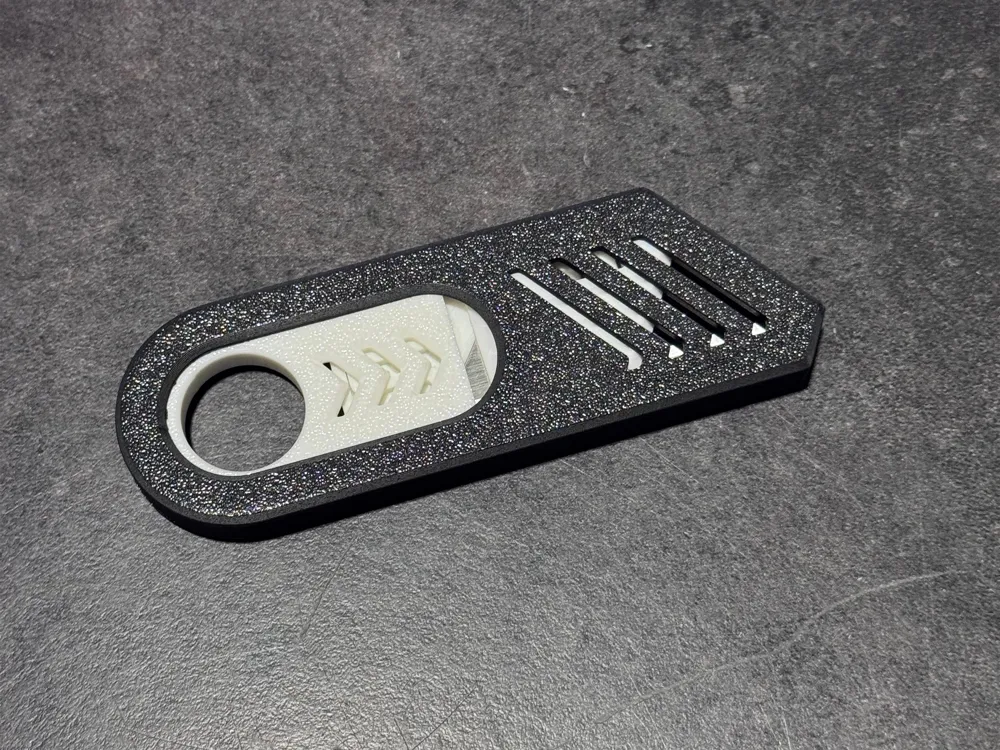
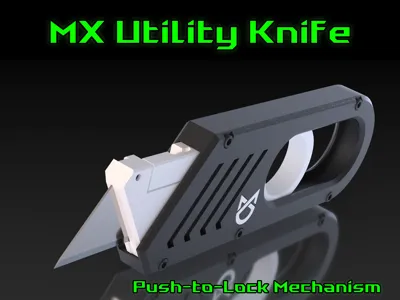
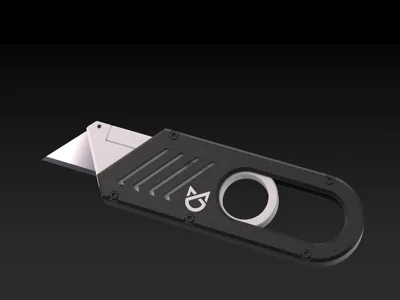
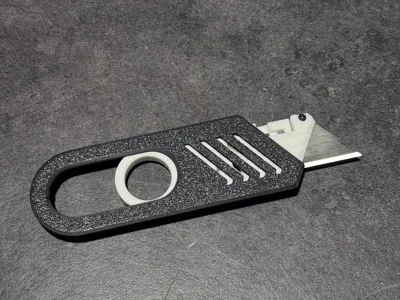
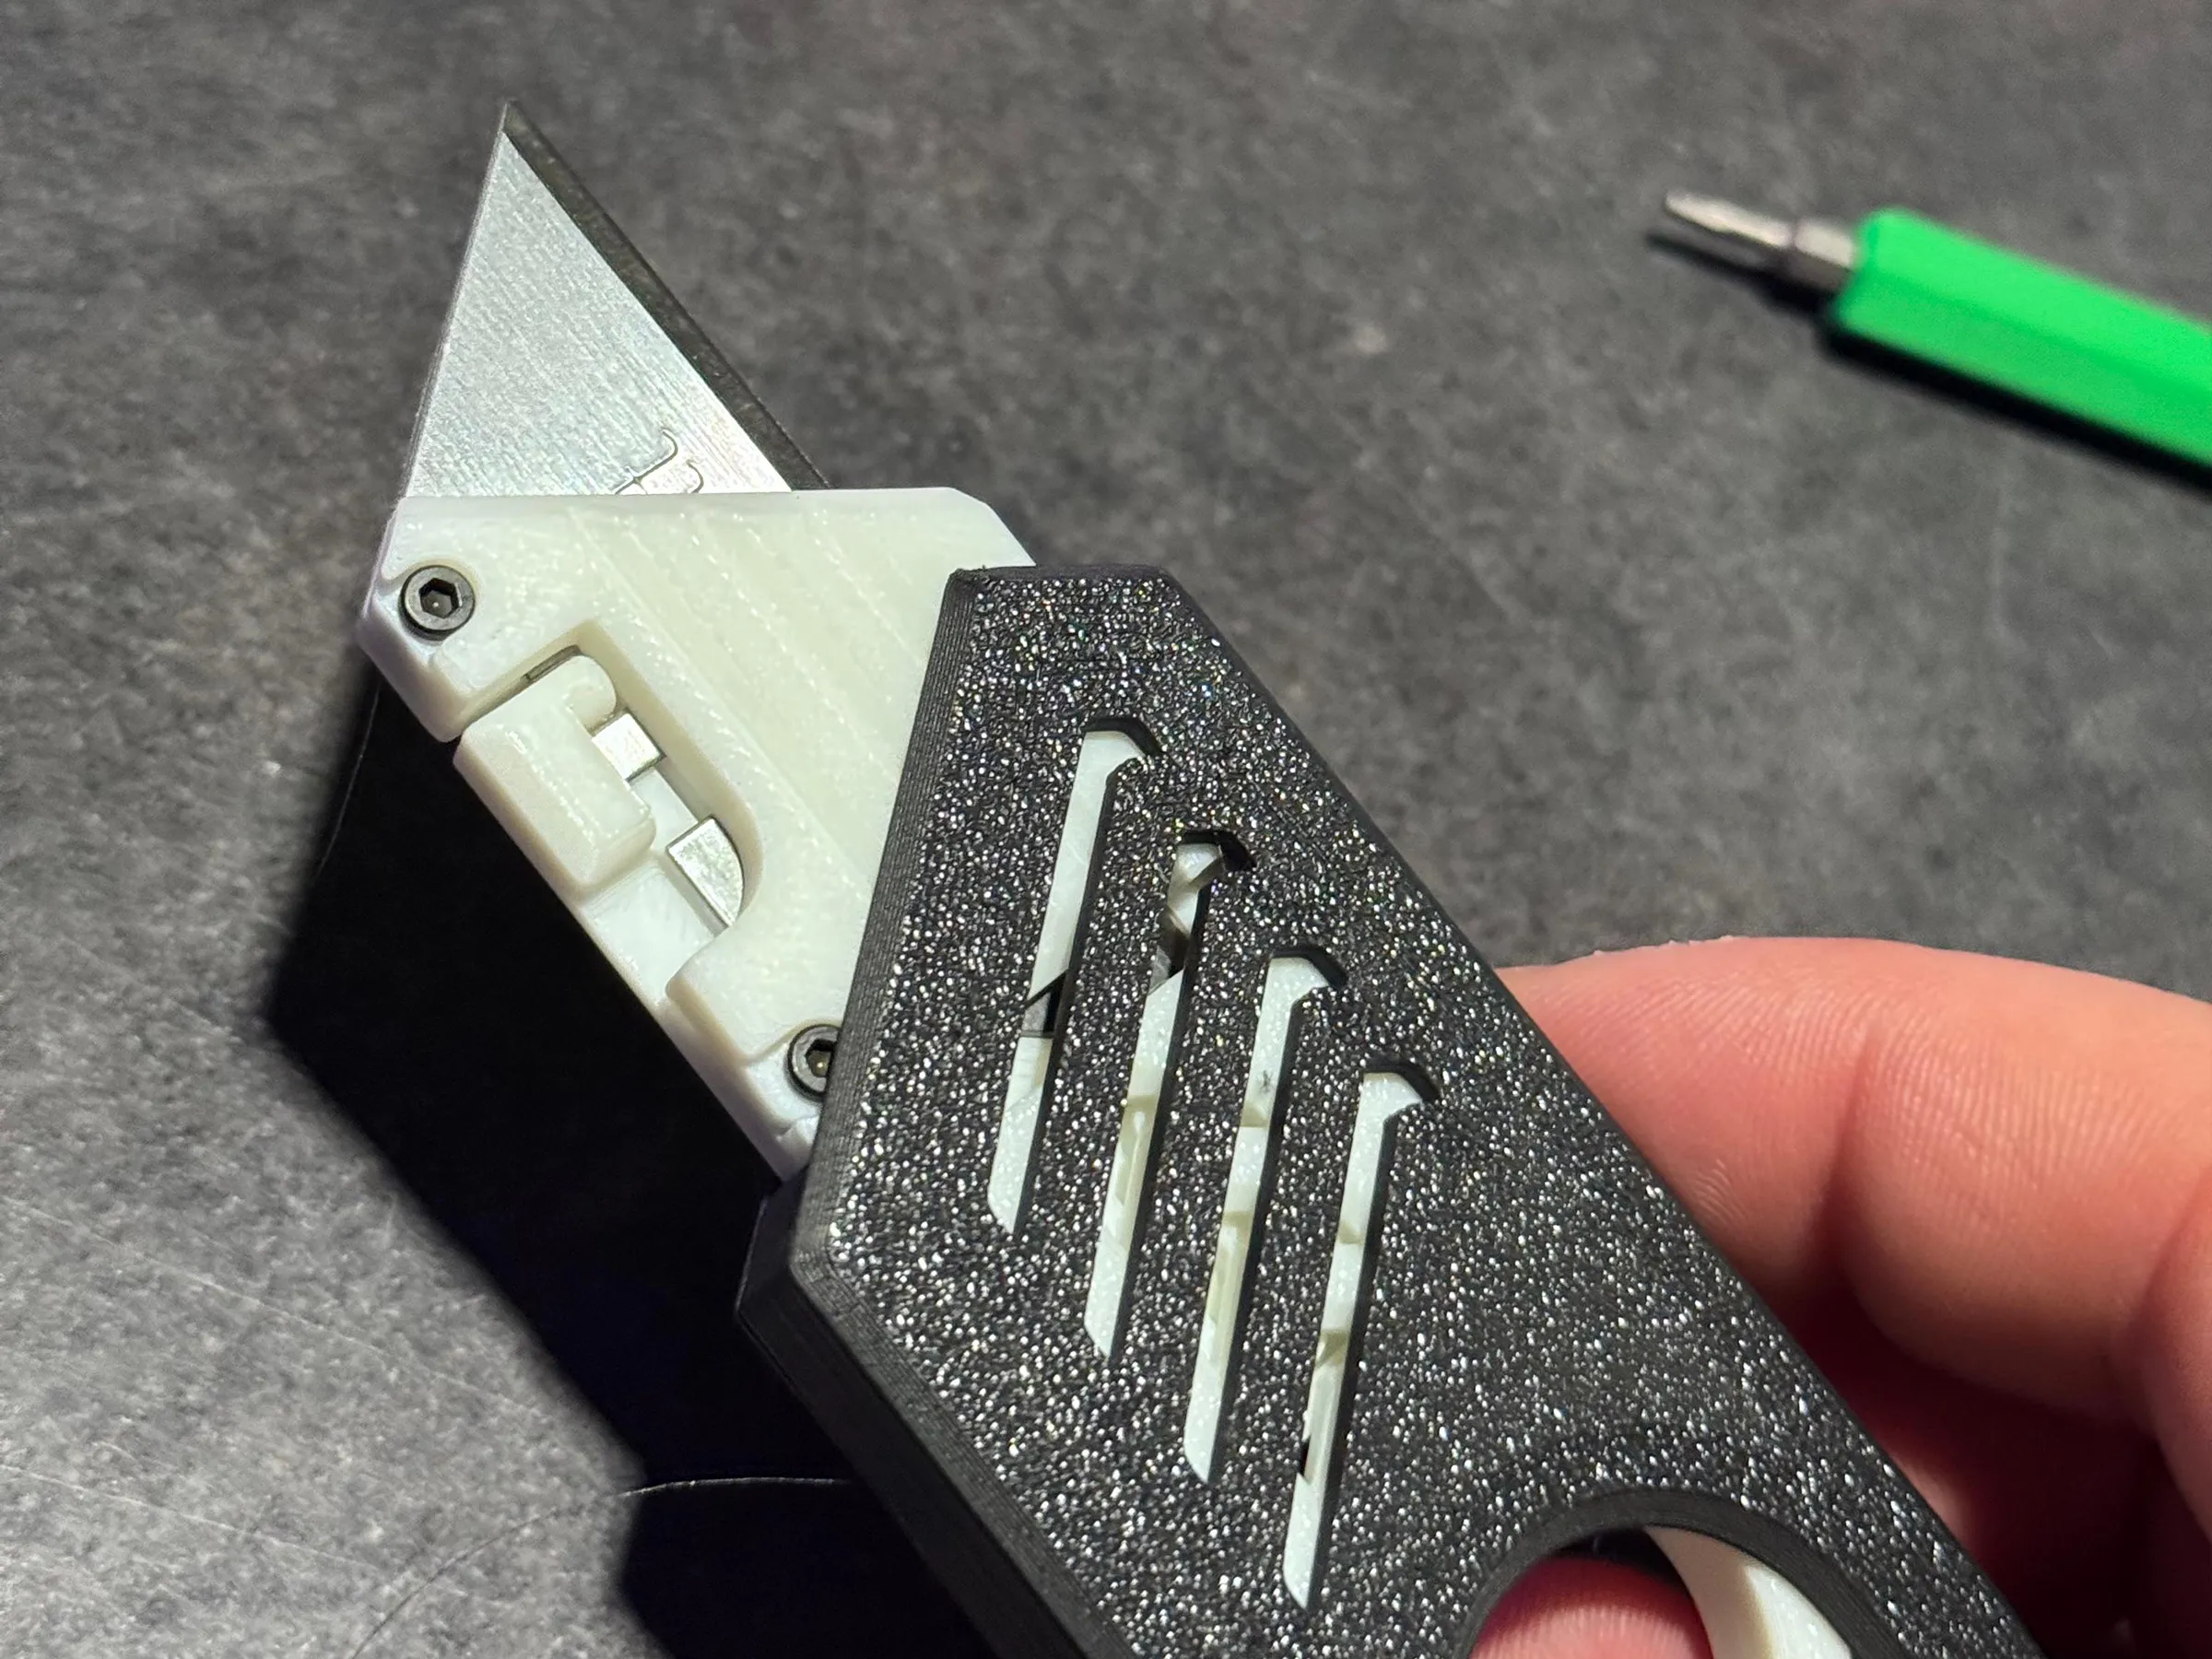
🔪 MX Utility Knife
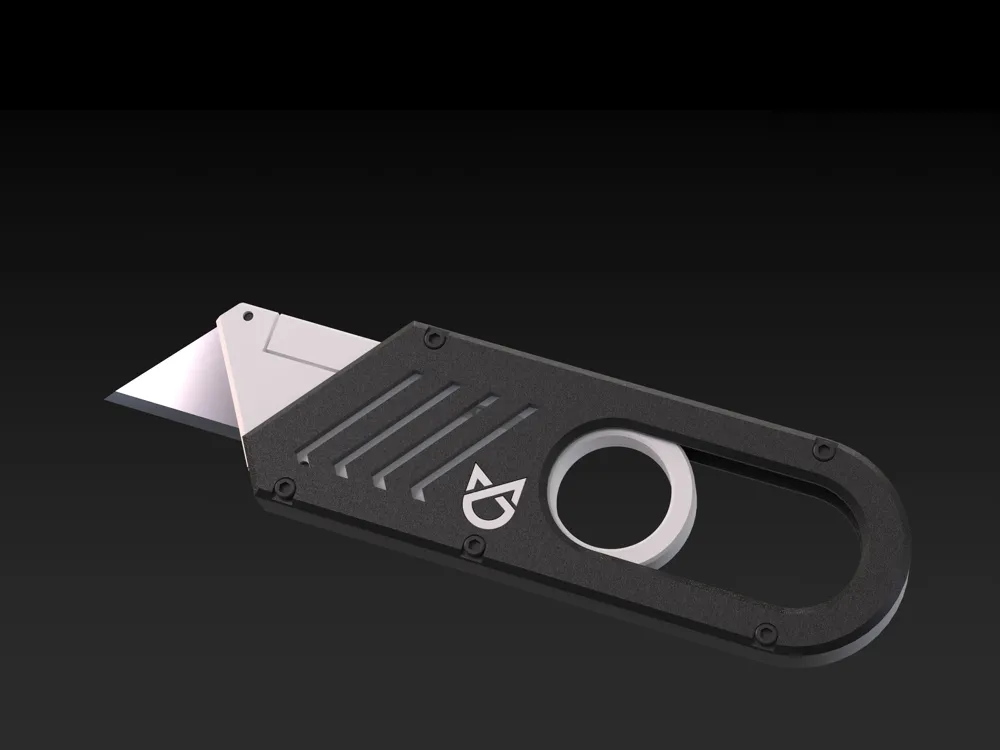
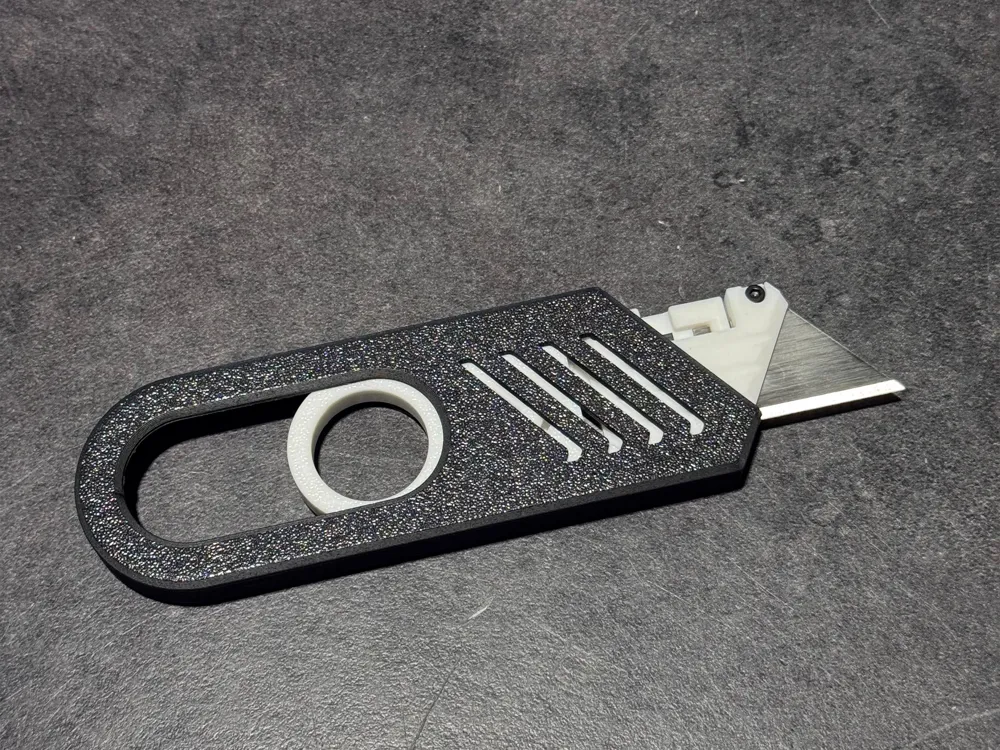
A compact and reliable utility knife designed for standard trapezoid blades.
Built for precision work, everyday workshop use, and easy maintenance.
Designed to assemble with affordable and easily accessible hardware.
🛠️ Features
- Compatible with standard trapezoid utility blades


- Integrated sliding lock mechanism built directly into the handle
- Simple push-up to deploy / pull-down to retract system
- Designed for Bambu Lab BT2x5 (SHCS) screws - Ref. AA191 (see BOM).
(x20 pack - approx. $1) - Secure blade clamping system
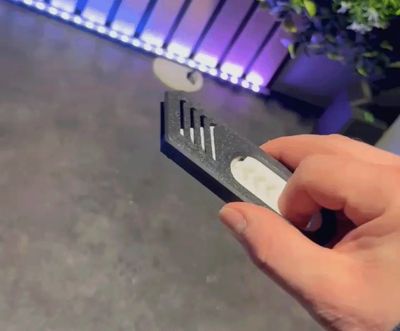
- Compact and ergonomic grip
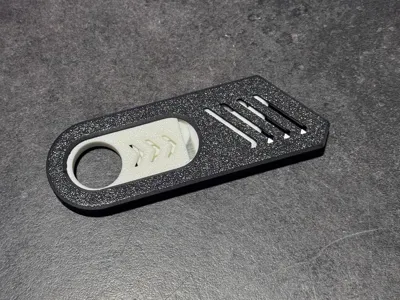
🧩 Print Options
Three print profile versions available:
• All-in-One Plate – 2 Colors (AMS)
• Two Plate Version – 2 Colors (AMS)
• Single Color – 1 Plate (No AMS)
Choose the version that best fits your setup.
🛠 Assembly Steps (Quick Guide)
Step 1 - Install the sliding lock
Insert the spring-shaped sliding lock piece into the front slot of the inner body.
Make sure it slides freely inside the guide rails.
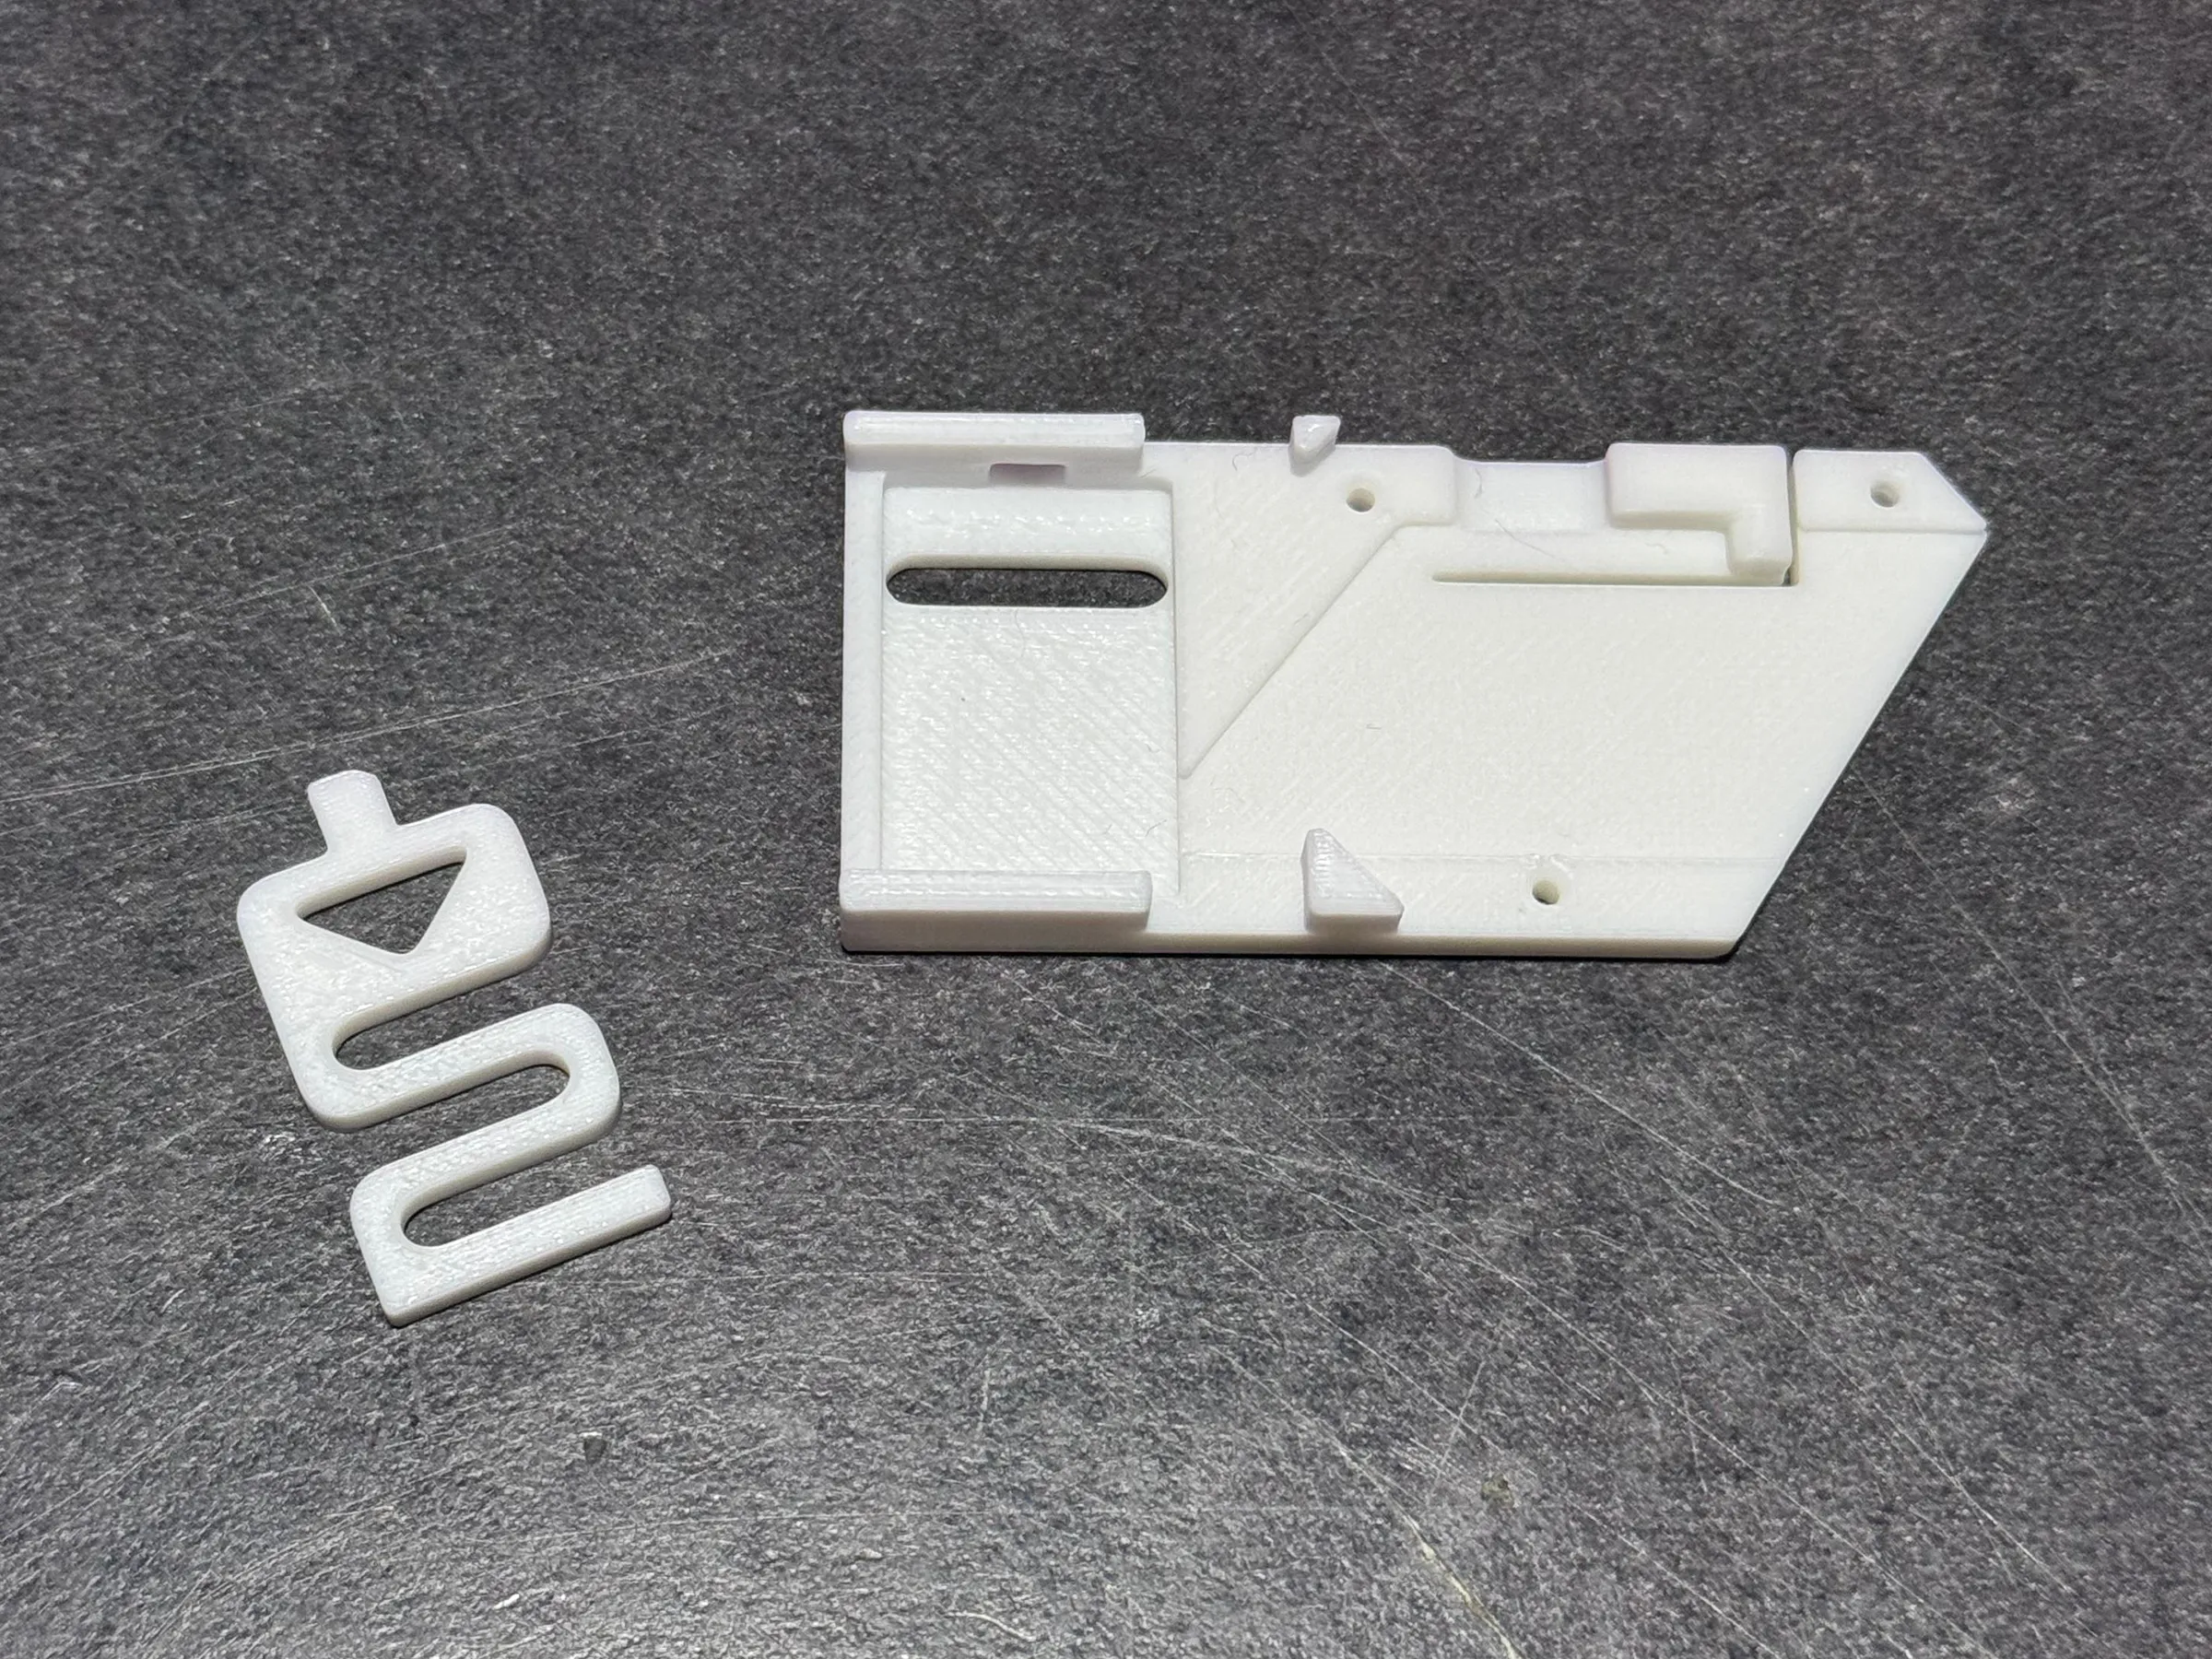
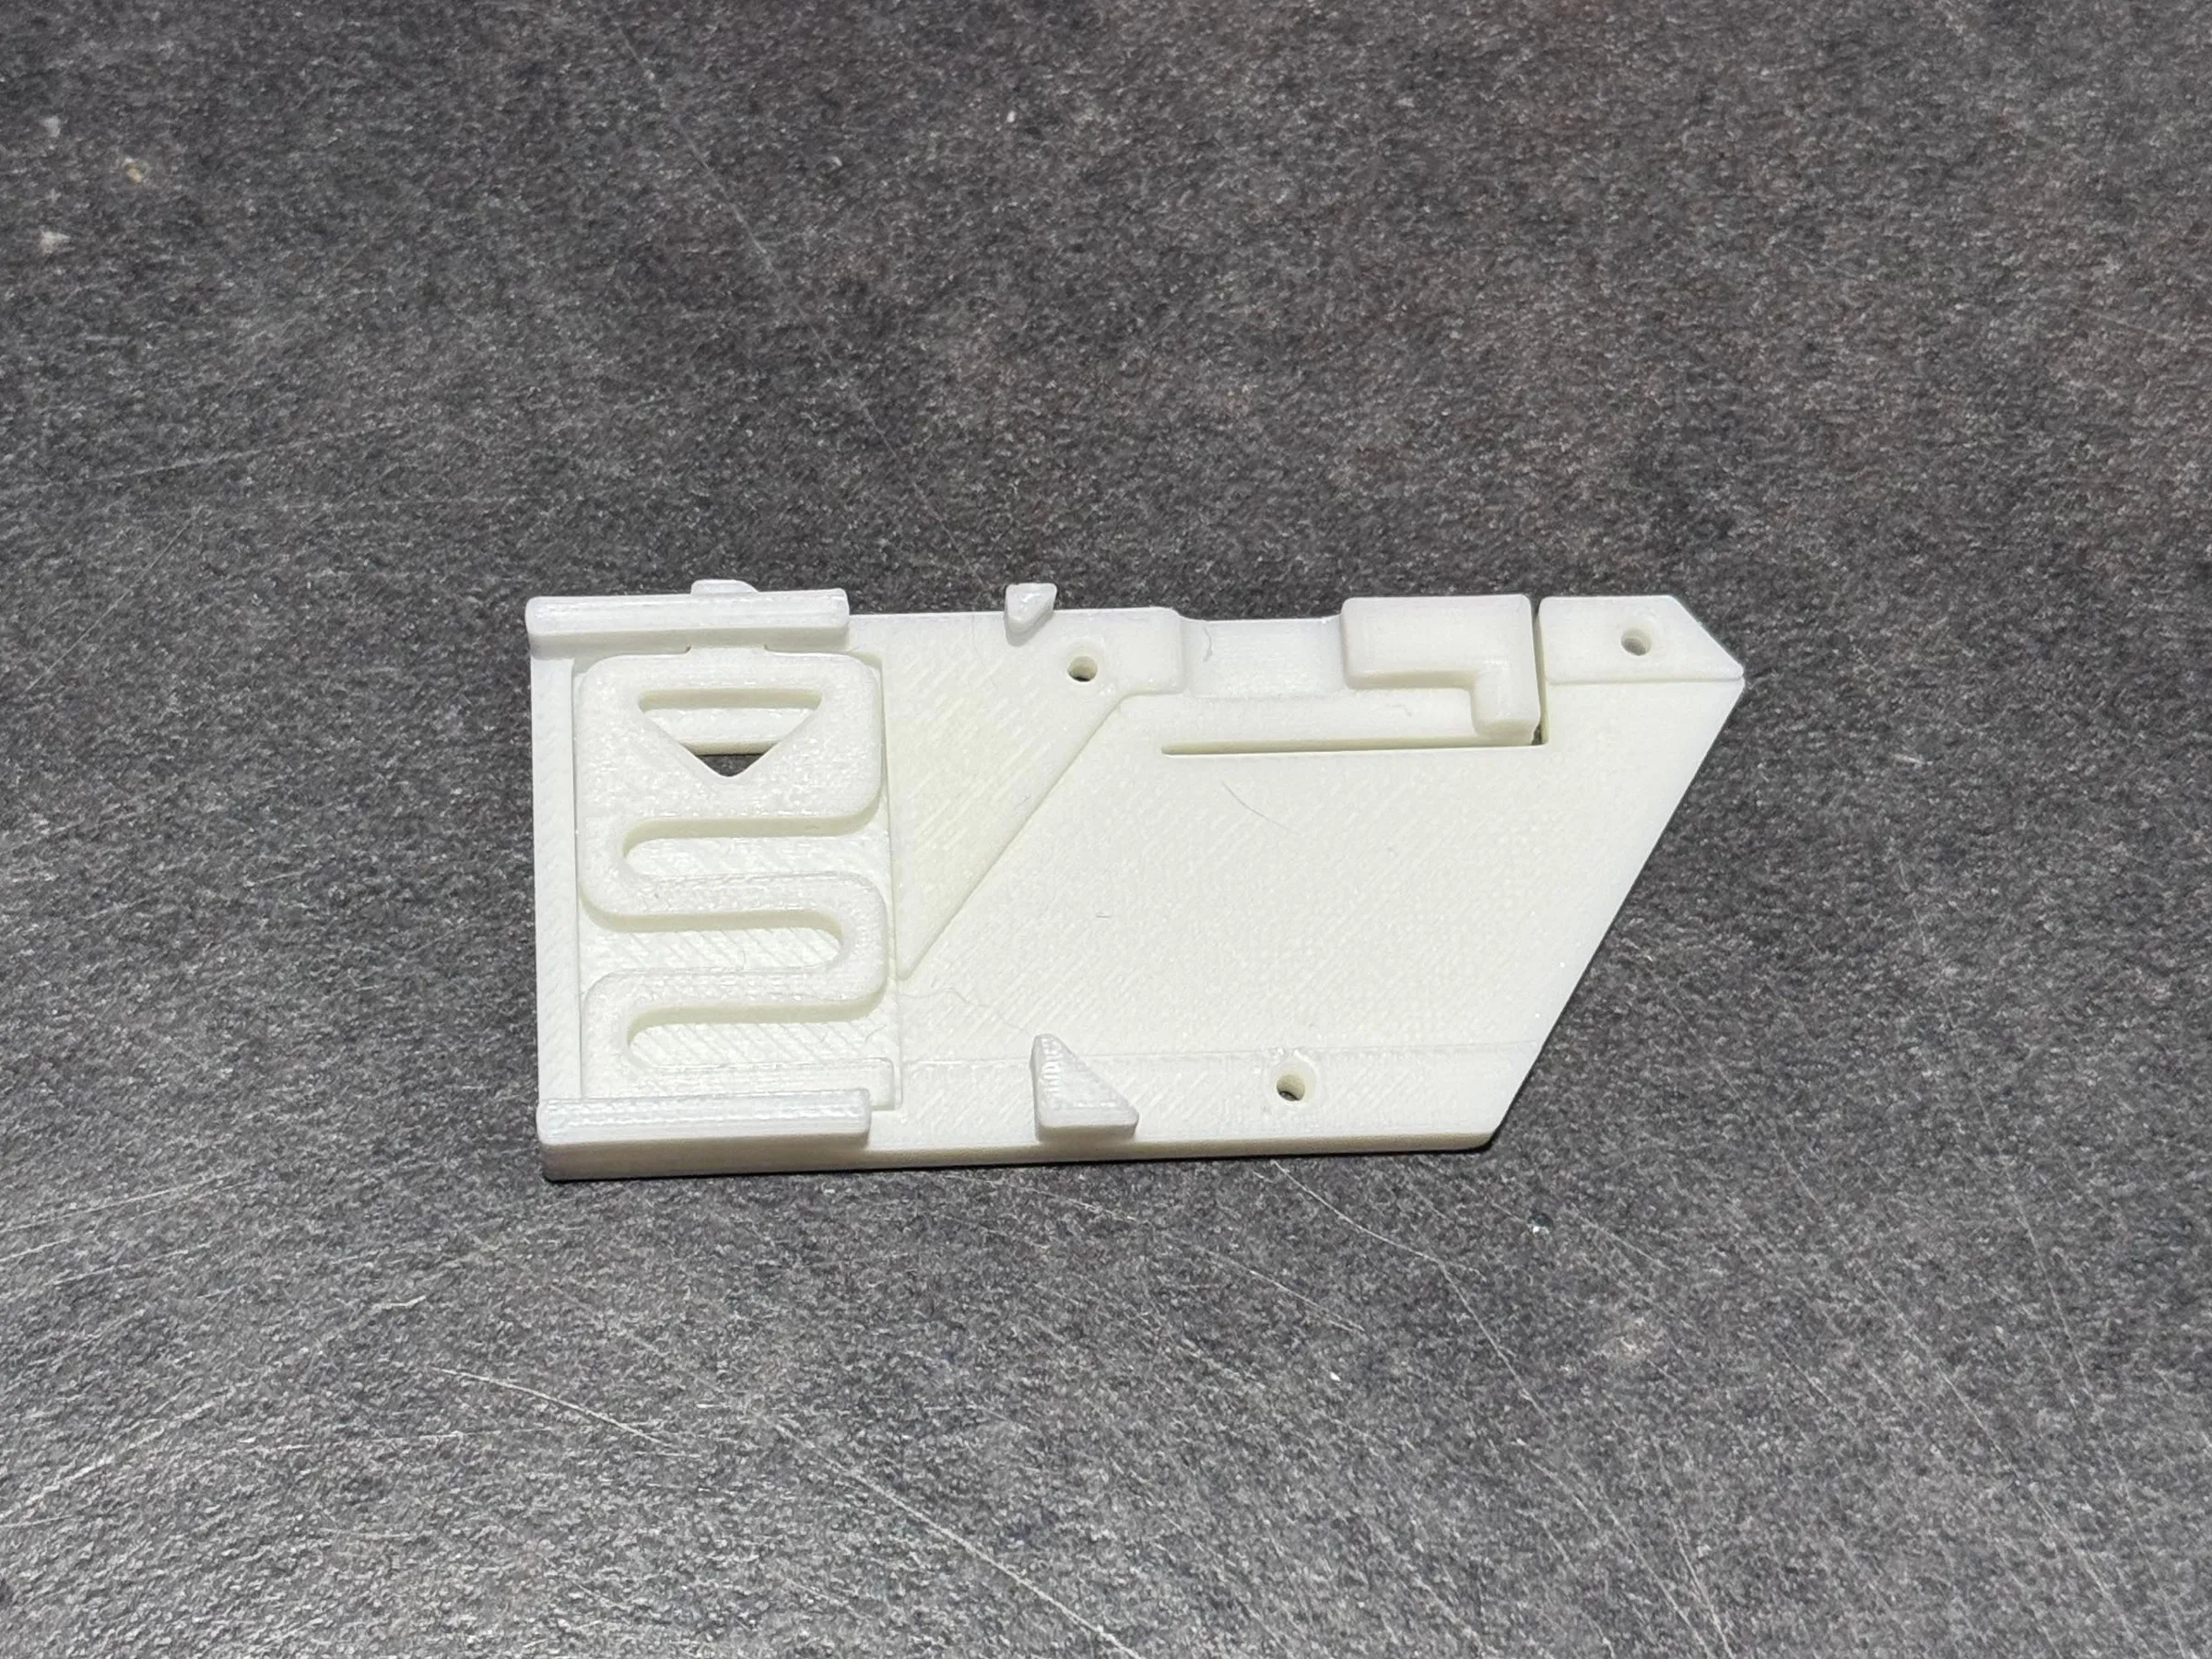
Step 2 - Close the blade holder
Place the top part of the blade holder over the mechanism.
Align the holes and secure it using BT2x5 screws.
Tighten gently - do not overtighten.
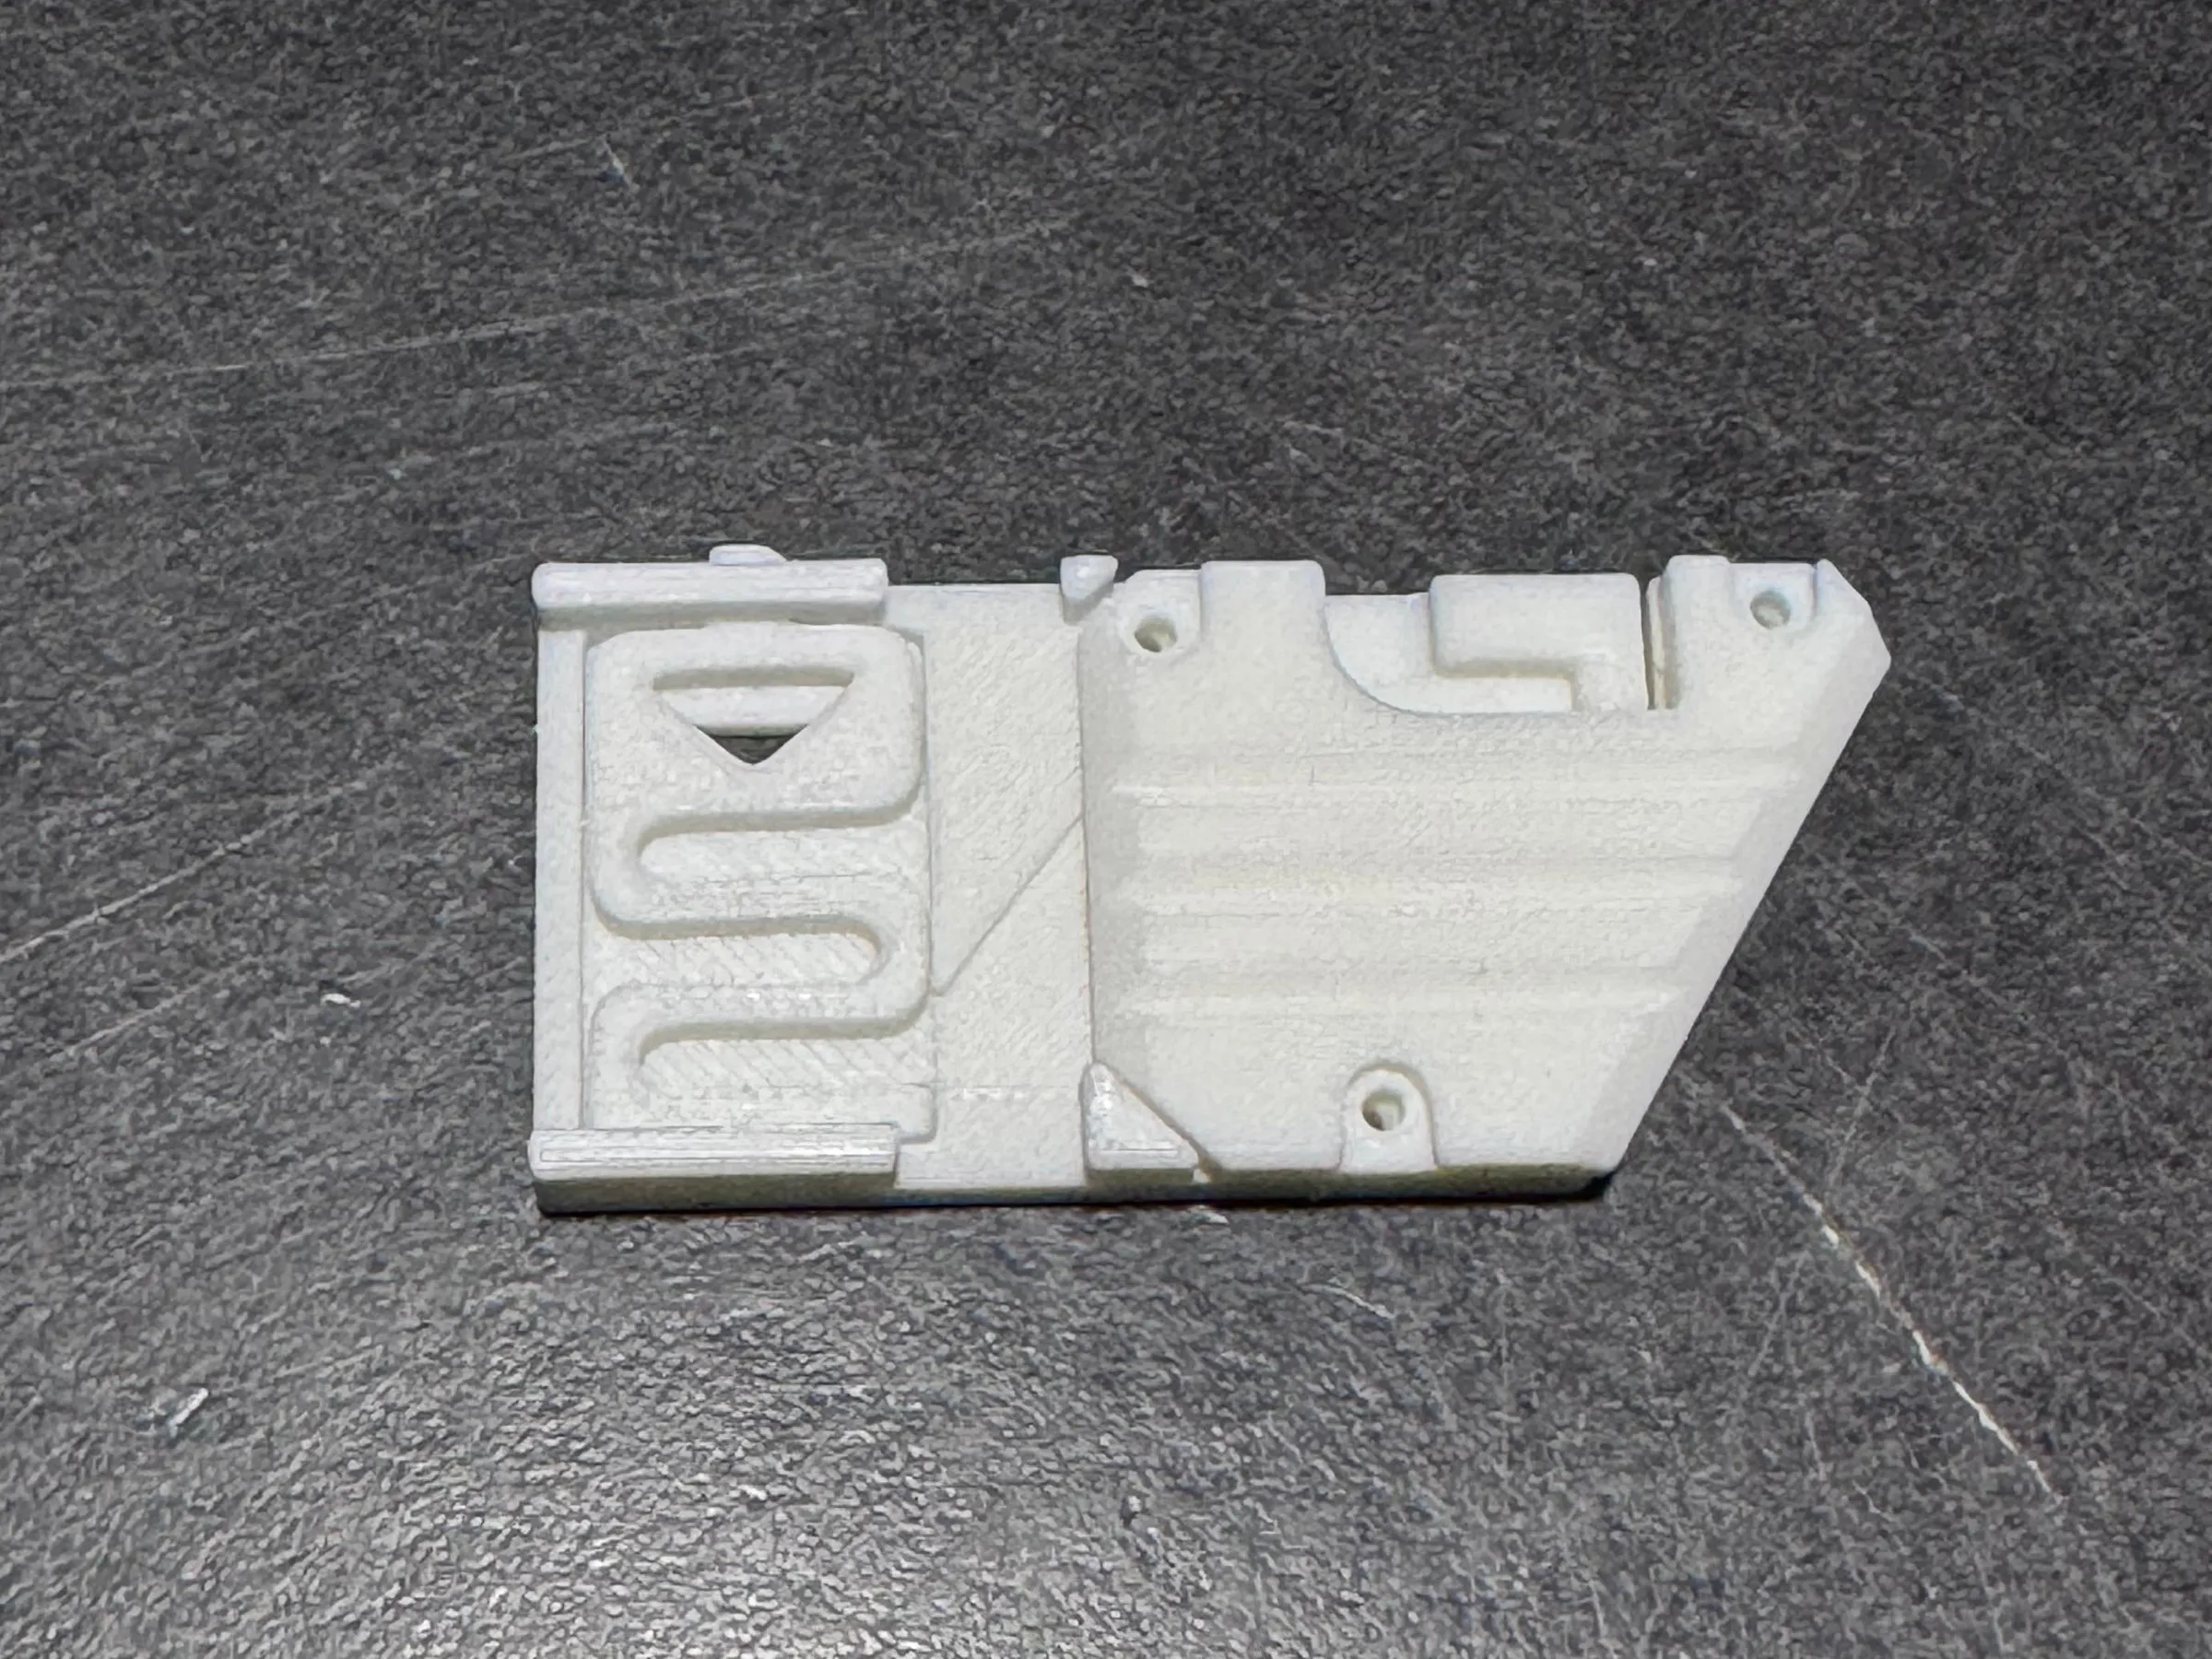
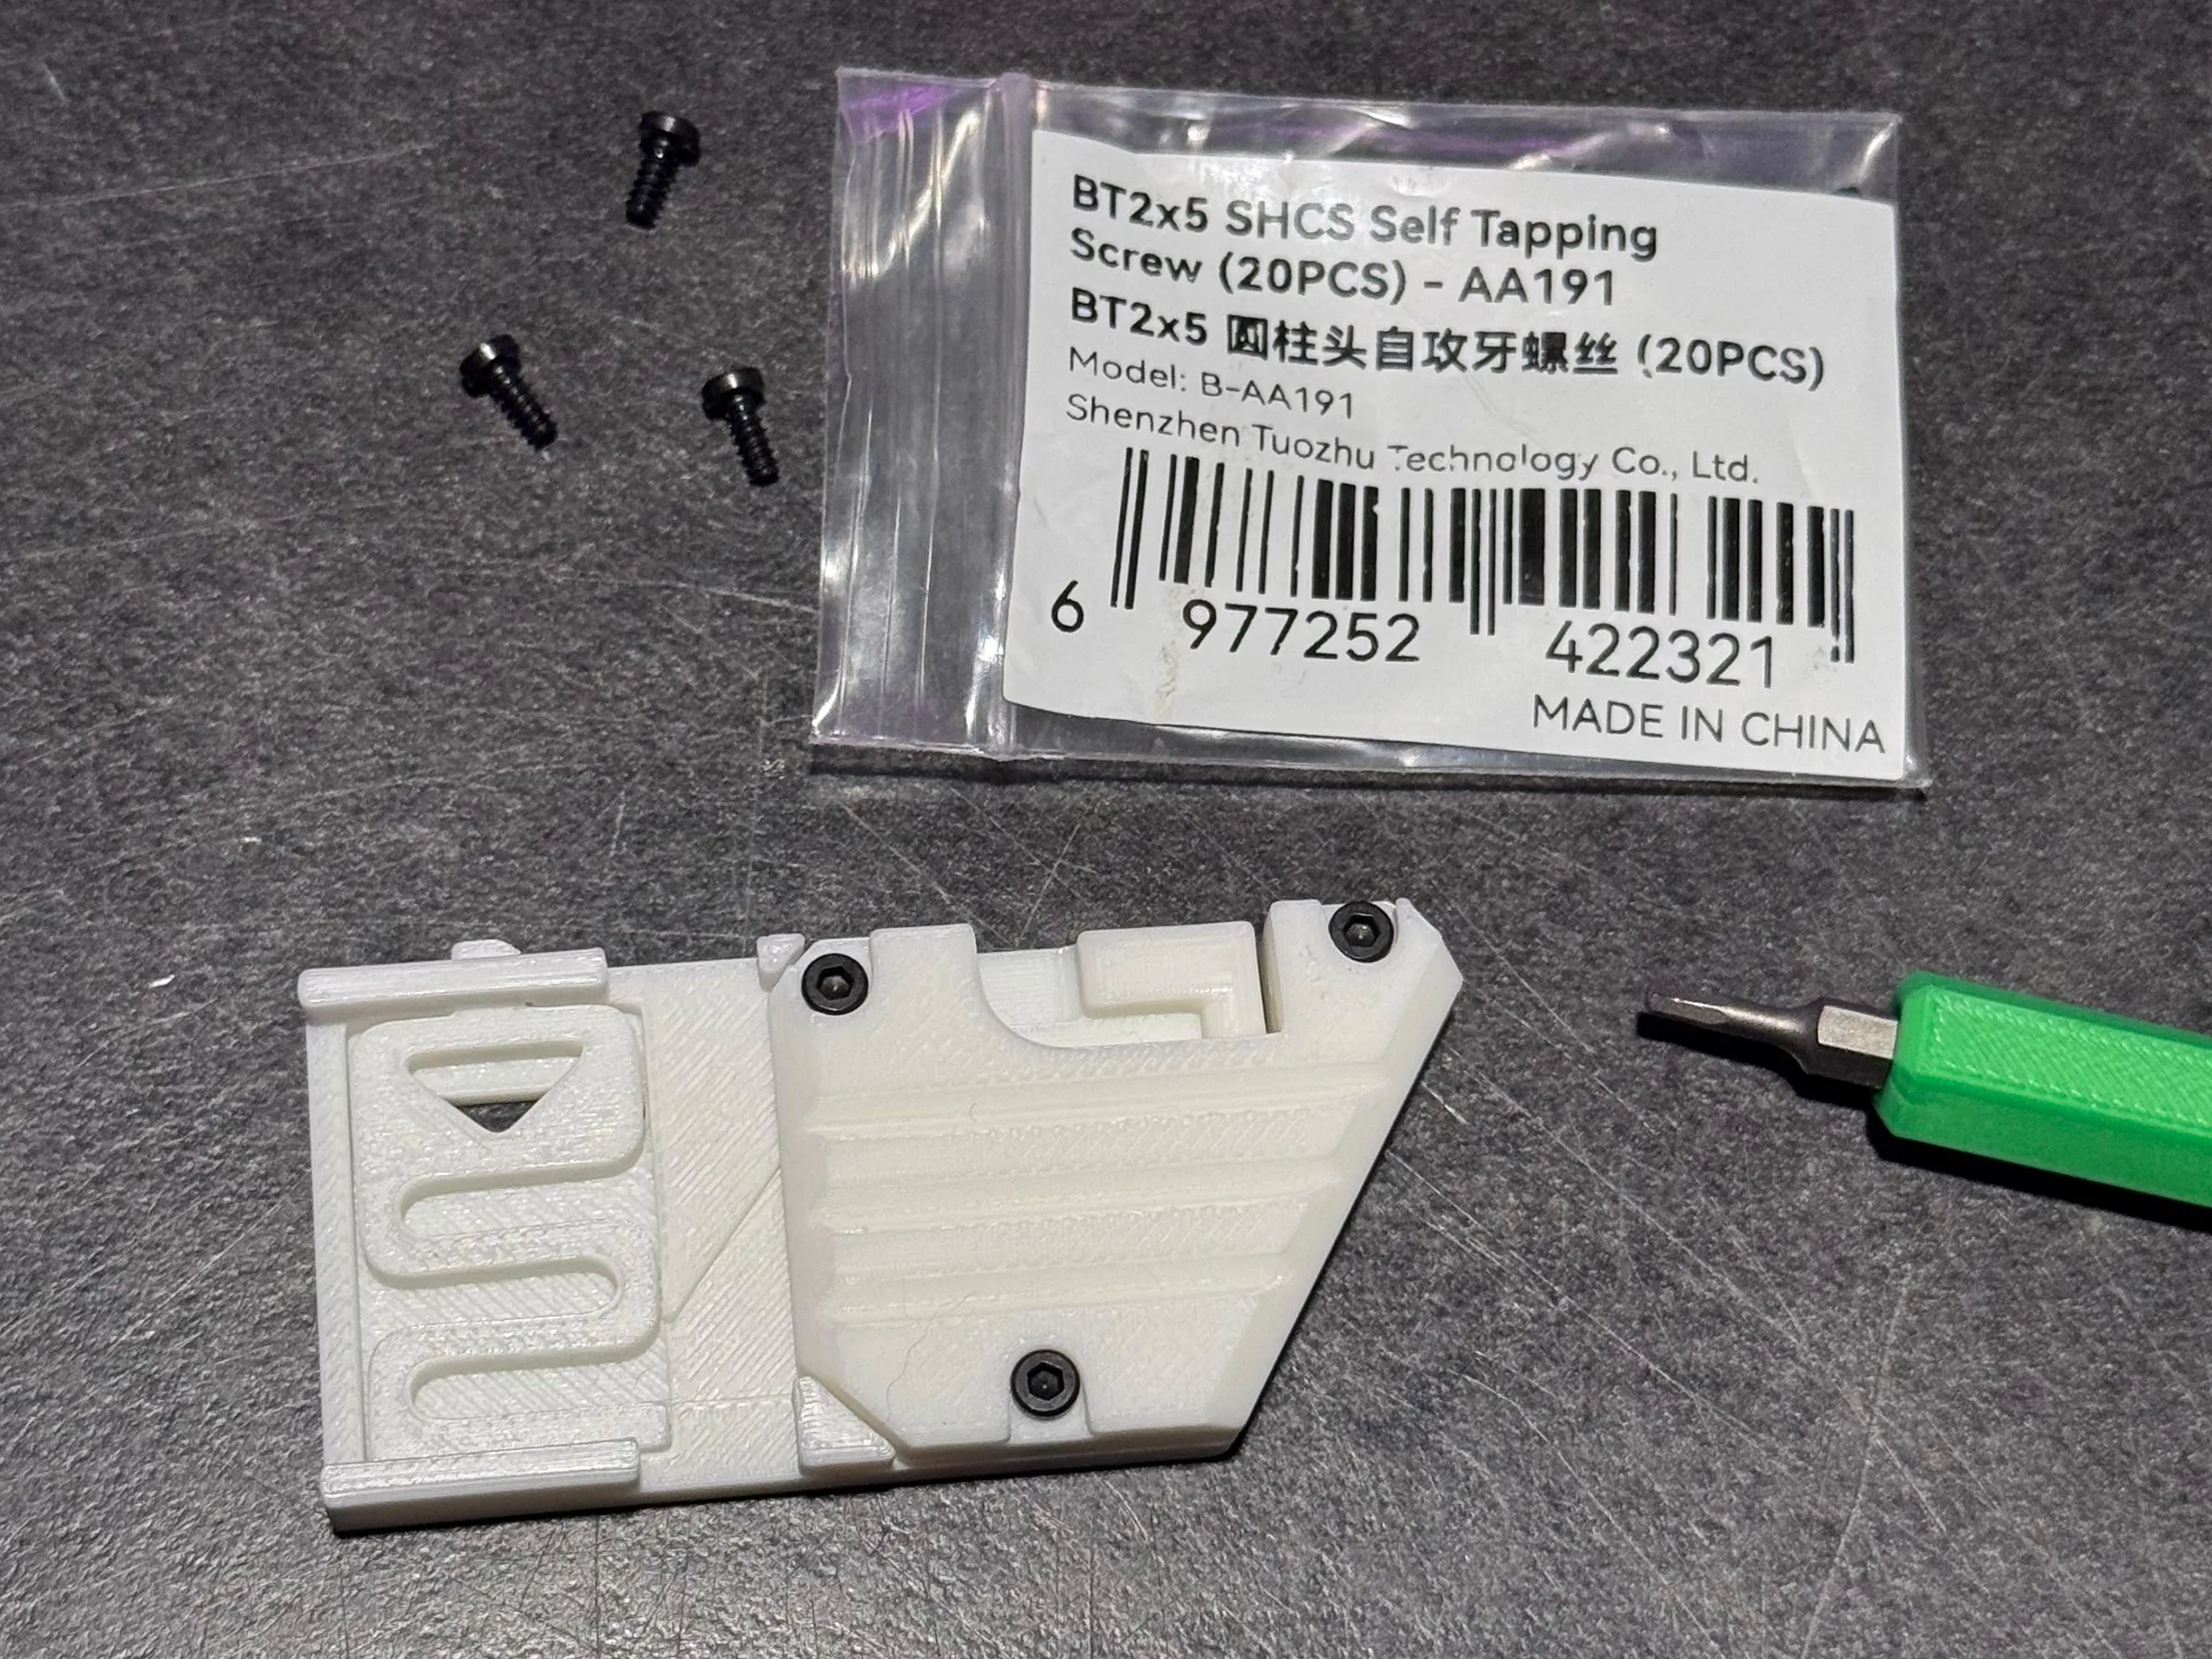
Step 3 - Attach the handle frame
Align the blade holder assembly with the handle frame.
Ensure it sits properly in the guide rails.
Slide the assembled blade holder into the main knife body.
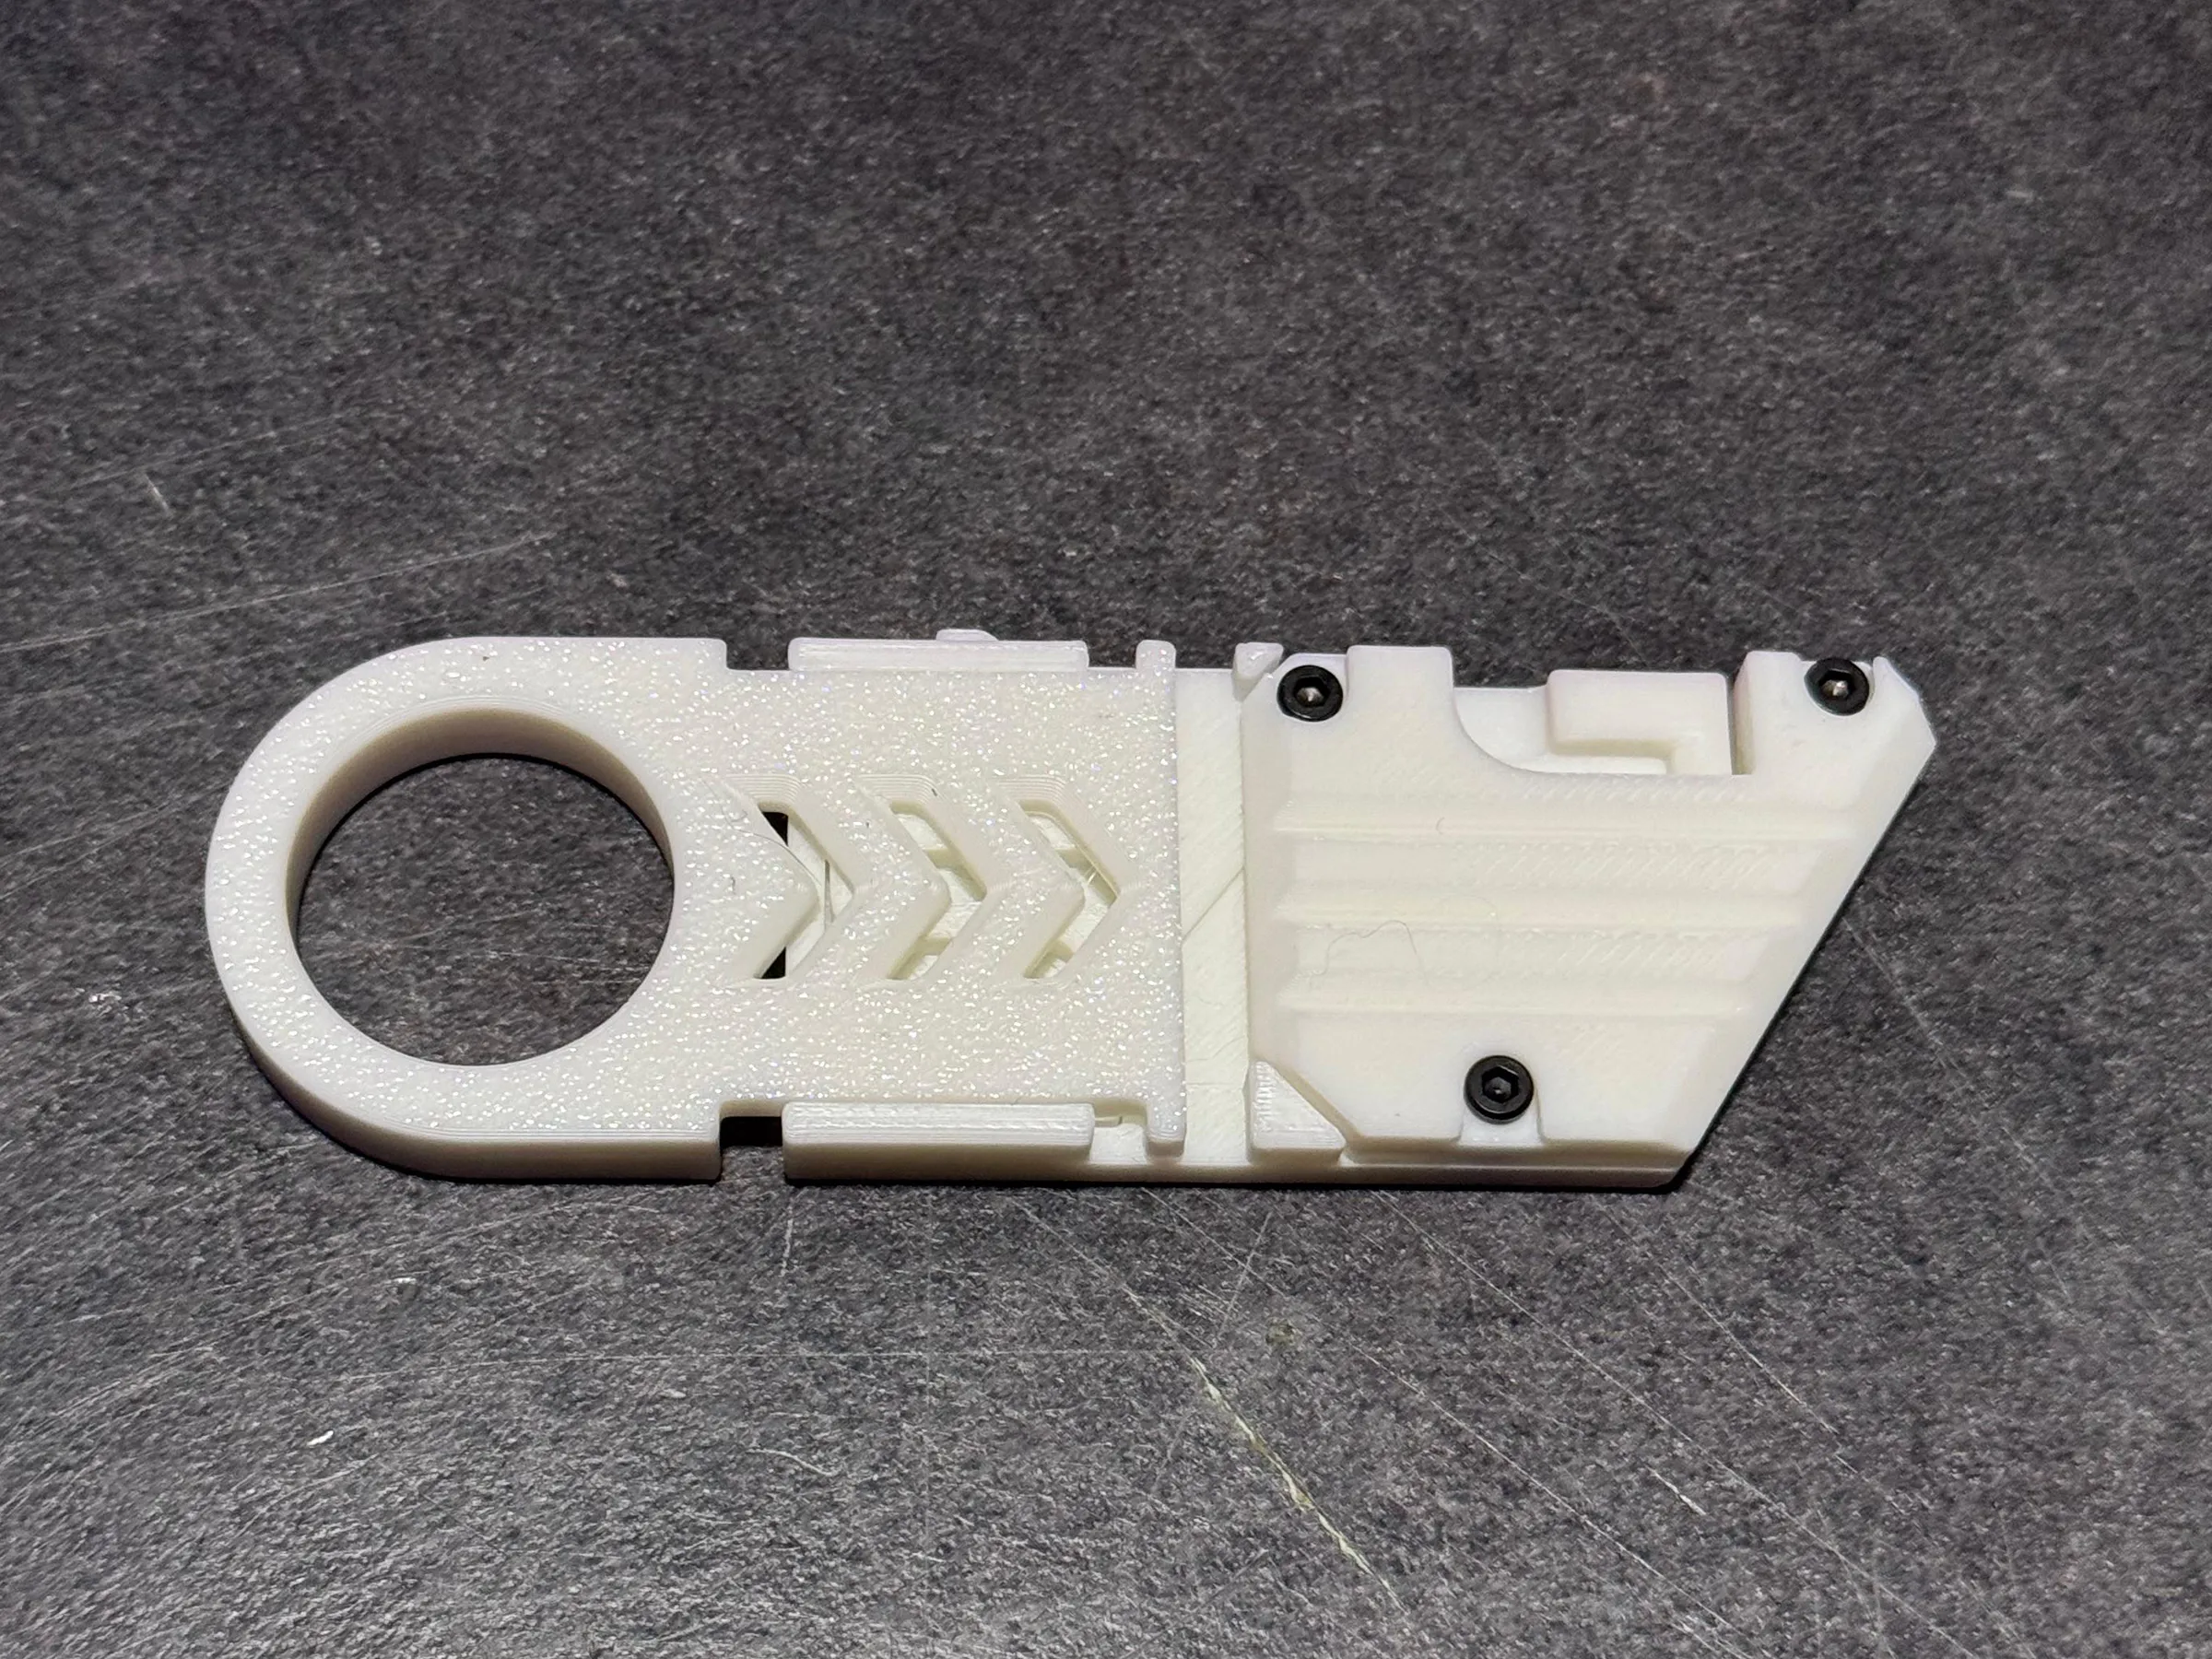
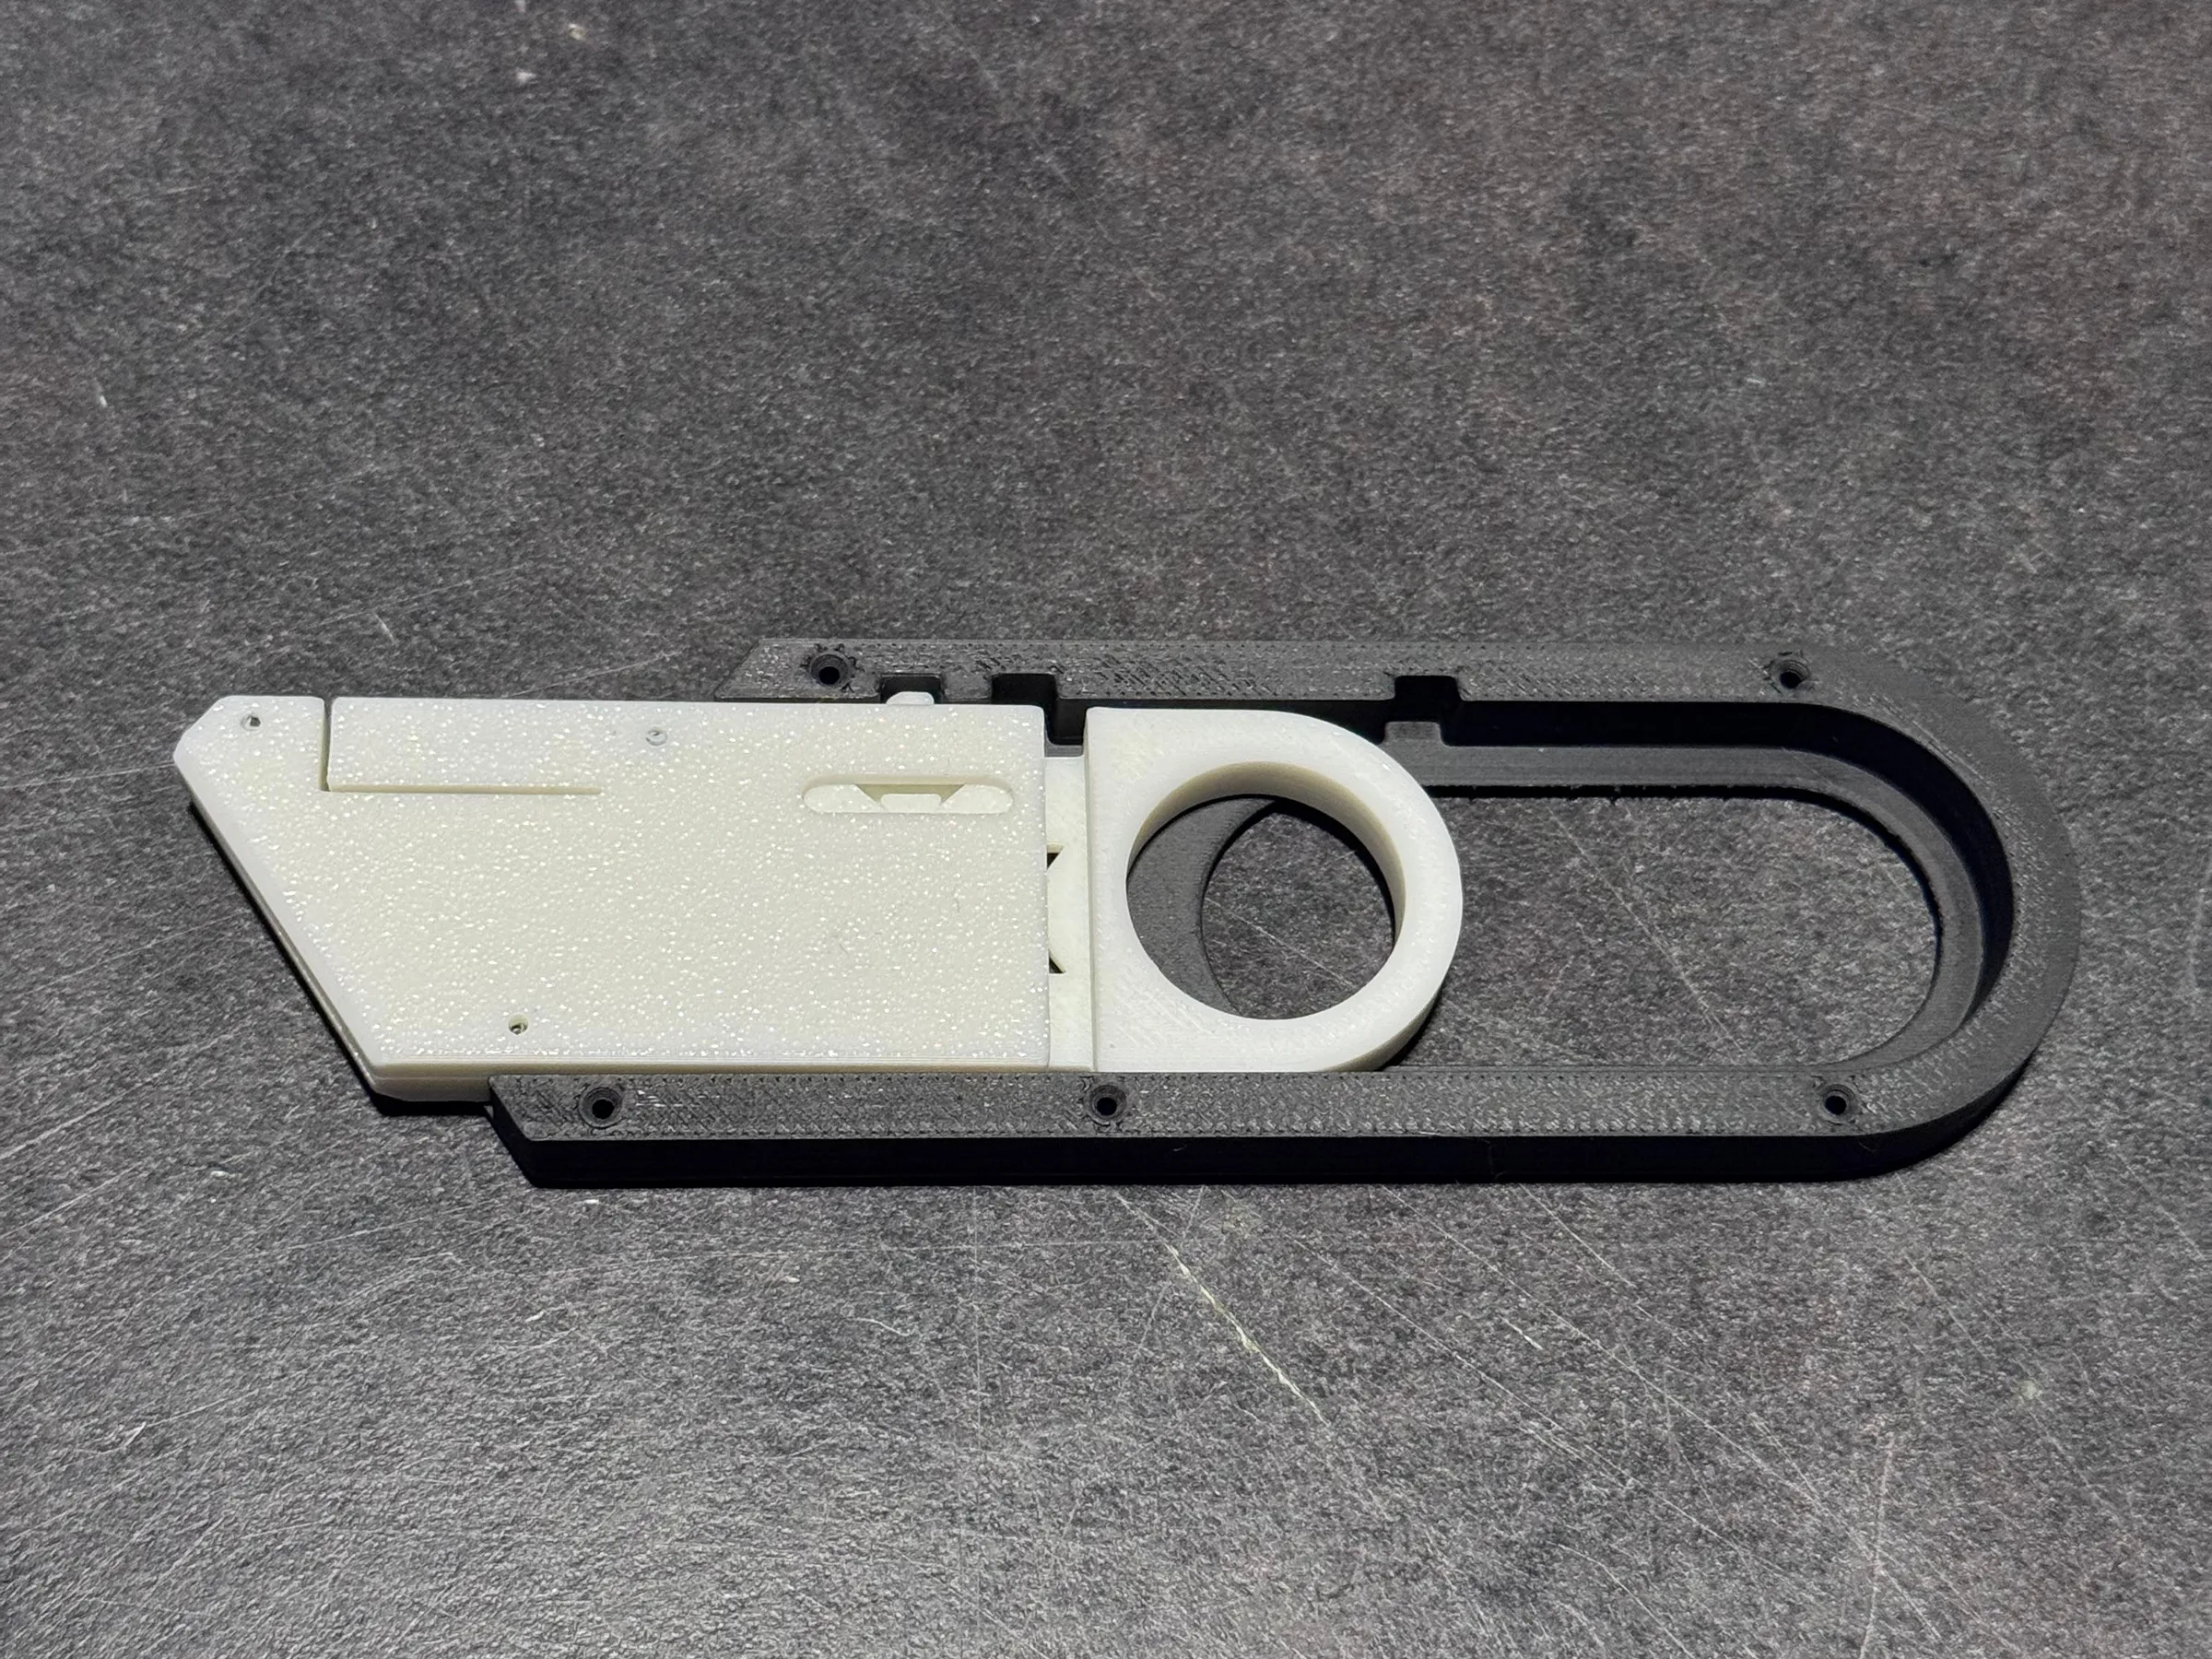
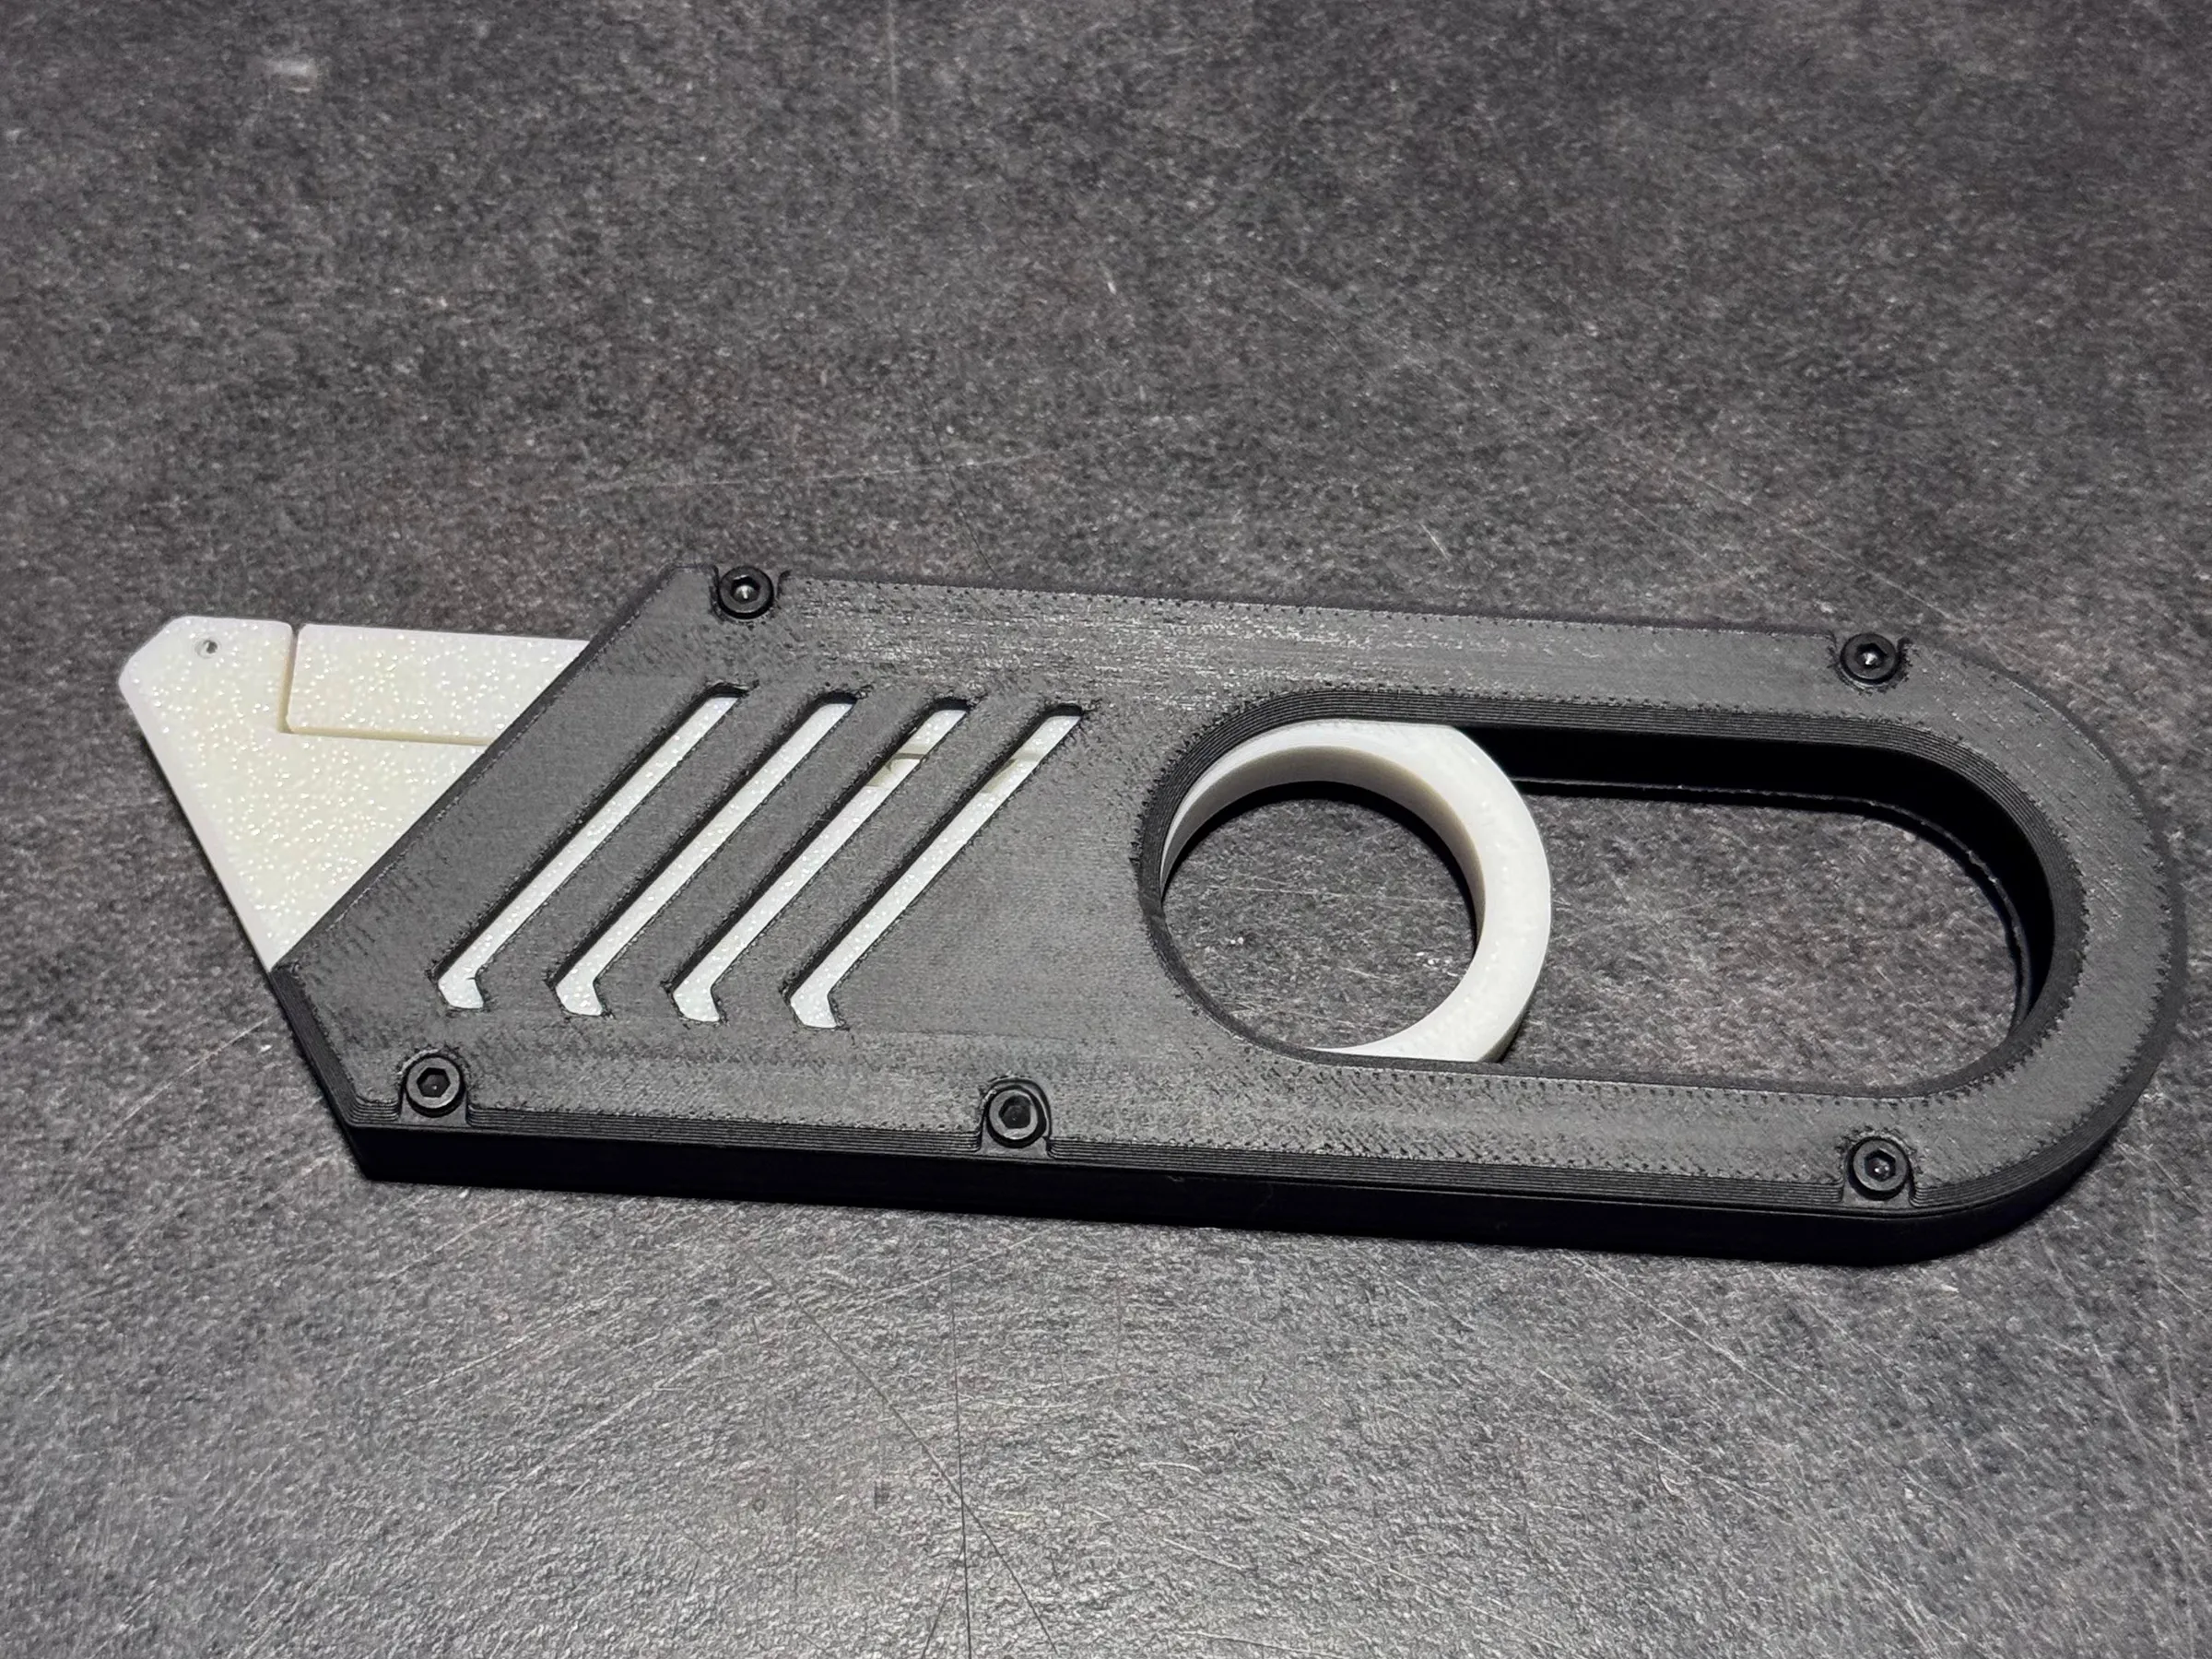
Step 5 - Close the outer housing
Place the outer shell over the assembly.
Insert and tighten the remaining screws evenly.
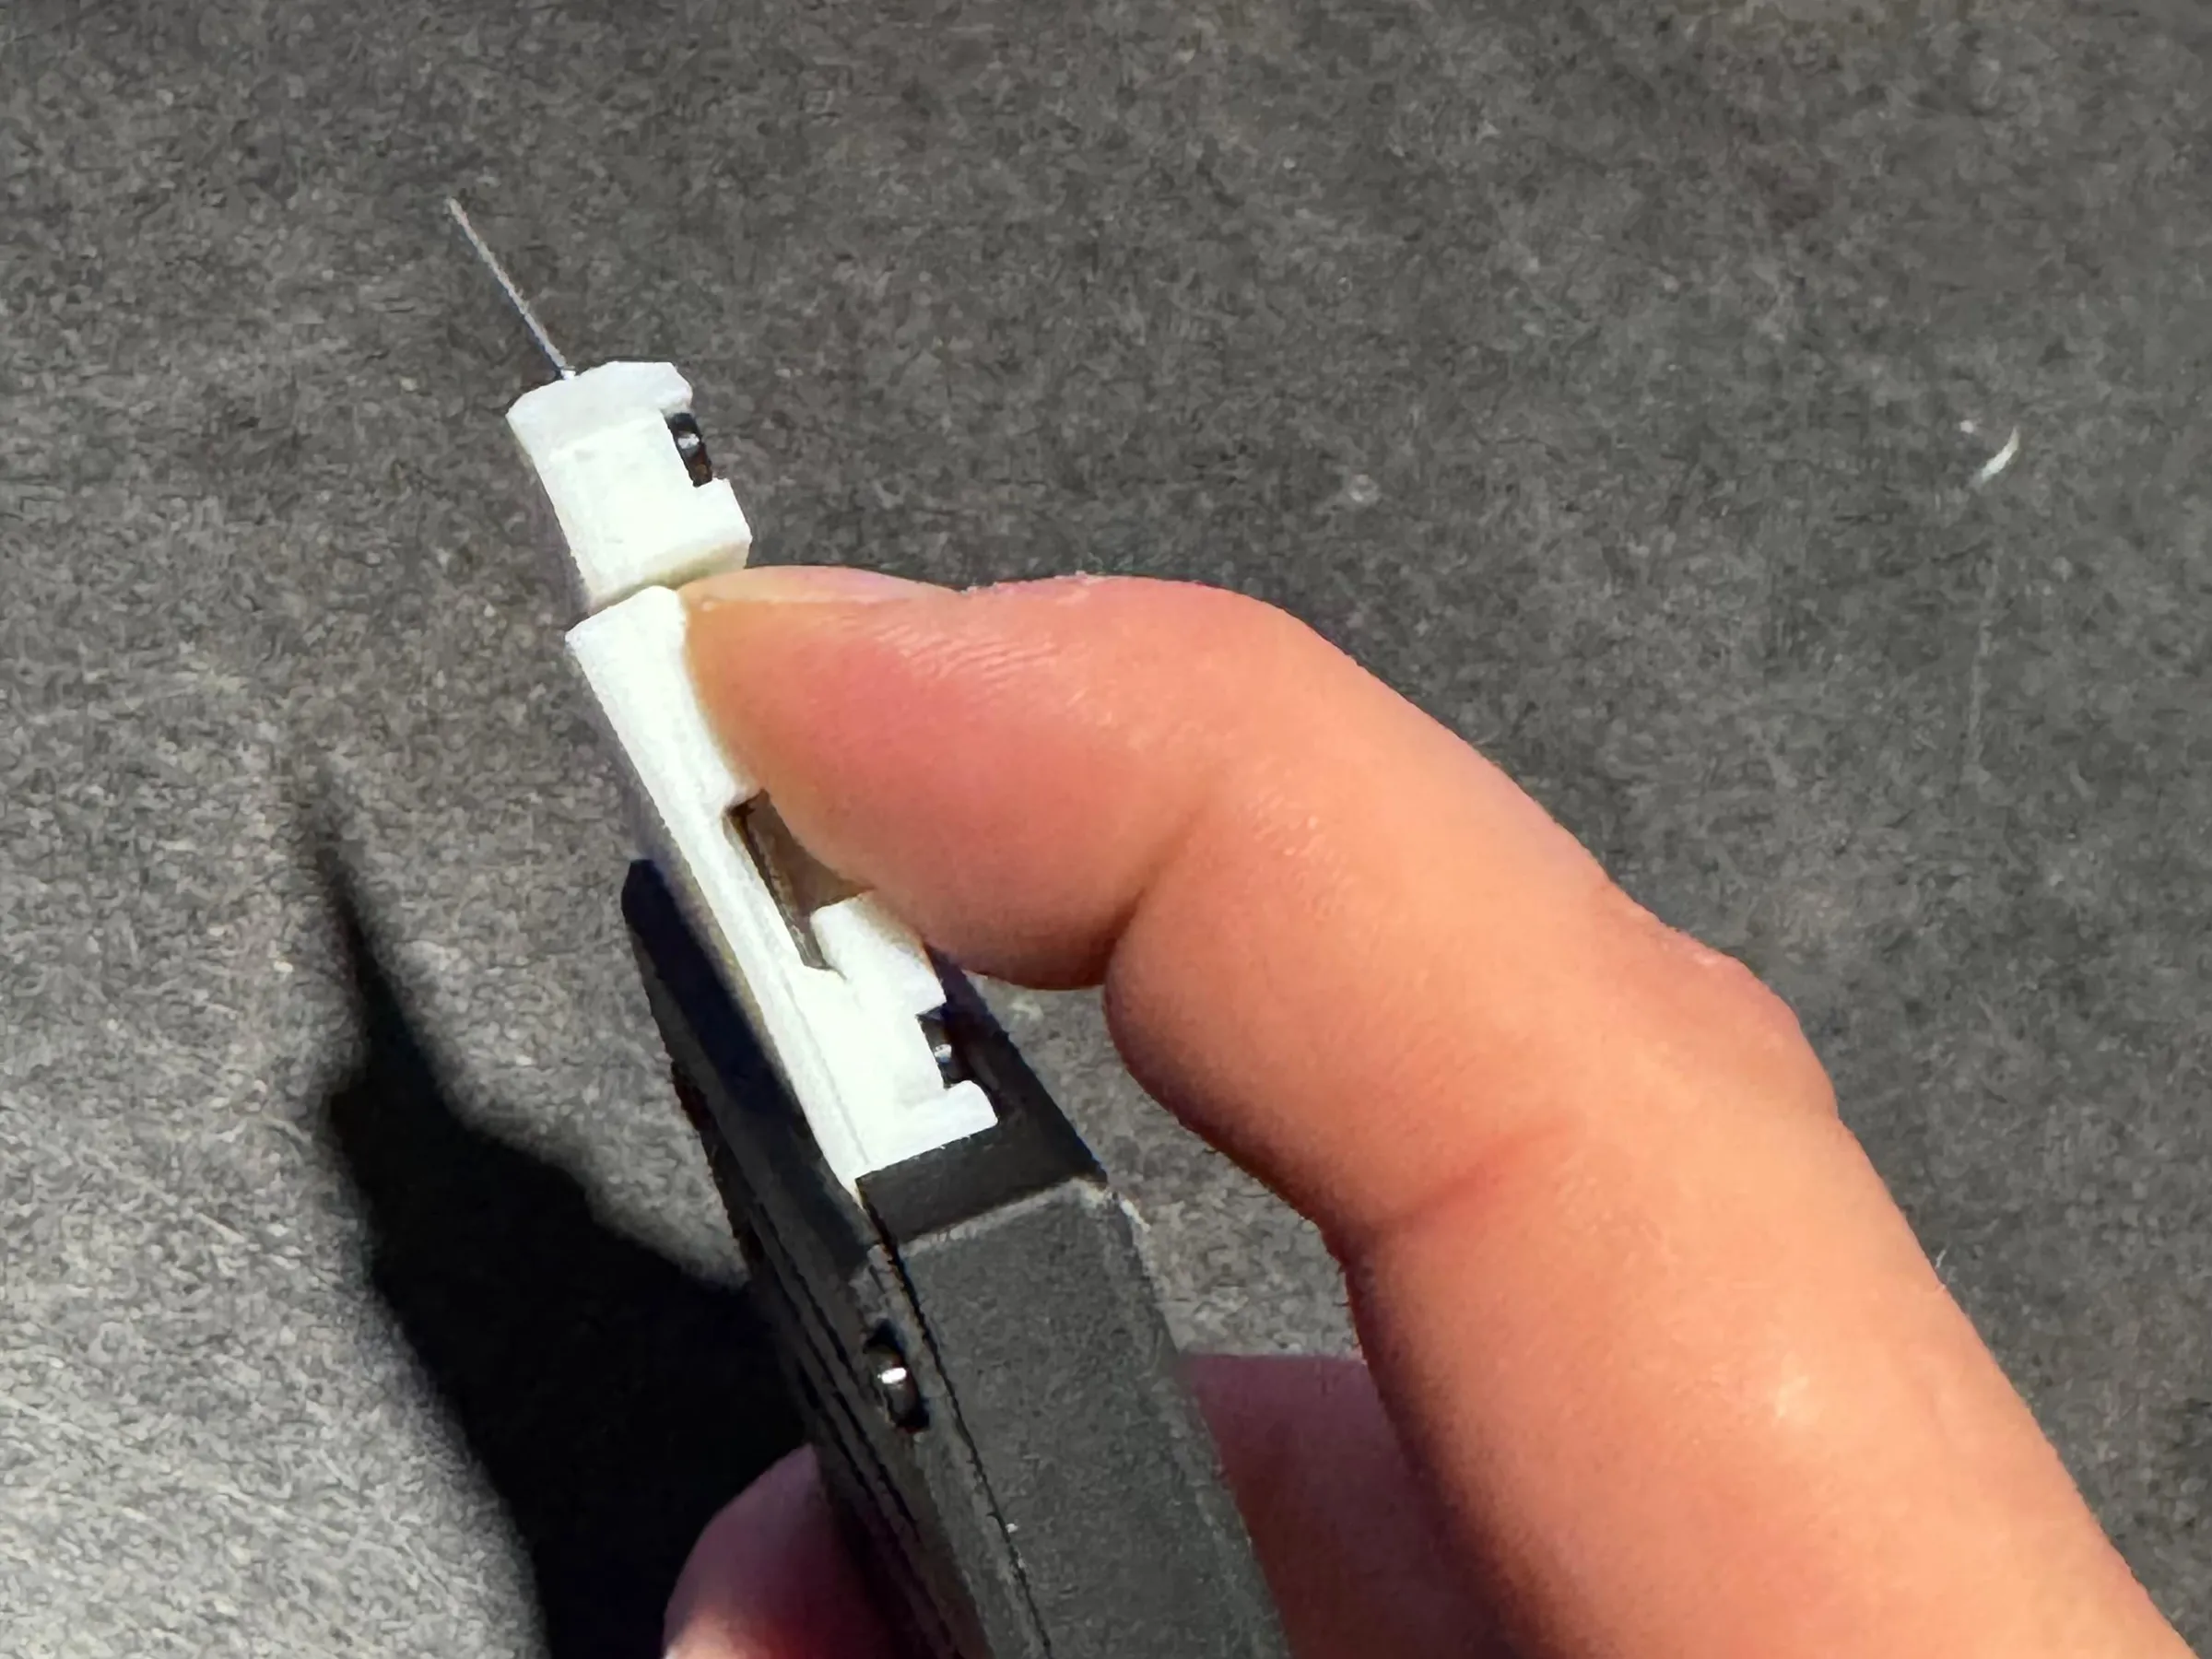
Step 6 - Install the trapezoid blade
Gently press sideways on the blade holder to create slight flex.
Carefully insert the trapezoid blade into position.
⚠️ Do not force it - apply controlled pressure to avoid damaging the printed part.

☕ Buy me a coffee – Support my work & fuel future creations!

📜 Patreon – Want to sell physical 3D prints of my models?
👇 Get your commercial license here 👇
License

You shall not share, sub-license, sell, rent, host, transfer, or distribute in any way the digital or 3D printed versions of this object, nor any other derivative work of this object in its digital or physical format (including - but not limited to - remixes of this object, and hosting on other digital platforms). The objects may not be used without permission in any way whatsoever in which you charge money, or collect fees.


Comment & Rating (1)