
Minecraft Skeleton Horse & Rider – Articulated
Print Profile(3)







Description
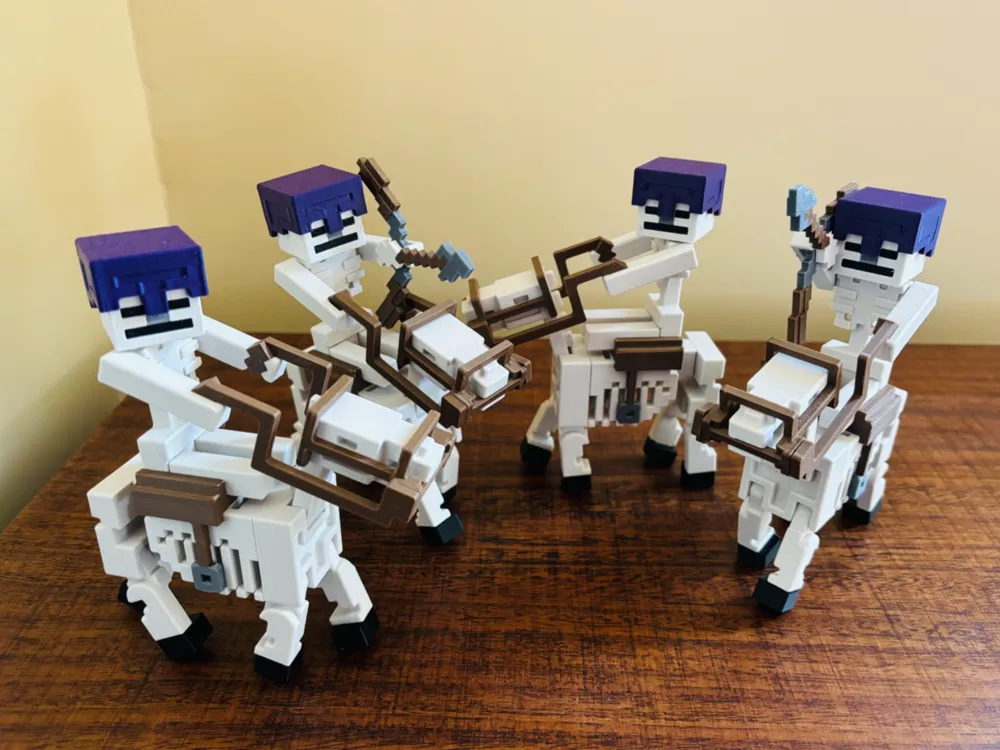
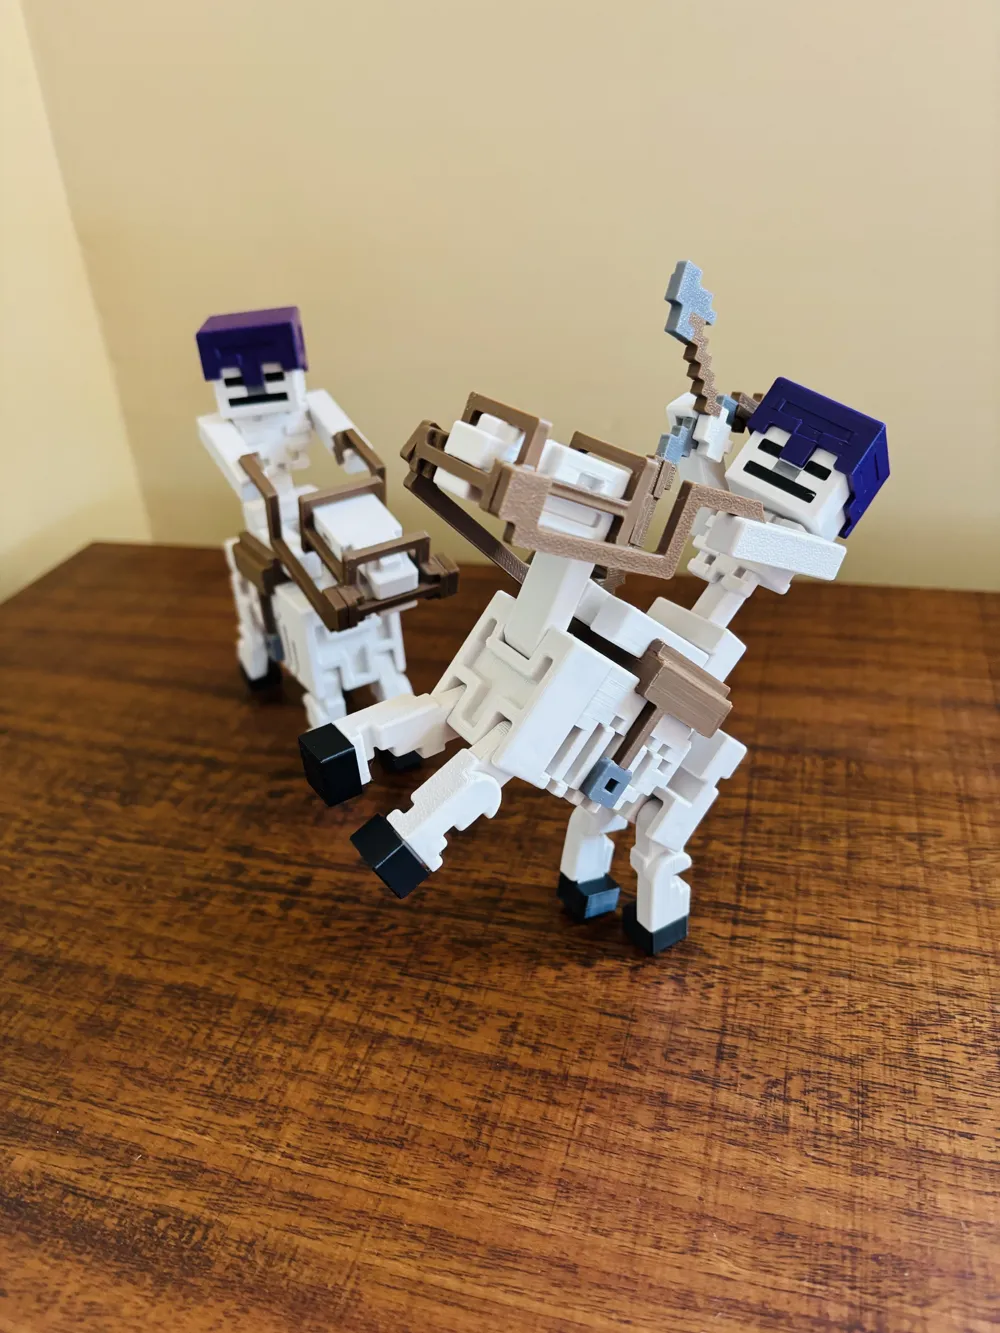
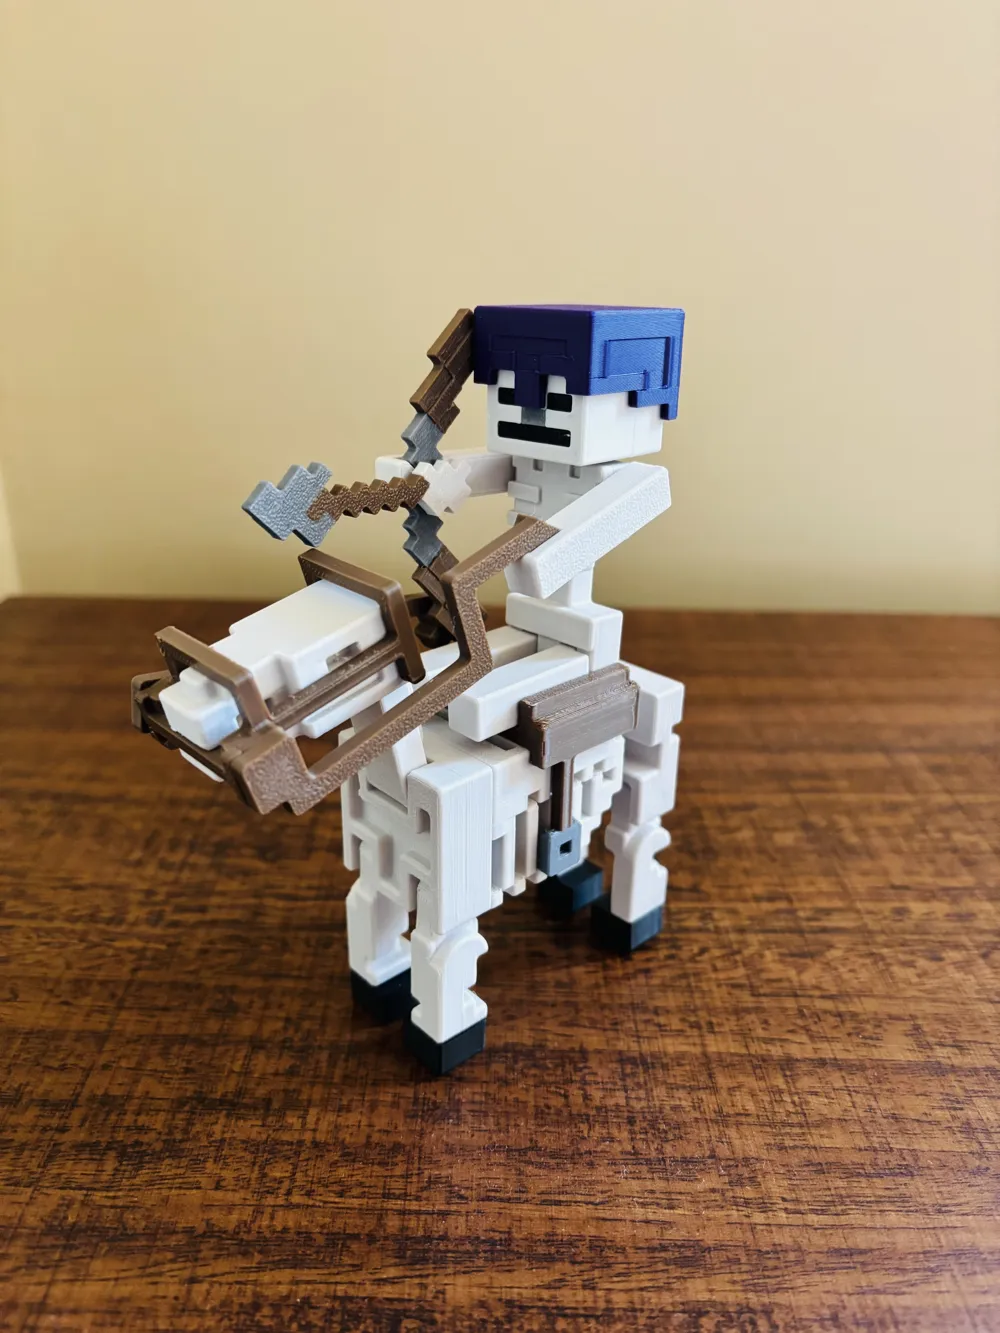
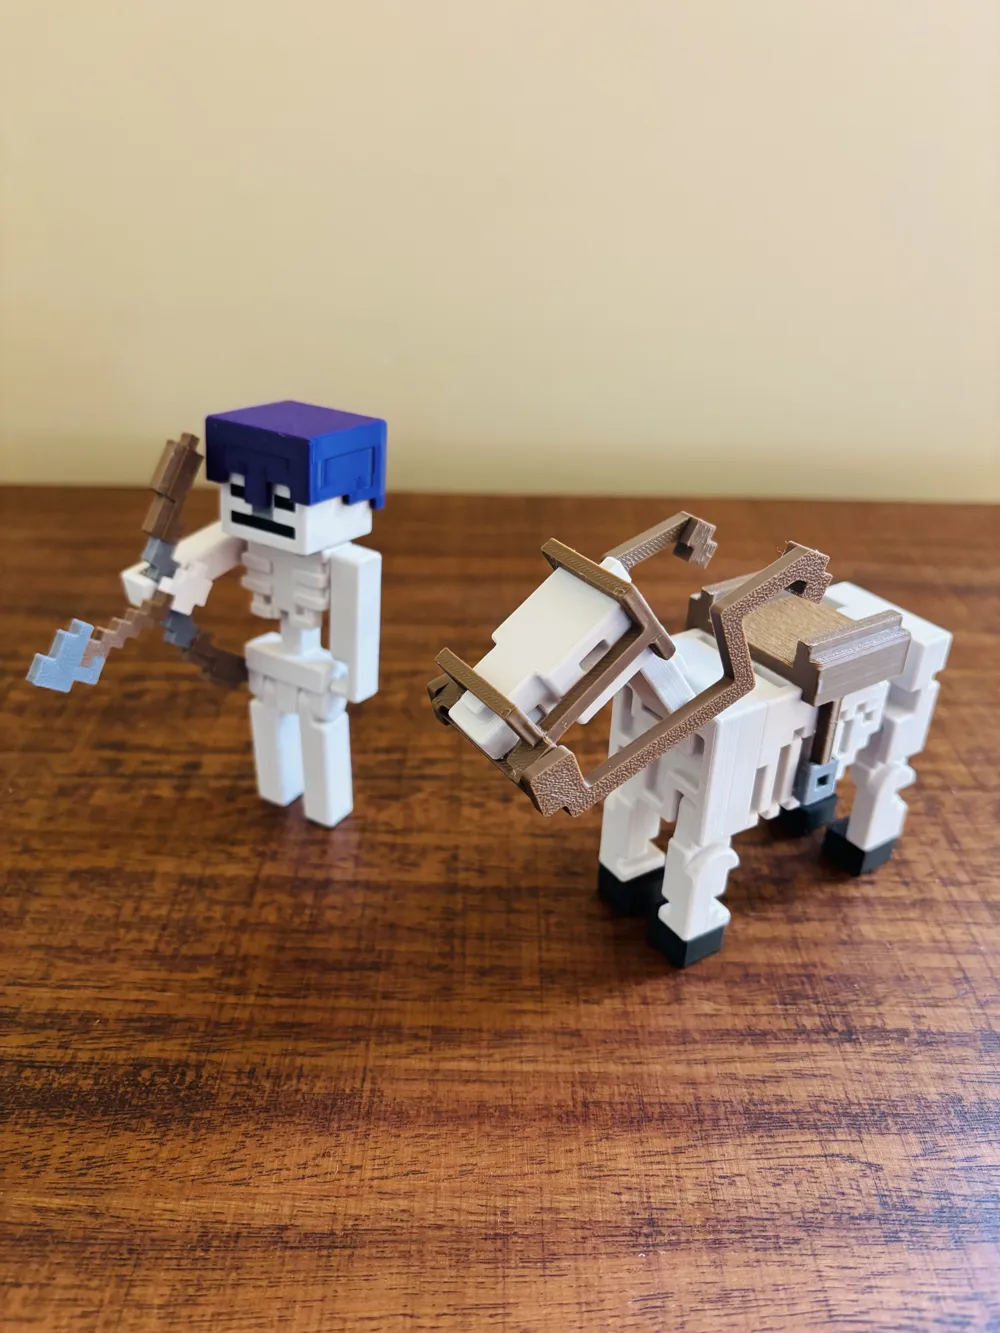
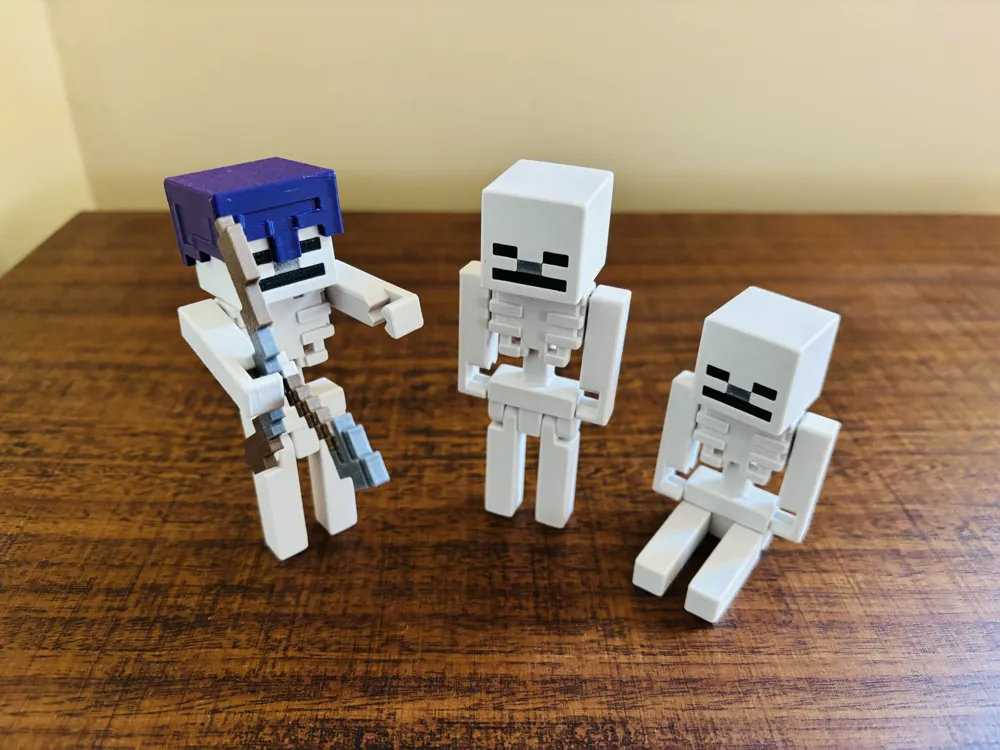
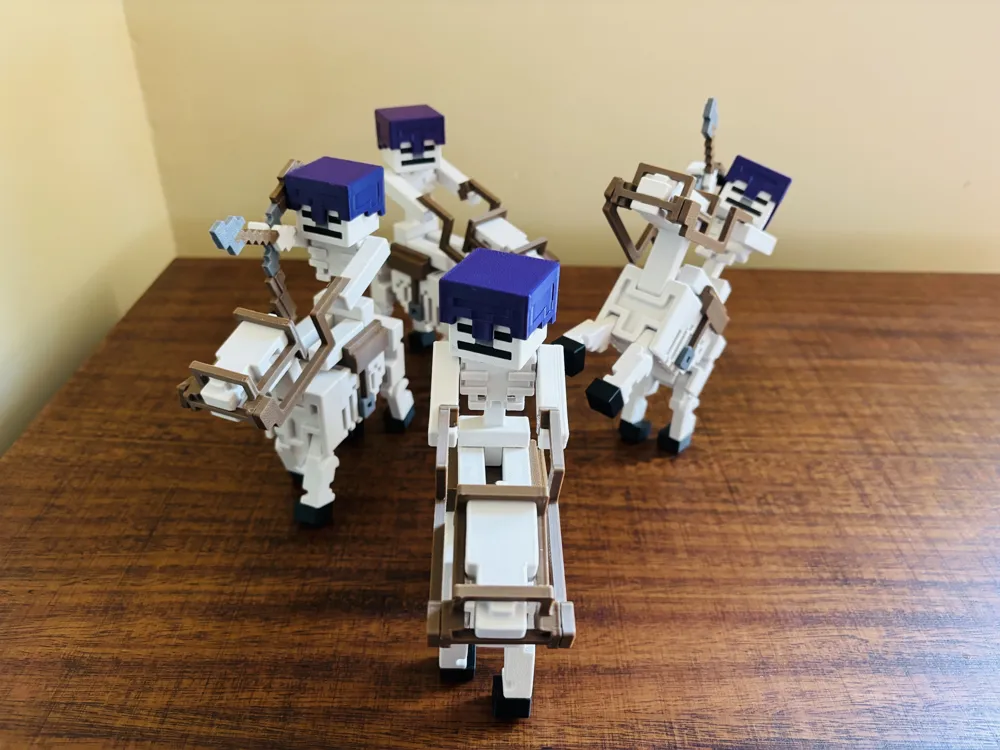
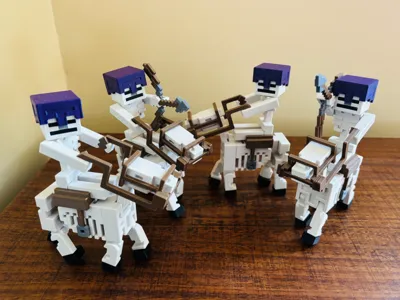
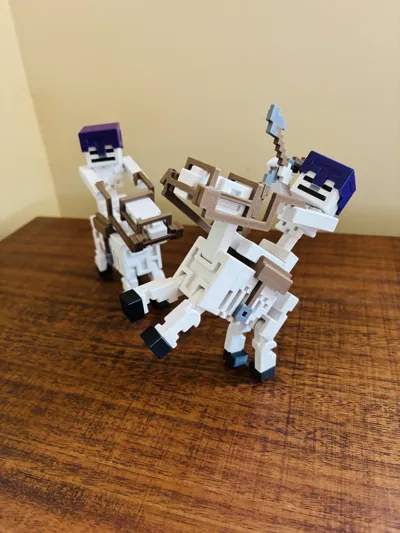
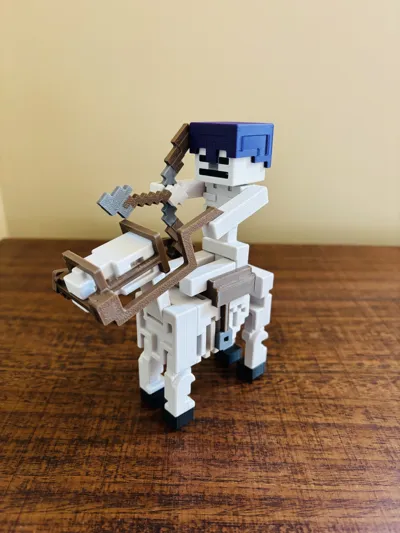
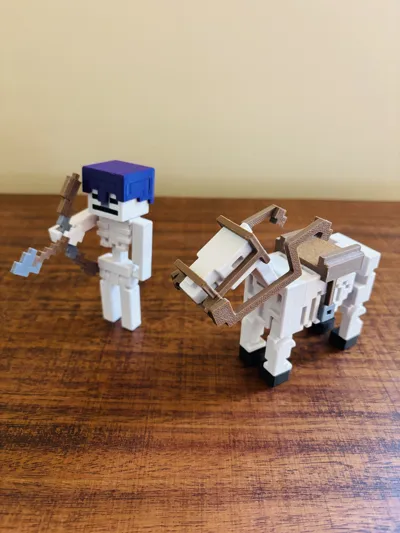
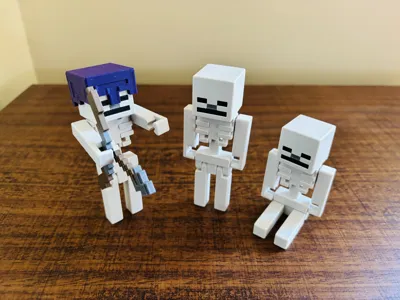
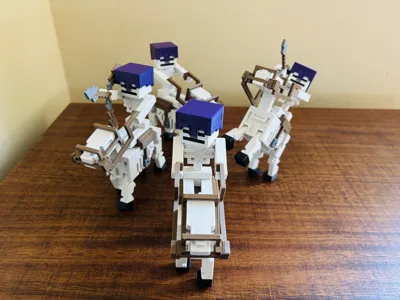
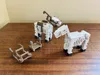
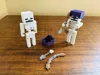
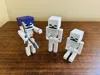
Minecraft Horse Trap featuring a fully articulated Skeleton Horse and Skeleton, inspired by the official Minecraft Horse Trap toy. Both models are fully poseable and designed for durability and stable articulation.
Print Profiles: There are 3 print profiles available including all the parts needed to assemble the complete Horse Trap in multicolor using AMS or similar multicolor systems (optional):
- Skeleton Horse: Includes all horse parts and accessories (4 colors).
- Skeleton: Includes all skeleton parts (3 colors).
- Skeleton accessories: Includes the enchanted helmet along with the bow and arrow (4 colors).
Boost Me (for free)
If you like this model, a Boost is always appreciated. Thank you very much for your support and for motivating me to continue creating new models! ⭐️
Important: If you are not using my print profiles and are slicing the parts yourself, please note the following:
- The Skeleton Horse parts Front left leg, Front right leg, and Horse neck must be printed together with Body (front).
- The Skeleton Horse parts Back left leg and Back right leg must be printed together with Body (back).
- The Skeleton parts Left leg and Right leg must be printed together with the Body piece.
Skeleton Horse Assembly:
Carefully remove all supports, especially from the bridle and saddle pieces.
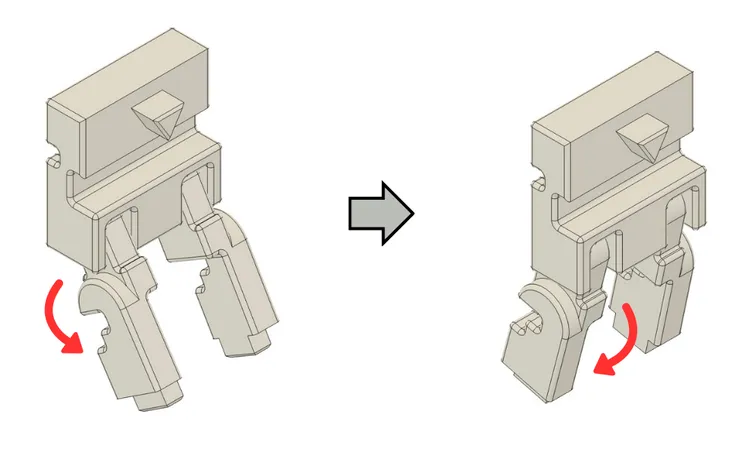
Gently bend the front legs forward and backward to release them from the Body (front) piece. Repeat the same process with the Horse neck.
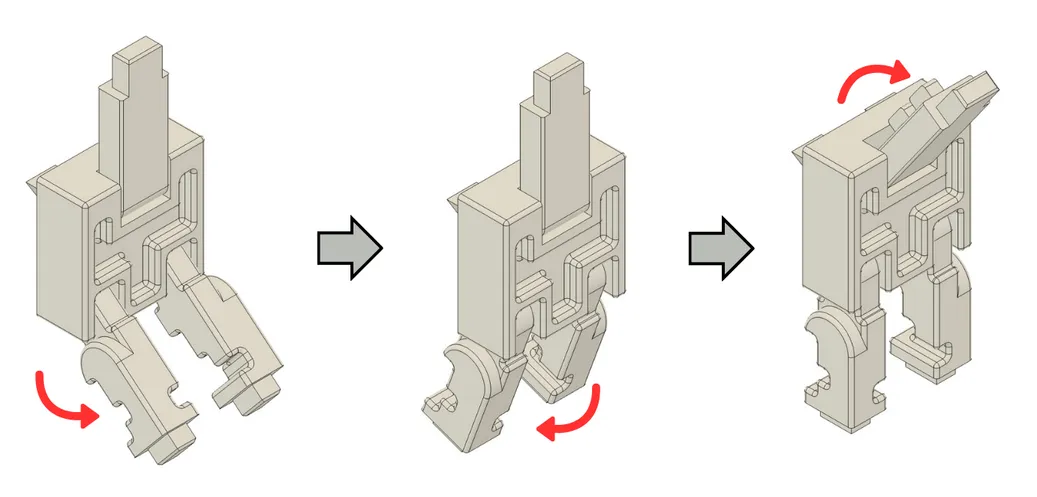
Gently bend the back legs forward and backward to release them from the Body (back) piece.
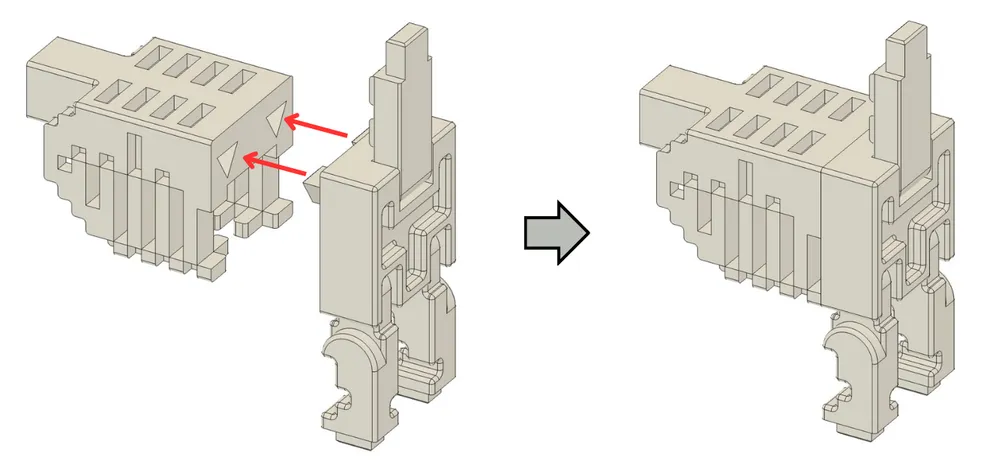
Insert the tabs of Body (front) into the front slots of Body (torso) using gentle pressure.
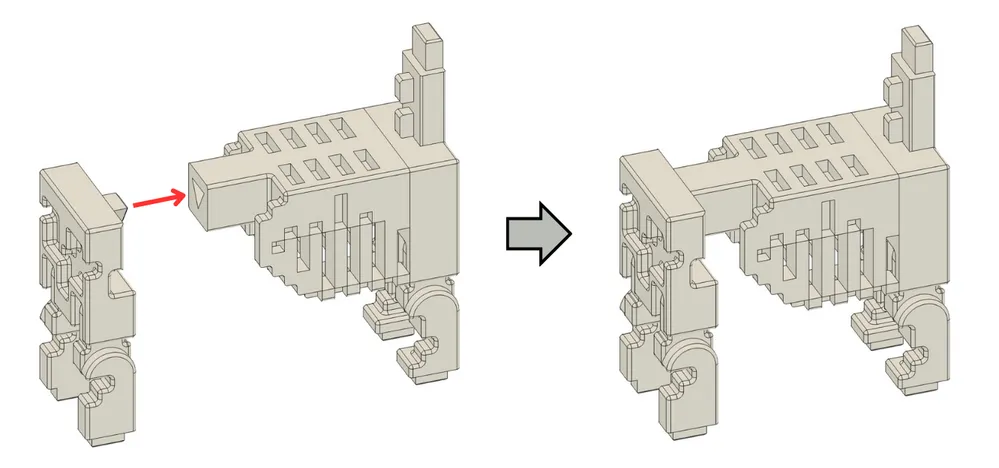
Insert the tab of Body (back) into the rear slot of Body (torso) using gentle pressure.
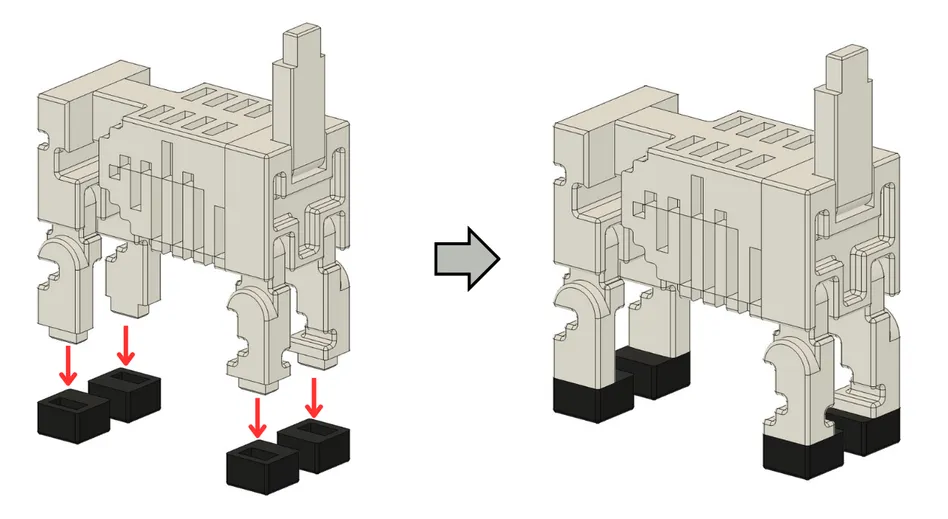
Insert Front left hoof and Front right hoof into the tabs of the front legs. Repeat the process with Back left hoof and Back right hoof for the rear legs.
Important: The rear hoof pieces have smaller holes than the front ones. Rear hoofs will not fit on the front legs and vice versa.
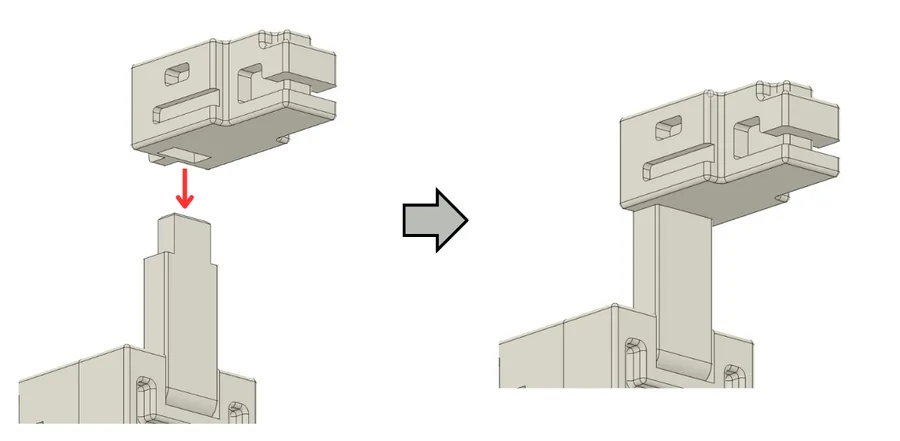
Insert the Horse head onto the top tab of the Horse neck using gentle pressure.
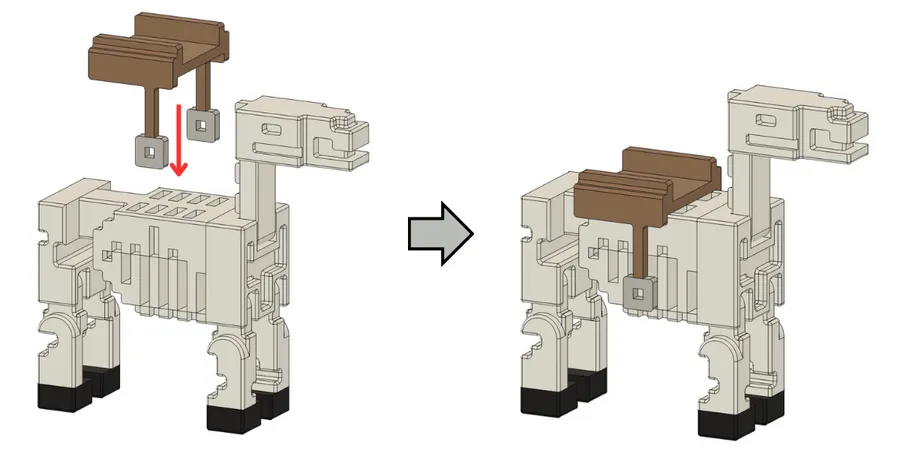
Insert the Saddle onto the top of Body (torso) with light pressure, making sure it is properly aligned as shown in the image.
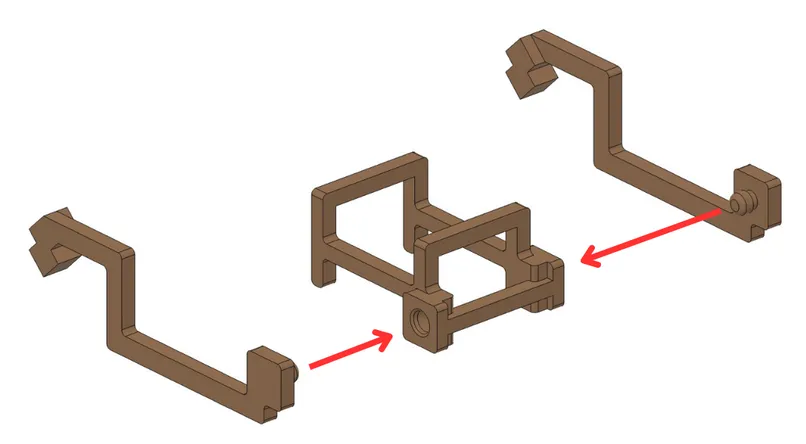
Insert the tab of the Left rein piece into the left hole of the Bridle using gentle pressure. Repeat the same process for the Right rein.
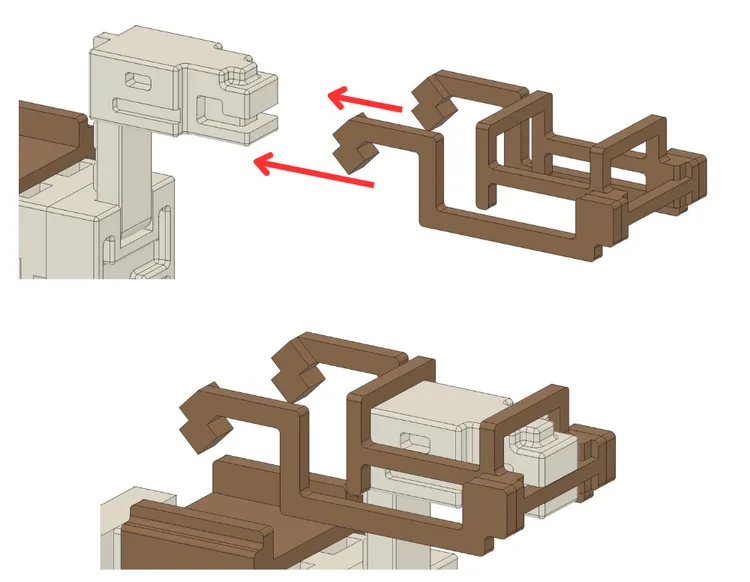
Insert the Bridle piece onto the Skeleton Horse head with light pressure.
Skeleton Assembly:
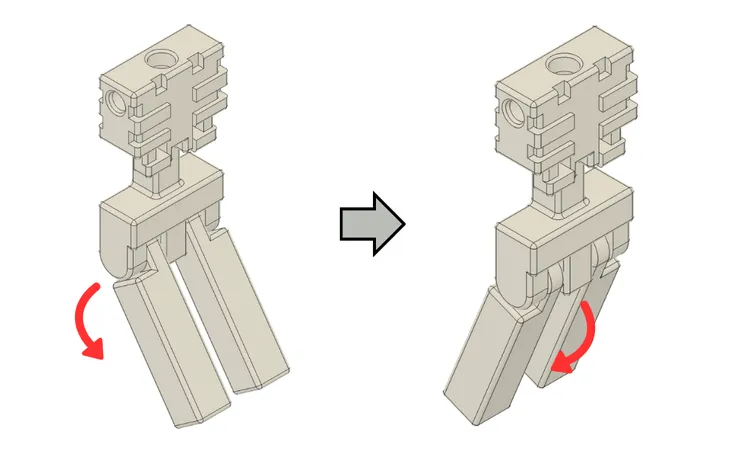
Gently bend the skeleton legs forward and backward to release them from the Skeleton body piece.
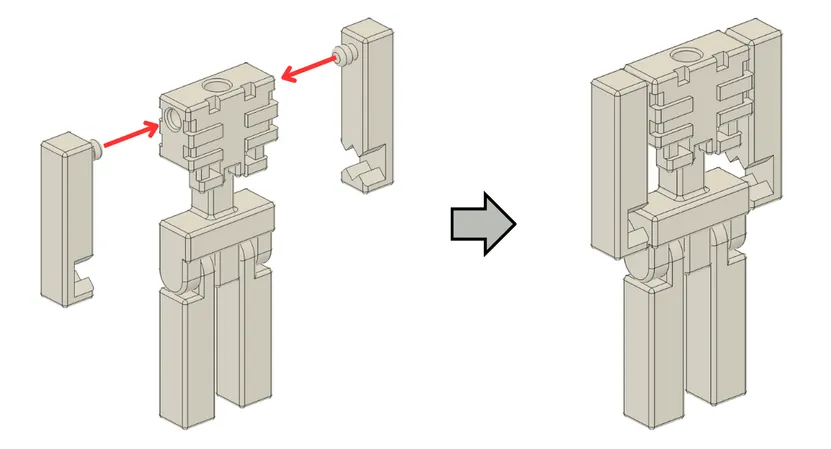
Insert the skeleton arm tabs into the side holes of the Skeleton body using light pressure.
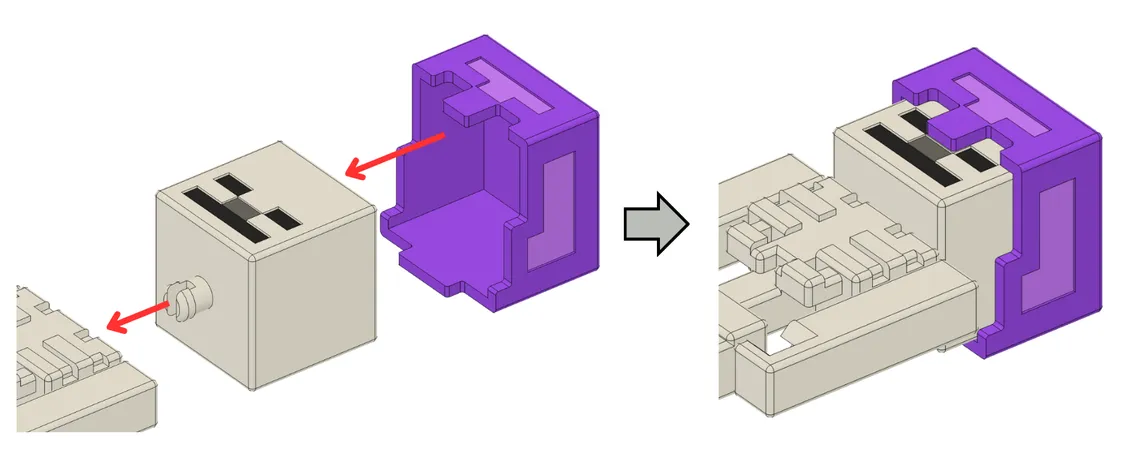
Press-fit the helmet onto the Skeleton head. Then insert the bottom tab of the head into the top hole of the Skeleton body using light pressure.
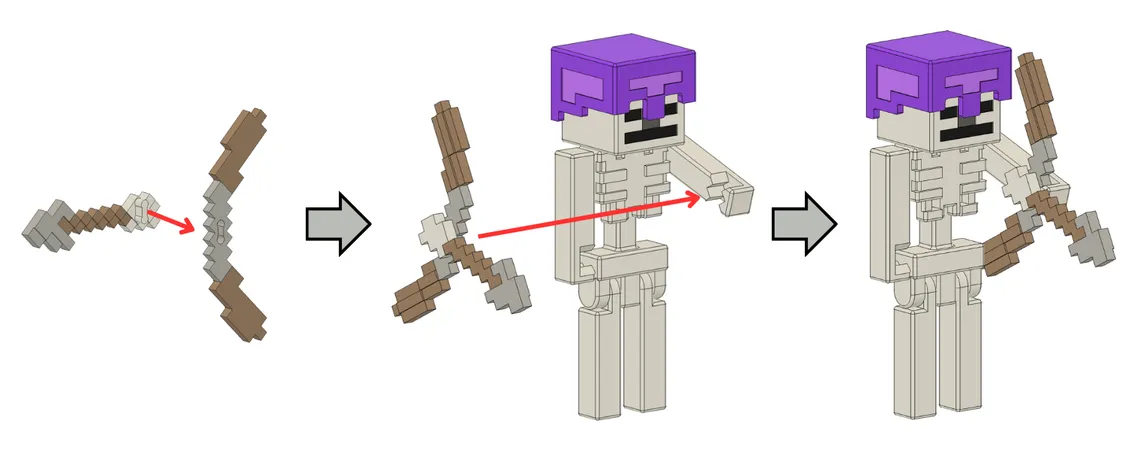
Press-fit the arrow tab into the hole of the bow. Then insert the bow into either of the skeleton arm slots.
Complete Horse Trap Assembly:
Rotate the skeleton legs fully forward and press-fit the skeleton onto the saddle of the Skeleton Horse.
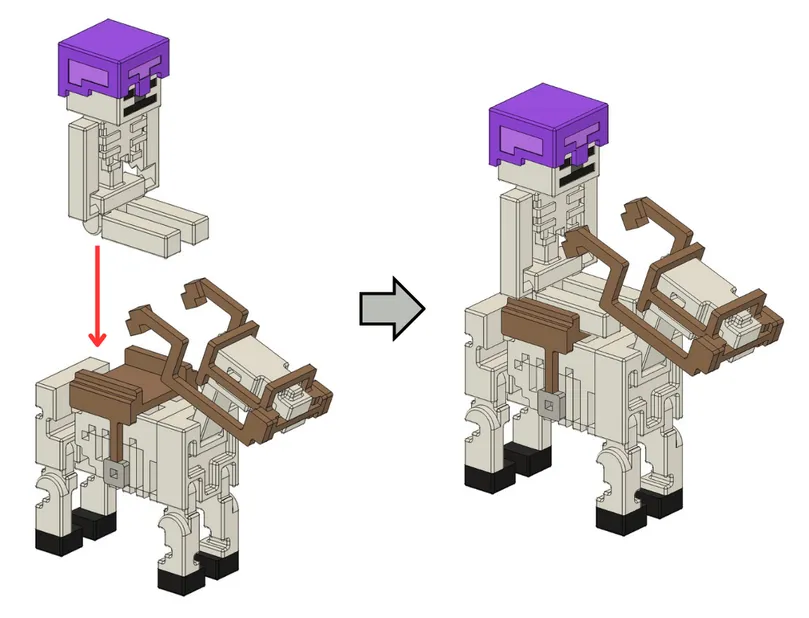
Insert the rein tabs into the slots on the skeleton arms using light pressure. For a more dynamic display, you can pose one arm holding the bow and the other holding one of the reins.
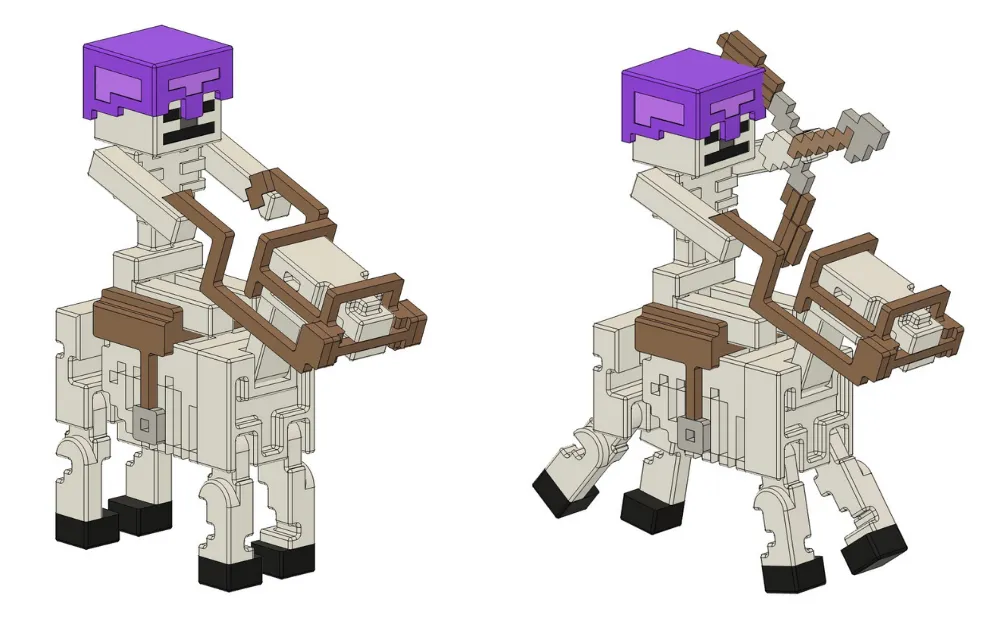
Check that all joints move smoothly and correctly — now it’s time to have fun!
License

You shall not share, sub-license, sell, rent, host, transfer, or distribute in any way the digital or 3D printed versions of this object, nor any other derivative work of this object in its digital or physical format (including - but not limited to - remixes of this object, and hosting on other digital platforms). The objects may not be used without permission in any way whatsoever in which you charge money, or collect fees.


Comment & Rating (51)