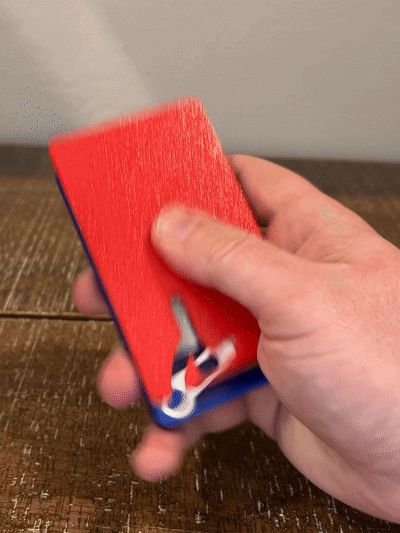
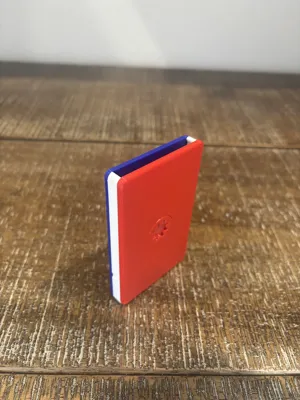
Spinny Wallet - fidget, cascade wallet


Print Profile(9)


Description
Boost Me (for free)
If you enjoy my design, Boost me. Thank you!
2026 Independence Day Update:
- I've uploaded a new simpler design, check it out here: https://makerworld.com/en/models/3012893-kiss-wallet-keep-it-simple-spinny-t-1hr-m-30g#profileId-3384061
- I'll be working on consolidating profiles (I'm learning).
- Check out all of my wallets here: https://makerworld.com/en/collections/29591879-personal-gadgets
READ BEFORE PRINTING
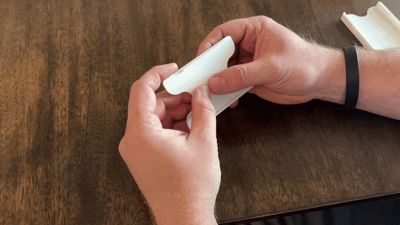
I am but a humble designer. I just try stuff. Smooth spinning won't be achieved right off the build plate. After printing you will need to:
- Press firmly on the spinners, in multiple places, to break them free of any “goobers” left from the seam, and
- Spend 5-15 minutes spinning the cover and base, separately and then together, to smooth out the seam goobers. It will take some effort but if you have a little ADHD like me, spinning it enough to get it smooth will not be a problem.
I sliced with the “Nearest” seam selection. “Aligned” may anneal the spinner completely ... “Random” can work but doesn't look as nice. When spinning do not press too firmly, apply just enough pressure to maintain friction with the spinners while allowing the wallet to spin. I highly recommend using PETG over PLA. It's my favorite material now. Added strength and less morphing.
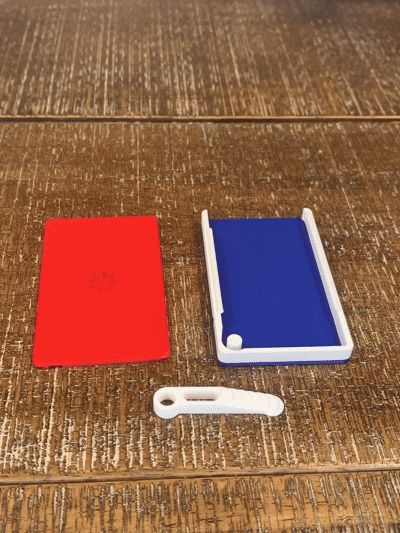
If you want to slice your own (all individual raw files are available), at a bare minimum you need:
- A cover
- A base
- A lever
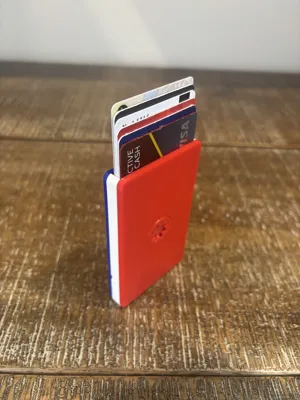
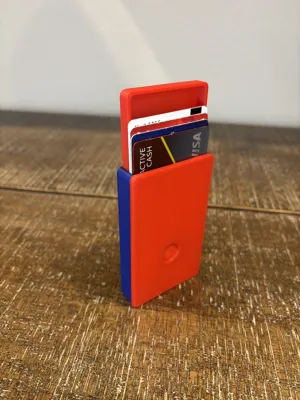
Wallet Types
- Classic: Holds 6 cards (use card lever) OR the regular cash drawer and 1 card (use cash lever).
- Slim: Holds 4 cards (use card lever) OR the regular cash drawer (use cash lever).
- Cash: Holds 6 cards and the regular cash drawer OR 4 cards and the big cash drawer.
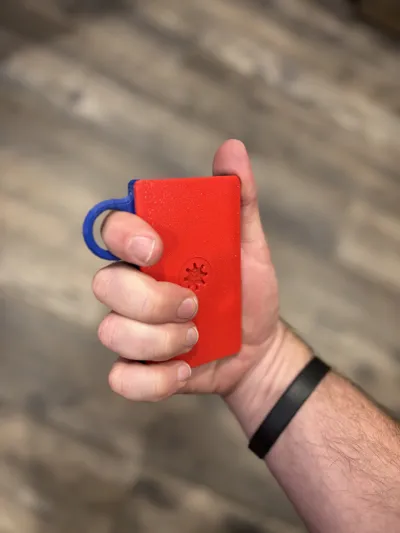
- Finger Loop: Like the classic.
Cover/Base Combos
- Blank: Flat surface.
- Spinny: Spinners with 0.2 mm clearance
- Spinny Clearance: Spinners with 0.25 mm clearance (if you still get annealing let me know and I’ll add 0.3 mm)
- Circle: Impression for thumb/finger (easier opening and some “spinny”)
Design Notes
There are a couple of major design challenges associated with a spinning wallet:
- Because there is a spinner on either side (i.e., two spinners), there is twice as much friction as a single spinner (try spinning just the cover or base to see for yourself). This is especially challenging because you also need to maintain enough pressure between your fingers and the spinners to get any spin. Add in the extra weight of your cards, and it's tough.
- The full wallet's center of mass is towards the center, making it harder to get some good torque.
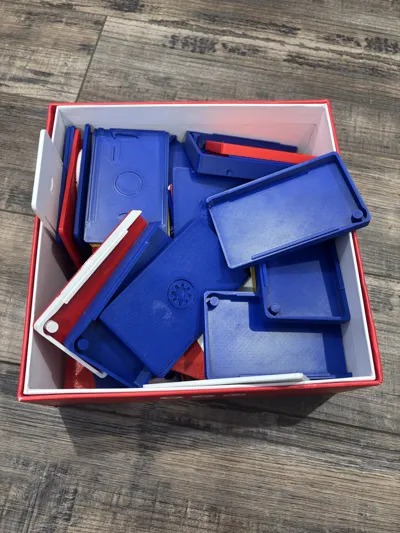
I tried many prototypes. Sometimes the same printer, same slicer, same slicer settings, same manufacturer, same material, different color produced different results. I uploaded two clearances to give options. I got the best results with the smallest clearance possible - that didn't also anneal. I'm open to suggestions. IF 0.25 mm is still annealing for you let me know, I’ll add a 0.3 mm option.
Want to sell it? Recurring or one-time fee
Design Journal
Since the PolyWallet, I:
- Improved the mechanism for smoother opening and closing (but it's now a two-handed process to close)
- Fixed the slim version's issues
- Added a cash drawer and associated base and levers
- Added the blank, spinny, and spinny clearance options
- Added indentions for future accessories (Apple Air Tag, etc.)
- I now have a P2S, upgraded from my Ender 3. It's amazing being able to print 5-10x faster … I made plenty of prototypes and created profiles.
License
You shall not share, sub-license, sell, rent, host, transfer, or distribute in any way the digital or 3D printed versions of this object, nor any other derivative work of this object in its digital or physical format (including - but not limited to - remixes of this object, and hosting on other digital platforms). The objects may not be used without permission in any way whatsoever in which you charge money, or collect fees.
Comment & Rating (60)