Pasta Cutter for Seadas (Typical Sardinian Sweet)


Print Profile(1)
Bill of Materials

Description
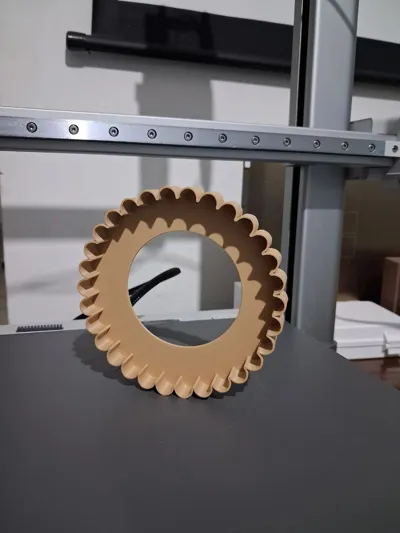
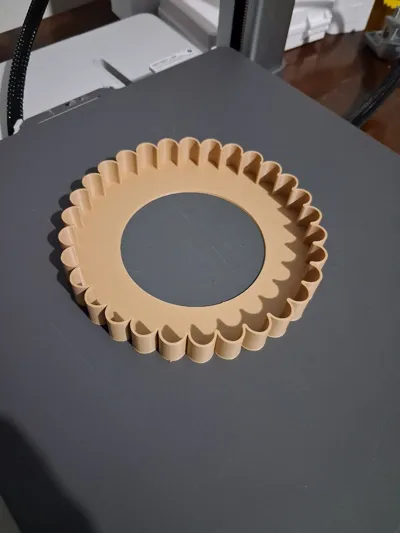
🍯 Seadas Pasta Cutter - The Sweet Heart of Sardinia
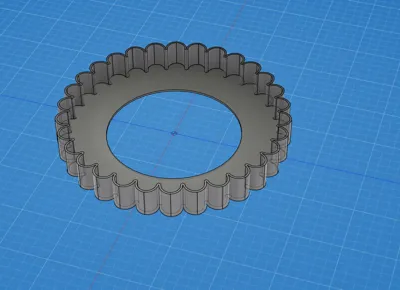
This 3D model is a Seadas-specific pasta cutter, designed to achieve the typical circular shape with a scalloped edge that perfectly seals the cheese filling.
The diameter is 120mm!
✨ Design Features
- Optimized Diameter: Dimensions designed for a generous traditional Seadas.
- Scalloped Edge: Creates the classic Sardinian decorative pattern and helps close the two layers of pasta.
- Ergonomic Handle: Easy to press for a clean and precise cut.
- Easy to Print: Does not require supports.
🍕 What is Seadas?
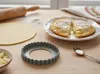
Seadas is one of Sardinia's most iconic desserts: two discs of semolina pasta enclosing a heart of melted fresh pecorino cheese and lemon zest, all fried and garnished with plenty of honey (preferably strawberry tree honey!).
🛠️ Printing and Usage Tips
- Material: The use of PETG or food-safe certified PLA is strongly recommended.
- Post-Processing: As this is an object that comes into contact with food, make sure to wash it thoroughly after printing. For greater hygiene, you can line the edge with clear film before use or apply a food-safe epoxy resin to seal the porosity between layers.
RECIPE
1. Cheese Preparation
Grate or cut the pecorino into small pieces. Place it in a non-stick pan with a tablespoon of water and melt it over very low heat, stirring until it becomes a stringy cream. Add the lemon zest. Spread the melted cheese on a surface and, once lukewarm, cut out discs approximately 8-9 cm in diameter (slightly smaller than your pasta cutter). Let them firm up.
2. The Dough (Semolina Pasta)
Work the semolina with lard and salted water until you get a smooth and elastic dough. Let it rest covered for 30 minutes.
3. Creating the Seadas
Roll out the dough very thinly (about 2 mm). Place a cheese disc on the pastry, cover with another layer of dough, pressing out any air around the filling.
Use your 3D pasta cutter: Center the filling and press firmly to seal and cut the edges into the typical crown shape.
4. Frying and Serving
Heat plenty of seed oil. Dip the Seada and use a spoon to pour hot oil over the top until the characteristic golden bubbles form. Important: Do not flip it! The top should puff up and remain golden.
Drain on absorbent paper, pour a generous amount of warm honey over it and serve immediately. The center should be stringy!
Boost Me (for free)
Do you like the design? Upload a photo of your print (or even better, your Seadas!) in the comments. Enjoy your meal!
License
You may create derivative works based on this object, provided that all such derivative works are published exclusively on the MakerWorld platform and include proper attribution to the original creator. You may not share, upload, host, distribute, or publish this object—or any derivative work of this object—on any other digital platform, marketplace, or distribution channel. Commercial use of this object and any derivative works is strictly prohibited. This includes, but is not limited to, selling, renting, sublicensing, or using the object in any context in which you receive monetary compensation or other financial benefits.
Comment & Rating (0)