
Spoiler Fiamma45S
Print Profile(1)
Description
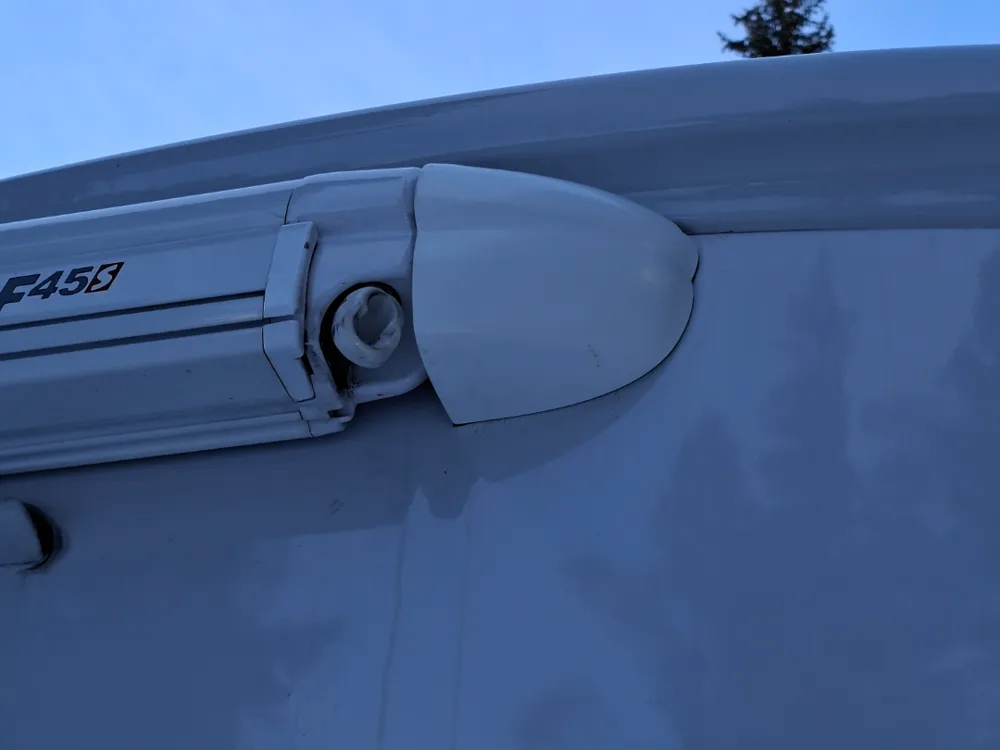
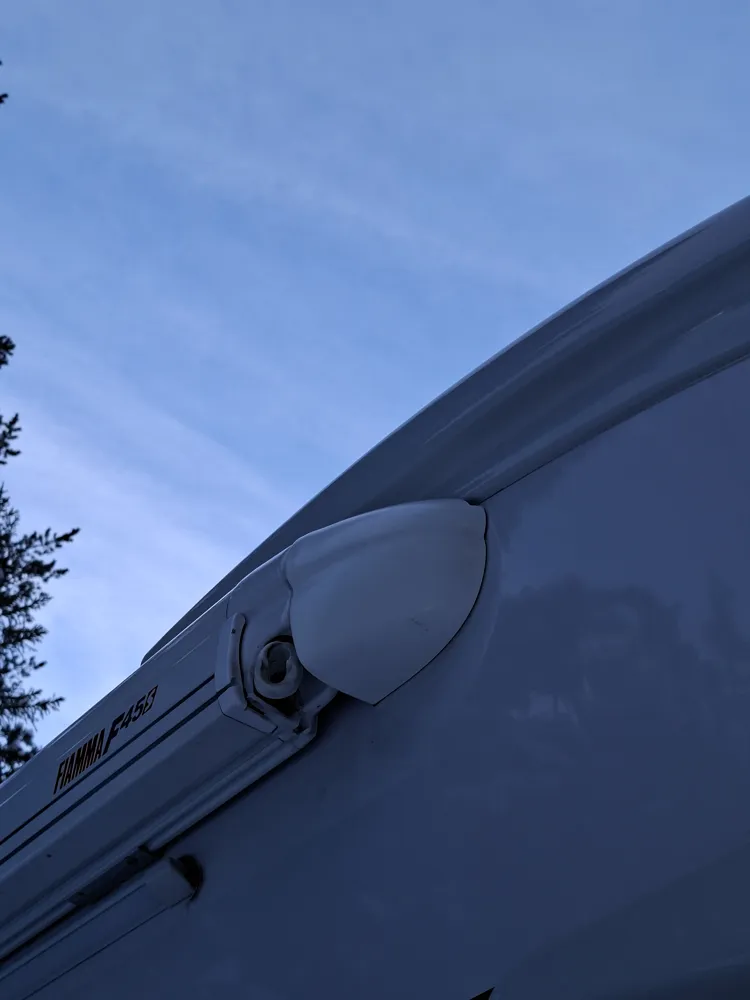
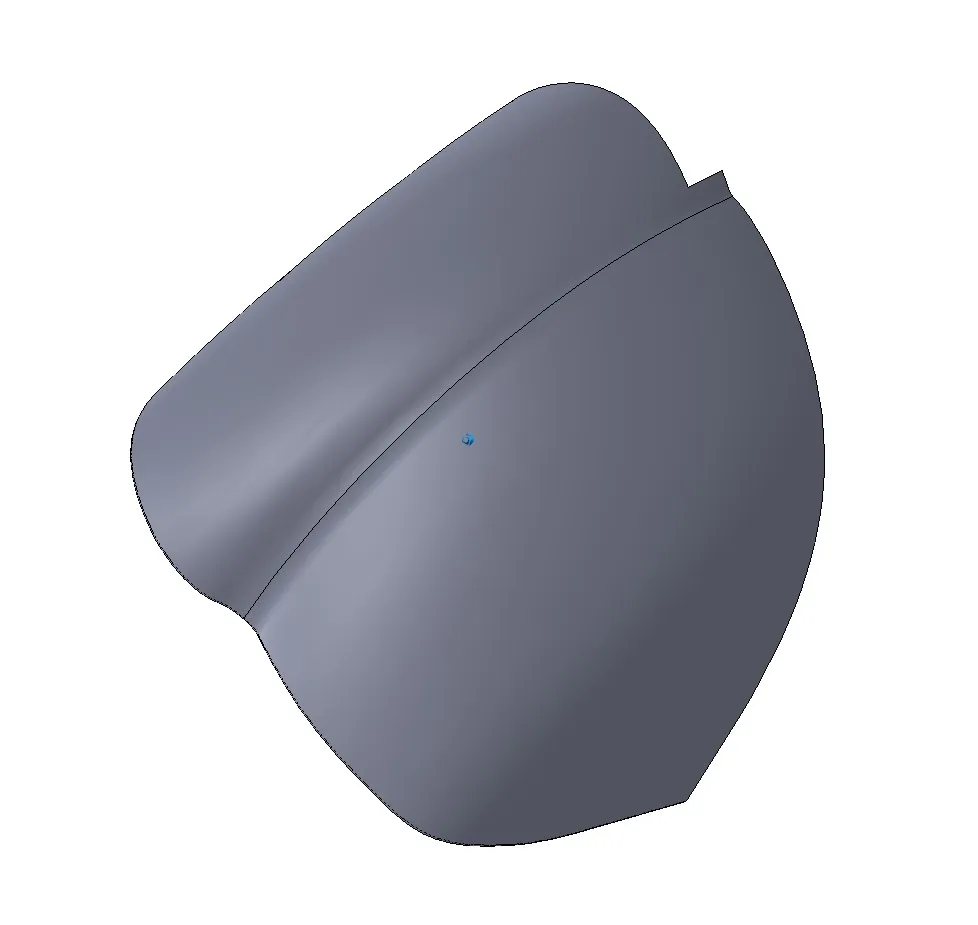
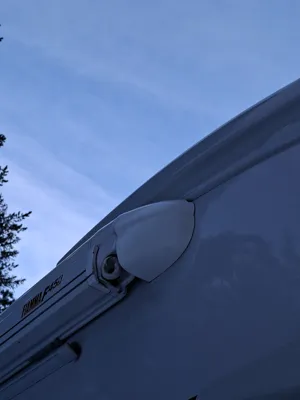
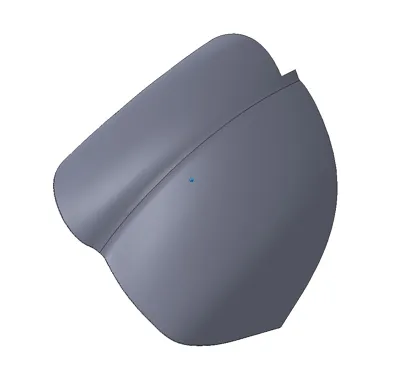
🚐 Fiamma Awning AeroSpoiler | Silence & Style
Tired of that annoying wind whistle during your highway trips? Or maybe you find your awning's look a bit too "boxy"?
This AeroSpoiler is specifically designed for Fiamma awnings (F45/F80 series) to create a seamless integration between your vehicle and the accessory. It’s not just an aesthetic upgrade—it’s a functional improvement for your road trips.
🚀 Why Download It?
- Goodbye Wind Noise: The optimized shape deflects airflow over and around the awning end-cap, drastically reducing cabin wind noise.
- Aerodynamic Efficiency: Reduces drag, helping to stabilize airflow at high speeds.
- Integrated Design: Transforms the squared-off awning line into a modern, sleek profile.
- Extra Protection: Acts as an additional shield against branches or debris that might strike the front mechanism.
🎨 Professional Finish & Painting (Highly Recommended)
For a truly professional result, I highly recommend painting the part after printing. Painting the spoiler isn't just for looks—it offers key technical advantages:
- Factory Look: By using a spray paint that matches your awning (e.g., Fiamma Polar White or Titanium), the spoiler will look like an original factory component.
- UV Protection: Paint creates a protective barrier that prevents the plastic from degrading, yellowing, or becoming brittle under the summer sun.
- Smooth Surface: A light sanding followed by primer and paint will hide the print layer lines, making the surface perfectly aerodynamic and much easier to clean from bugs.
🛠️ Print Settings
To ensure the spoiler survives the sun, rain, and highway speeds, use these parameters:
| Parameter | Suggested Value |
|---|---|
| Material | ASA or PETG (Avoid PLA: it will warp in the sun) |
| Infill | 20-30% (Gyroid for maximum structural strength) |
| Walls | 3-4 for optimal durability |
| Supports | Required only for the mounting clip area (see 3MF file) |
🔧 Installation
Installation is straightforward:
- Preparation: Thoroughly clean the awning end-cap surface with alcohol.
- Fixing: Use extra-strong double-sided tape (like 3M VHB) or, for ultimate security, a bead of polyurethane sealant (e.g., SikaFlex).
- Positioning: Snap the spoiler into place and apply firm pressure to ensure a permanent bond.
Do you like this project? If it helped make your travels quieter, please upload a photo of your make and leave a rating! 📸
https://makerworld.com/it/models/2386933-hook-for-awning#profileId-2614401
https://makerworld.com/it/models/1332942-cup-holder#profileId-1371645
https://makerworld.com/it/models/1995898-flow-partializer-for-truma#profileId-2148446
https://makerworld.com/it/models/2574626-truma-condensate-drain#profileId-2838853
https://makerworld.com/it/models/2535623-flash-gliders#profileId-2791098
https://makerworld.com/it/models/2668685-holder-hook-tent-pegs#profileId-2953487
Support my work: If this design saved your camper’s paint job, please leave a Like and post a photo of your Make! Seeing your results is what keeps me designing.
License



Comment & Rating (0)