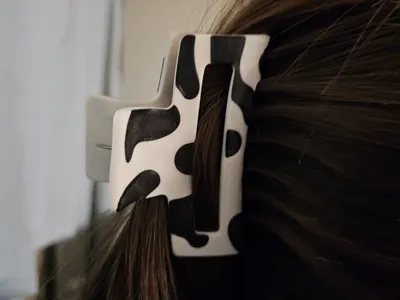
Cow Print Hair Clip - Heat-Molded Curved Clip


Print Profile(2)


Bill of Materials


Description
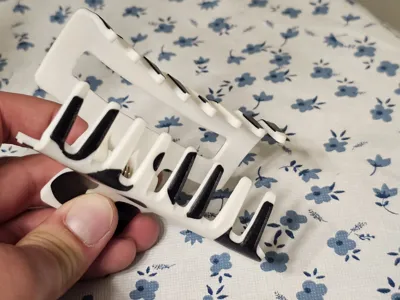
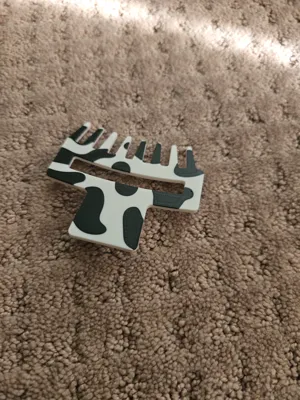
Make a statement with this trendy cow print hair clip! Perfect for casual or chic looks, this clip combines playful style with ergonomic design and strong functionality. Printed flat for strength and then heat-molded for a comfortable curve, it’s ideal for everyday wear.
Features:
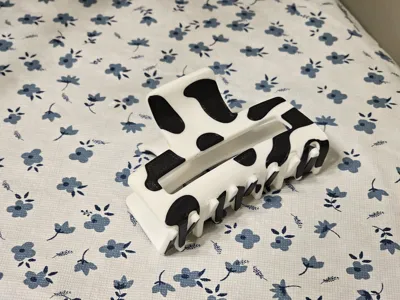
- Bold black-and-white cow print pattern
- Heat-moldable for ergonomic curves
- Very strong, even in PLA
- Combines style, strength, and functionality
- Great for casual, summer, or fall hairstyles
Materials
- Hair Clip: PLA recommended (others can work)
- Mold: PETG recommended (PLA should work as well though)
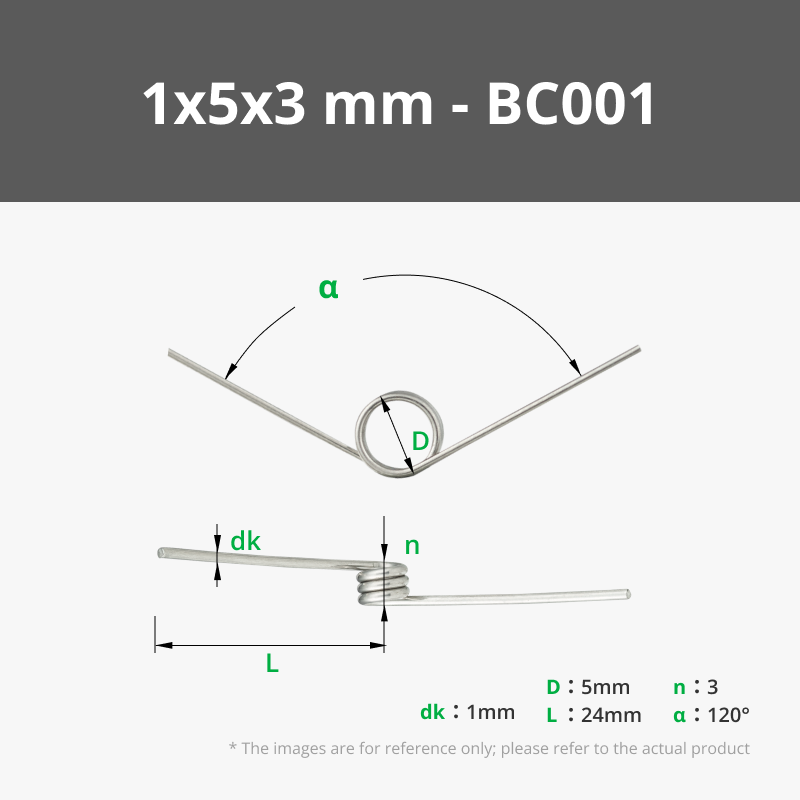
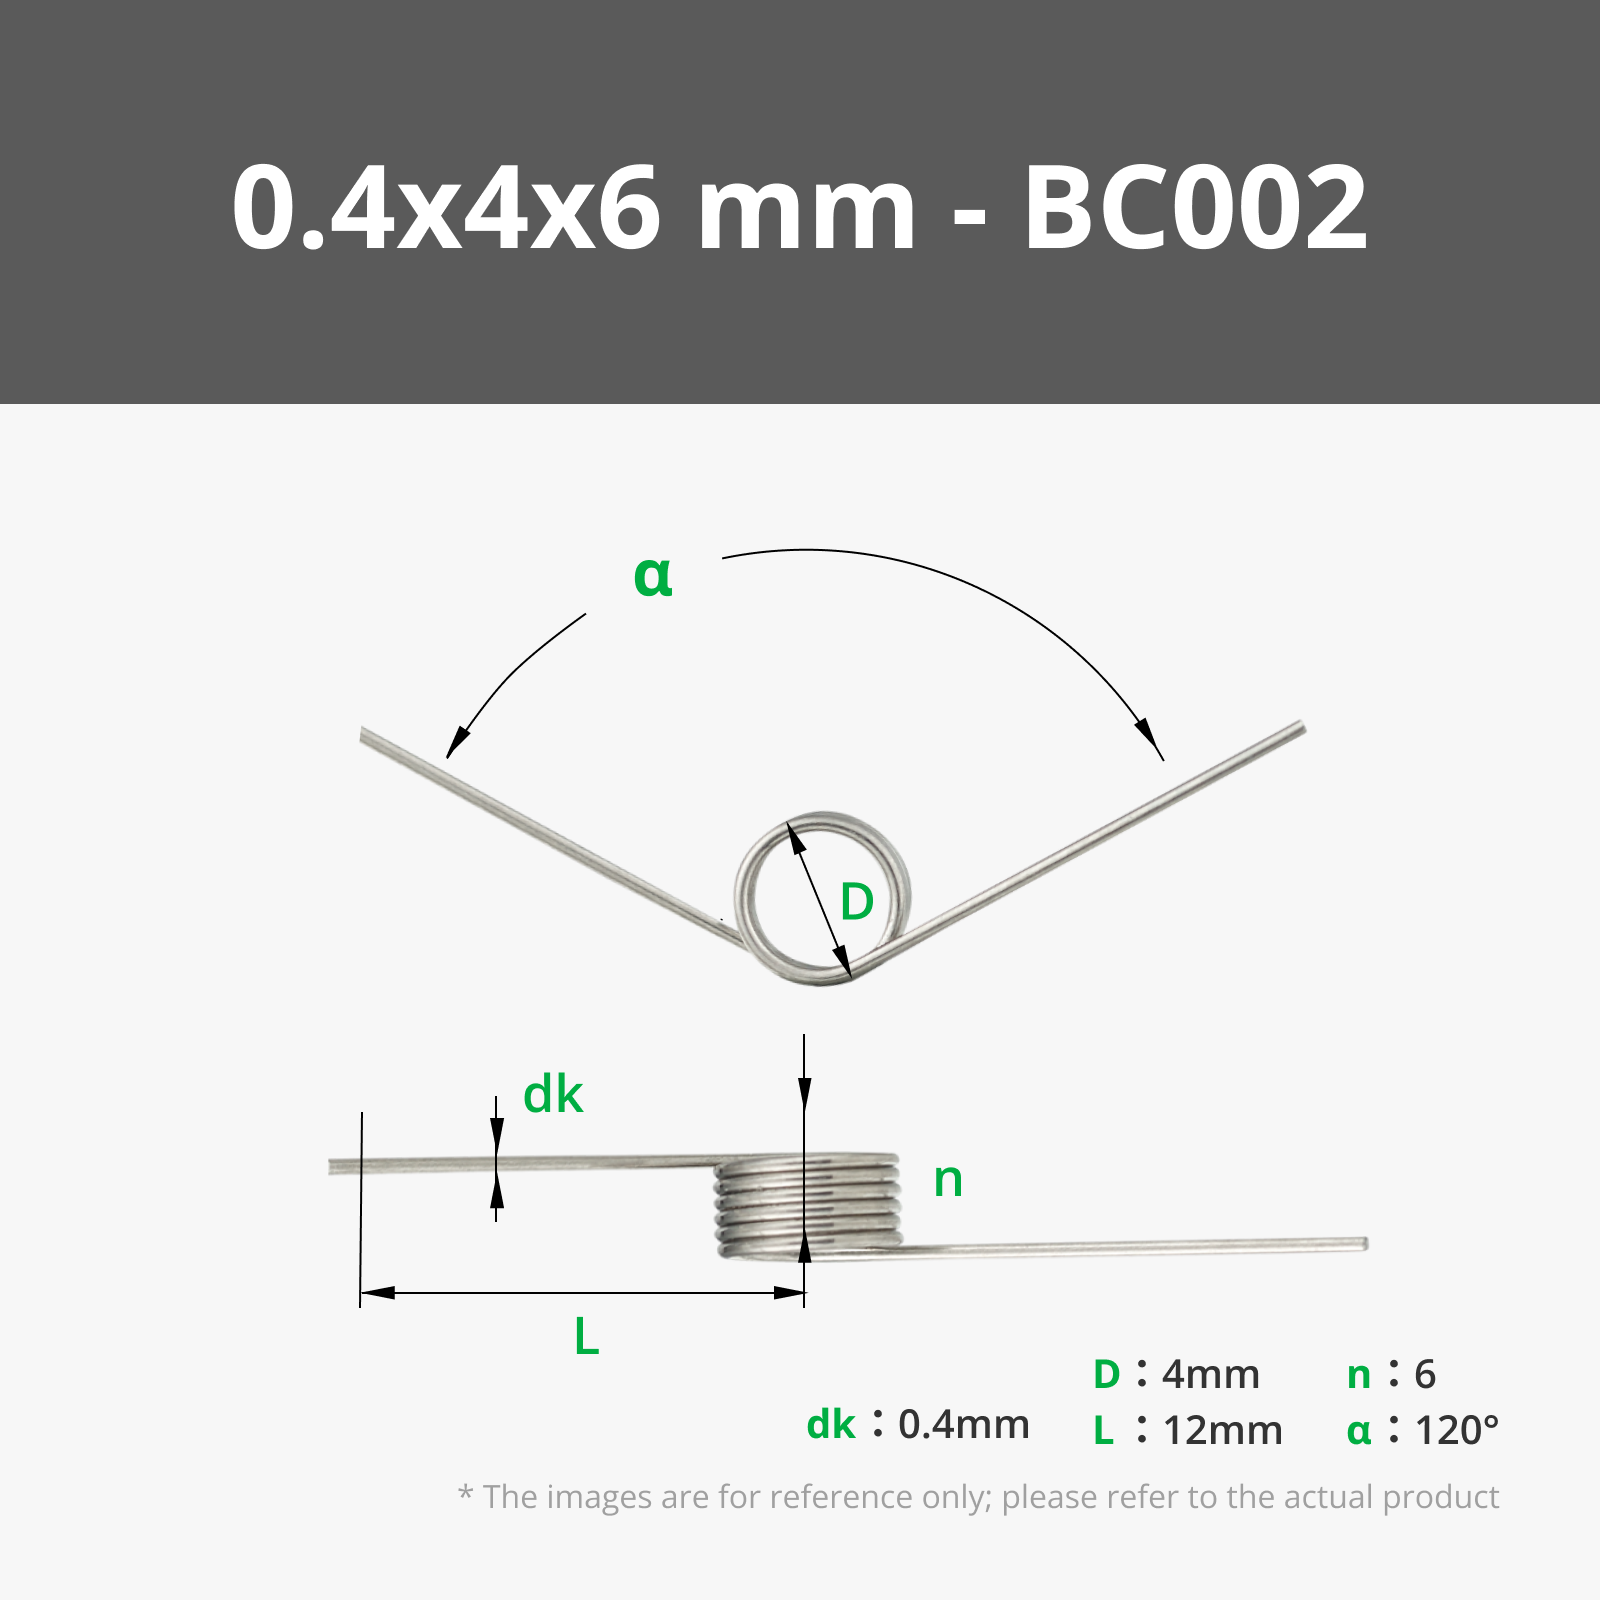
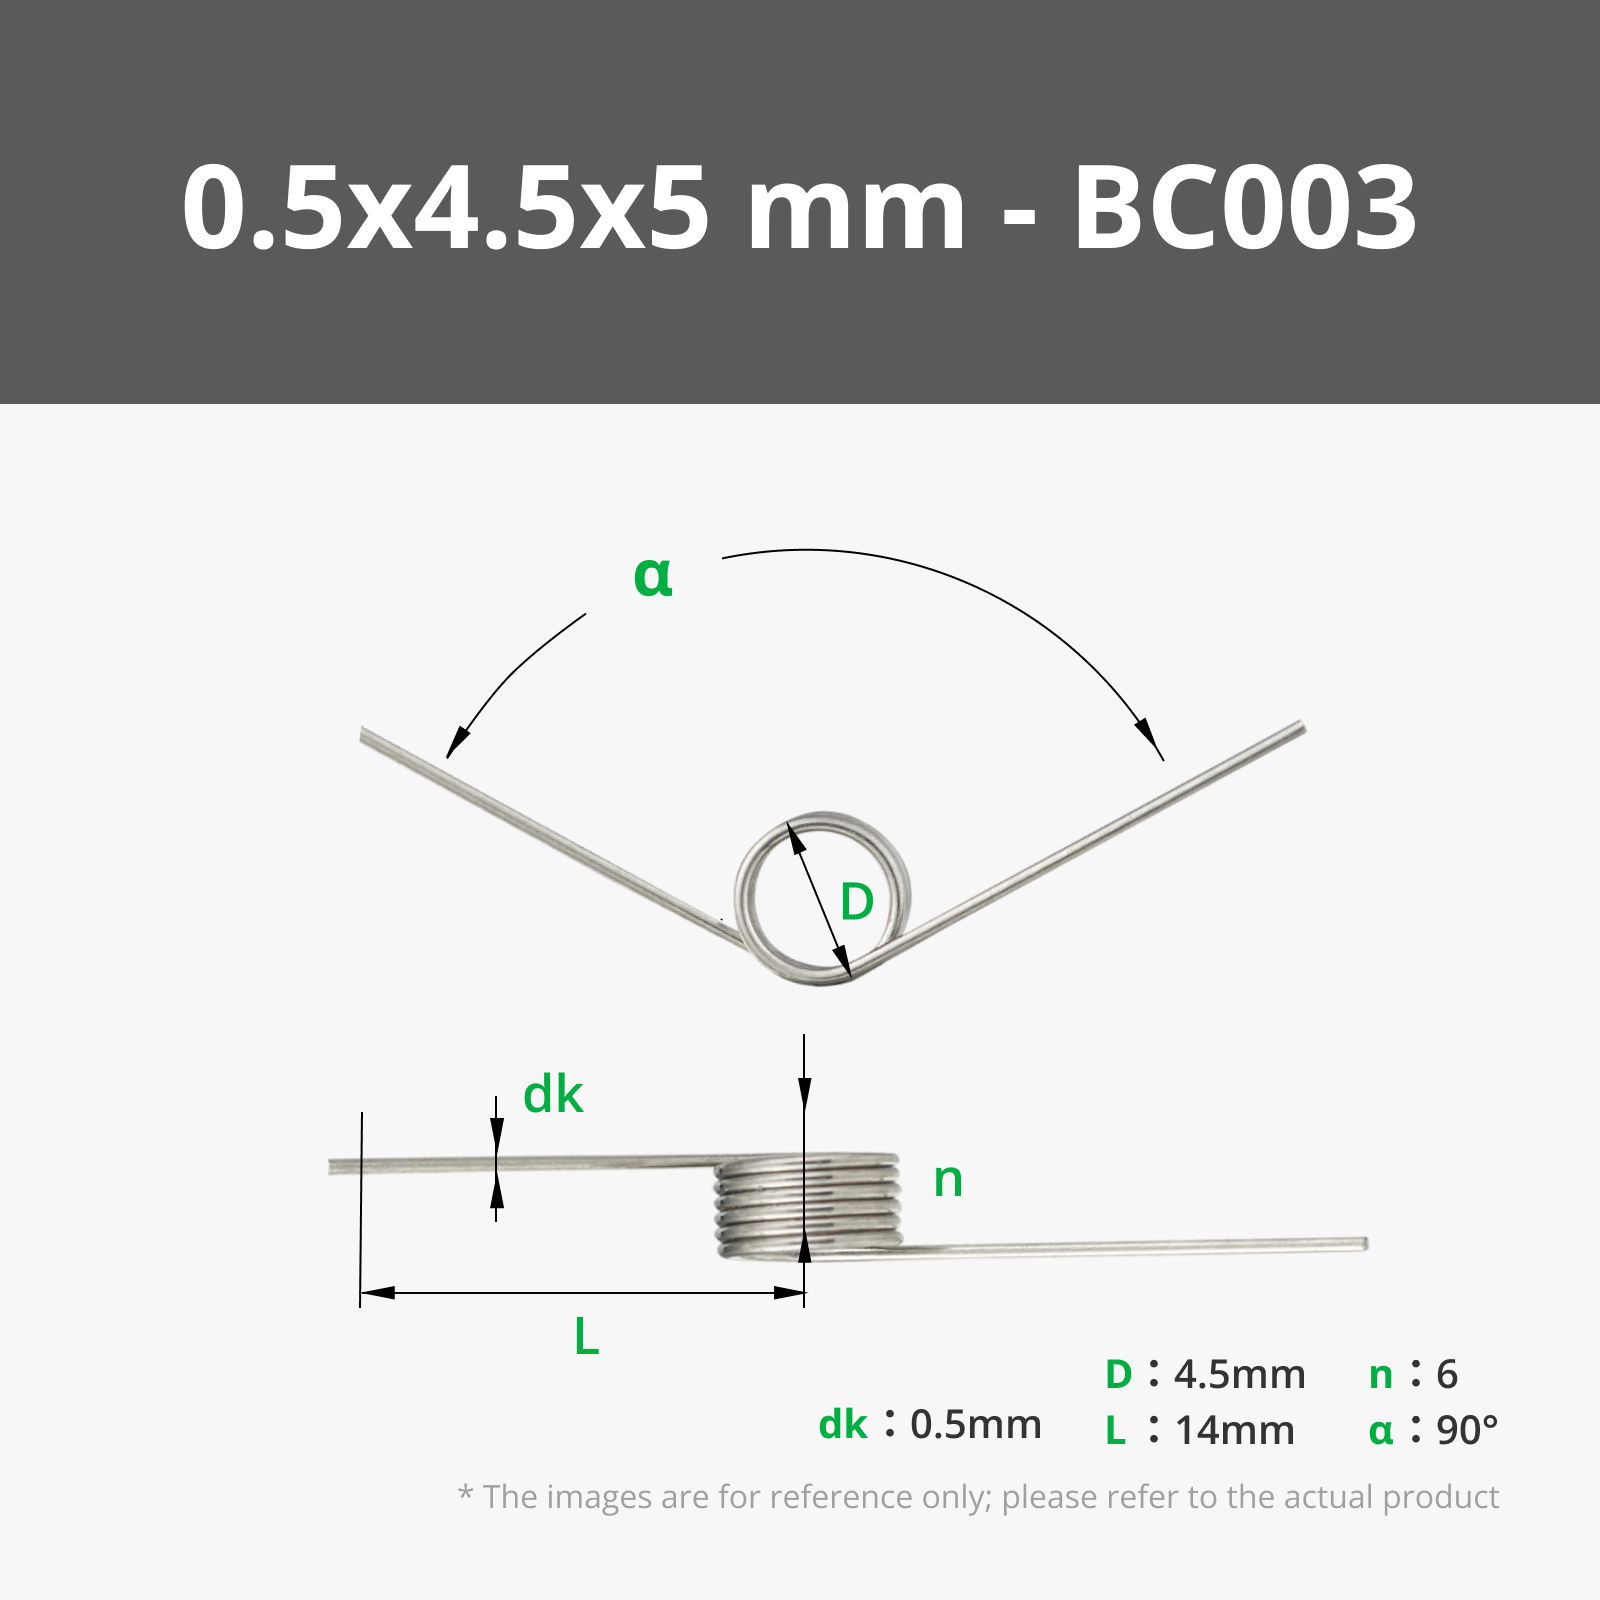
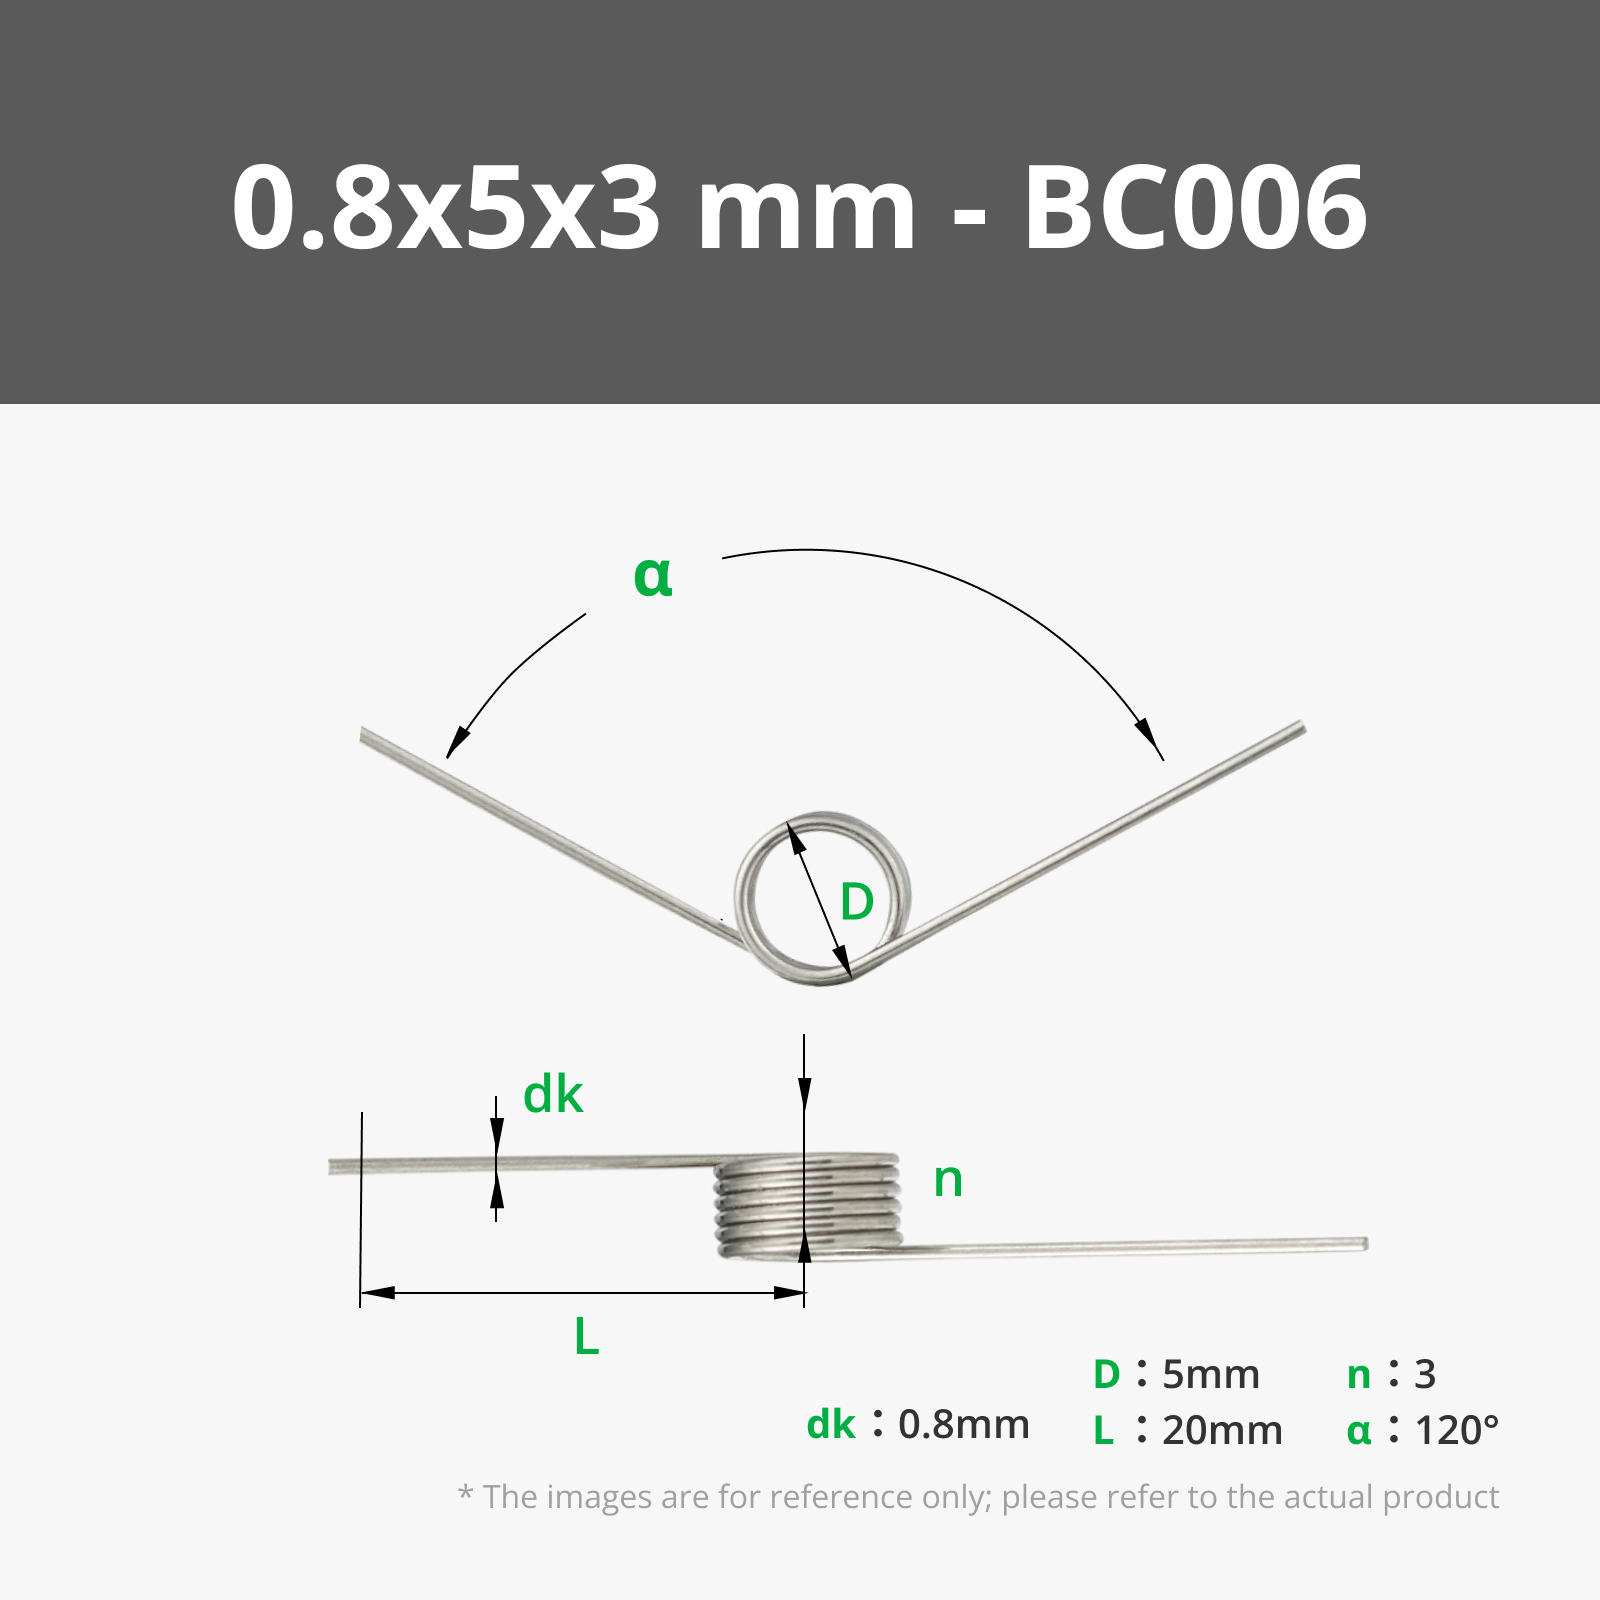
- Torsion Spring
- Small piece of filament for hinge
- Super glue
Instructions for Printing & Assembly
1. Print the Parts:
- Print the hair clip. This will print flat to maximize strength.
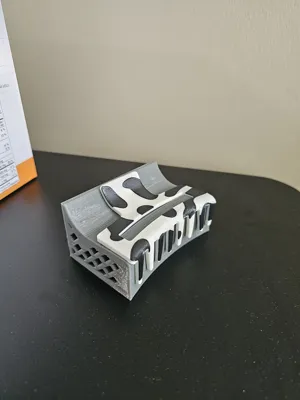
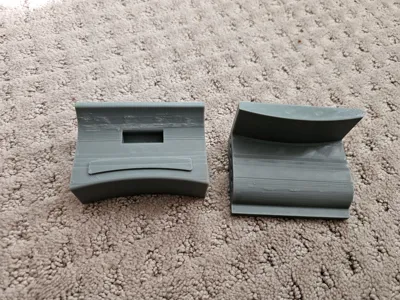
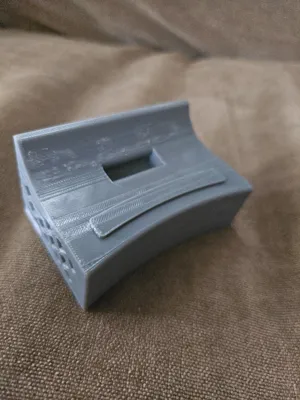
- Print the mold for shaping the clip. PETG is ideal but not strictly required.
2. Heat & Mold:
- Evenly heat the flat hair clip using a heat gun.
- Once it is pliable, press the clip carefully into the bottom half of the mold to form an ergonomic curve.
- Sandwich it with the second half to hold it in shape. Make sure your teeth end up evenly spaced.
- Allow it to cool fully before removing from the mold.
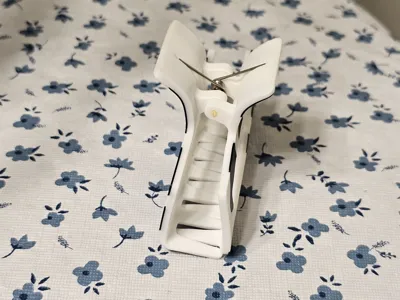
3. Prepare the Hinge:
- Use a small piece of filament as the hinge pin.
- Place the torsion spring in the hinge area.
- Trim spring arms if necessary to fit.
- Glue the hinge in only one spot to allow smooth rotation.
Tips:
- Heat slowly and evenly to prevent uneven bending.
- Try different PLA colors for a unique look.
- Adjust torsion spring arms for optimal rotation and hold.
Boost Me (for free)
Power my next idea: Fall leaves! If this gets enough traction I will try to post them soon!!

License
You may create derivative works based on this object, provided that all such derivative works are published exclusively on the MakerWorld platform and include proper attribution to the original creator. You may not share, upload, host, distribute, or publish this object—or any derivative work of this object—on any other digital platform, marketplace, or distribution channel. Commercial use of this object and any derivative works is strictly prohibited. This includes, but is not limited to, selling, renting, sublicensing, or using the object in any context in which you receive monetary compensation or other financial benefits.
Comment & Rating (8)