
Gameboy Pocket Display - Disassembled Wall Art
Print Profile(1)
Description
Boost Me (for free)
1UP🍄
Membership
Want to sell your prints? Subscribe for a full Commercial Licence
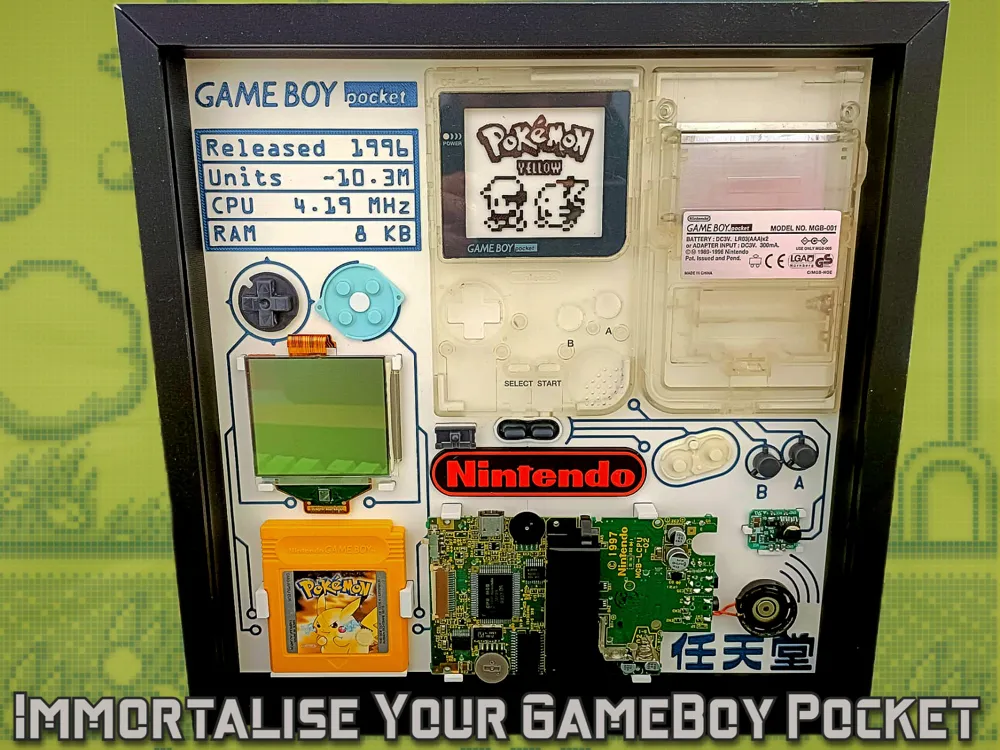
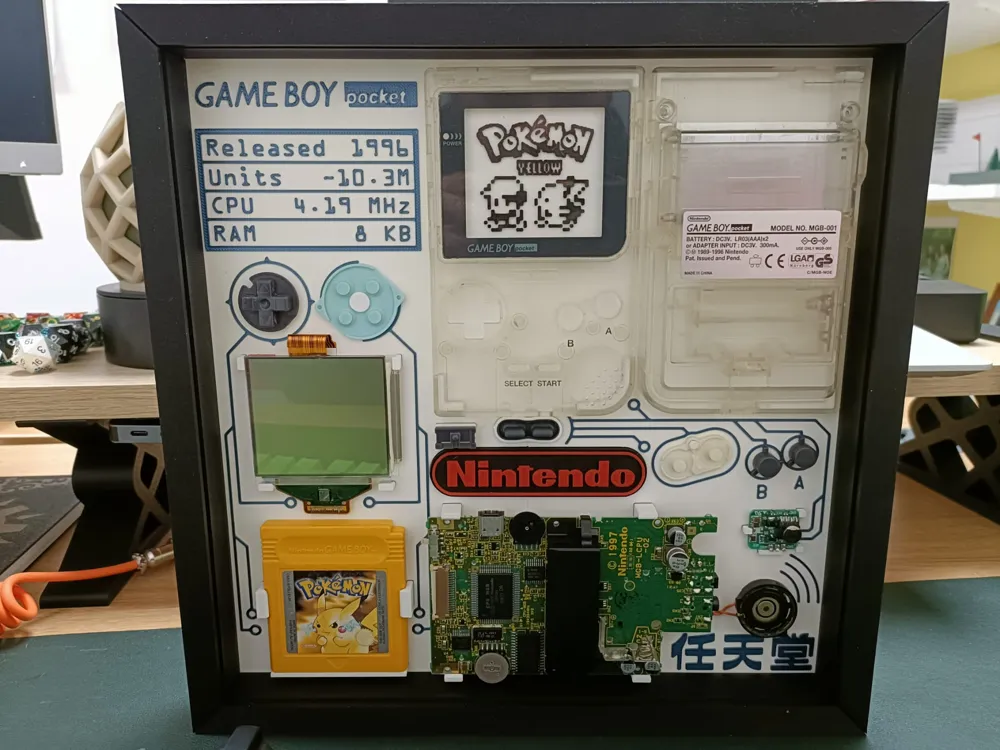
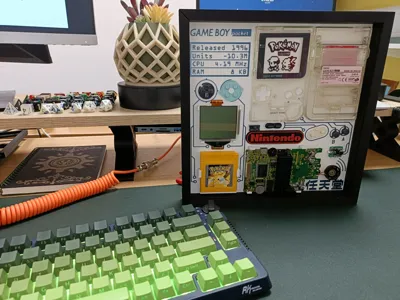
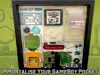
Gameboy Pocket - Disassembled Wall Art
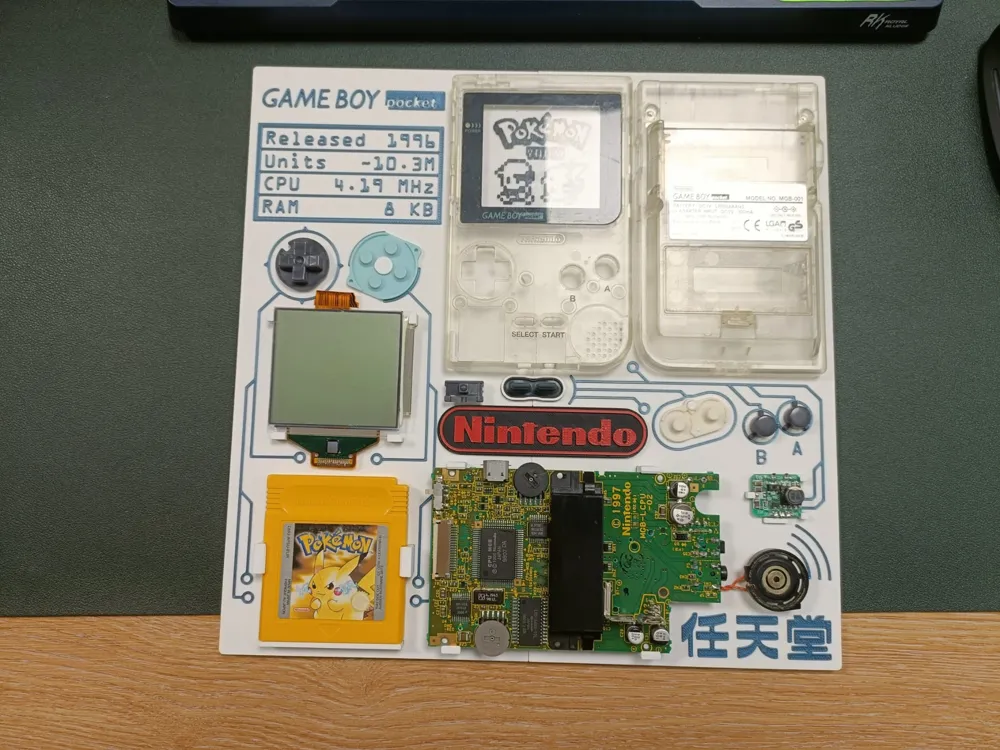
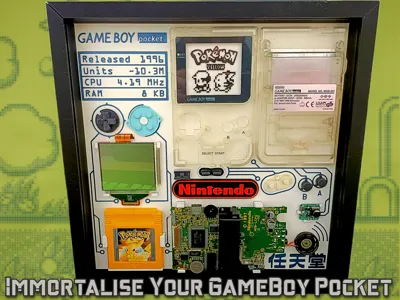
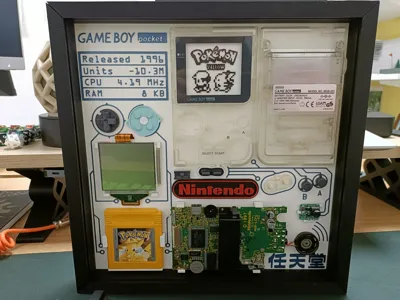
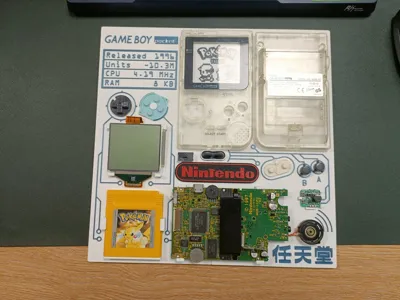
My wife and I were cleaning out some old junk from our house when we discovered her old Gamenoy Pocket. The nostalgia and fond memories made it impossible to just throw in the trash, so I decided to clean it up and immortalise it in a framed wall mounting.
I set about creating a 3D printed system for mounting the parts in a visually appealing way, that would also fit on my print bed, when I thought “Other people might like this too!”. So I decided to publish this as a free model so others may immortalise their childhood relics and display them with pride.
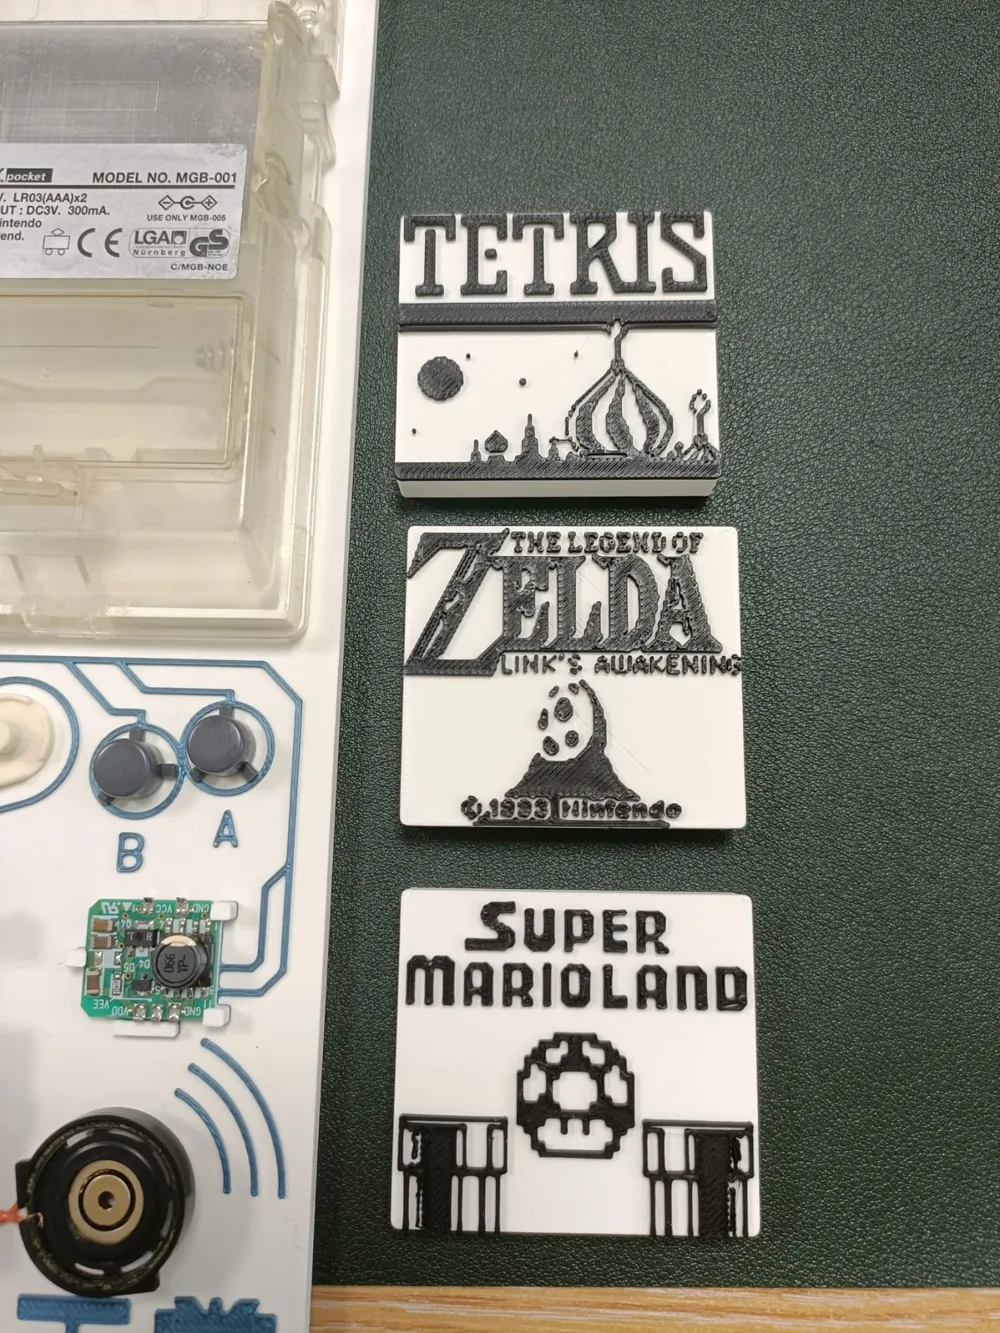
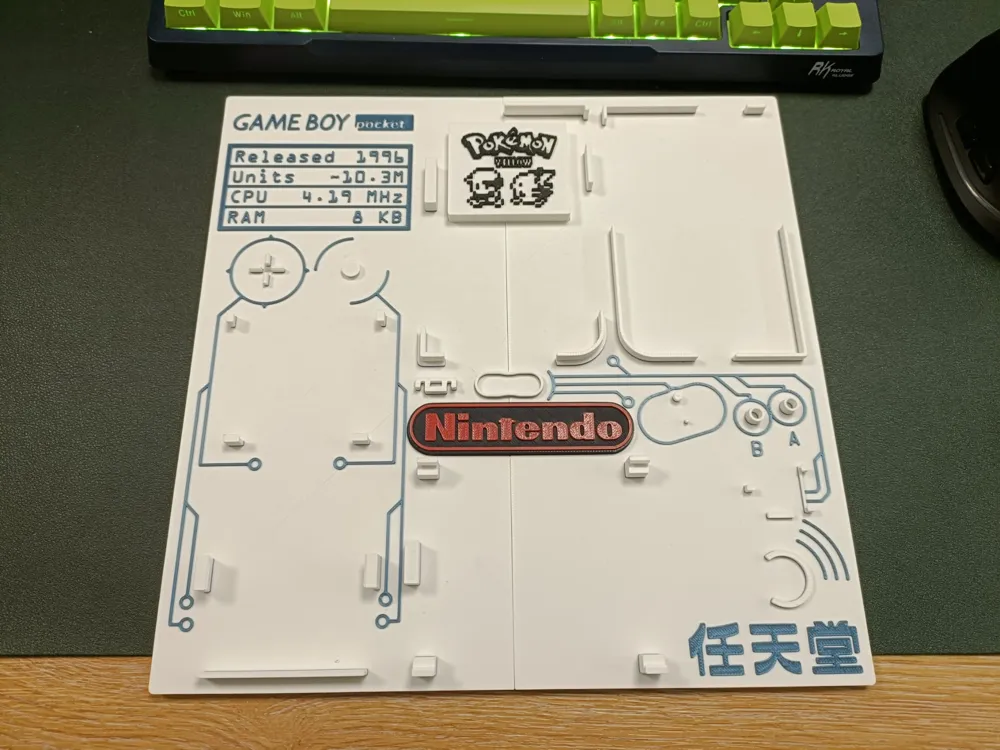
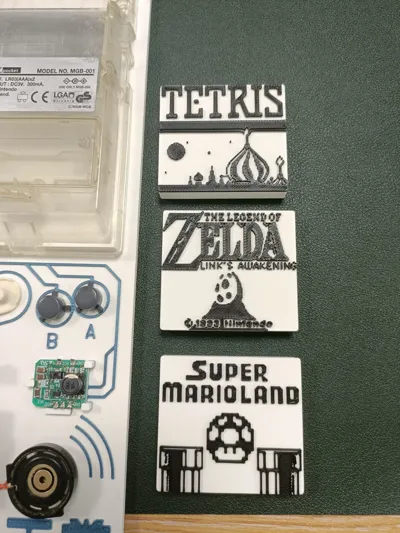
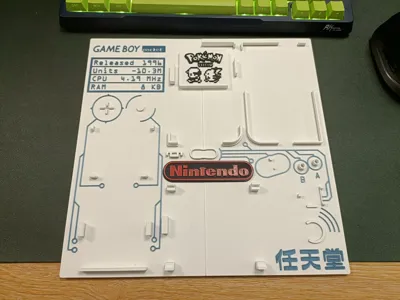
My wife's favourite game was Pokémon Yellow, so I made some Pokémon themed screen art to go behind the front cover. I also included screen art for other popular games such as Tetris, Super Mario Land, and Zelda: Link's Awakening. There is also a blank version so you can make your own screen art (extrude your art to 1 mm).
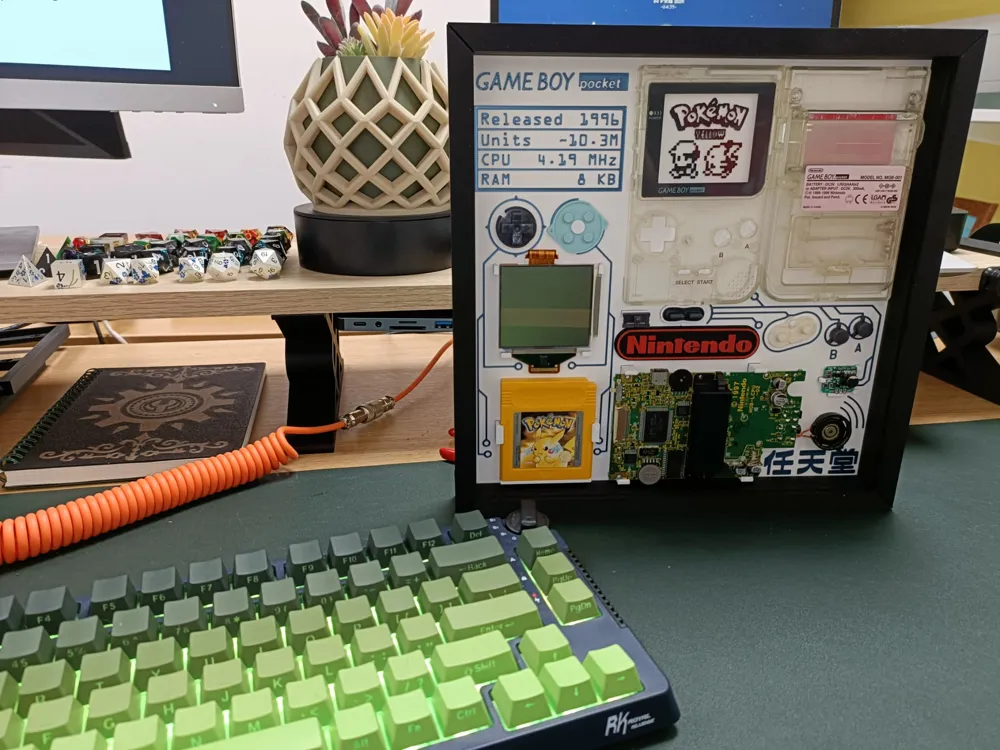
The assembled piece measurers 269 x 269 x 30 mm but can be printed on beds of 256 x 256 mm or larger.
The Frame is designed to hold a sheet of 250 x 250 x 3 mm acrylic, which is an easy to find size.
This project does not require glue as it is held together with clips, however, you can use some glue on the frame if you want, but I don't advise gluing in the backboard. If some gameboy component were to become loose, move, or fall off inside the frame, you'll want to be able to open it up to fix it.
Printing Guidance
Supports are not required for any part of this build, and although an AMS is useful, it is not required. You can achieve all the colour changes using manual filament swaps at appropriate layers.
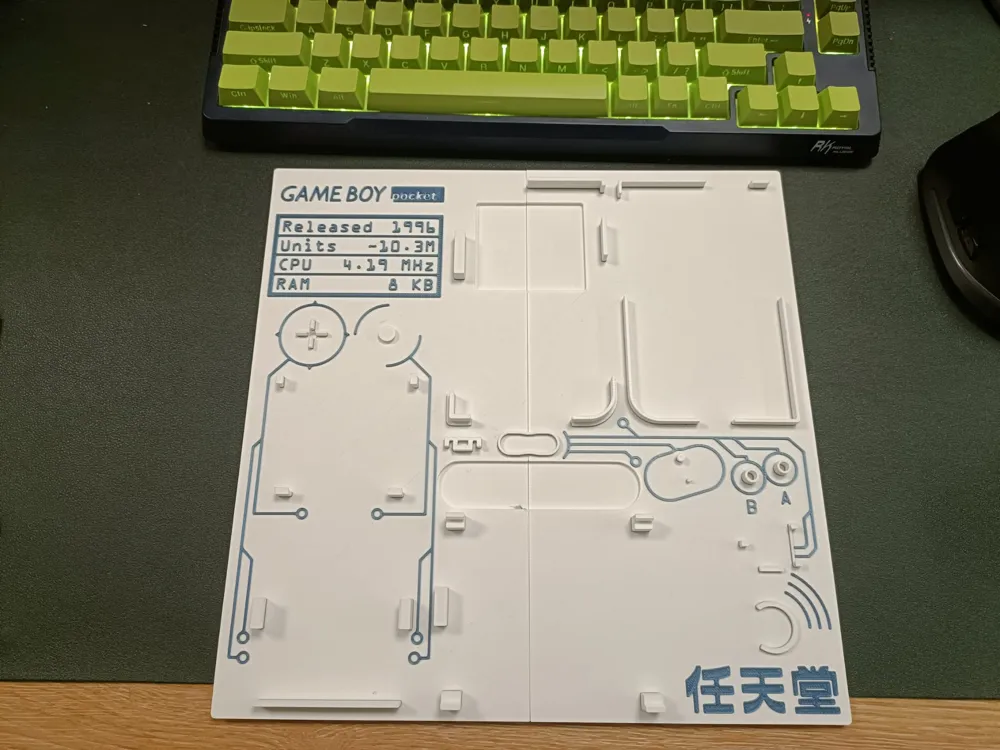
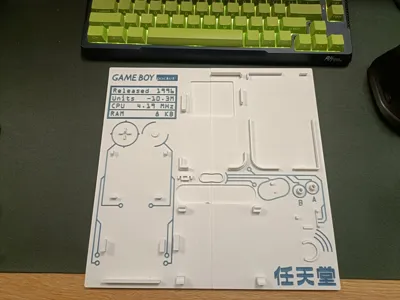
The model consists of two major parts; the backboard (where you will mount your gameboy parts) and the frame. The backboard prints in 2 halves which are glued together. I will add a print profile for a single part backboard for larger printers. You then add the Nintendo logo and a Screen Art of your choice. There are 4 screen art designs to choose from, plus a blank one for creating your own art.
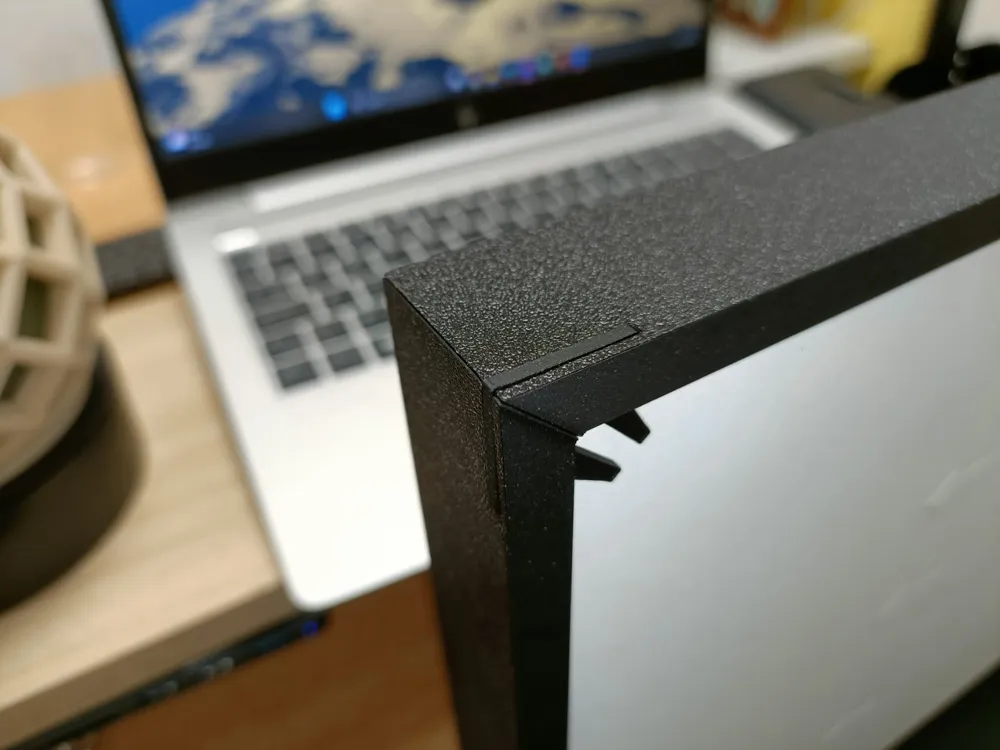
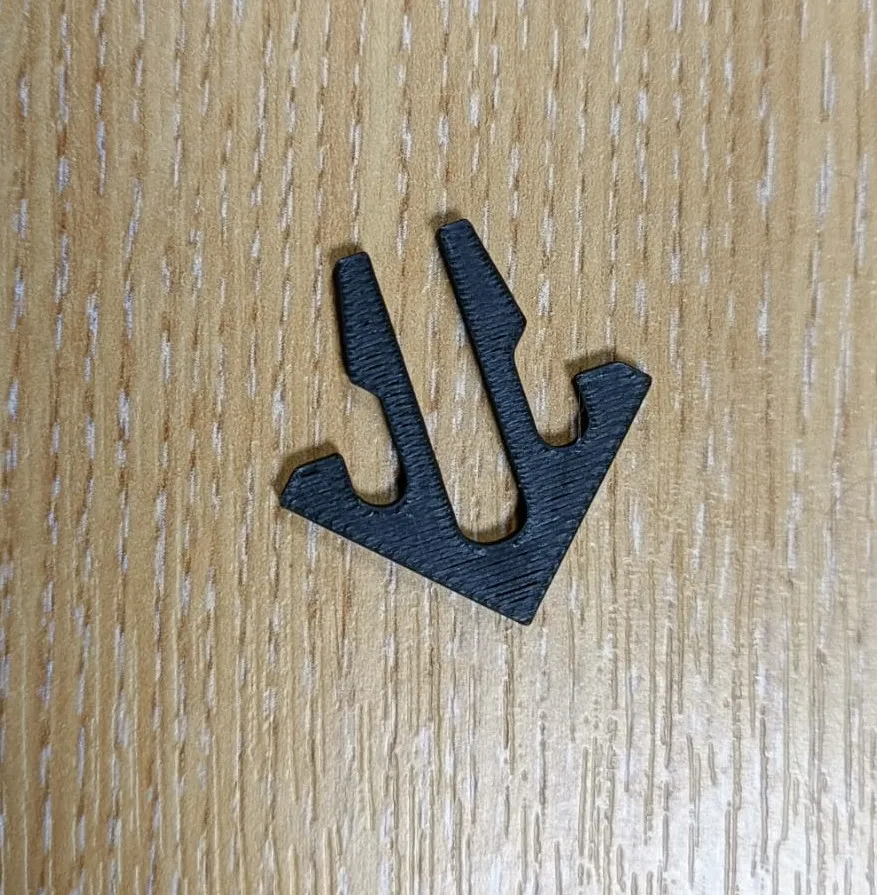
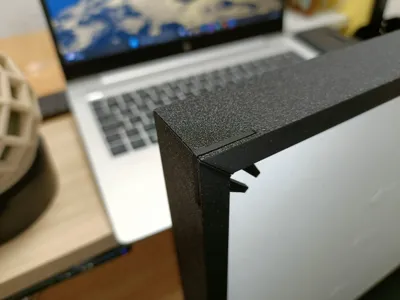
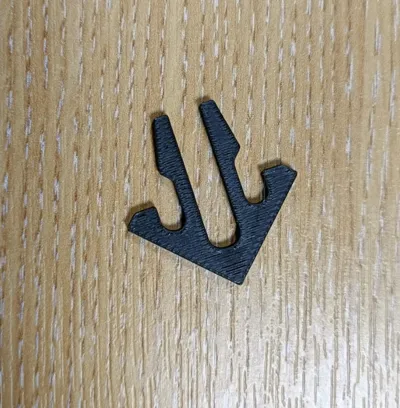
The frame is printed in 4 parts: Left, Right, Top, and Bottom. The 4 parts have alignment pins to help with assembly, and the whole assembly is held together by 4 arrow shaped clips that snap into each corner. This clip system holds the frame together AND holds the backboard in place.
Assembly Guidance
Start by gluing together the two halves of the backboard. You may wish to use a weight to keep it flat. Once the glue is dry, you can populate the backboard with your gameboy parts. (See below for some disassembly tips)
The gameboy parts do not require glue, but there is no problem gluing them in if you're worried about them slipping or falling out. Some parts are held quite loosely and probably wouldn't remain in place if the piece was to be transported or shipped anywhere. The screen is especially loose since it's quite fragile.
Start with the game cartridge (slides in from the top) then the screen (also slides in from the top). These two parts have just enough space to slide into position but it is tight so be patient and careful. The other part to take care with is the main PCB. It can be snapped into position but take care and avoid bending the clips too much. If this is a cause for concern, you can also slide the PCB into position when bringing the two halves of the backboard together in the previous step. The smaller PCB (DC-DC power regulator) slides into position but can be a bit fiddly. All other parts are quite easy to mount and can be done in any order.
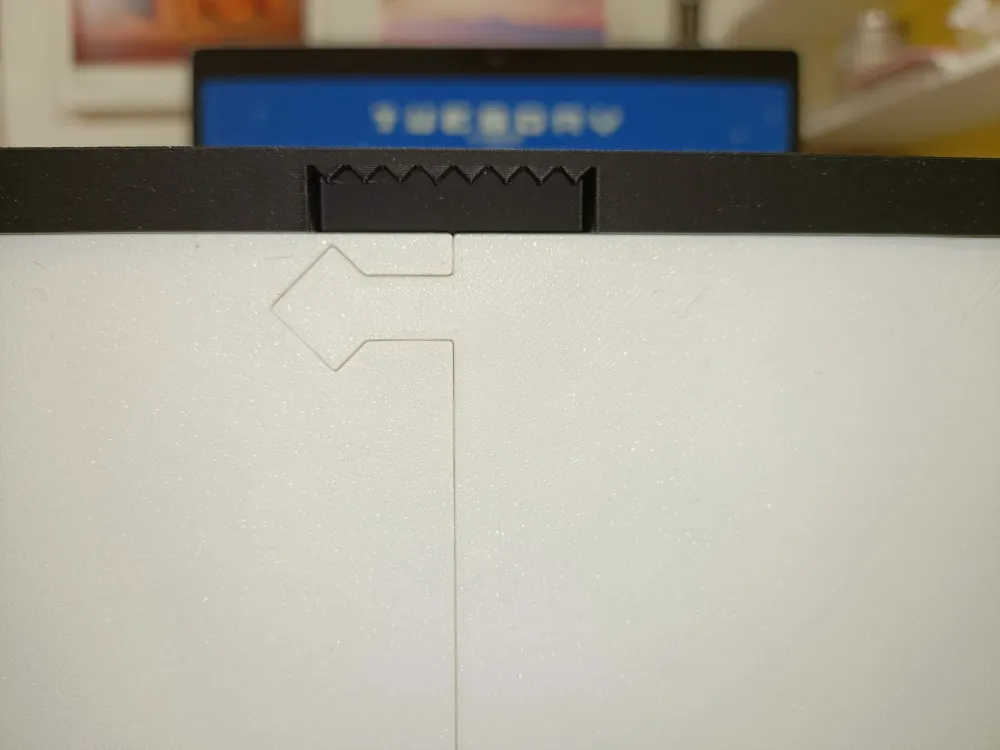
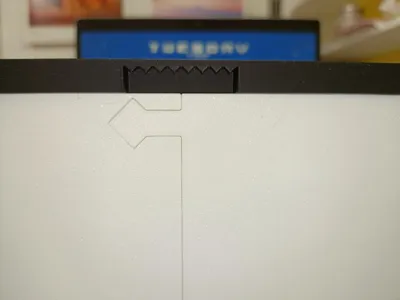
Next, assemble the frame. I found it easiest to do this upright. Join the bottom and two sides (use glue if you like), then carefully drop in your acrylic sheet before closing it with the top frame piece. The top piece can be identified by the sawtooth cut-out on the back for hanging the frame on the wall.
Next, insert the backboard into the frame. If you opted to not glue the frame, this will be fiddly but not impossible. I didn't glue my frame and found the easiest way was to lay the backboard on a flat surface and carefully lower the frame (holding the corners together) over the backboard. Once on, I slid the whole thing so that one corner was over the edge of the table and inserted the corner clip. Use one finger to push the backboard up into the frame and slide in the corner clip. Rotate and repeat for each corner.
The corner clips can be a bit fiddly, sometimes taking a few attempts. Once you get the technique down, they pop in quite nicely. To remove a corner clip, squeeze the legs together and just push it out.
Gameboy Disassembly Tips
The Gameboy Pocket is quite easy to disassemble but you will need a special screwdriver head to open the case. You'll need a Y shaped screwdriver head, these are fairly easy to get and are commonly included in most cheap multi-tool kits. There are 6 screws to remove, 2 of them are hiding in the battery compartment.
Once open, a regular cross-head screwdriver can be used to remove the PCB. You will also need to detach the screen. This is done by disconnecting the ribbon cable at the top of the PCB. Simply lift the two tabs either side and pull out the cable.
Removing the screen might give a bit of resistance, it has a plastic gasket that can become sticky with age. Just carefully pry the screen out and dispose of the gasket.
You can also de-solder or simply cut off the speaker and the small daughter PCB. The small PCB is the DC-DC power regulator and can be a pain to de-solder; clipping the 5 legs works well though.
You'll probably want to clean your gameboy parts before mounting them. I used warm soapy water and a toothbrush. I would avoid using solvents as this can damage plastic and remove ink from stickers that you might want to preserve. Make sure all parts are thoroughly dry before mounting them.
I hope you have fun with this project and that your old Gameboy Pocket may bring you joy once again!
License

You shall not share, sub-license, sell, rent, host, transfer, or distribute in any way the digital or 3D printed versions of this object, nor any other derivative work of this object in its digital or physical format (including - but not limited to - remixes of this object, and hosting on other digital platforms). The objects may not be used without permission in any way whatsoever in which you charge money, or collect fees.


Comment & Rating (5)