Light Under-Desk Mount for Rocoren 480W Charger


Print Profile(1)
Description
Lightweight Under-Desk Mount for Rocoren 480W GaN Charger
Introduction
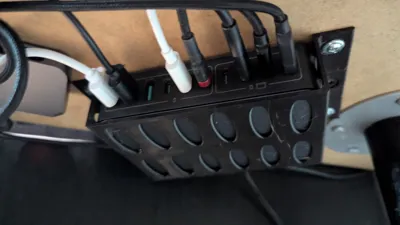
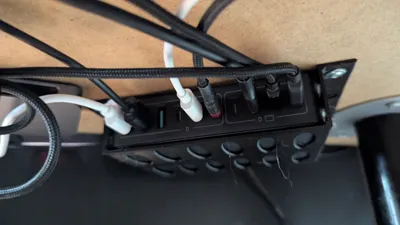
Keep your workspace clean and clutter-free with this lightweight, under-desk mount specifically designed for the Rocoren 480W 10-Port GaN Desktop Charger. Because this charging station can power multiple laptops and handle up to 10 devices simultaneously, desktop cable management can quickly become a mess. This sleek bracket allows you to hide the powerhouse charger seamlessly under your desk while keeping all 7 USB-C and 3 USB-A ports easily accessible.
Key Features
- Lightweight & Sturdy: Optimized to use minimal filament while providing a secure, reliable hold for the 420g charger block.
- Maximum Airflow: Pushing 480W of power generates heat. This mount features an open-frame design to ensure optimal ventilation, keeping your GaN charger cool and safe during heavy loads.
- Perfect Fit: Precision-designed for the Rocoren 480W's specific dimensions (12 x 8.5 x 3 cm) to guarantee a snug, slip-free fit.
- Invisible Cable Management: Reclaim your desk space by routing your charging cables out of sight underneath your tabletop.
Print Settings & Recommendations
- Recommended Filament: PETG, ABS, or ASA. Because this high-wattage charger can get quite warm under full load, standard PLA is not recommended as it may soften or warp over time.
- Layer Height: 0.2mm provides a great balance of print speed and structural integrity.
- Wall Loops: 3 to 4 walls are recommended to give the mounting tabs extra strength.
- Infill: 15% to 20% Gyroid.
- Supports: Normal or Tree supports are recommended depending on your print orientation (especially for the overhanging mounting tabs).
Assembly Instructions
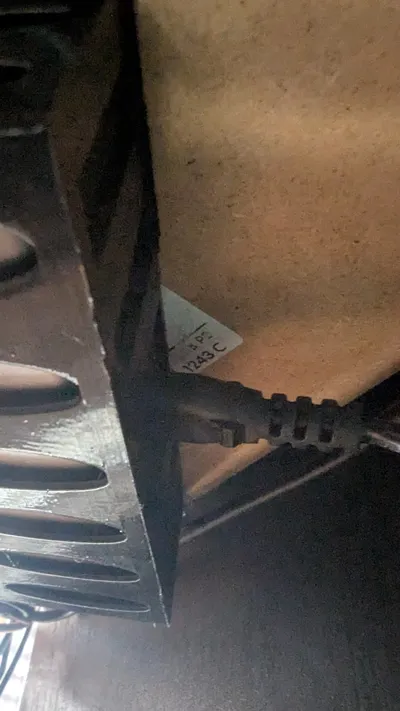
- Hardware Required: You will need standard short wood screws (e.g., 3mm or 4mm diameter) to attach the mount.
- Placement: Find a convenient spot under your desk, ensuring the charger's 1.5m AC power cable can comfortably reach your wall outlet.
- Installation: Hold the printed mount in place, mark the screw holes, and pre-drill shallow pilot holes to prevent splitting the desk wood.
- Mounting: Screw the bracket securely into the bottom of your desk, and then simply slide your Rocoren 480W charger into the sleeve.
Happy printing, and enjoy your newly organized desk setup! If you like this design, please consider leaving a rating and sharing your print profile.
License
You shall not share, sub-license, sell, rent, host, transfer, or distribute in any way the digital or 3D printed versions of this object, nor any other derivative work of this object in its digital or physical format (including - but not limited to - remixes of this object, and hosting on other digital platforms). The objects may not be used without permission in any way whatsoever in which you charge money, or collect fees.
Comment & Rating (0)