Shade for Blackmagic PYXIS Monitor


Print Profile(1)
Bill of Materials


Description

Introduction
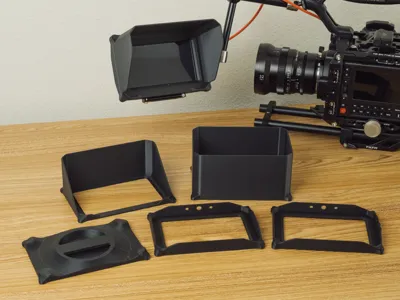
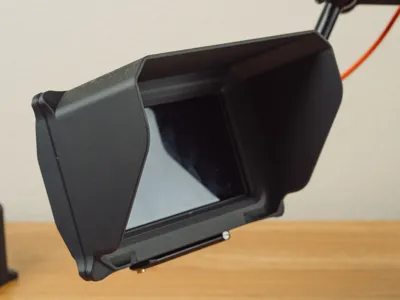
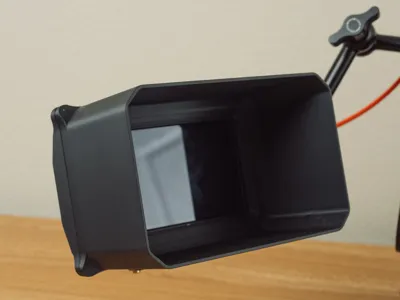
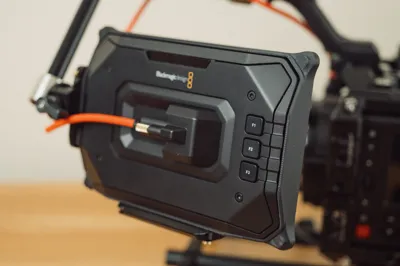
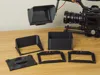
This is my modular sun shade system for the Blackmagic PYXIS Monitor. While the stock foldable shade is perfectly serviceable, it does have a couple of drawbacks for me. Mainly, as the monitor is a touch screen, I find the stock shade to be a bit cramped when trying to use the touch screen. I can remove the sun shade, but that in of itself is a tiny bit fiddly too.
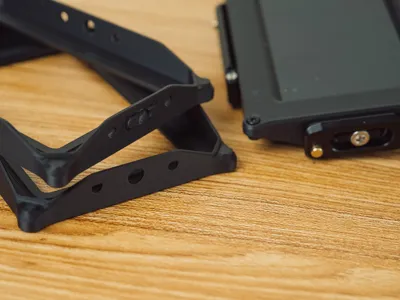
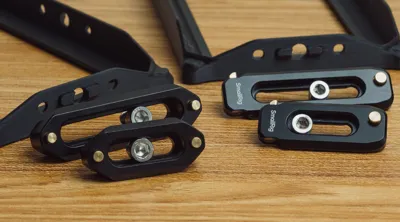
Another little thing about the PYXIS monitor is it's mounting points. It uses the ARRI Locating pin standard, CORRECTLY, while every other manufacture pretty much doesn't, as it turns out. I ended up using NATO rails which you can use fine without any additional accessories, however with the base portion of my model, I thought it clever to provide some bump-out guides to help align NATO rails. I provide this in 2 sizes, 4.6mm and 6.3mm widths, to accommodate different types of NATO rails. In the hardware section I will provide links to the specific rails I designed around.
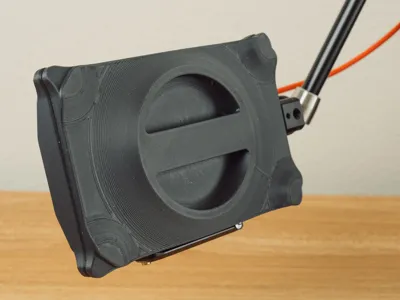
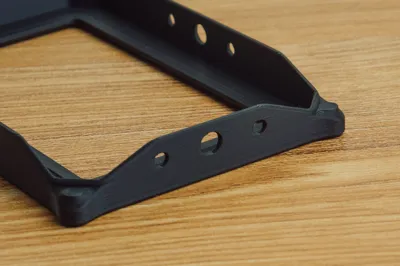
The base portion also has mounting holes for the 4mm mounting points on monitor. I didn't include holes for the locating pins, as the spacing was a bit too tight and I don't really have any accessories I can test it with. I might revisit this at some point. Incidentally, I don't have the official mounting hardware either, so I don't know the compatibility with that.

Filaments & Hardware
(Full disclosure, I am part of the Amazon Affiliate Program. All amazon links are affiliate links. I earn a small commission from these links without any added cost to you. These links help to support me so I can bring more content for free!)
Featured Filaments:
Bambu PLA Matte Charcoal
Hardware:
4x BT3x5mm Self Taping Screws
4x D6x2mm Round Magnets (This is per a shade and cap)
For the NATO Rails (Optional). These are the ones I designed them around, but it should work with other rails too.
The 4.3mm base version is designed to fit the Smallrig Universal Low-Profile NATO rails (the 50mm and 70mm versions. Links are to Amazon)
The 6.3mm base version is designed to fit the Smallrig Quick Release NATO rail (The 40mm and 70mm versions. Links are to Amazon)
Assembly Instructions

-------
If you like my work, consider showing your love by Buying me a coffee. Additionally, if you're looking to sell prints of my design, please check out my Patreon page for more information.
License
You shall not share, sub-license, sell, rent, host, transfer, or distribute in any way the digital or 3D printed versions of this object, nor any other derivative work of this object in its digital or physical format (including - but not limited to - remixes of this object, and hosting on other digital platforms). The objects may not be used without permission in any way whatsoever in which you charge money, or collect fees.
Comment & Rating (0)