
openGrid Dual Sided Snap
Print Profile(1)
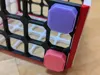
Description
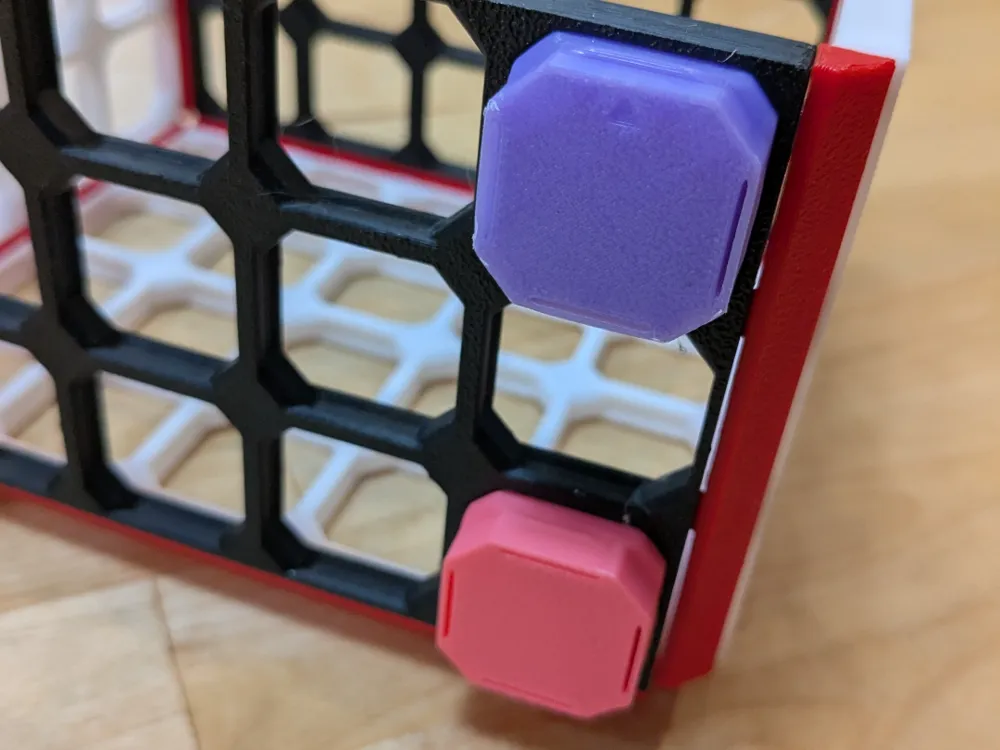
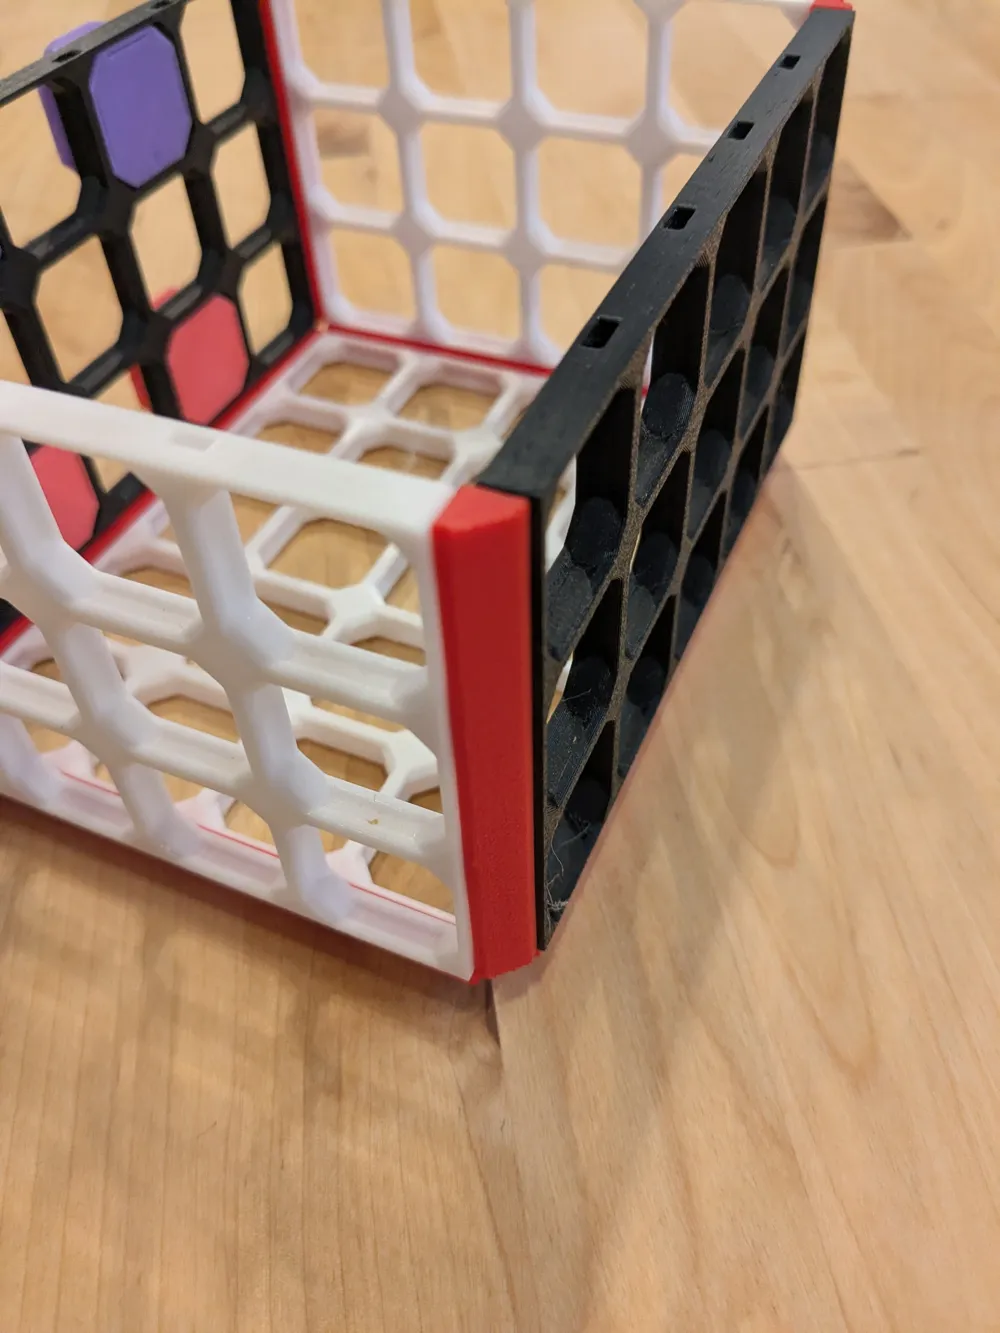
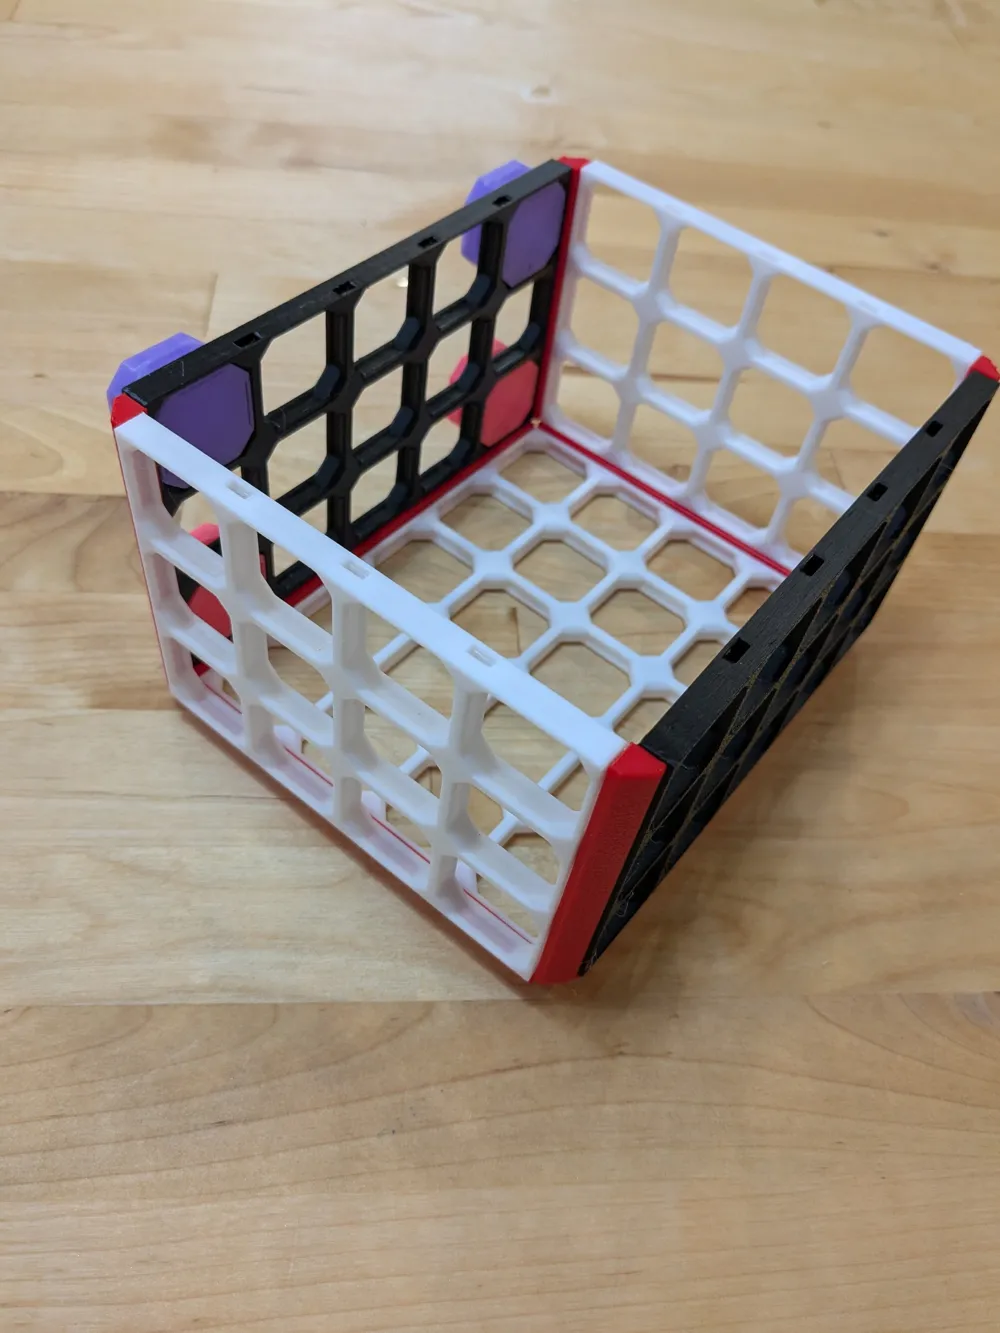
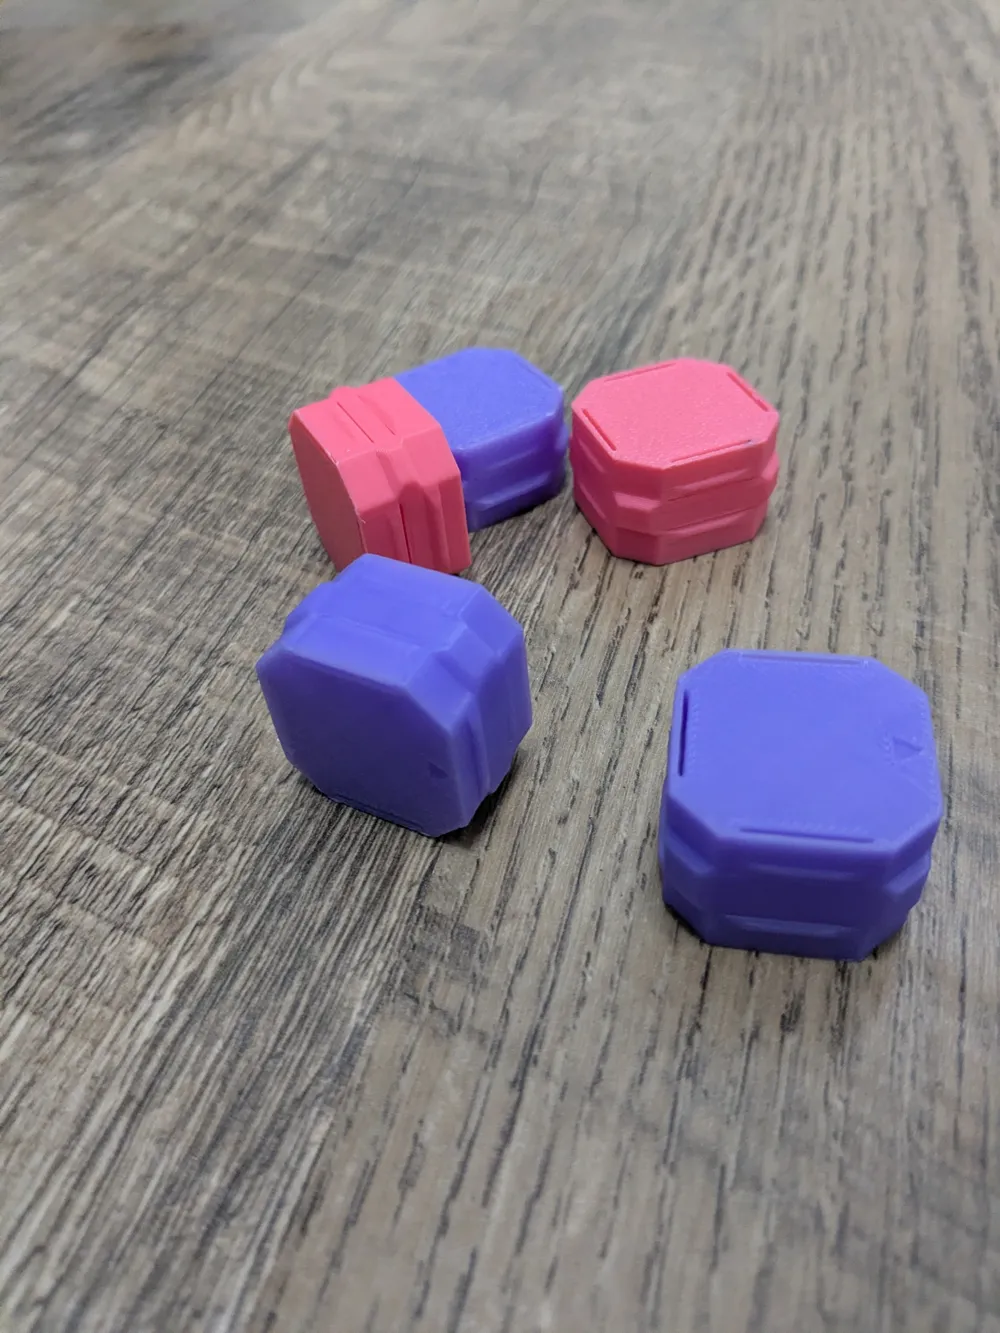
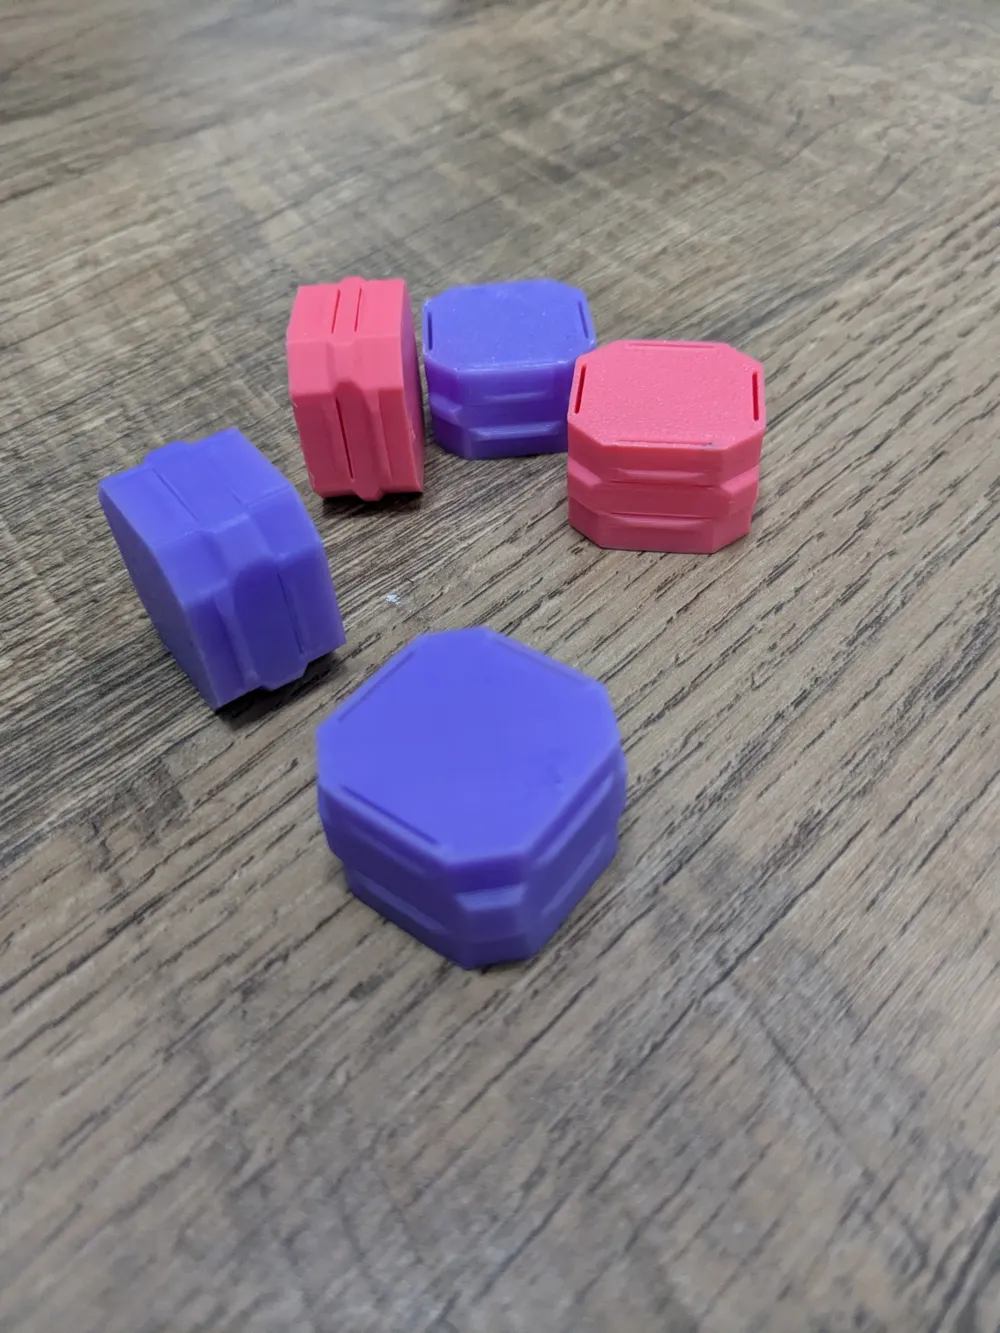
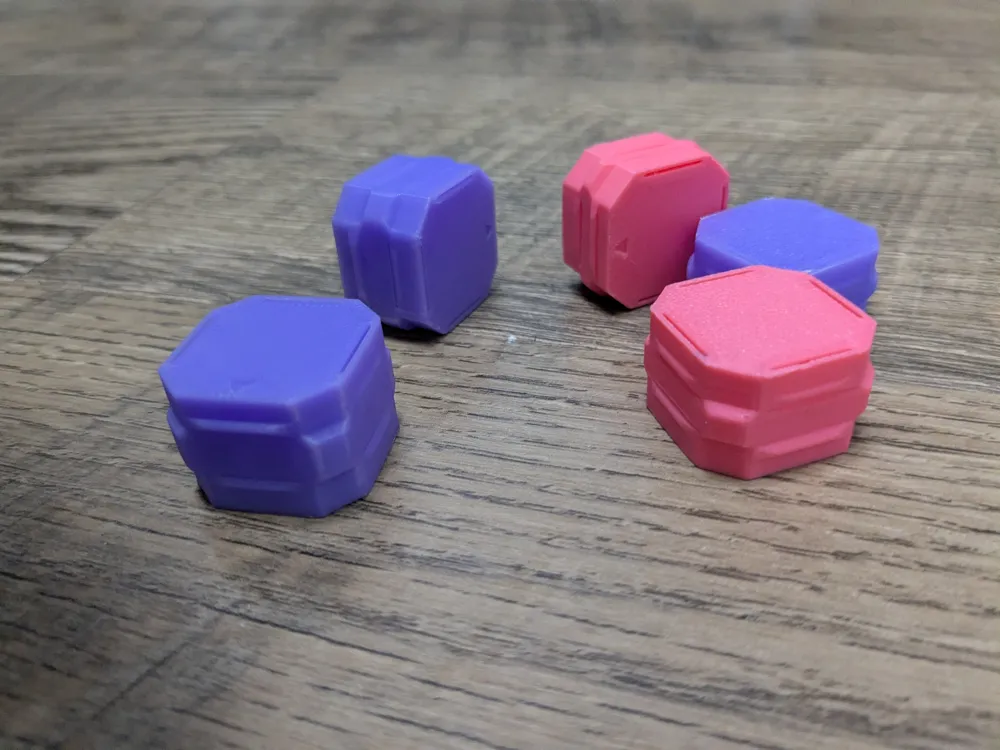
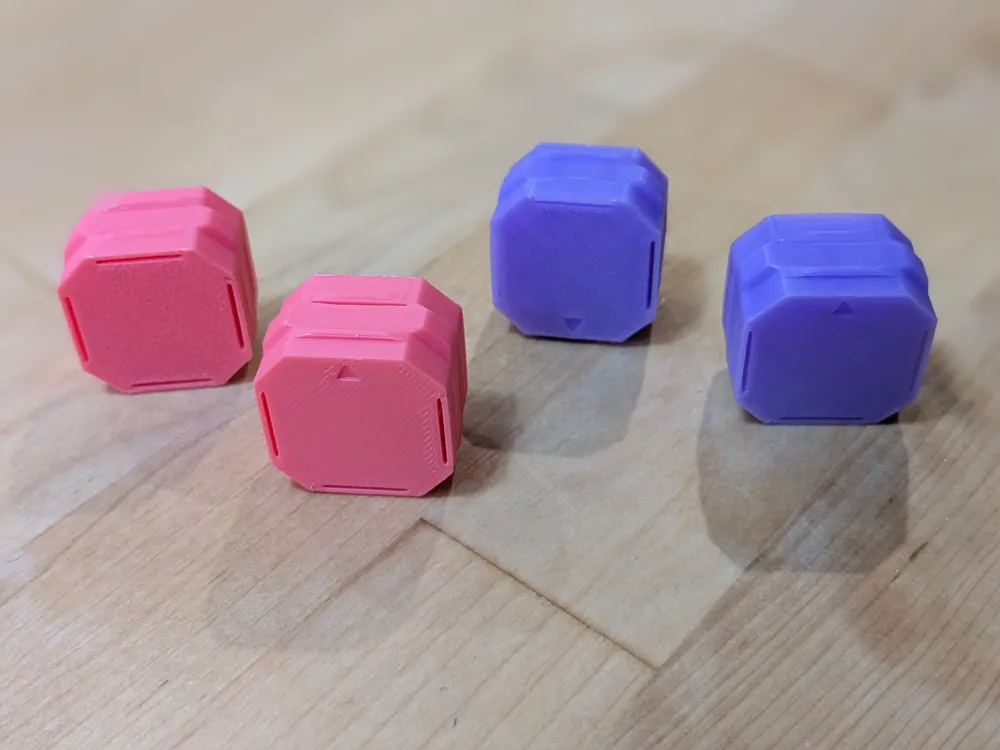
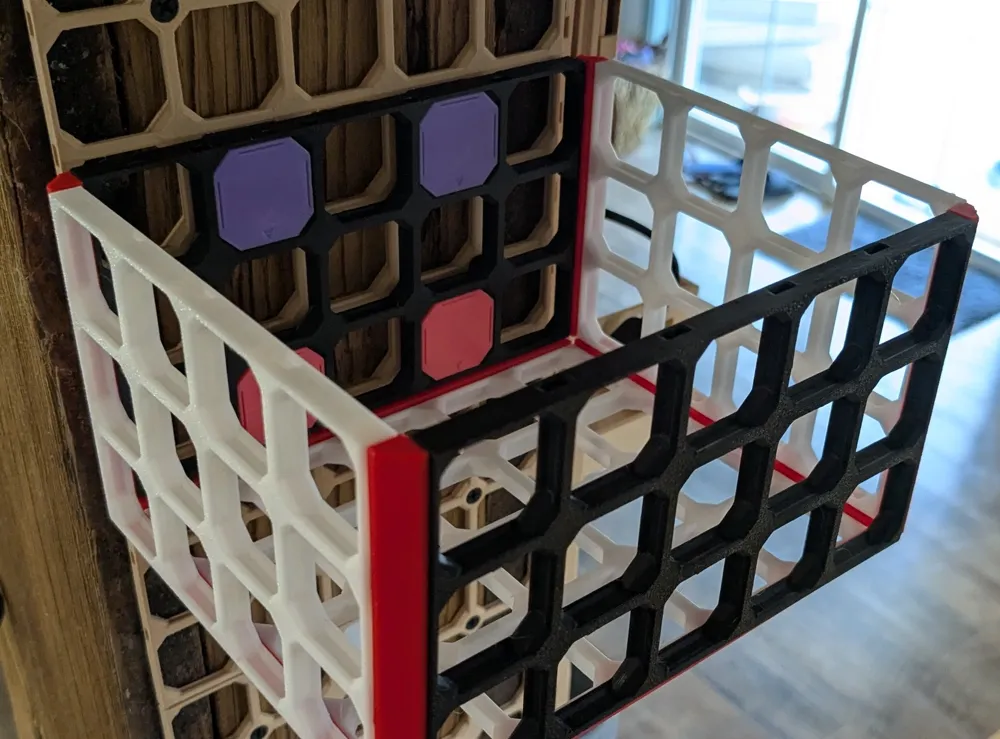
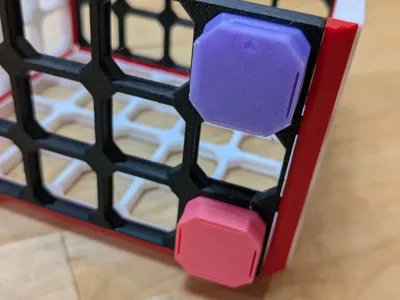
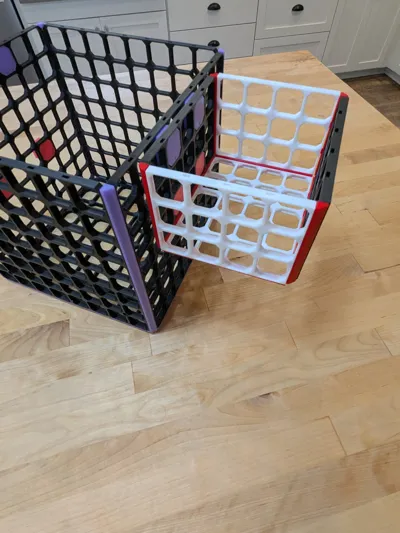
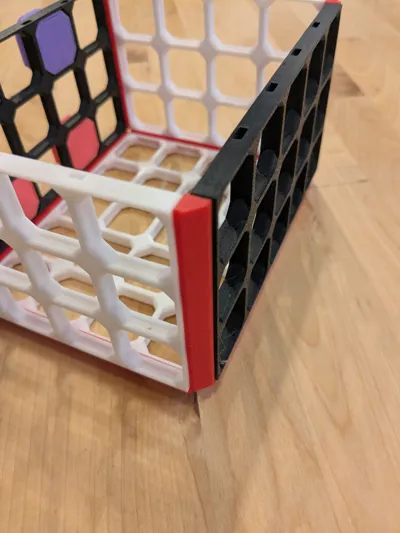
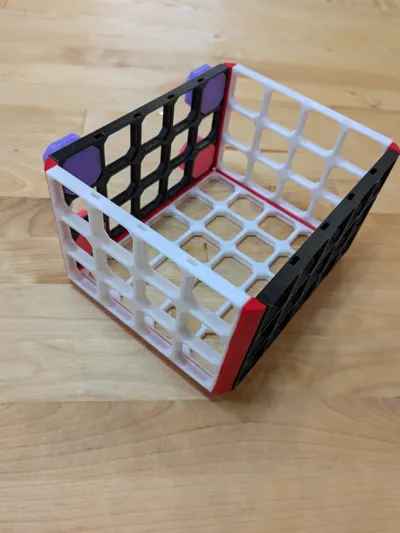
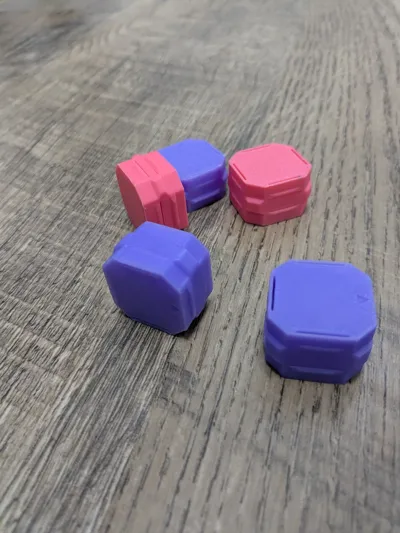
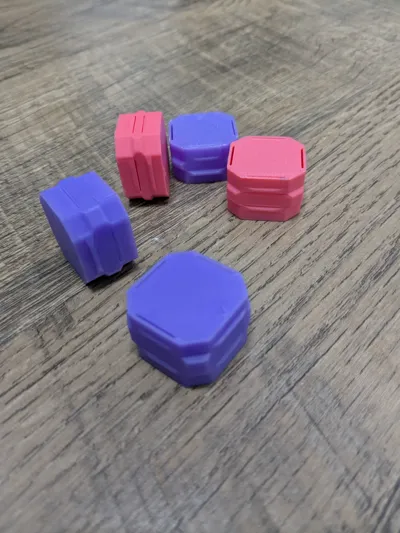
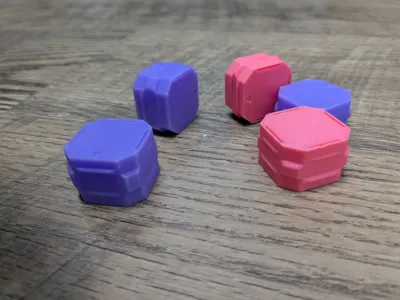
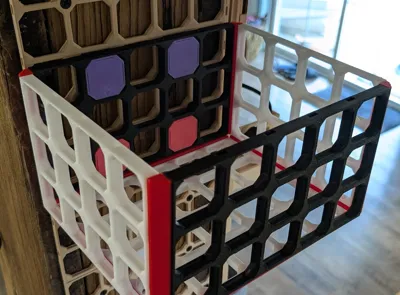
A double-sided openGrid snap connector — one snap on each face, back to back. Use it to join two openGrid tiles together, mount a basket to a wall panel, or connect any two grid surfaces at the same location.
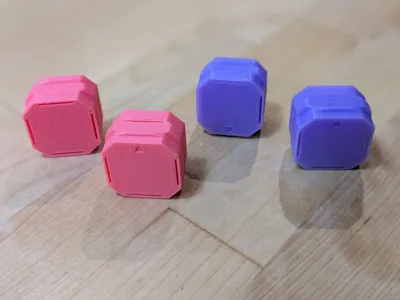
Each side is independently configurable: Standard (6.8mm) or Lite (3.4mm) thickness, and Nondirectional or Directional engagement. Mix and match to suit whatever grids you're connecting.
When to Use Each Option
Standard vs Lite: Match the thickness to the grid tile on that side. Use Standard for Full (6.8mm) tiles and Lite for Lite (3.4mm) tiles. Mixing is fine — for example, Lite on side A and Standard on side B to bridge a Lite basket wall to a Full mounting panel.
Nondirectional vs Directional: Nondirectional snaps insert and release from any direction. Directional snaps lock in from one side only, providing a stronger hold that resists pull-out. Use directional on sides where the connection needs to stay secure under load, such as a wall-mounted basket.
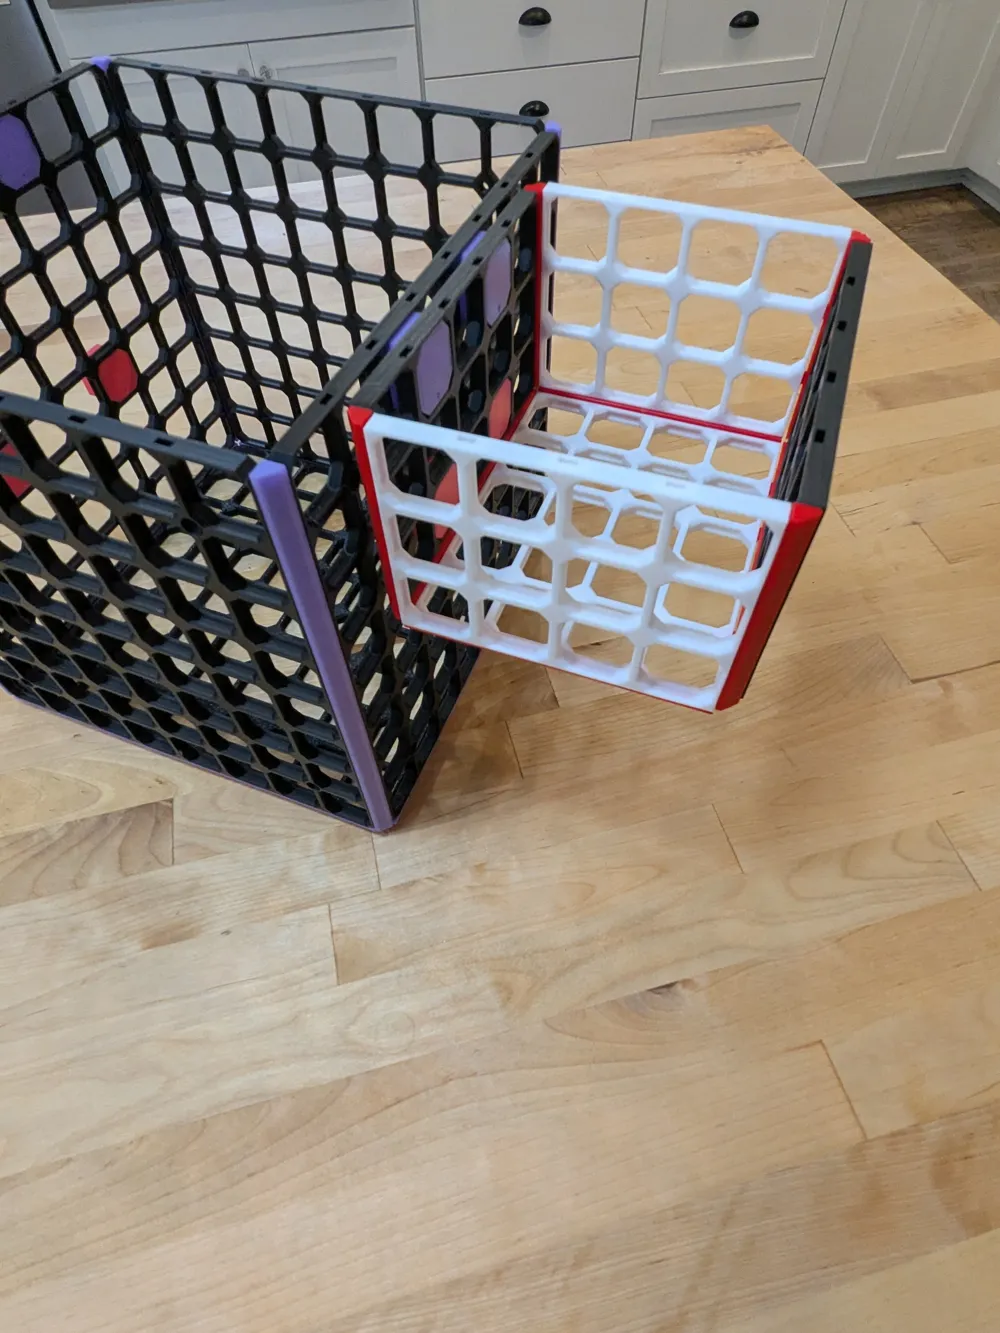
Detachable Panel Mounting
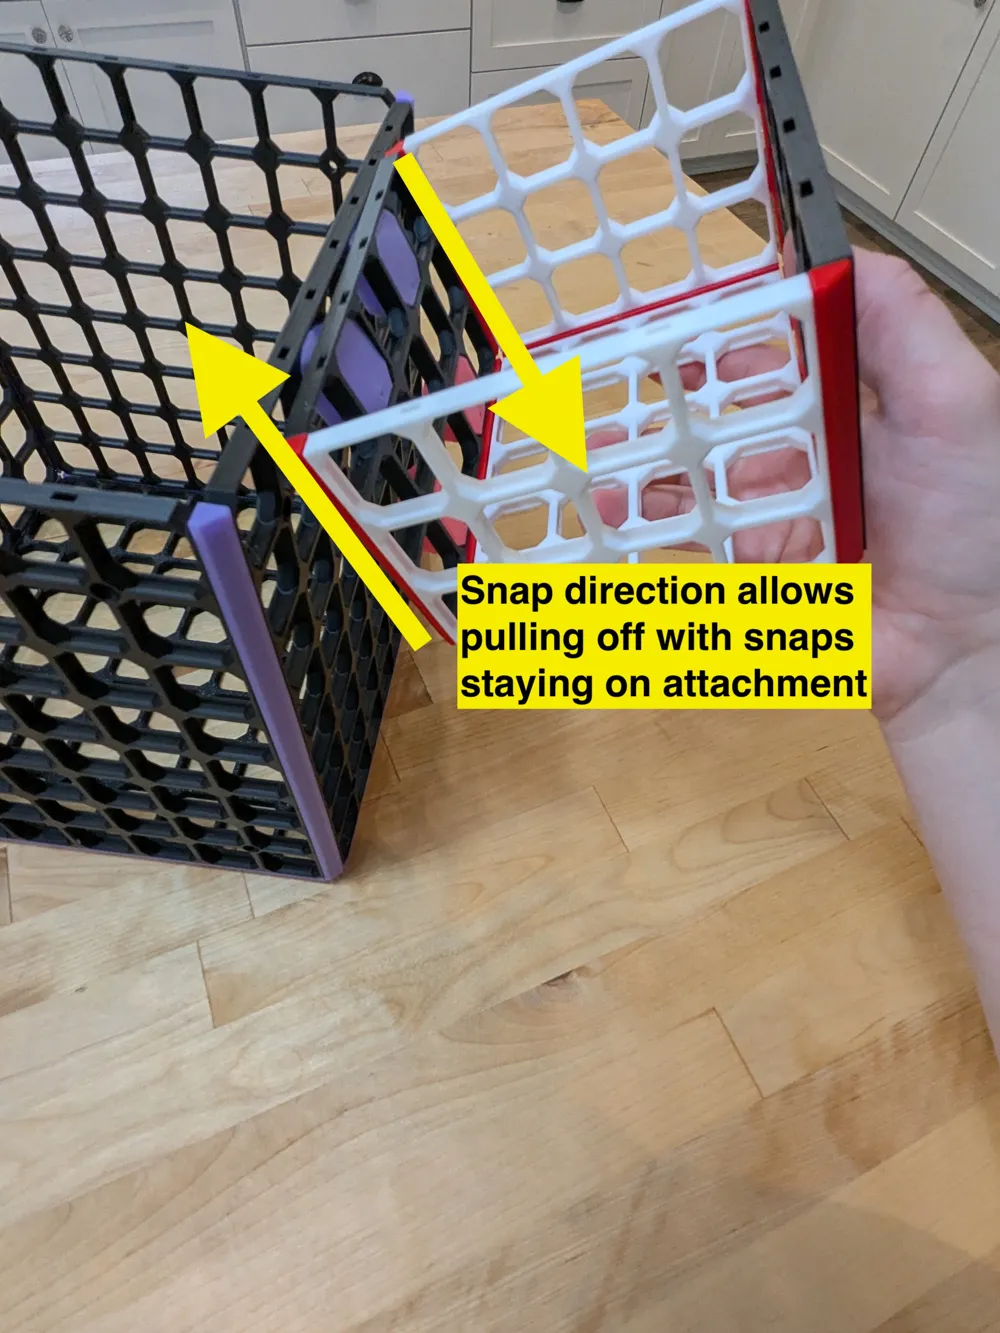
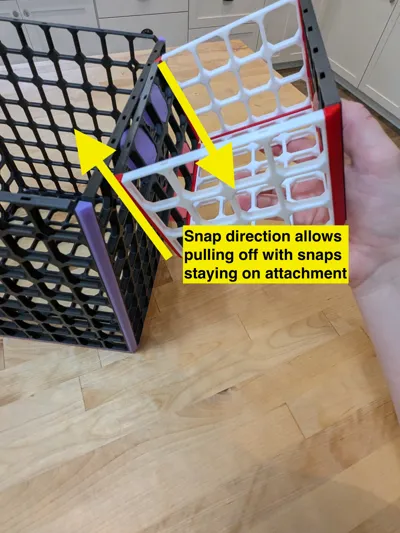
Side B is flipped 180° relative to Side A, which enables a useful detachment behavior when using directional snaps.
When mounting a movable panel (basket, board, cover) to a fixed wall grid:
- Use a directional snap on Side B (the movable panel side). Because Side B is flipped, its directional orientation faces downward — locking the snap firmly to the movable panel and resisting pull-out in that direction.
- Use a directional snap on Side A (the wall side). When you tilt the movable panel outward to remove it, the tilt direction is the release direction for Side A's snap — so it releases from the wall cleanly.
The result: tilting the panel detaches it from the wall, but the snap stays behind on the movable panel rather than on the wall grid. This makes reassembly straightforward — the snap is always with the thing you're carrying.
Print Settings
Print flat side down (the face of either snap). No supports required.
Standard settings work well. A few walls (3+) help with snap durability. The snap geometry is small and detailed, so avoid very high speeds on the snap features.
How to Download
All model files are available in the Print Models section above. Each variant includes: - STL file for broad slicer compatibility - 3MF file with embedded print settings
Choose the variant that best fits your needs based on size and intended use.
Assembly
Press side A onto one grid tile and side B onto the other. The two tiles will then be joined back-to-back at that grid position.
For directional snaps, insert in the direction the snap opens (along the grid edge). For nondirectional, press straight in from any direction.
No tools required. Print orientation matches use orientation — the face you print on is the face that presses onto the grid.
Print Profile
This model has been tested with the following profile on Bambu Lab printers:
- Profile: Generic PLA
- Layer Height: 0.20mm
- Speed: Normal
- Quality: Standard
The 3MF files include optimized print settings. For best results, use the included print profile or adjust based on your specific printer and filament.
Support This Project
If you found this model useful: - Give it a like - Share a make with your print - Follow for more modular organizational designs - Leave a comment with feedback or suggestions
Your support helps me create more quality designs for the community!
This remix is based on


License



Comment & Rating (7)