
Golf Ball Jig for eufyMake E1- Standard & Mini Bed
Print Profile(5)
Description
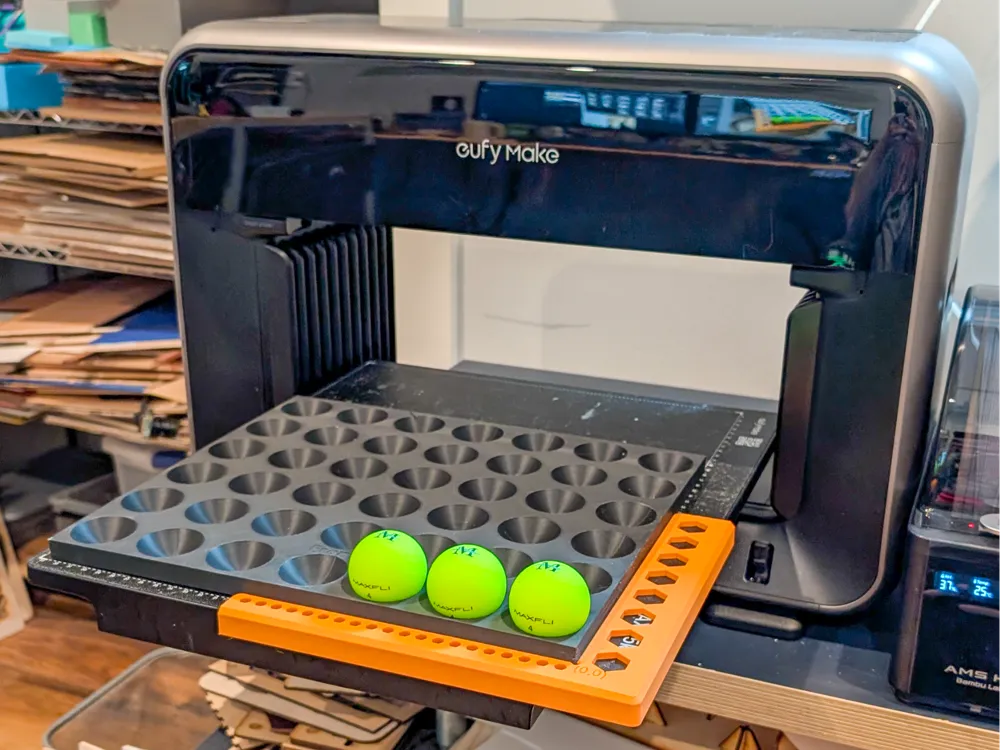
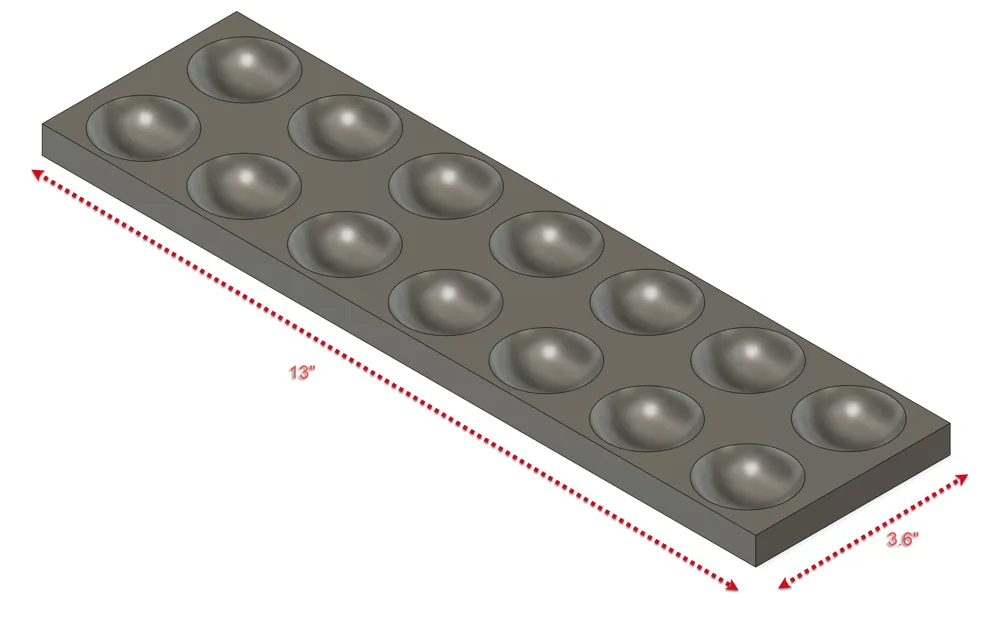
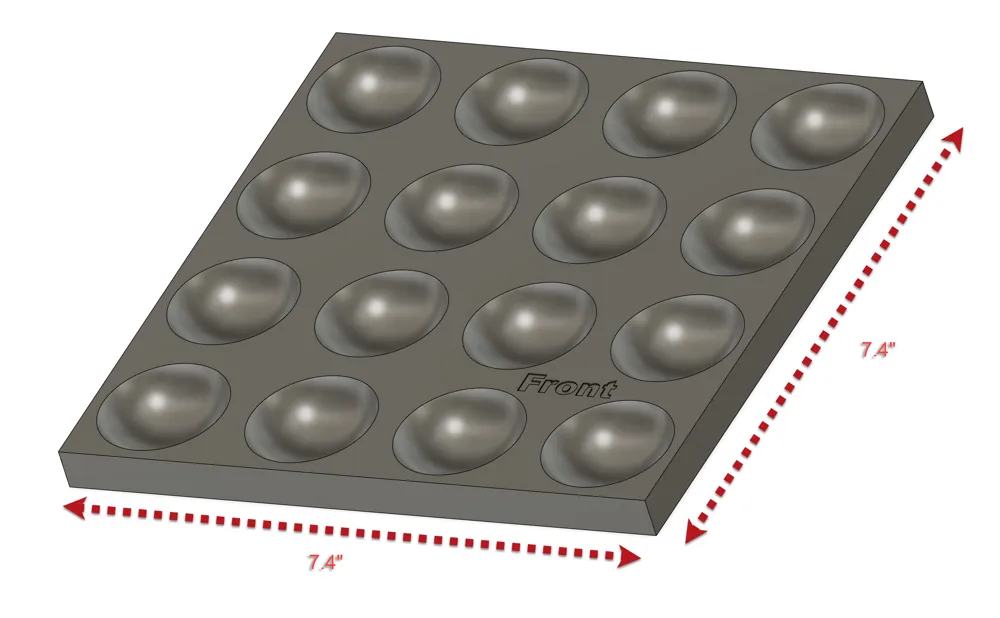
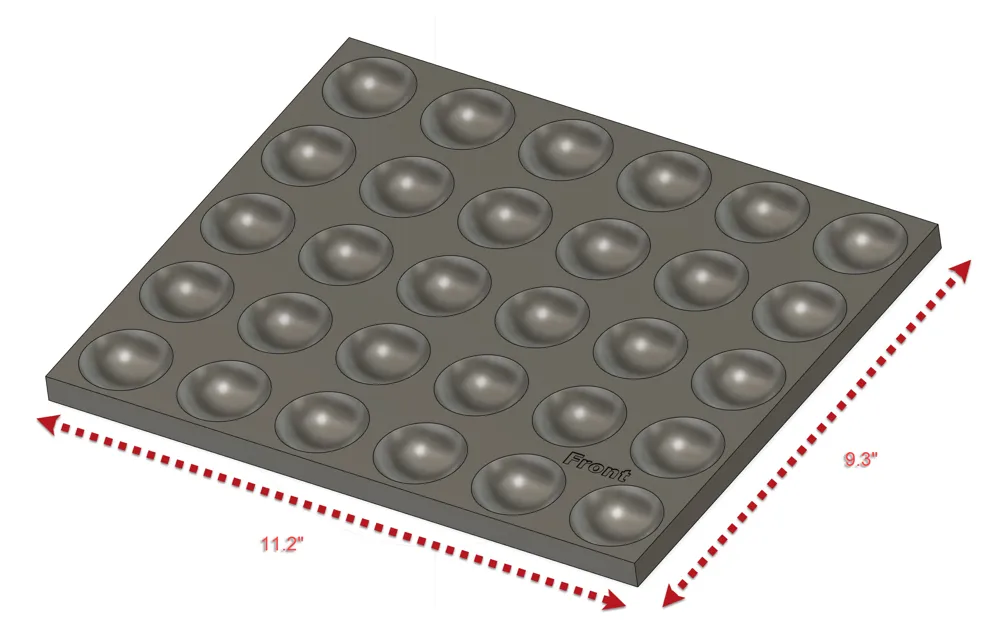
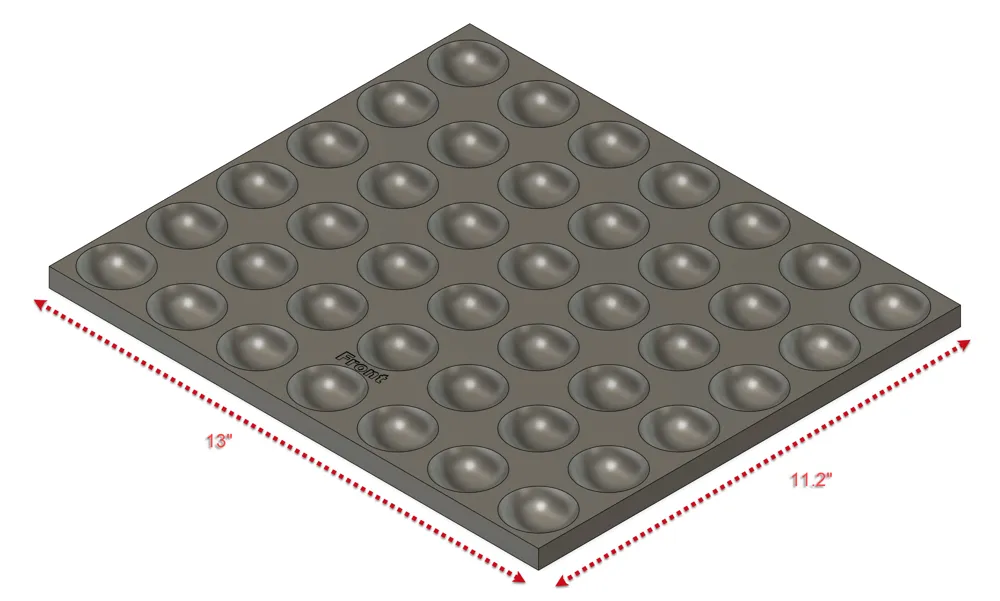
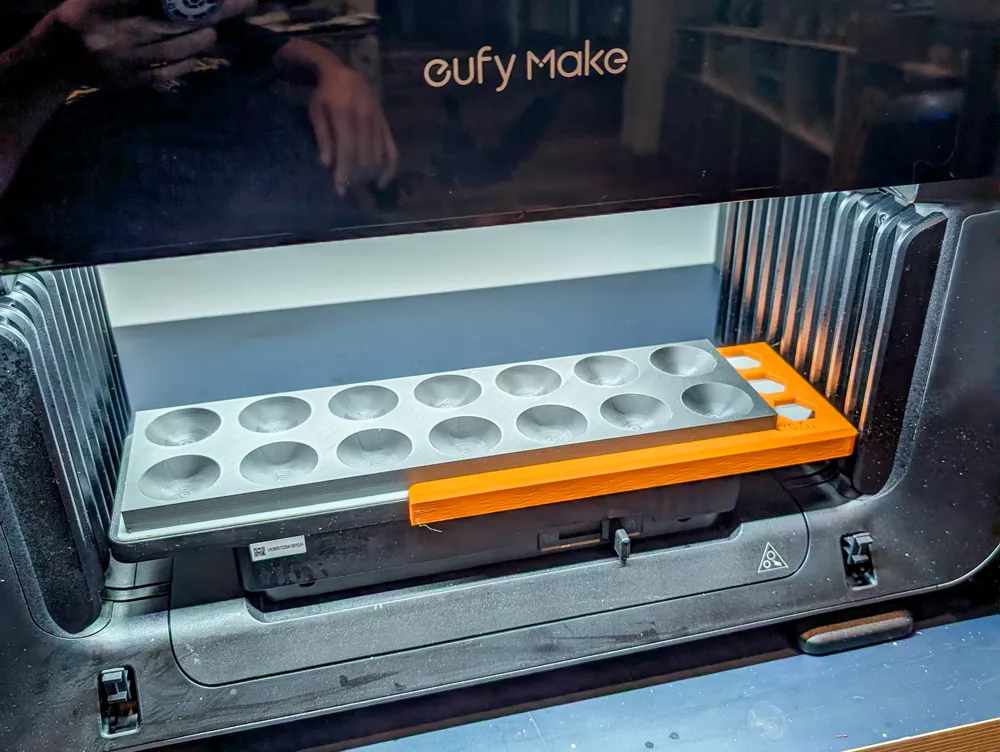
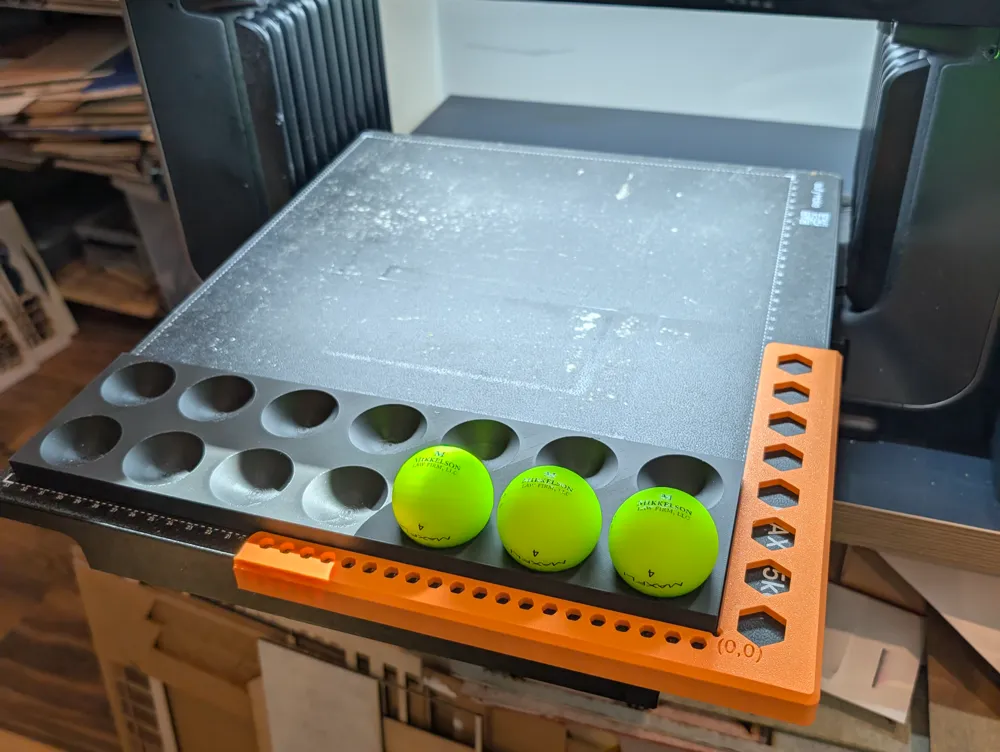
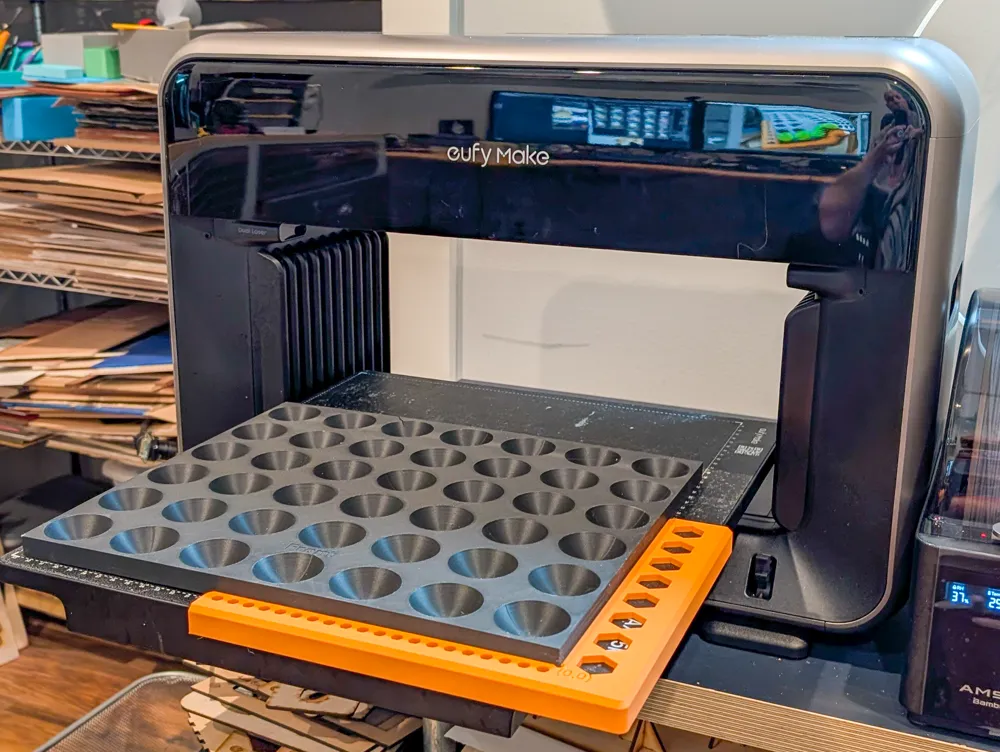
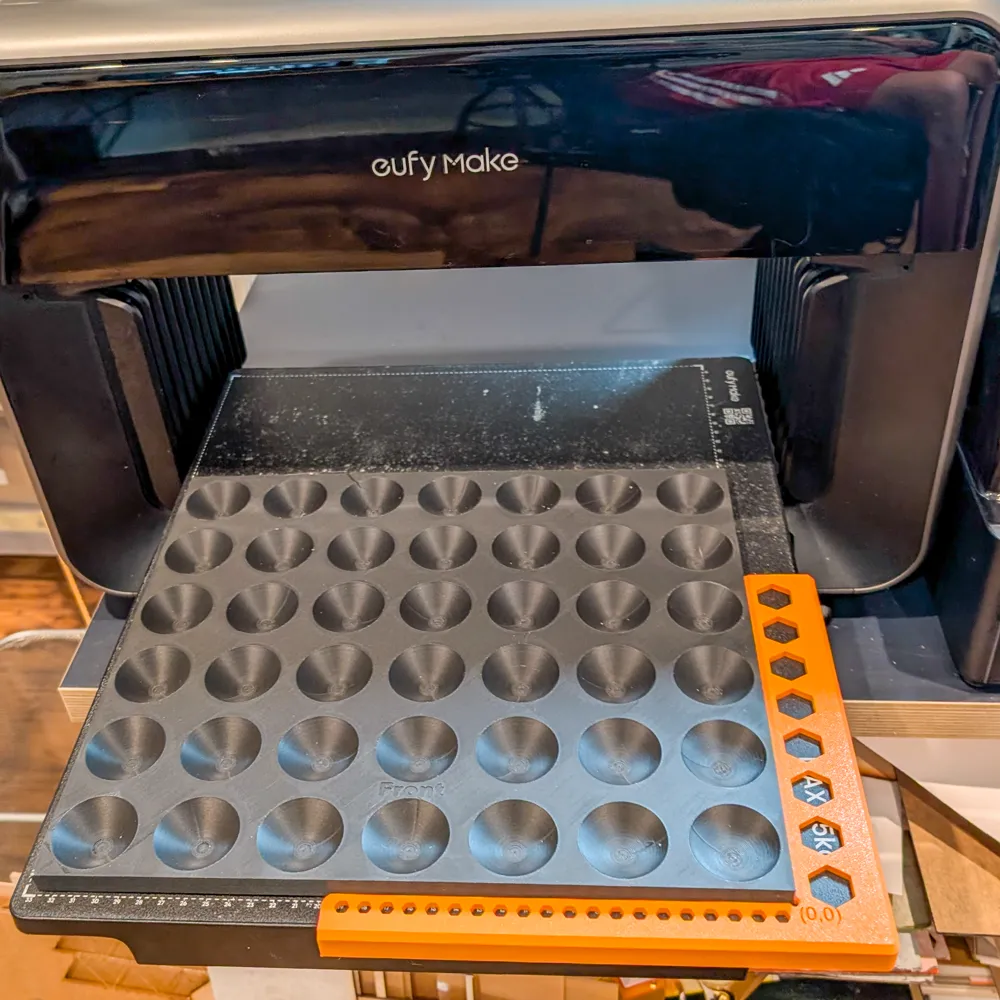
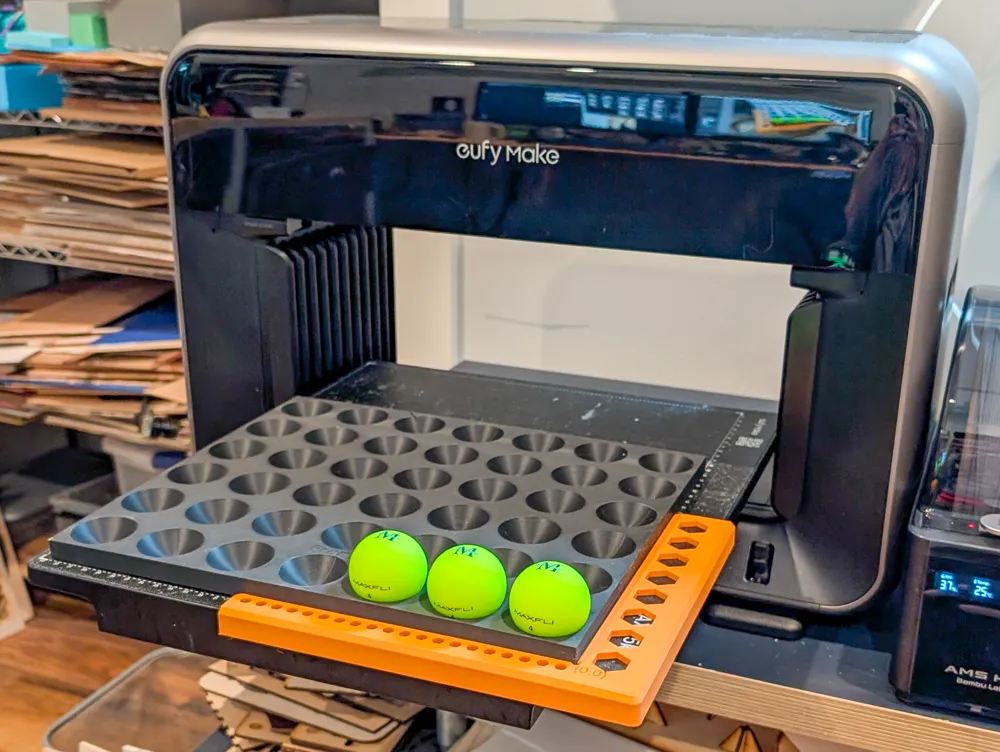
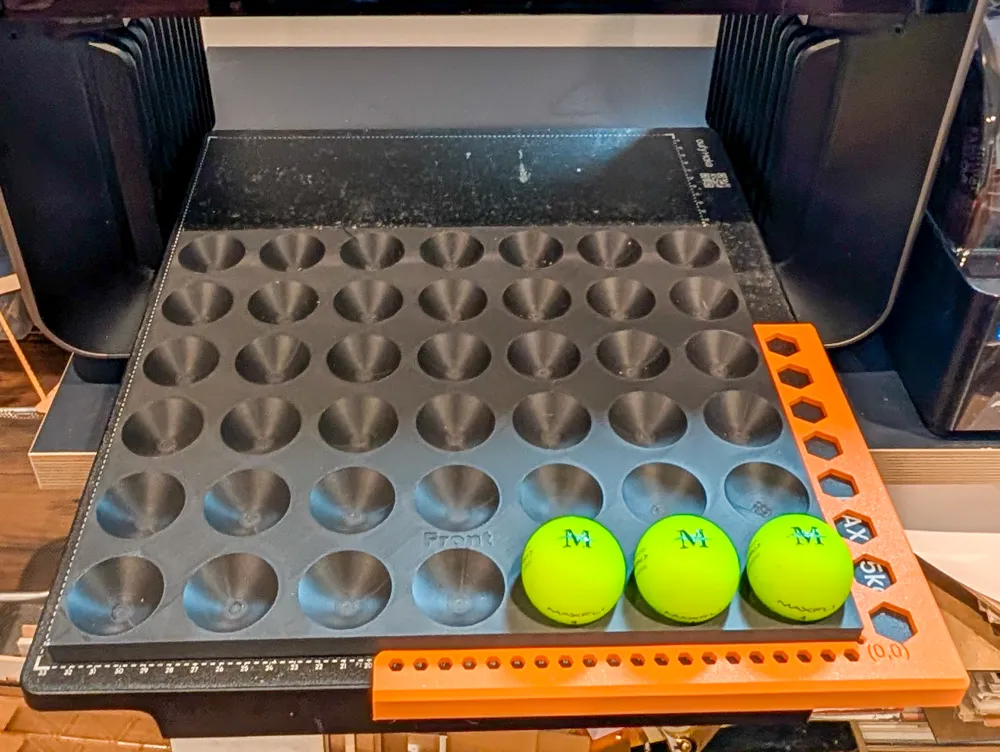
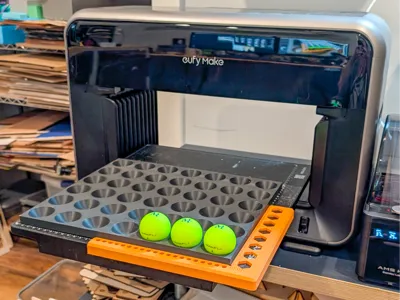
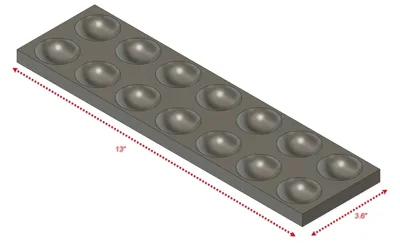
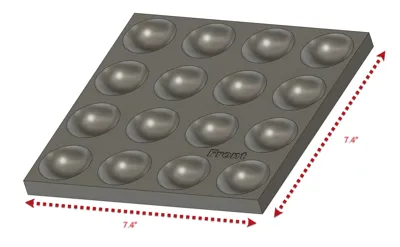
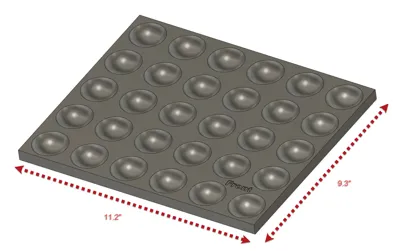
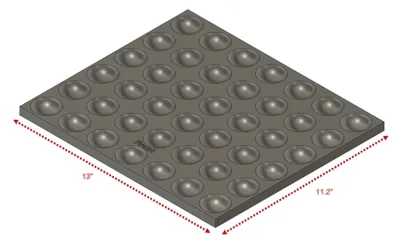
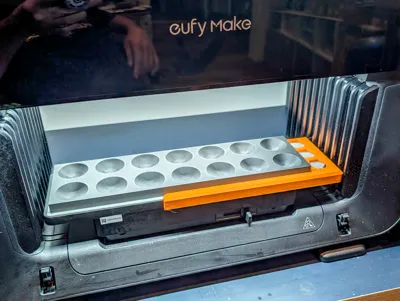
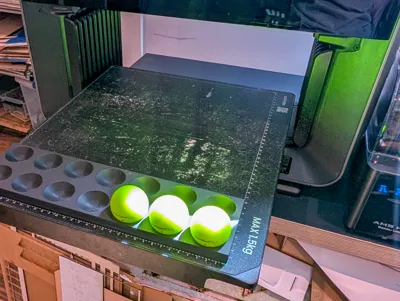
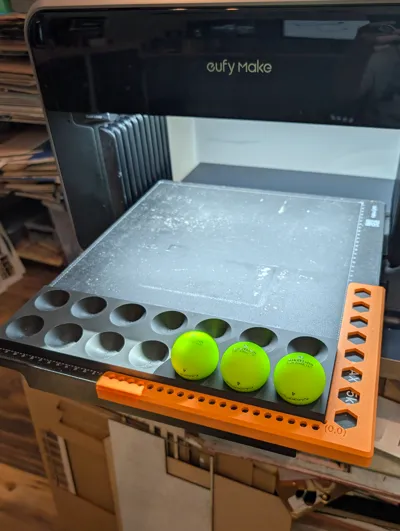
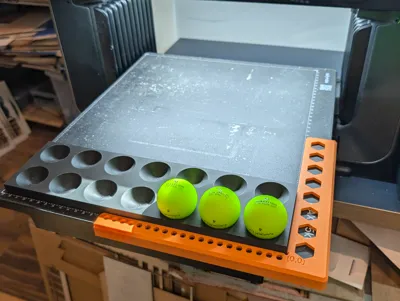
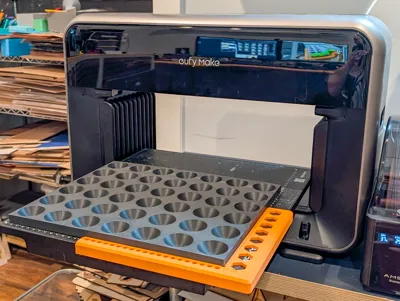
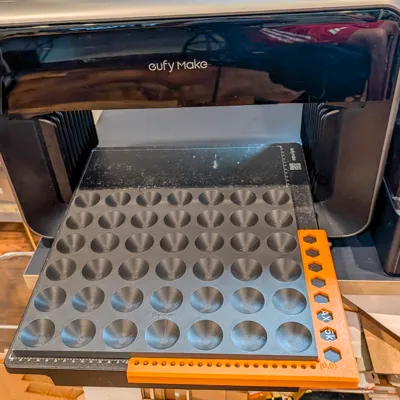
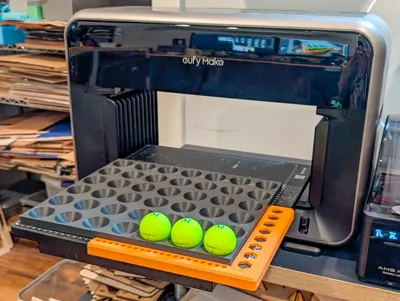
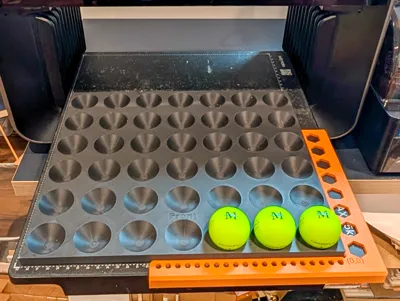
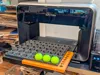
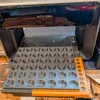
3D Print your own Golf Ball jig for the eufymake E1 UV printer. Included are jig for the mini bed for 14 golf balls and also multiple for the standard bed for 16, 30, and 42 golf balls, depending how big of a 3D printer you have. The 5x6 jig can be printed on a smaller 3D printer, while the larger jigs print require a large bed 3D printer. Multiple print profiles are available. Download the zip file in the other files area with AI, SVG, and PNG template that you can use with the zero point alignment feature. It is recommended that you perform the zero point alignment calibration along with an alignment jig.
DO NOT PRINT ENTIRE TRAY OF GOLF BALLS BEFORE YOU TEST AND DIAL IN YOUR SETTINGS!
*** If you only plan on printing on a few golf balls in the first couple rows, add at least one ball on each row to ensure alignment is successful. ***
Instructions for use: (This example show how to use the jig with the mini bed)
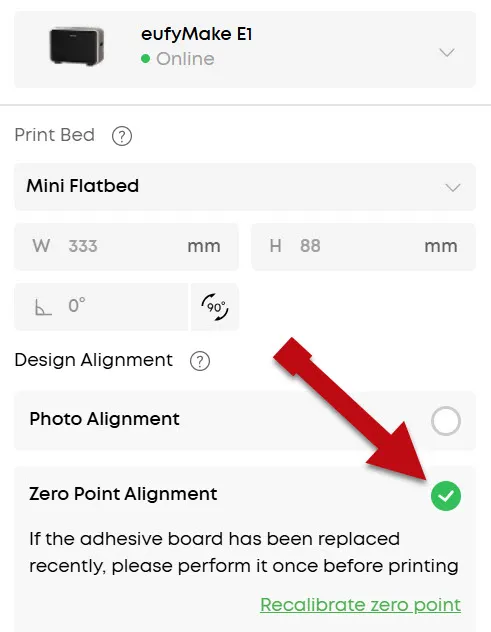
Turn on Zero Point Alignment.
Import the template in eufymake studio. The position should be set to X:0 and Y:0. This will probably change slightly, but this is a good starting point. Also verify the sizing, as importing the PNG changes the size. Width should be 330mm and height 89.98mm.
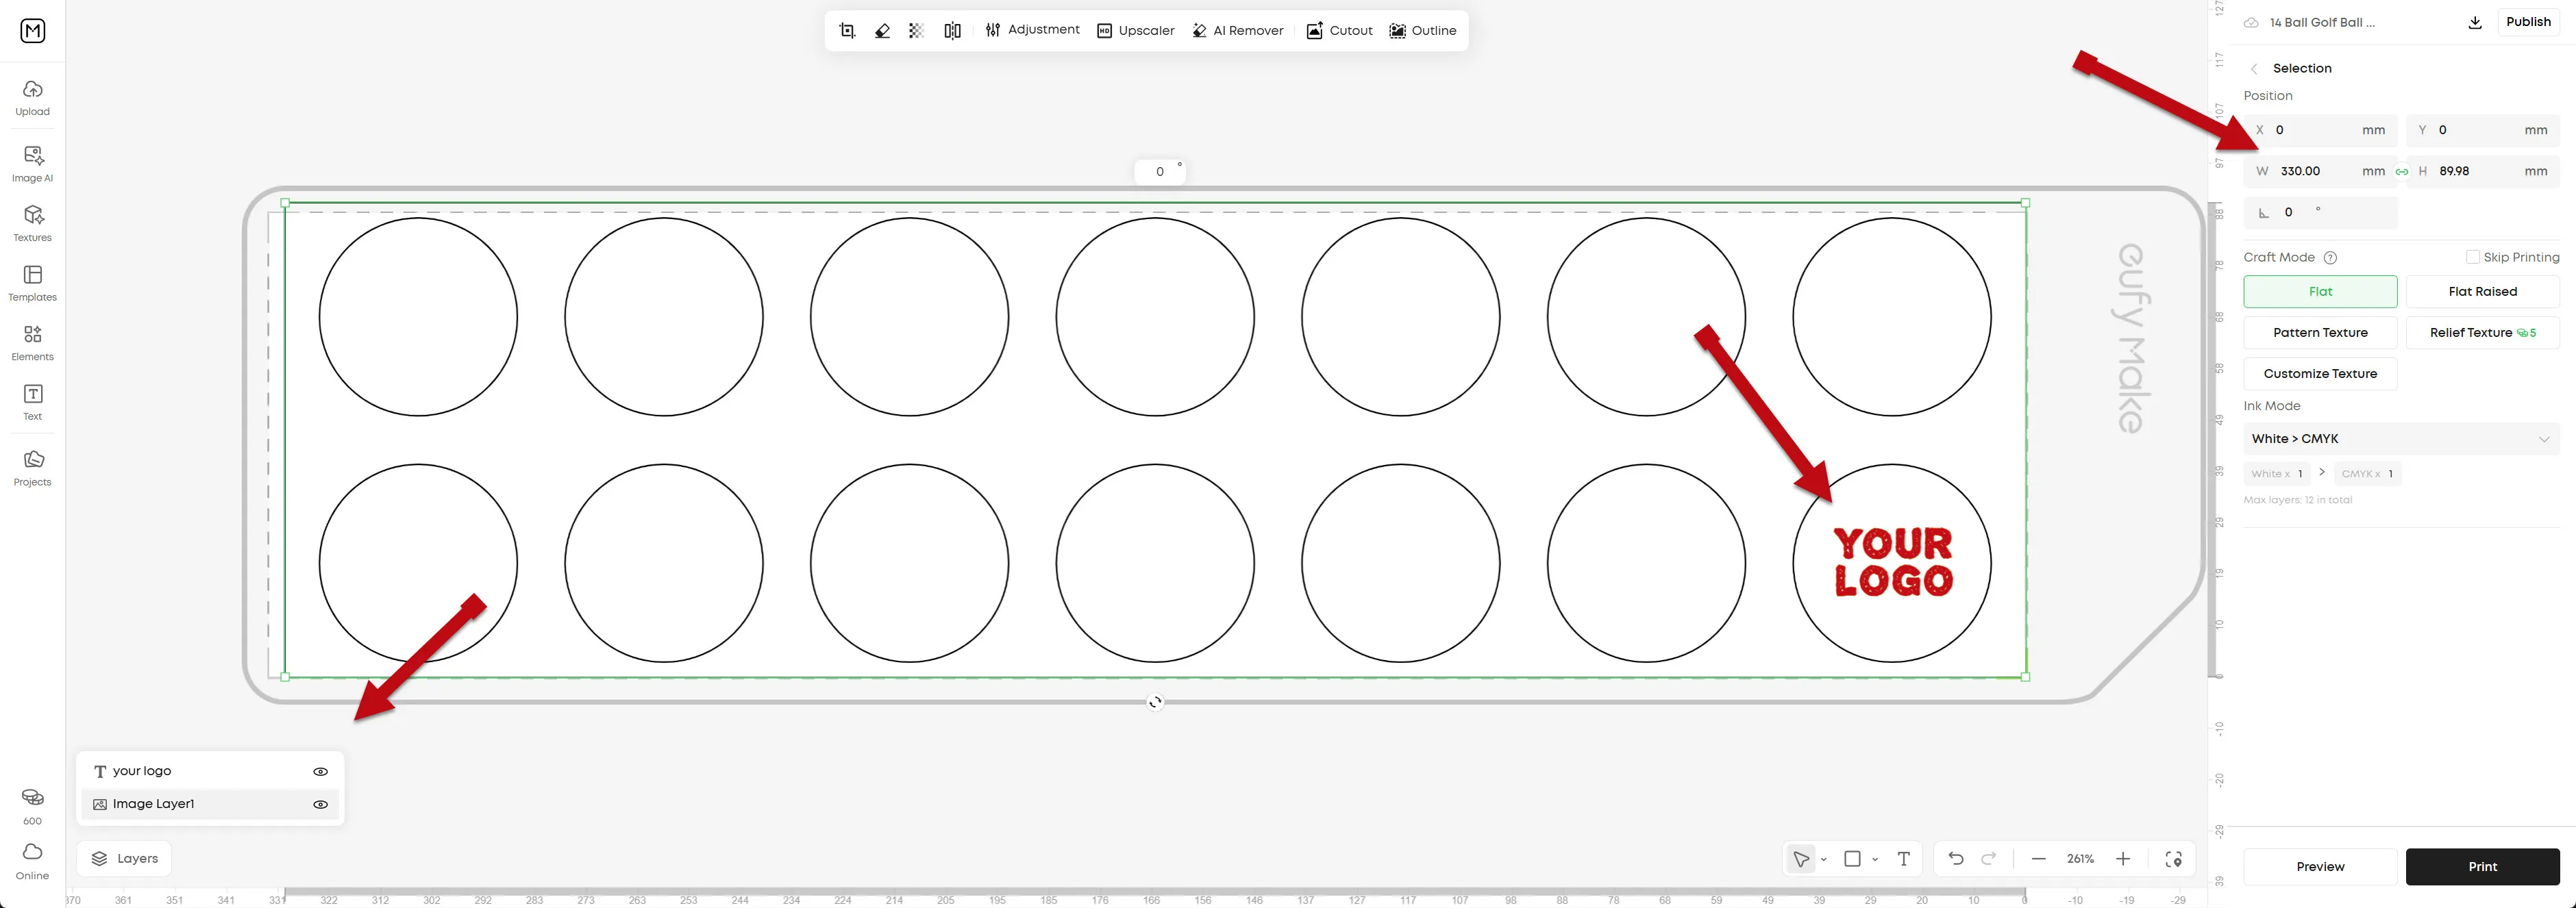
- Upload a single copy of your logo, as we'll be doing test prints to ensure it is centered.
- Without moving the template layer, move your image, centered on the top of the bottom right circle.
- Attach some masking tape to the jig over the bottom right circle. You'll be printing directly on this tape.
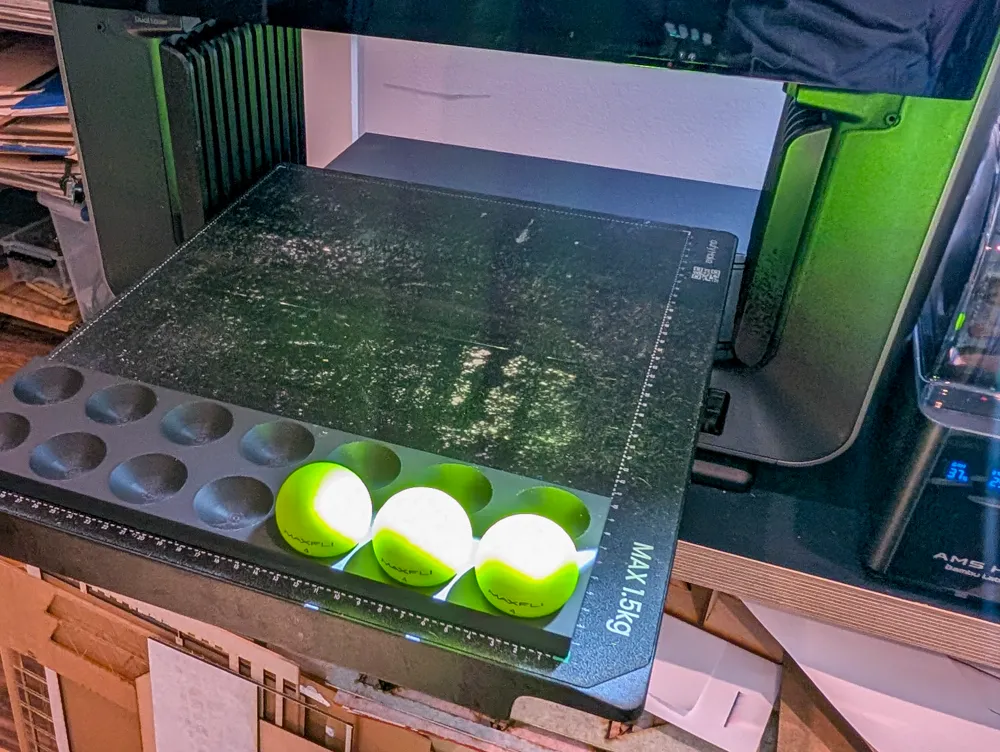
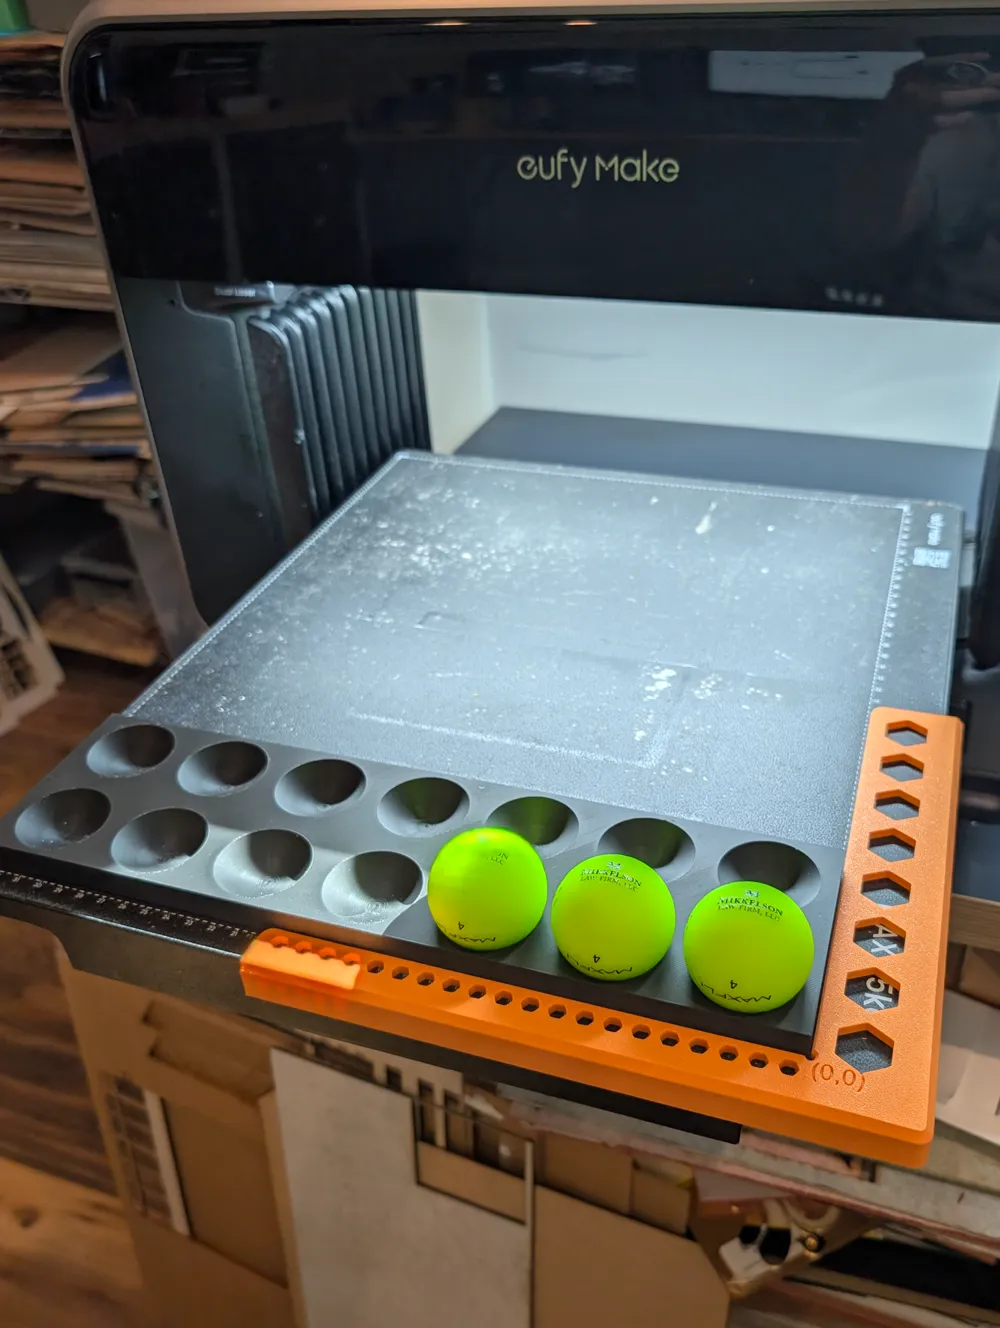
- Place the jig with tape at the zero point on your mini bed. I recommend using my zero point alignment jig, also available on MakerWorld.
In eufyMake Studio, hide the template layer. You don't want this to print.
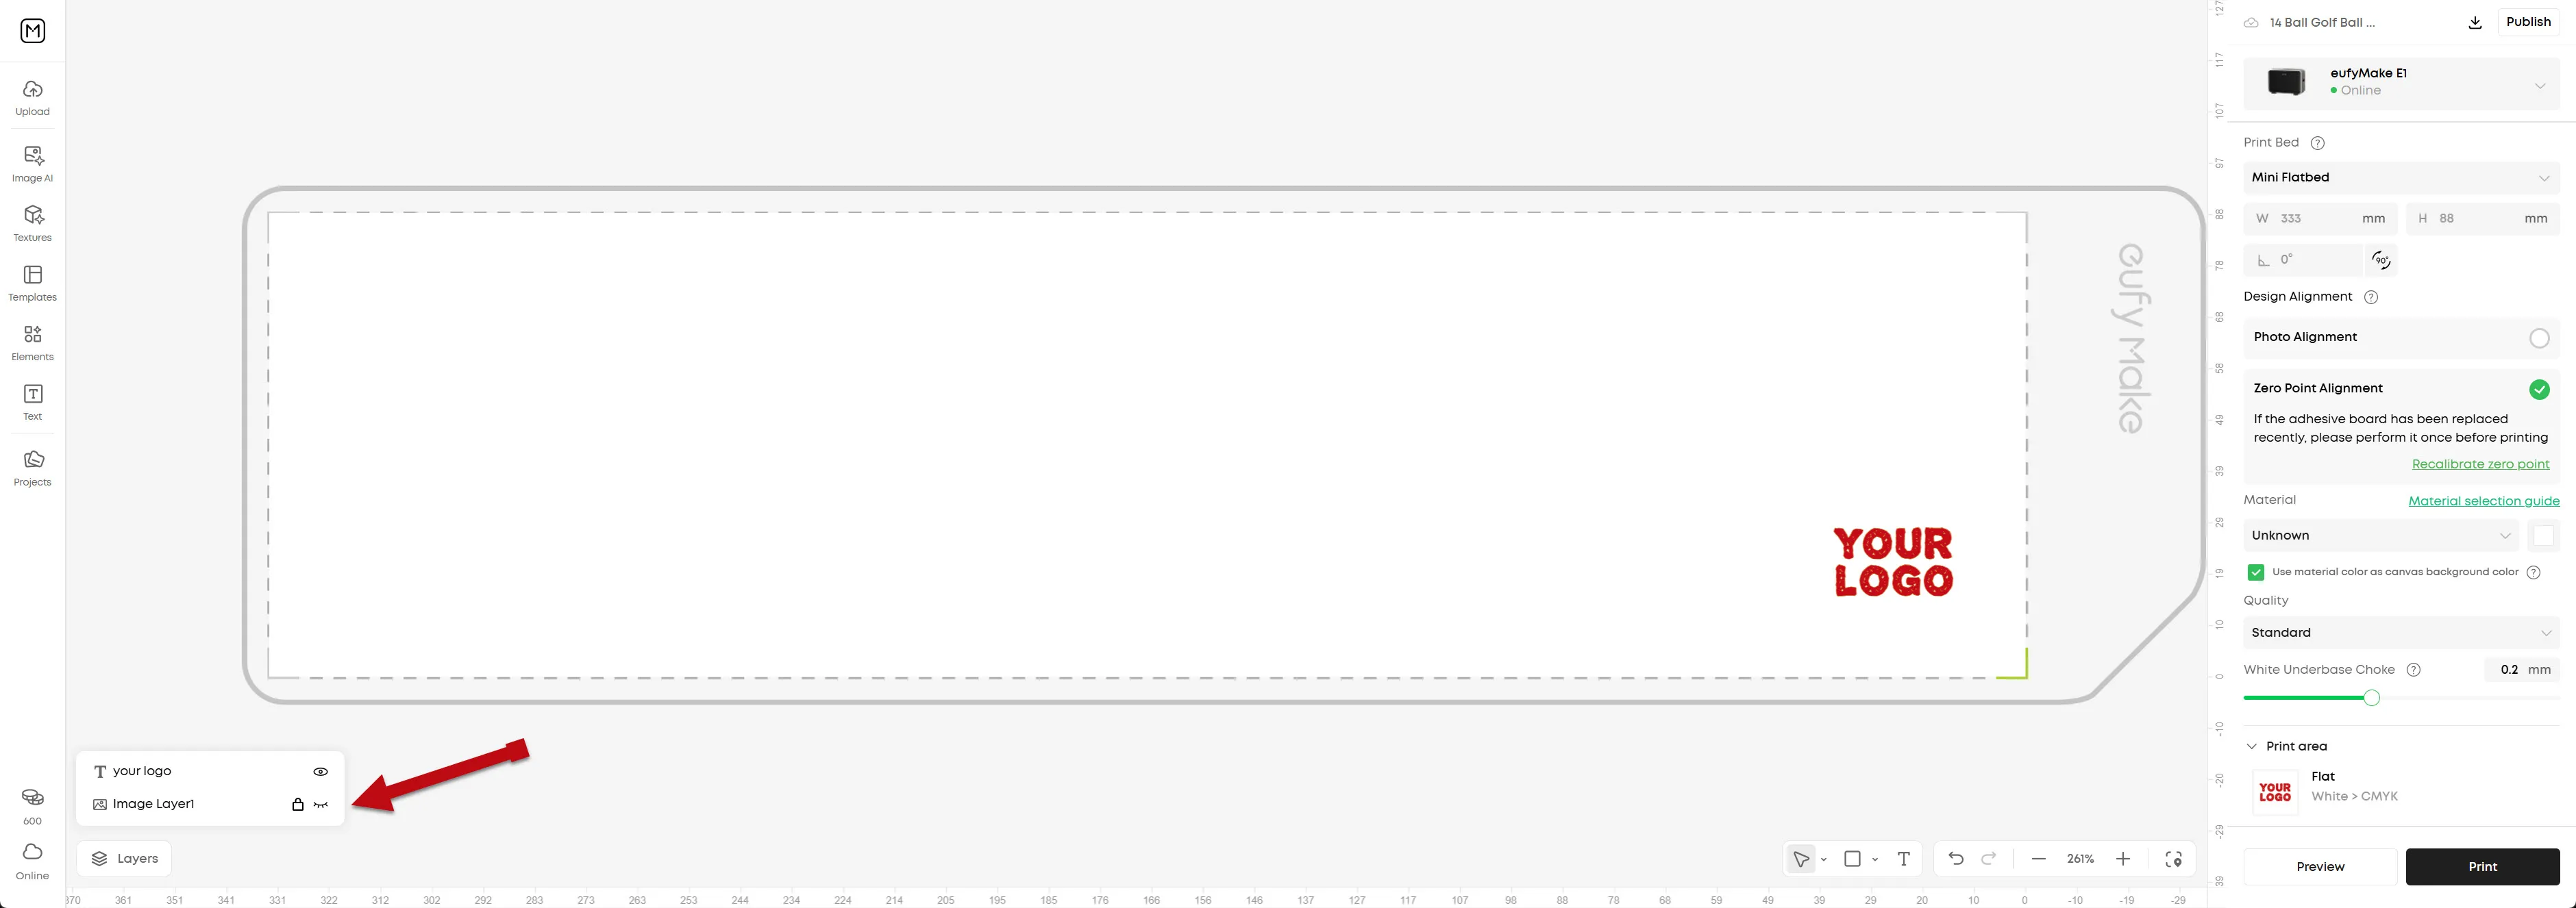
- Print the logo on the tape, and review the results and how close to center to that circle you are.
- If you need to make adjustments, unhide the template layer, select both the template and logo objects, and use the arrows to adjust your design starting point. You shouldn't have to move it far.
- Hide the template layer and reprint the logo. Repeat steps 9 & 10 until your image is centered.
- Remove the tape and test print 1 golf ball.
- If this successful, unhide the template layer and also lock it. Select it and note the X and Y position. If you want repeatable results, the template should be in a position to reuse by using these coordinates. Probably a good time to save your design at this point.
- Now you can either copy and paste your image over the rest of the circles, or import a full sheet of them from your design software of choice. AI, SVG formats are included.
- I would recommend using the tape method to test print before printing an entire tray of golf balls.
- Hide the template and print!
If you import the PNG template, you will need to resize in eufymake studio. Here are the correct measurements:
| Balls | Width (mm) | Height (mm) | |
| 4x4 Jig | 16 | 187.96 | 187.96 |
| 7x2 Jig | 14 | 330 | 90 |
| 6x5 Jig | 30 | 284.48 | 236.22 |
| 7x6 Jig | 42 | 330 | 284.69 |
Documentation (1)
License

You may create derivative works based on this object, provided that all such derivative works are published exclusively on the MakerWorld platform and include proper attribution to the original creator. You may not share, upload, host, distribute, or publish this object—or any derivative work of this object—on any other digital platform, marketplace, or distribution channel. Commercial use of this object and any derivative works is strictly prohibited. This includes, but is not limited to, selling, renting, sublicensing, or using the object in any context in which you receive monetary compensation or other financial benefits.


Comment & Rating (9)