
Tick Stick - Cut Flat Materials To Fit Any Shape!
Print Profile(1)
Description
How to deal with impossible shapes when cutting flat materials to fit?
If you’ve ever had to cut material to fit a complex or irregular shape, you know the feeling - measuring doesn’t help, eyeballing will be worse. Whether it’s flooring around a curved wall, a benchtop against a wonky corner or a panel that needs to match an existing contour … it can feel daunting, particularly when the material you need to cut is limited, expensive or both!
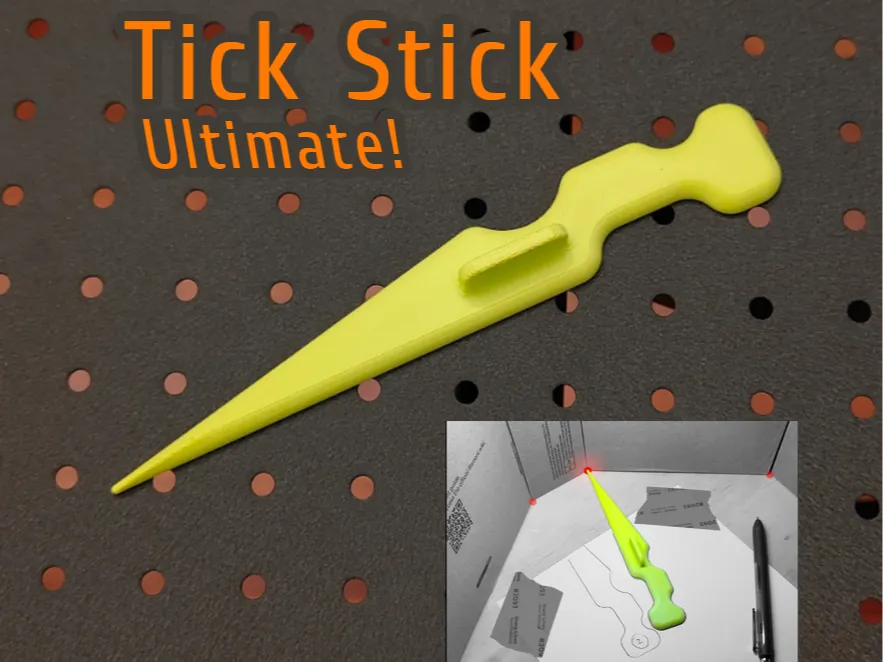
But not with a Ticking Stick, also known as a Spiling, Scribing or Template Stick. A Tick Stick is a traditional layout tool used by boatbuilders, carpenters, and makers to transfer complex shapes with precision.
Thanks to the Essential Craftsman for introducing this technique!
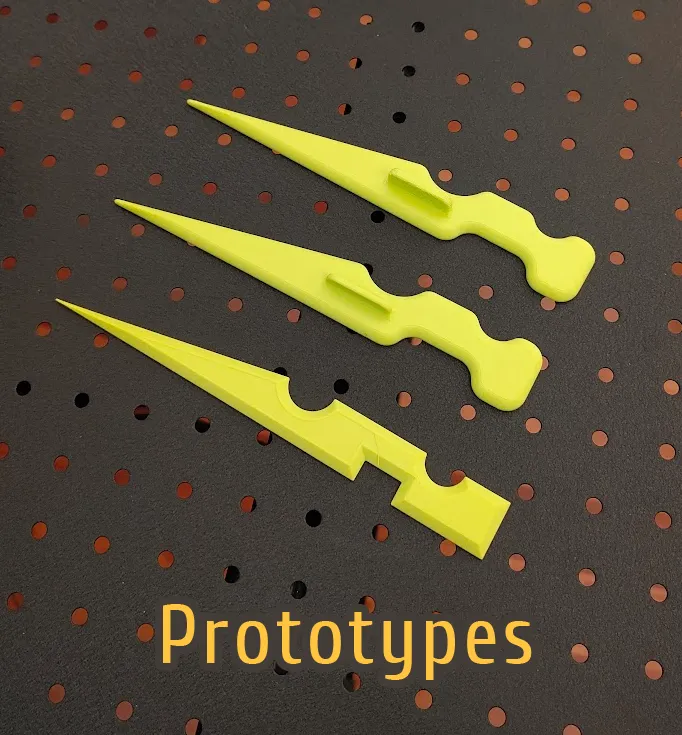
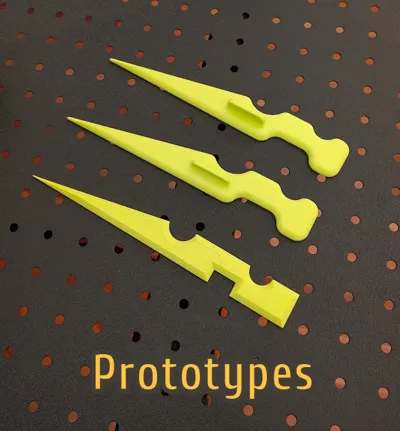
I have been watching the Essential Craftsman videos for years, he's always educational and entertaining. Yesterday I saw his Tick Stick video, and thought, what a perfect tool to 3D print. This was an opportunity to design in some trace-friendly features (see Design Considerations).
How it works…
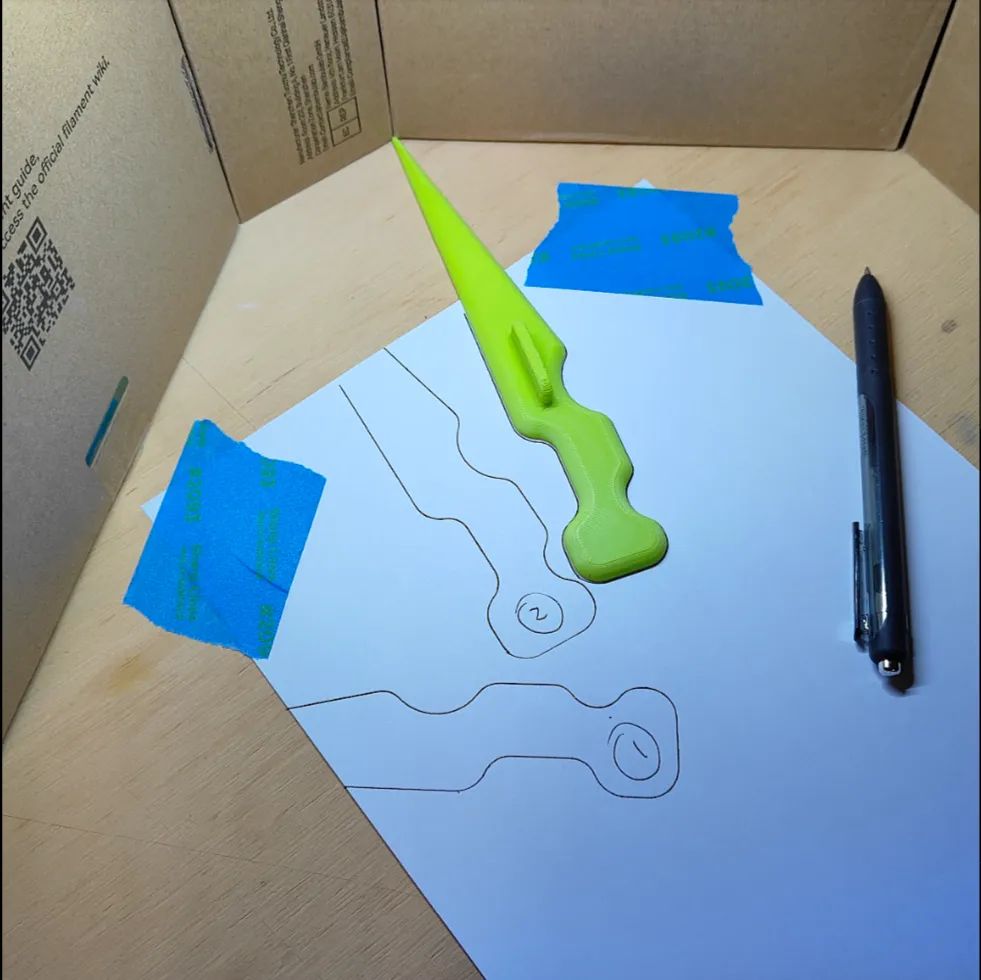
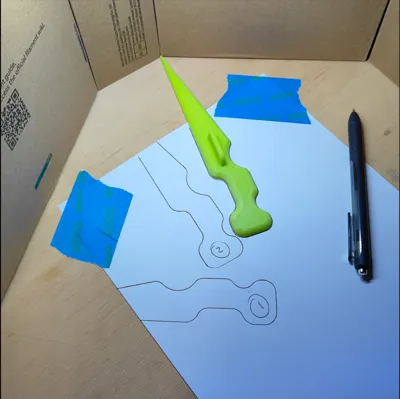
A tick stick is just a pointed shape you point-to-and-touch the key features of the shape you want to copy. Each time you touch a feature, you trace the body of the stick onto a movable tracing board or paper. Every sticks outline will have a tip location that becomes a ‘tick’ - a precise record of where the sticks tip was when it touched that feature. Next move the tracing surface to the workpiece to cut, accurately replace the Stick on each outline and add the point locations - ‘ticks’ - to create an dotted outline of the reference shape. After joining the dots you will have an outline of the original shape - a cutting guide - no guessing, no calculations or measurements! Just mapping …
- Fix a tracing board or paper inside the space you need to copy - The tracing board doesn’t need to reach the edges of the shape you are replicating. It just needs to be large enough that the Tick Stick’s tip can touch all the key perimeter points while enough ‘back end’ of the Tick Stick overlaps the tracing surface so that it's tracings can be used to accurately re-position the stick later. It's also very important the tracing paper or board doesn't' move while you are tracing!
- Mark reference “ticks” along the perimeter - Work clockwise, or left to right (just be systematic) starting somewhere obvious placing the Tick Stick on the board and touching the tip to key points on the irregular shape you want to copy. At each location trace along the edge of the stick and number the tracings (1, 2 3 …). Repeat for every point needed to define the outline. Tip: Where things get complex make more reference points. You can also approach the reference points from various angles if you need to keep the tracings legible when overlapping. You can even cycle through several colors. Black, red, blue for example.
- Take a photo of the tracing in-place before you remove it - This will be useful when it reconstructing the outline and you need to make decisions about how dots should be joined.
- Move the tracing board to your workpiece - Fix the tracing surface to the material to be cut.
- Recreate the outline on your material - Align the Tick Stick with each tick mark on the board (1,2,3…), point the tip outward, and mark the corresponding tips point on your material. Connecting these dots (ticks) reproduces the exact shape. Here's where that photo can be handy.
- Cut the material to the transferred outline - The finished piece will match the original space precisely. Remember to take into account the width of your cutting tool and clearance needed.
Design considerations
This Tick Stick is built specifically for accurate tracing.
- Smooth tracing - All corners are rounded so you can trace smoothly without catching or the need to trace right-angles.
- Ruler edge - The thickness of the stick tapers down to a 1 mm‑high ruler-edge, improving visibility of the trace line while keeping the stick body out of the markers way.
- Handle - A small handle, located at the center of gravity for perfect balance, allows you to more easily lift the stick off the surface and accurately place it on it's own outline. Improved grip via fuzzy skin - that's what the yellow block on the model is for. The handle is also the perfect point to press down with an index finger while tracing, as this gives additional clearance around your own finger to trace.
- Pointing tip - The tip tapers down to a 1 mm rounded point. The straight edges leading down to it, allow you to use a ruler to reconstruct the apex, if the Ticking Stick isn't available, as the tip if not normally traced.
Scaling for Bigger or Smaller Sticks?
If you need a bigger or smaller stick, just adjust the X/Y scaling. The current stick is approx 192 mm long.
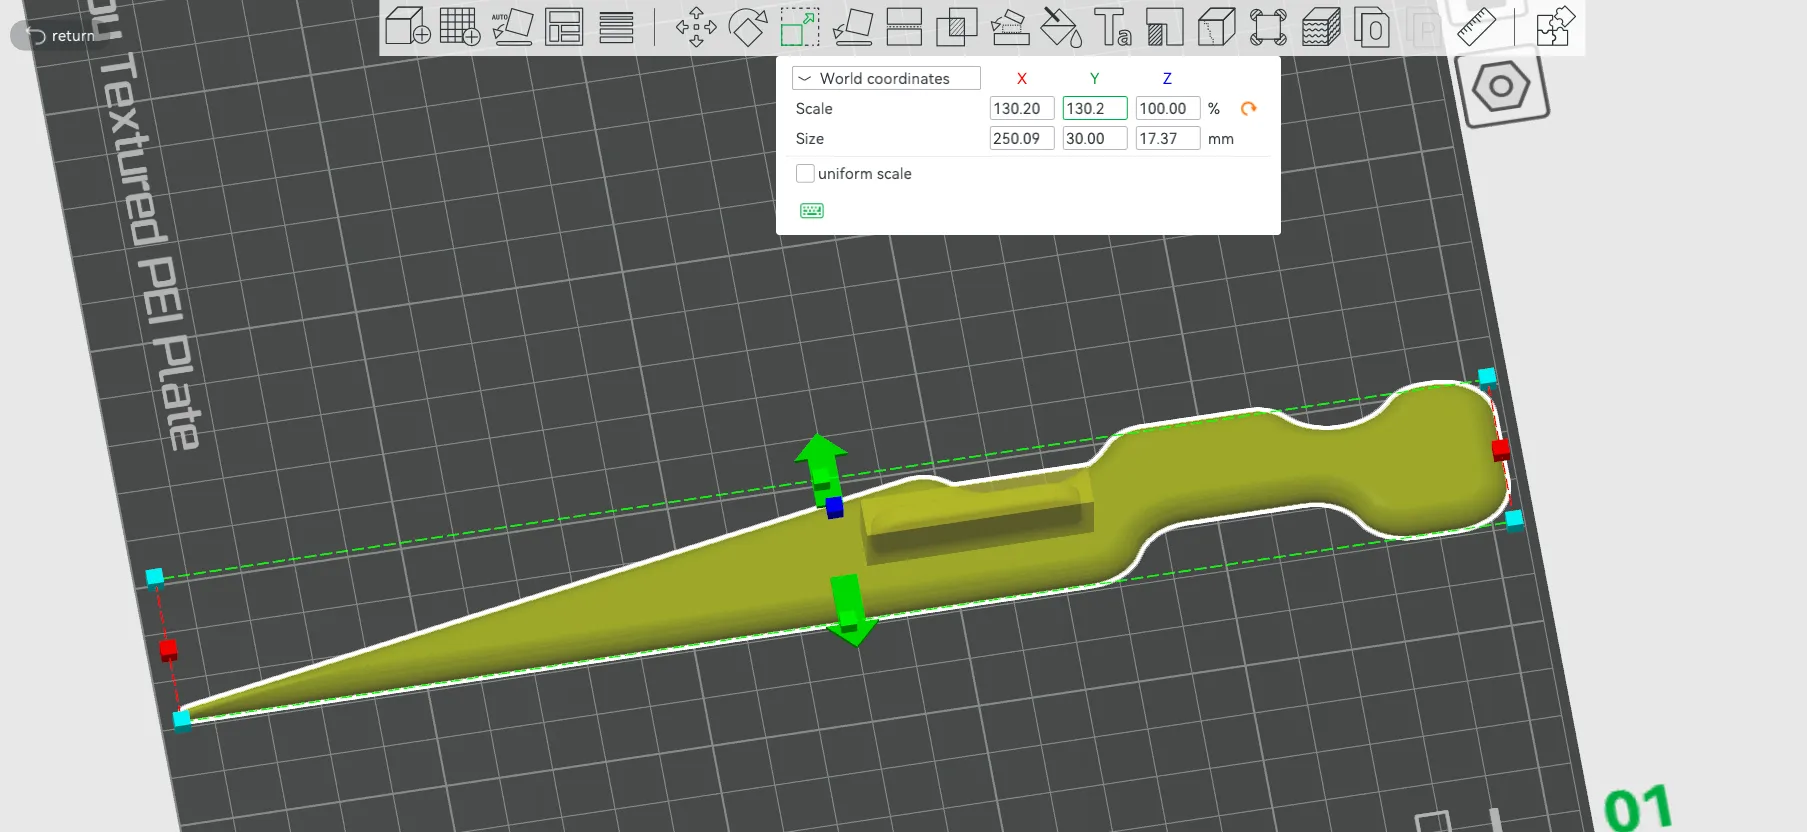
Example: Need a 250 mm stick?
- Formula - Desired length/192 mm x 100 = Scaling factor.
- Calculations - 250/192 x 100 = 130.2 ← Scaling Factor.
- Open Scaling - Select the Stick in Bambu Studio and choose Scaling.
- Deselect ‘uniform scale’
- Set X & Y Scaling to 130.2%
NOTE: the shape of the stick is really not important, only that you can recognize how to place the stick back accurately on tracings where many may overlap. Feel free to mess with X/Y scaling independently.
Enjoy!
License

You may create derivative works based on this object, provided that all such derivative works are published exclusively on the MakerWorld platform and include proper attribution to the original creator. You may not share, upload, host, distribute, or publish this object—or any derivative work of this object—on any other digital platform, marketplace, or distribution channel. Commercial use of this object and any derivative works is strictly prohibited. This includes, but is not limited to, selling, renting, sublicensing, or using the object in any context in which you receive monetary compensation or other financial benefits.


Comment & Rating (128)