
SteadyDraw – Syringe and Vial Injection Support
Print Profile(1)

Description
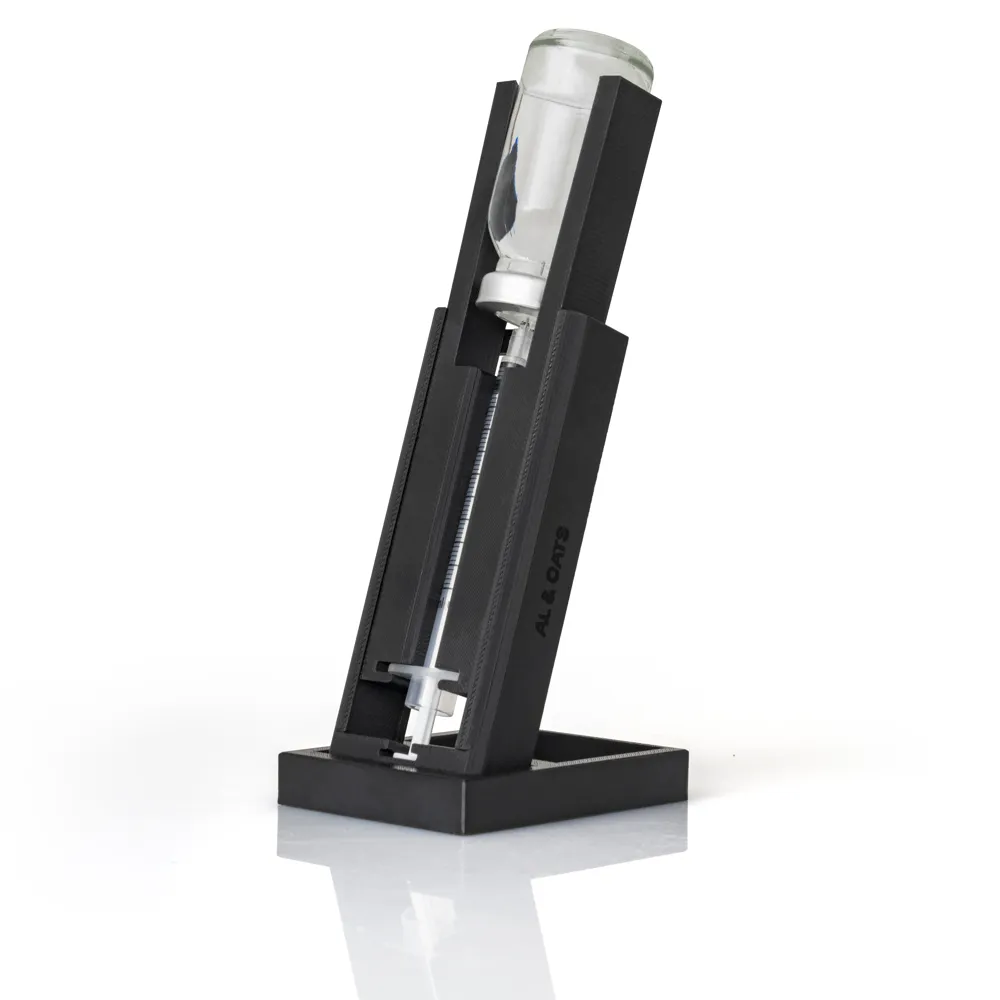
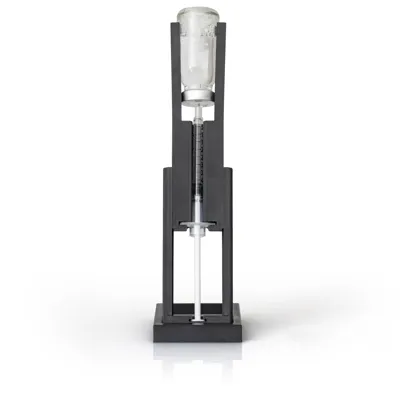
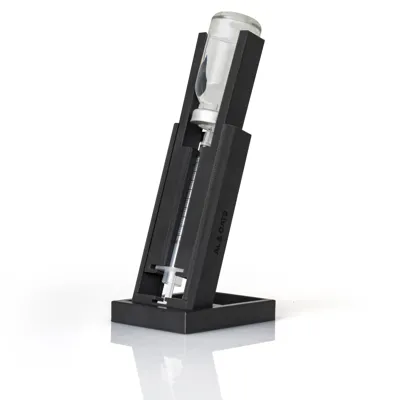
SteadyDraw Collection — Complete Syringe and Vial Injection Support Fixture — All Sizes by AL & Oats 3D
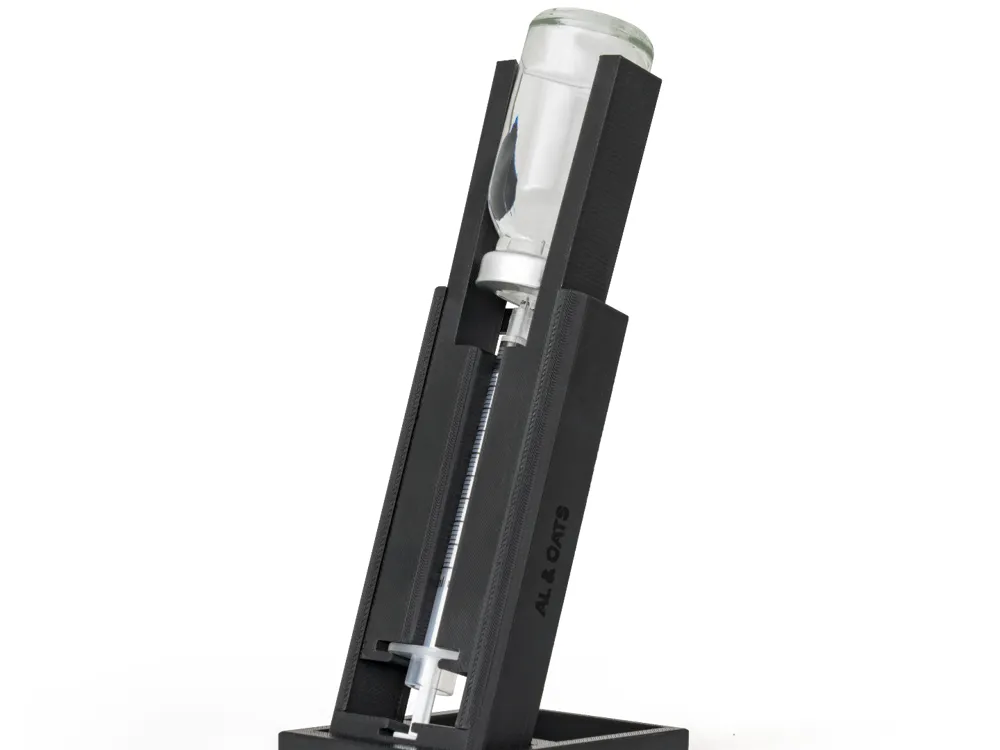
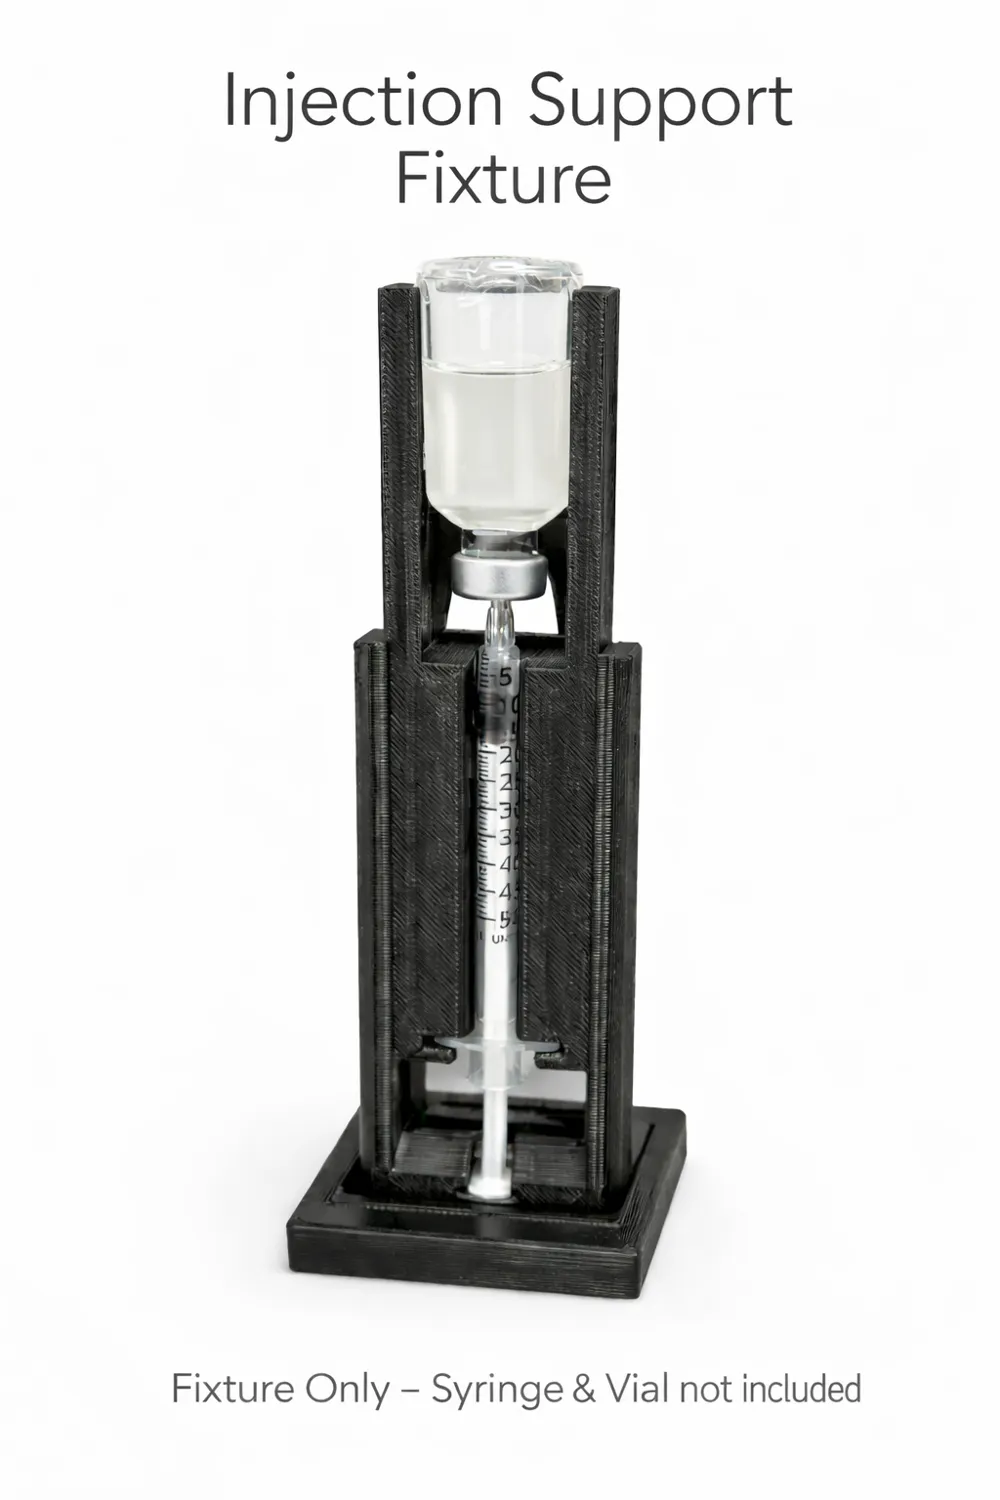
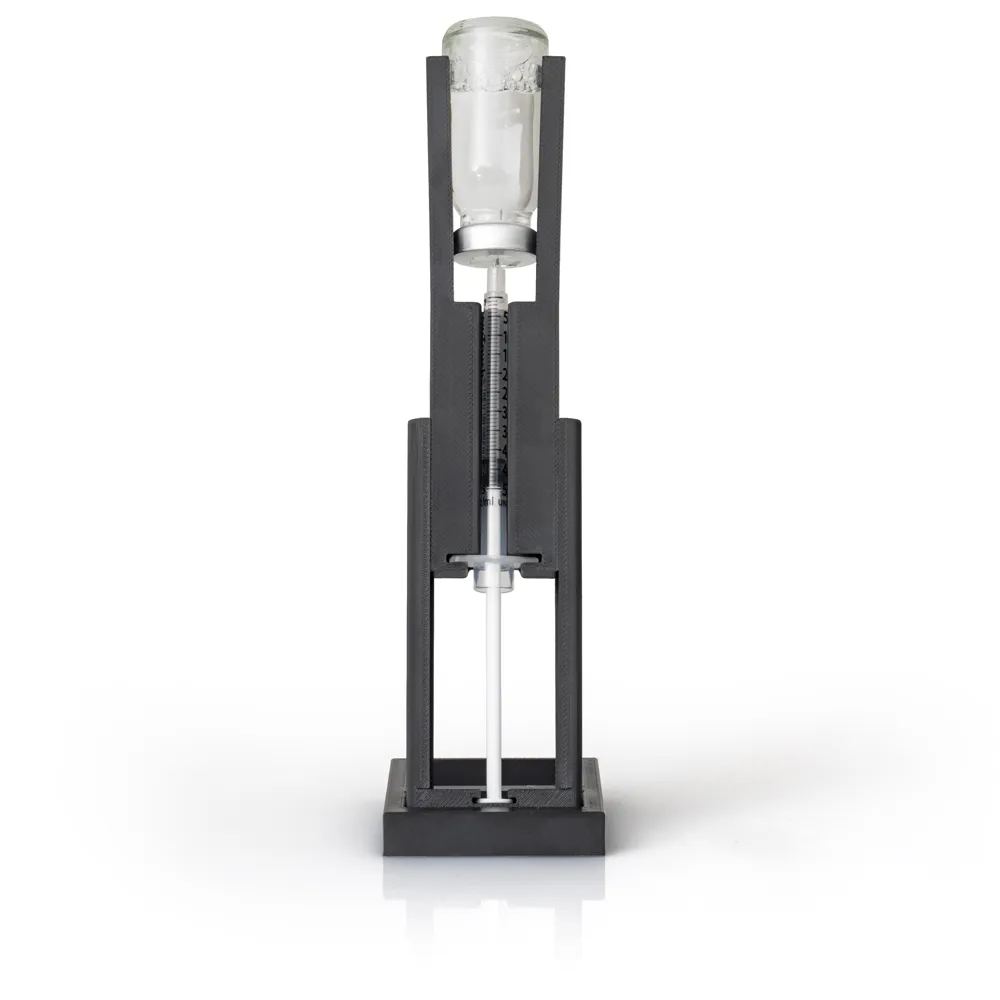
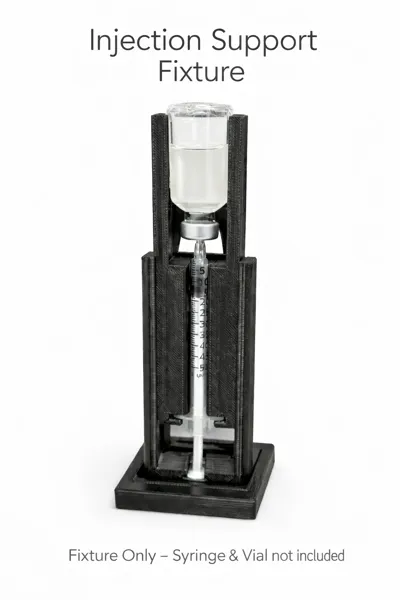
A complete set of hands-free injection support fixtures designed to hold your syringe and inverted vial in stable alignment during fluid draw. The SteadyDraw Collection includes every variant — no need to pick a size.
New in V3: the slider now locks at your draw point with an M5 thumbscrew threaded into a brass heat-set insert — a positive mechanical lock that won't loosen or wear out with repeated use. Prefer a zero-hardware build? V2 files (no insert, no screw) are still included.
Especially useful for slow-draw medications that can take several minutes to fully fill the syringe. The SteadyDraw holds everything stable and hands-free so you can step away and let the draw complete on its own — no holding, no juggling, no fatigue. Built with unsteady hands in mind, too — if tremors, arthritis, or limited dexterity make it hard to hold a syringe and vial steady, the SteadyDraw does the holding for you.
What's Included
Core Collection (V3 — thumbscrew lock)
- SteadyDraw 10ml / 0.5cc Insulin Syringe Fixture
- SteadyDraw 10ml / 1ml U100 Syringe Fixture
- SteadyDraw 3ml / 1ml U100 Syringe Fixture
- SteadyDraw 5ml / 1ml U100 Syringe Fixture
Additional Variants (files included)
- HaBeuniver 1ml Luer Lock Fixture (V3) — 7.3mm OD barrel, compatible with 3ml, 5ml, and 10ml vials
- OmniPod Fixture (V2)
V2 files are included for every core fixture — no hardware, no soldering iron, print and go.
V3 Hardware Requirements (per fixture)
The V3 build needs two small parts and a one-time insert install:
| Item | Spec | Qty |
|---|---|---|
| Heat-set insert | ruthex M5S short series (RX-M5Sx5.8) | 1 |
| Thumbscrew | M5×12, knurled head | 1 |
| Install tool | Soldering iron with M5 heat-set tip | — |
- Install the insert at ~570°F / 300°C. Press straight down and let the plastic cool fully before threading the screw.
- The base has an insert boss on each side. Install your insert on whichever side suits you — the design works left- or right-handed. The other side stays empty.
- Insert holes are pre-sized for ABS — no drilling or reaming needed.
- Don't want to deal with hardware? Print the included V2 files instead.
How It Works

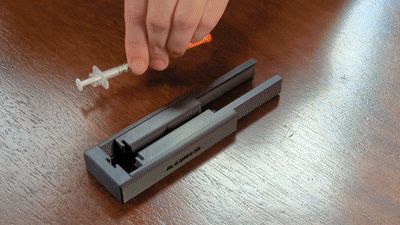
- Insert your syringe into the precision channel
- Pull device to your desired draw point — loading air for injection
- Lock the slider in place with the thumbscrew (V3)
- Secure your vial inverted in the holder
- Inject air into the vial
- Pull back and allow the fluid to fill the syringe
- Remove and you're done
The 15 degree angle minimizes air introduction during fluid draw — giving you a cleaner, more accurate fill every time. Stable and consistent from start to finish.
Compatibility — Core Collection
- EasyTouch 29G 0.5cc 1/2" insulin syringe
- 1ml U100 30G 5/16" syringe
- Standard 3ml vial (35mm H × 16mm D)
- Standard 5ml vial (37mm H × 22mm D)
- Standard 10ml vial (52mm H × 24mm D)
Compatibility — OmniPod Variant (V2)
- OmniPod compatible
Compatibility — HaBeuniver Luer Lock Variant
- HaBeuniver 1ml Luer Lock syringe (7.3mm OD)
- Compatible with 3ml, 5ml, and 10ml vials
Don't see your size? Comment with your dimensions — we can help.
Print Settings
| Setting | Recommendation |
|---|---|
| Material | ABS |
| Layer Height | 0.2mm |
| Infill | Strength preset recommended |
| Supports | Not required |
| Printer | Bambu Lab X1C |
| Orientation | Flat on back |
V3 Design Notes
- Slider retention redesigned: crush ribs replaced with an M5 thumbscrew + heat-set insert for a positive lock that holds up to repeated use
- Two-lobe base — works left- or right-handed; insert installs on your preferred side
- V2 (hardware-free) files remain included
- OmniPod variant unchanged (V2)
v2 Design Notes
- Removed side logo due to sticking issues
- Added vial descriptions to top of sliders
PRINTING IN PLA? READ THIS. These files are dimensioned for ABS. ABS shrinks more than PLA, so a 100% PLA print comes out slightly "fuller" — everything fits fine except the sled, which will be too tight to slide. The fix (no CAD, no calipers): • Frame / base — print at 100%. • Sled — scale to 99.5%. • Break it in: work the sled back and forth 20-30 times. It's stiff at first and loosens into a smooth glide. Dialing it in for your filament: Still too tight? Try 99.25%. Sloppy / rattles? You've overshot — go back toward 99.5%. (At 99% it's noticeably loose.) 99.5% is the starting point that's worked in testing, not a magic number — PLA brands vary. Two prints of the sled will land you on yours. The sled is small and fast, so it's a cheap iteration. Vial and syringe fit are unaffected by this — only the sled needs it.
Fixture only. Syringe, vial, and V3 hardware (insert + thumbscrew) not included. Use at your own discretion.
Don't have a printer? The SteadyDraw Collection is available ready-to-ship on Etsy — assembled, insert pre-installed, thumbscrew included. 👉 alandoats3d.etsy.com
License



Comment & Rating (18)