
X/P Z-Axis Dust Cover/ Cap




Print Profile(6)


Description
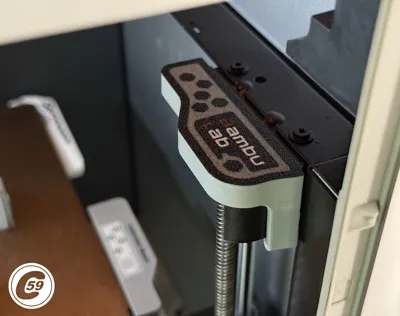
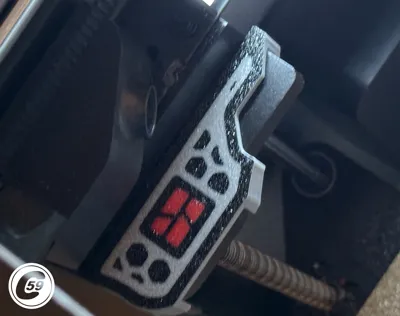
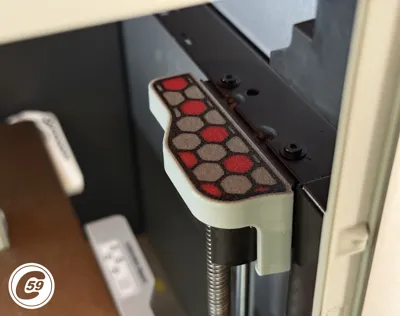
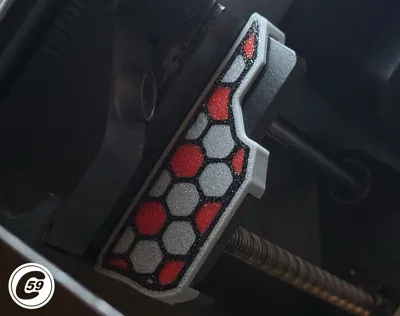
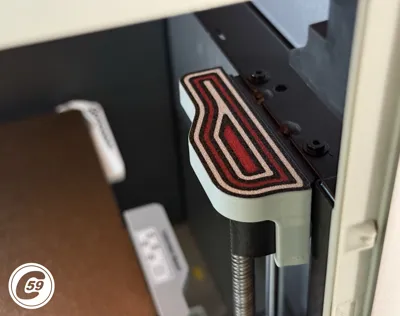
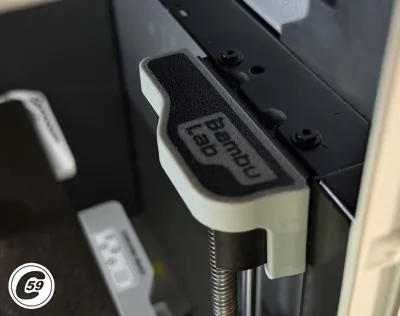
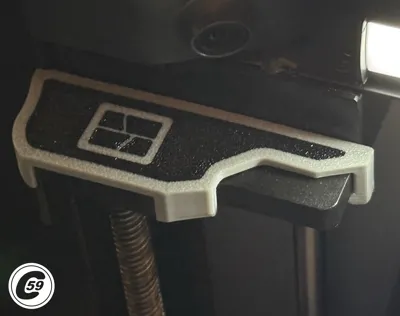
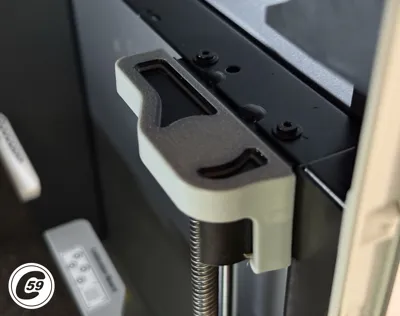
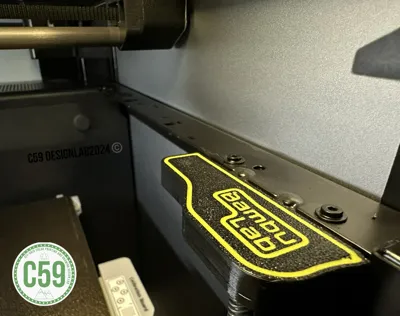
X/P "O.E." Series Z-Axis Screw Bearing Cap – XPZC
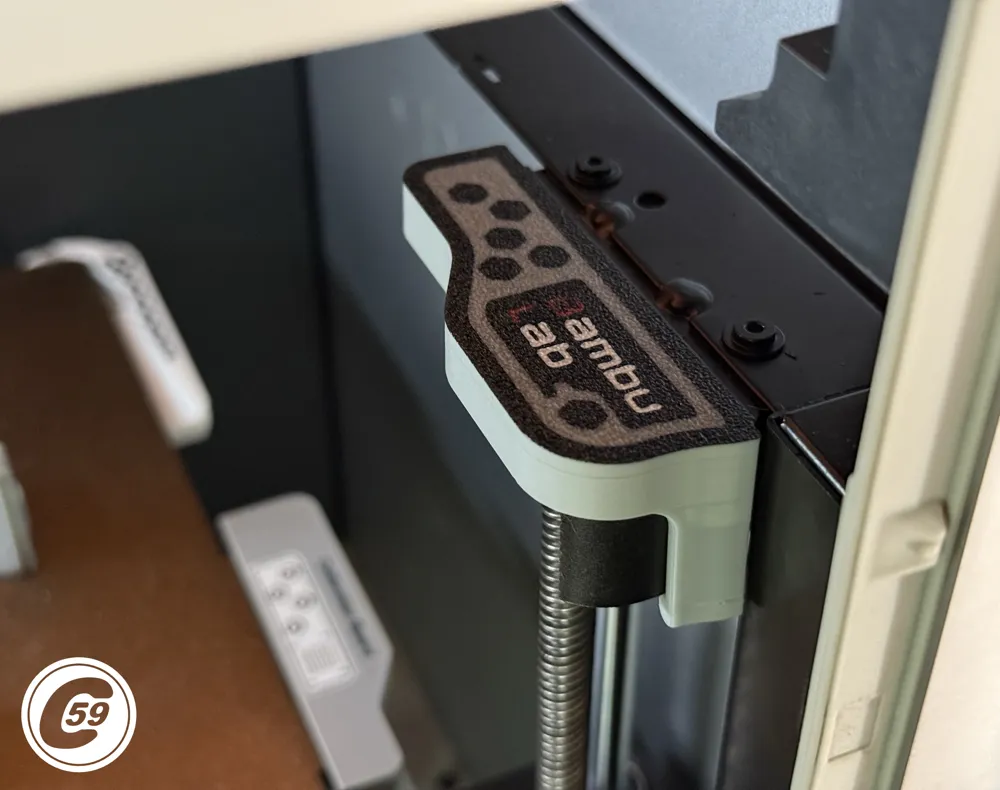
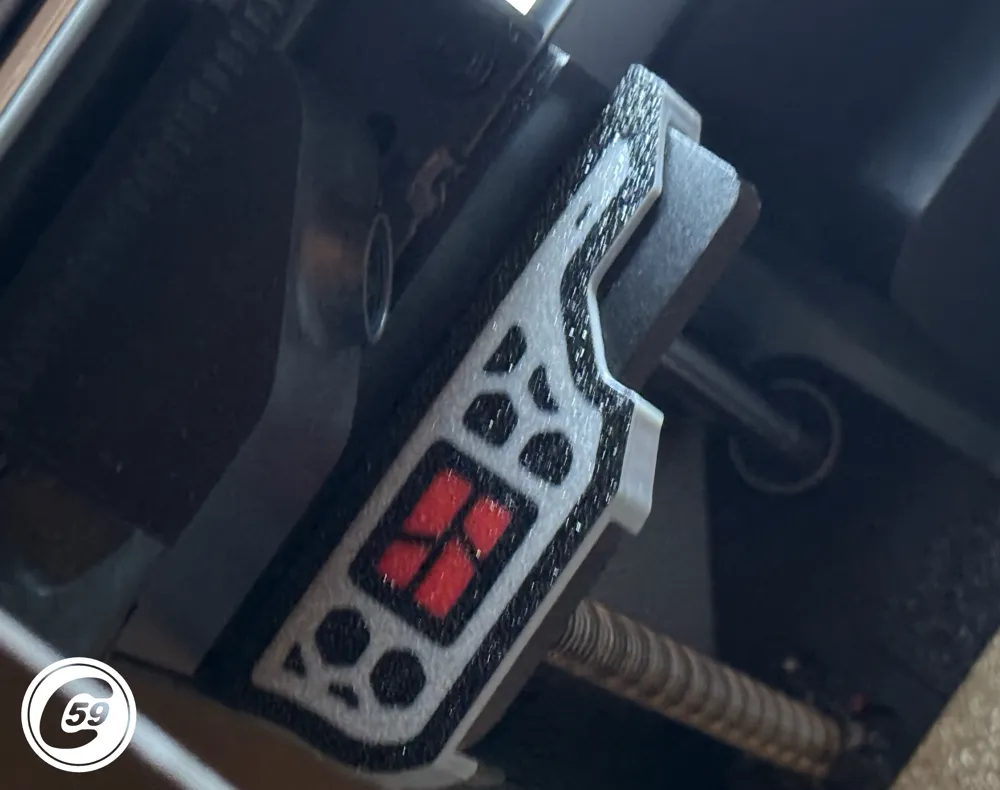
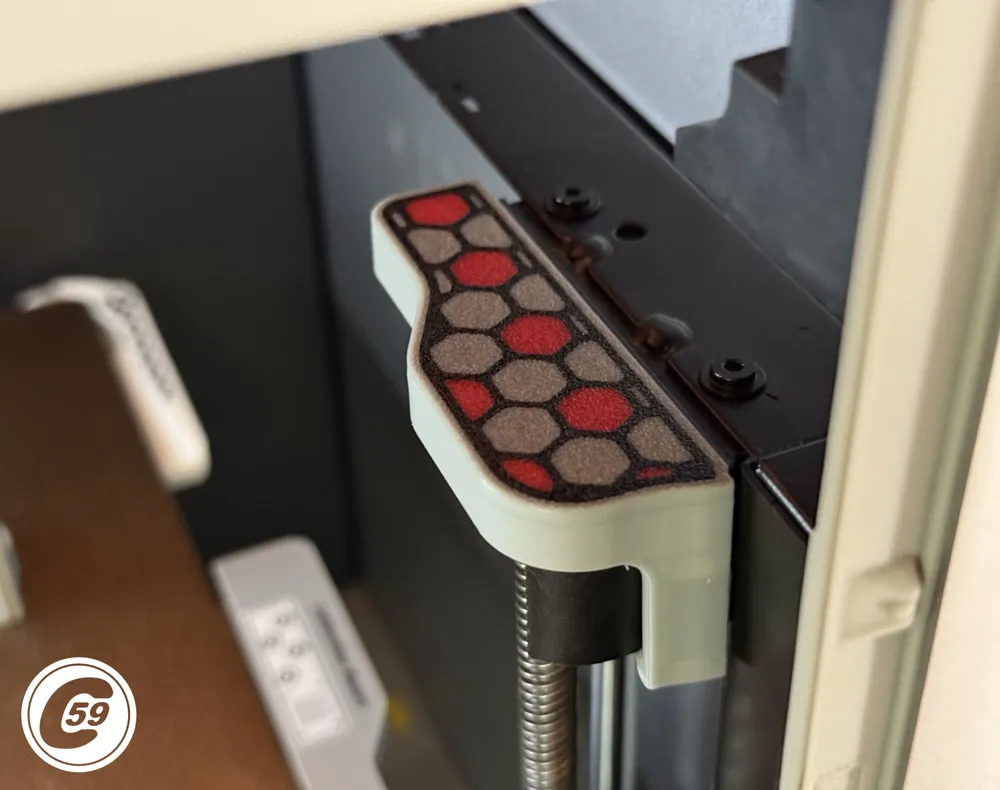
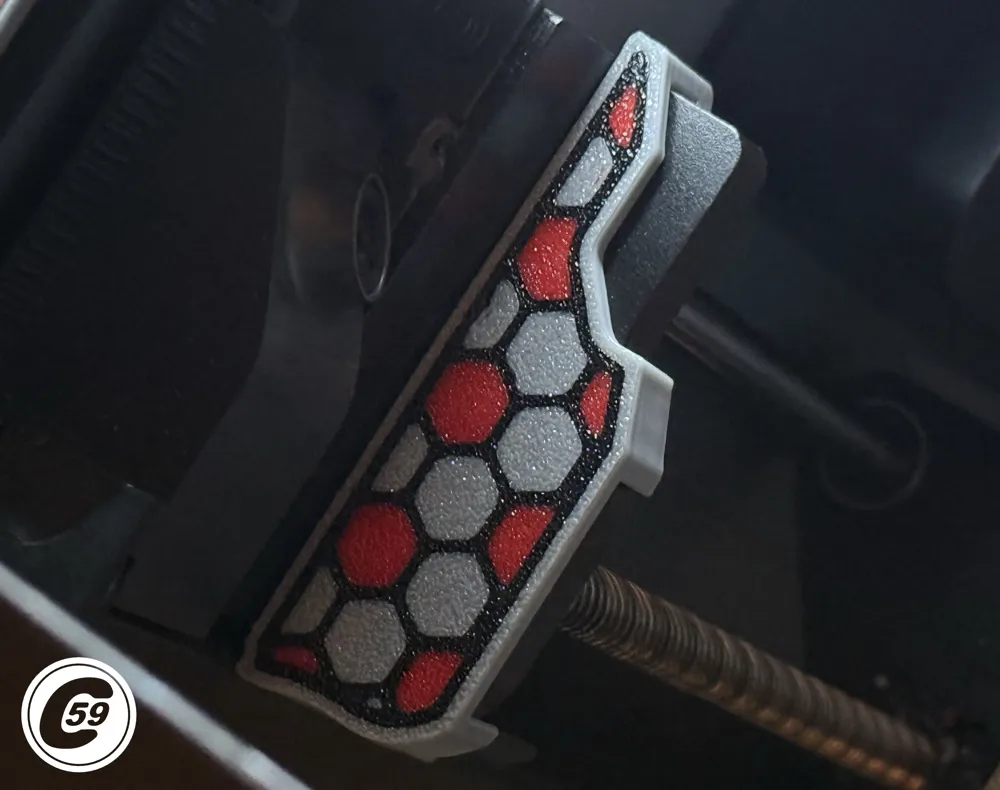
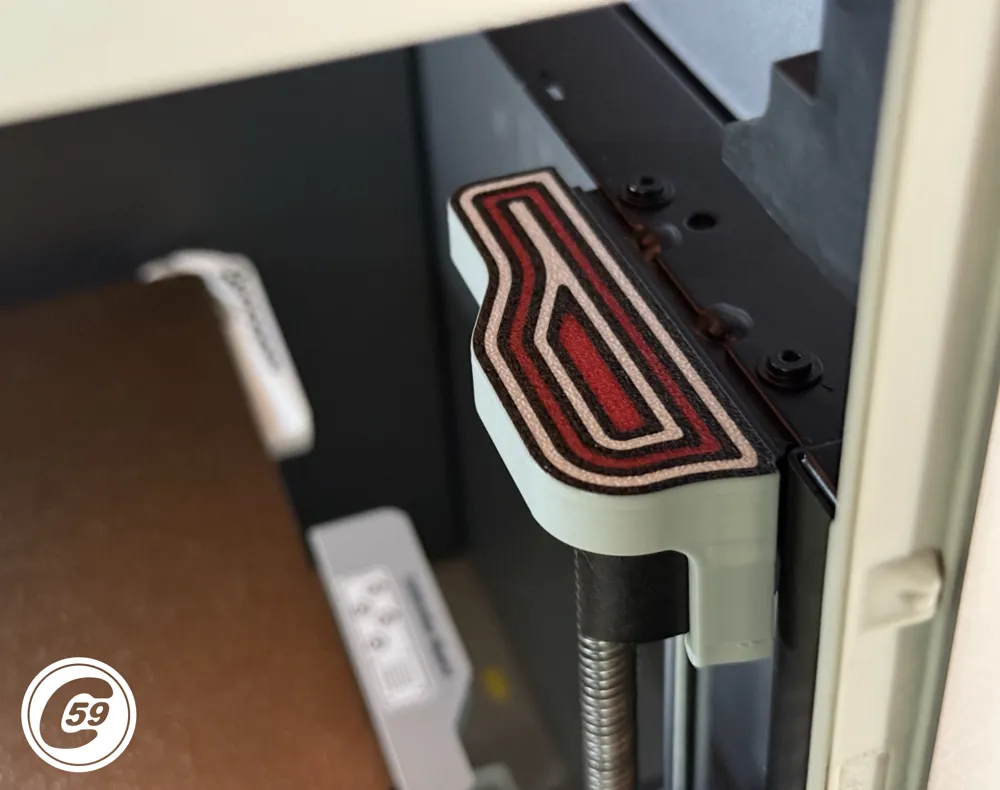
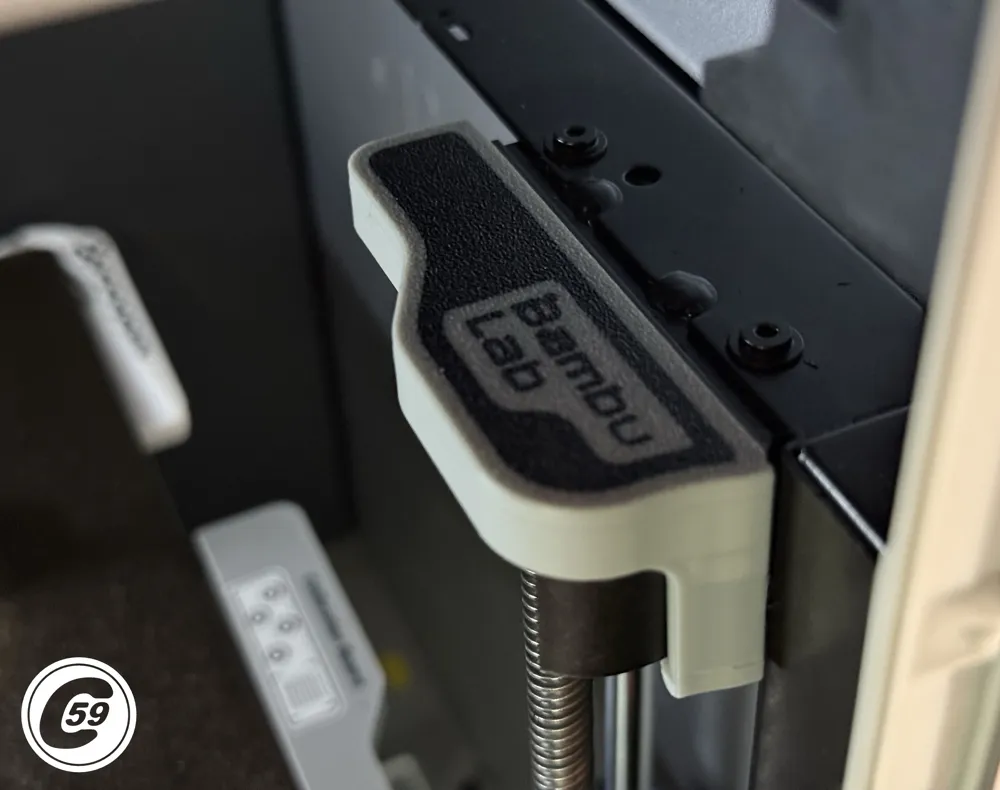
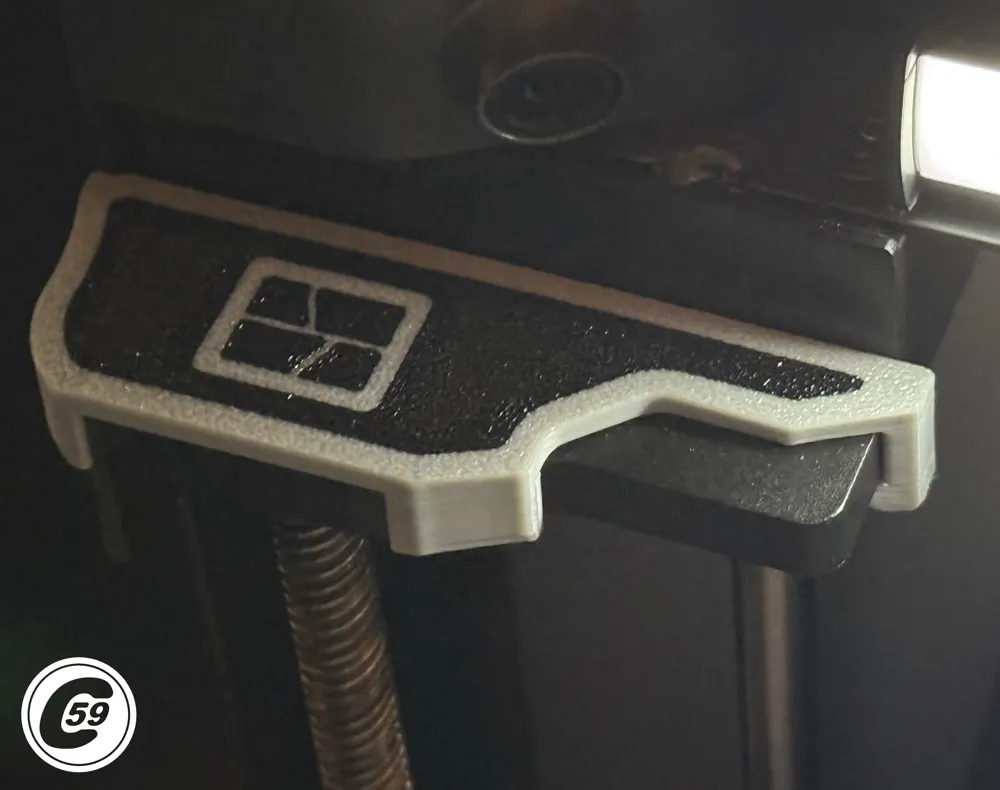
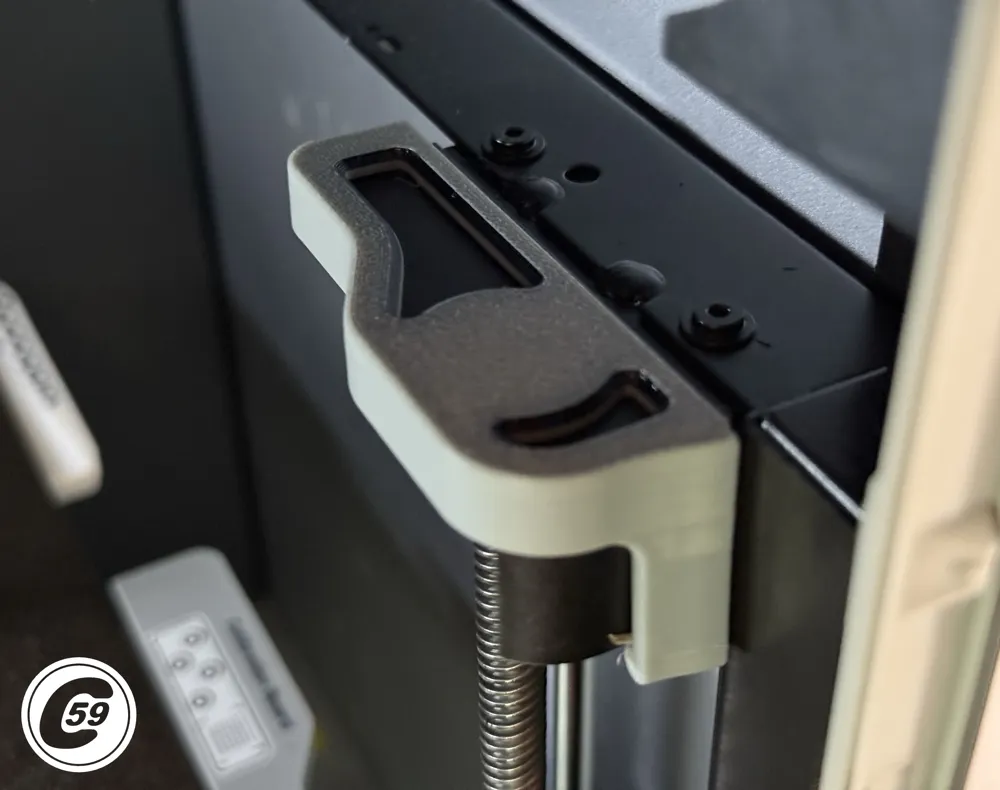
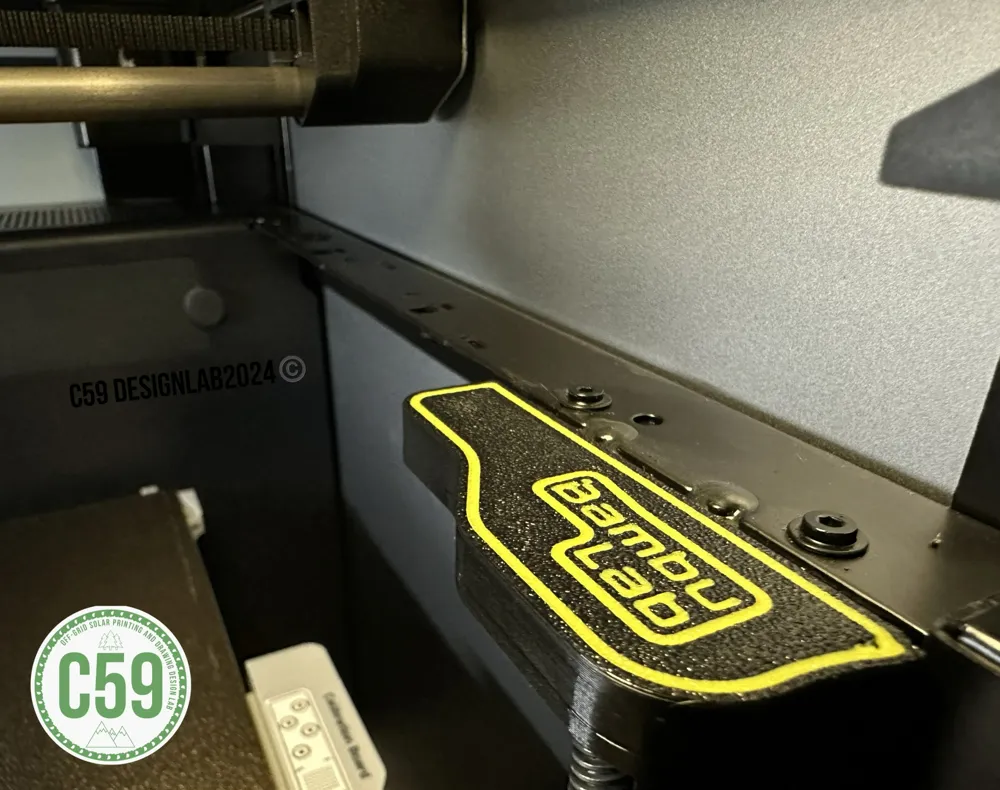
These caps are designed to sit on top of the Z-axis screw near the front door, protecting the bearing from dust and giving the inside of the printer a more finished look.
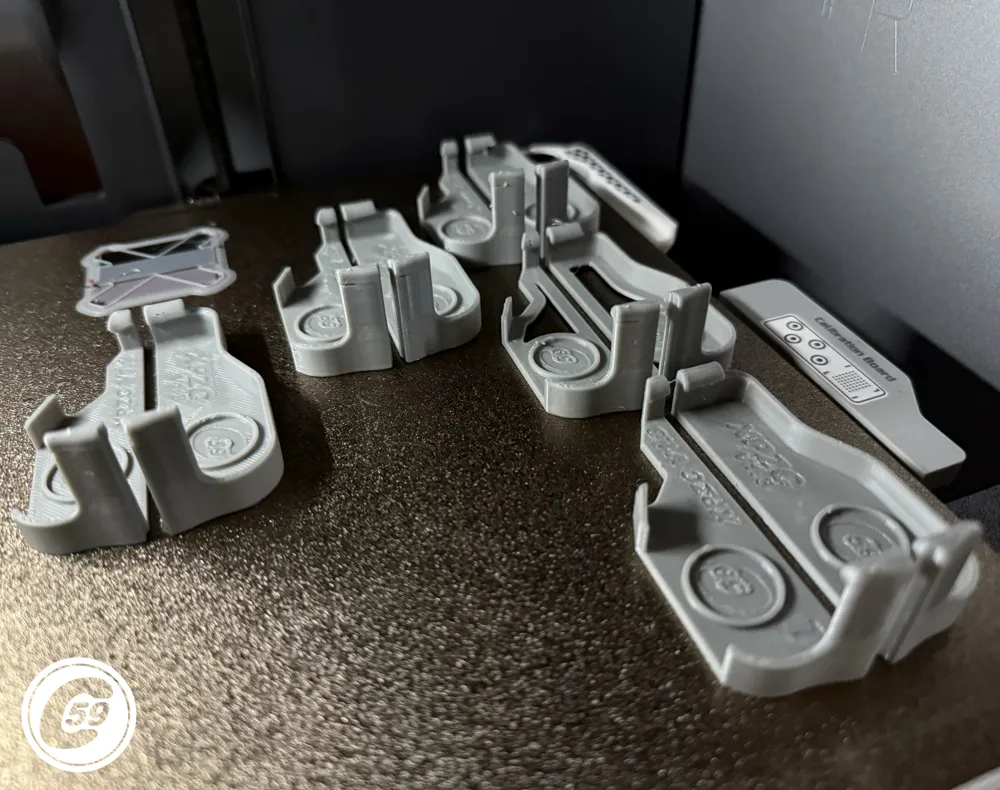
They feature a self-centering ring and a strong clip, ensuring they stay securely in place on the Z-rod mount.
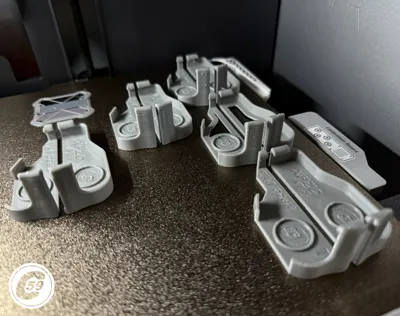
Compatible with Gen1 XP: X1C, P1P, and P1S (Not compatible with P2S. See images for reference).
v1.0 – Classic
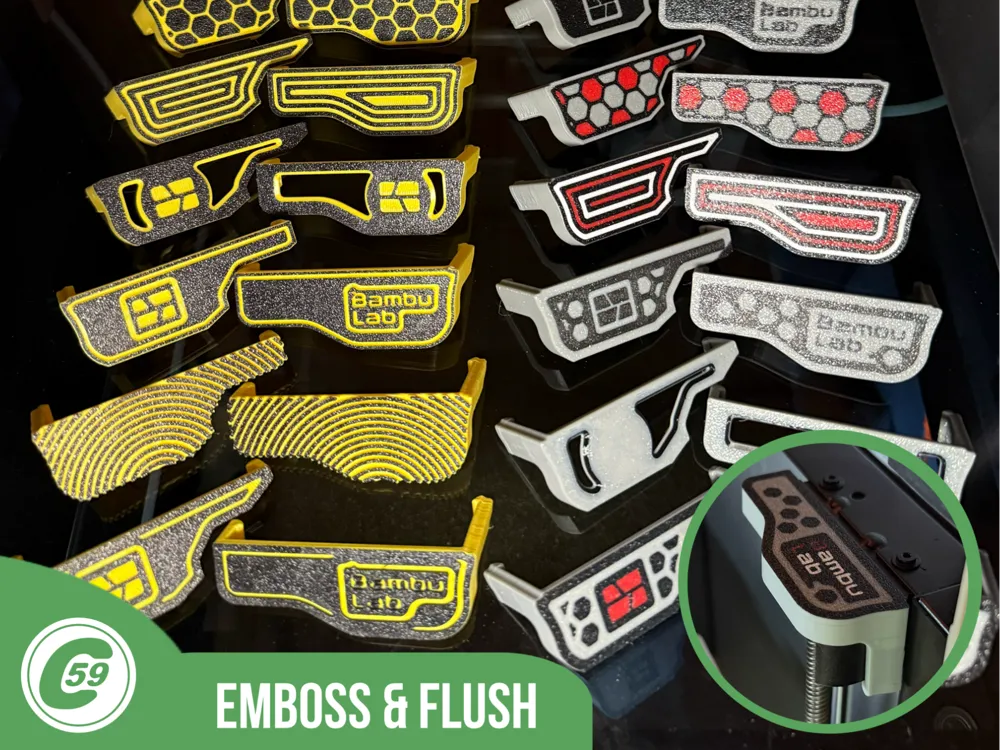
- Embossed or colored design that works well with most machines.
- On machines with limited camera cut-out clearance, the wide-angle section may require slight trimming. This can be easily filed or sanded to improve visibility.
- There may be a risk of bed clearance issues on the left side with some machines, but both of mine had sufficient clearance.
v1.2 – Sleek & Flush
- Low-profile, flush design that minimizes dust retention.
- Provides additional bed clearance on the left side.
- Expanded camera cut-out for improved compatibility might still need trimming depending on printer.
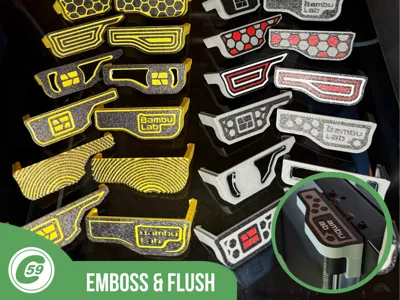
v1.3 – Enhanced & Customizable
- Retains the same left-side bed clearance as v1.2, with an even wider camera cut-out.
- Features the proven self-centering ring and original support-free tab.
- Introduced in multiple new designs, with more on the way.
- Offers the highest level of customization, also remove contour lines, logos, or other details in the slicer to create a plain, streamlined look.
- Embossed versions create a more textured surface with added depth and shadow.
Installation Instructions
- Prepare the Clips:
- Check underneath each clip tab to ensure they are clean, as the part is printed without support.
- Insert the Cap:
- Start by aligning the side markings. Insert the end of the cap toward the back of the printer, matching it to the appropriate side under the cap.
- Lower the cap onto the plastic brace, ensuring the back clip is engaged under the bearing support.
- Secure the Cap:
- Gently press down on the portion nearest to the door. It should clip into place automatically.
A video demonstration is provided below for reference.
The green render is the original 3D CAD model in software.
Install Action HD Video:
If you want the perfect click, as shown in the video, make sure there are no small overhangs underneath both clips. We call this “experience enhancement!”
Boost Me (for free)
🚀 Boost Your Project! 🚀
If you love what I'm working on, hit the Boost button! Your support helps me continue to create, improve, and share even more exciting designs. Thank you for being part of this journey!
Enjoy your printing journey, and remember—keep your fingers away from the poop chute, she's angry!
"I’ll be sure to keep you updated with any future developments. If you come across any issues or need assistance, don’t hesitate to reach out—I’m here to help!"
You shall not share, sub-license, sell, rent, host, transfer, or distribute in any way the digital or 3D printed versions of this object, nor any other derivative work of this object in its digital or physical format (including - but not limited to - remixes of this object, and hosting on other digital platforms). The objects may not be used without permission in any way whatsoever in which you charge money, or collect fees.
Current ver.1.3_10/03/2025
© 2025 C59 Design Lab. All rights reserved.
License

You shall not share, sub-license, sell, rent, host, transfer, or distribute in any way the digital or 3D printed versions of this object, nor any other derivative work of this object in its digital or physical format (including - but not limited to - remixes of this object, and hosting on other digital platforms). The objects may not be used without permission in any way whatsoever in which you charge money, or collect fees.


Comment & Rating (771)