
BIQU AJAX TD1s Adjustable Desktop Mount - PETG
Print Profile(1)
Bill of Materials
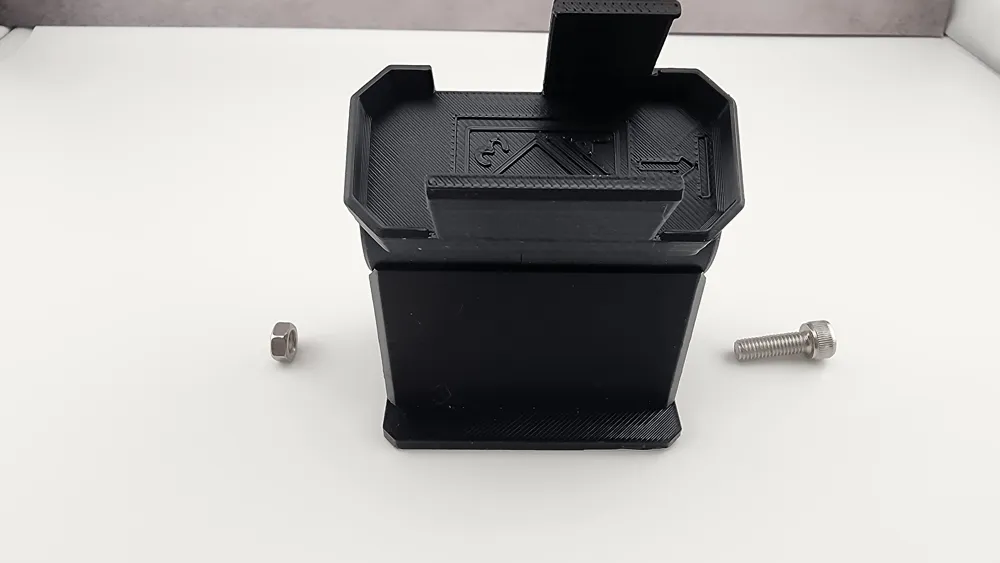
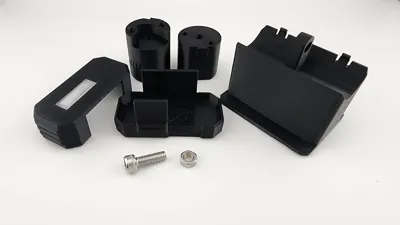
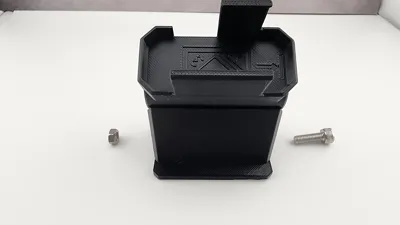
- M5 X 16mm Socket Head Capscrew x 1: Can be longer, though not shorter
- M5 Hex Nut x 1:
Description
Boost Me (for free)
I truly appreciate any and all support. A Boost, rating, or even a like goes a long way and encourages me to keep creating. Thank you.
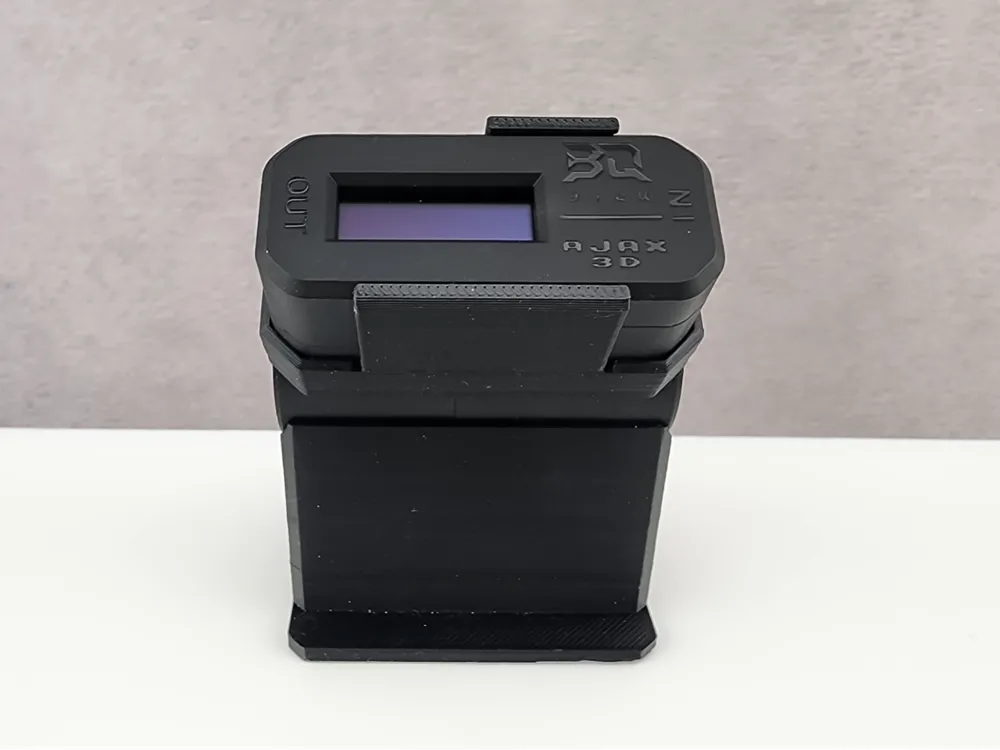
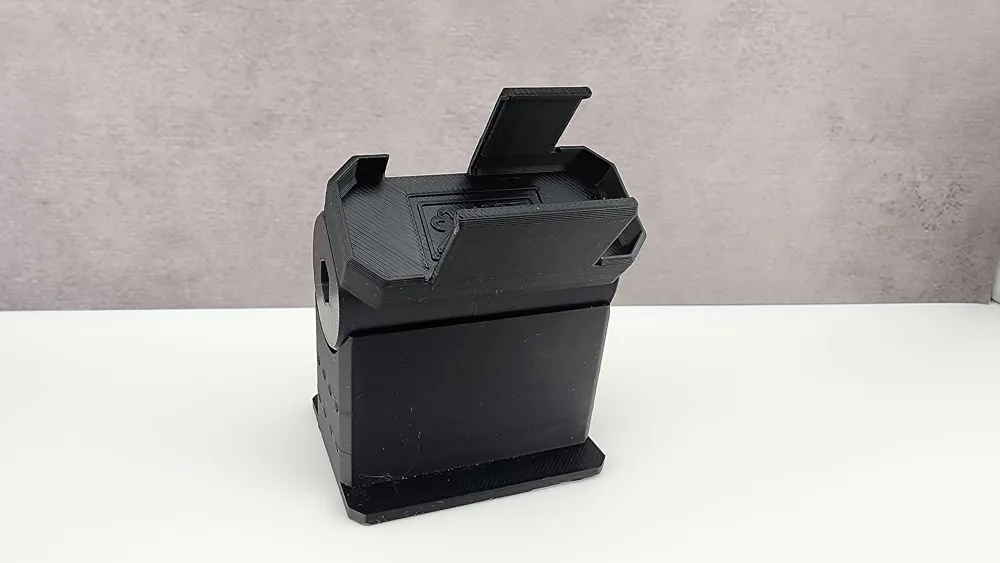
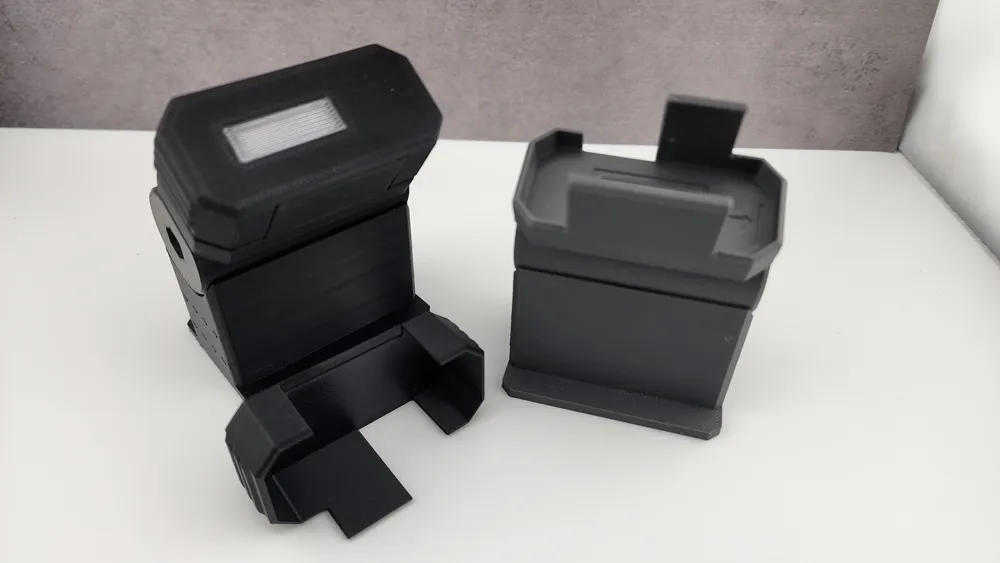
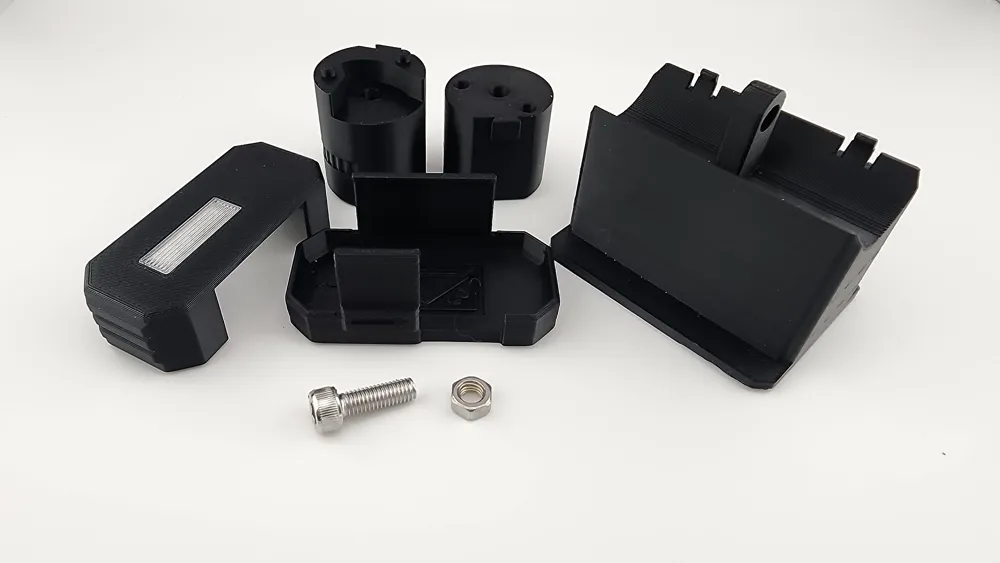
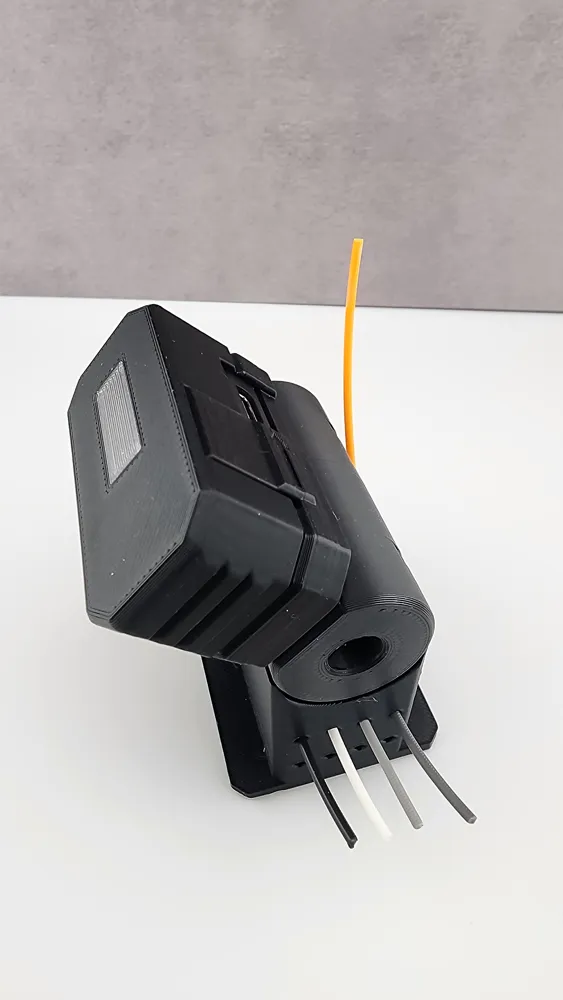
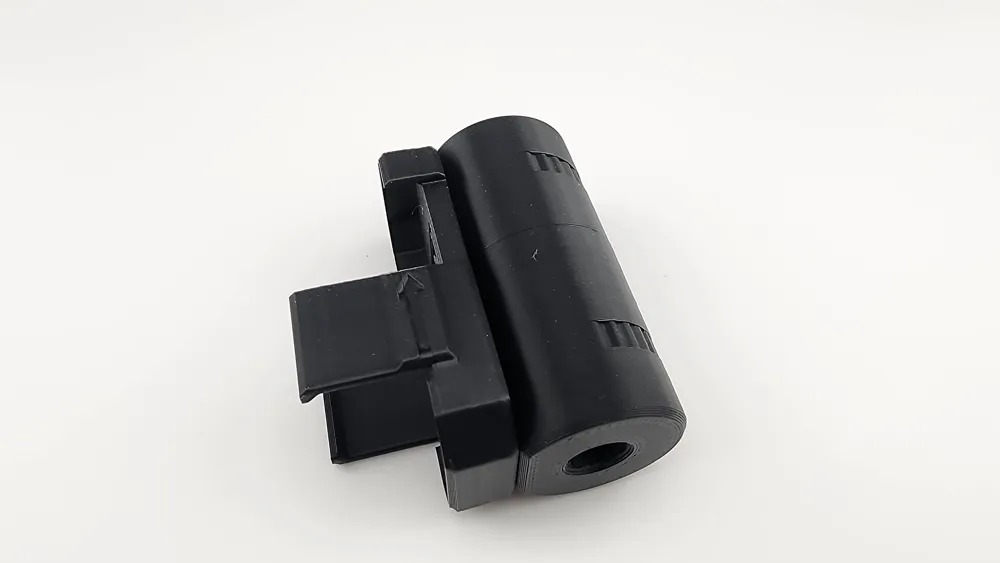
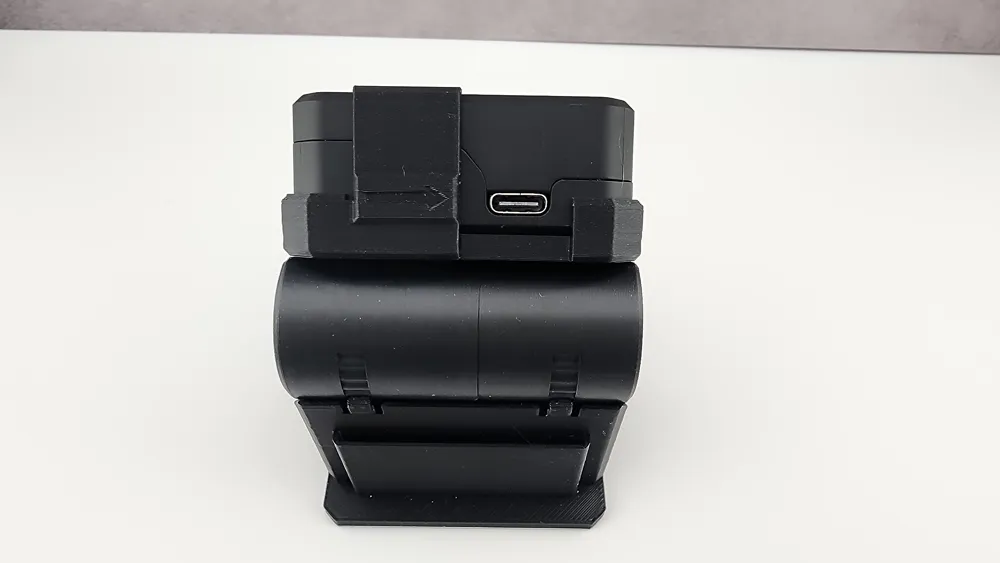
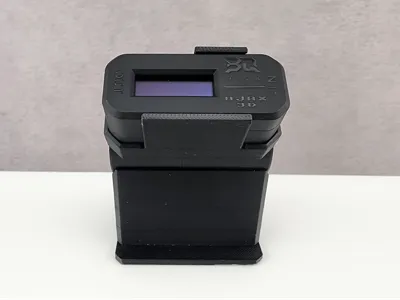
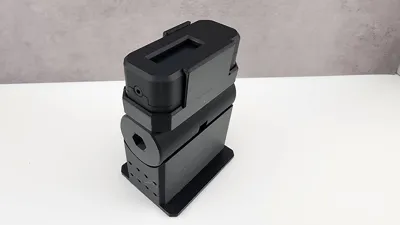
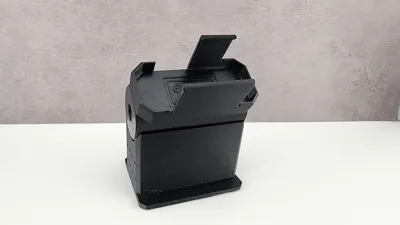
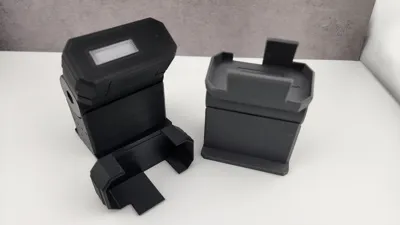
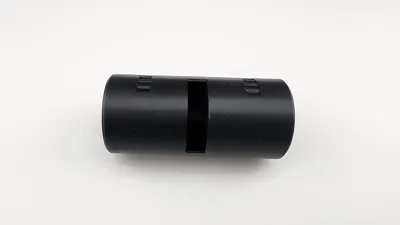
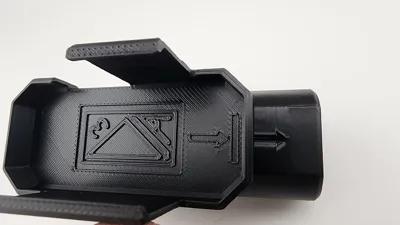
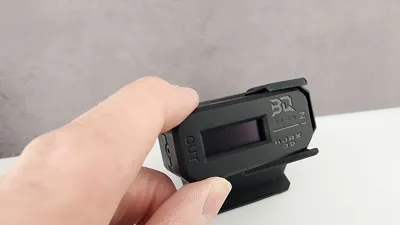
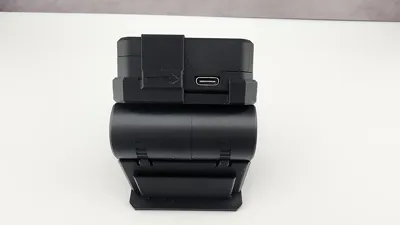
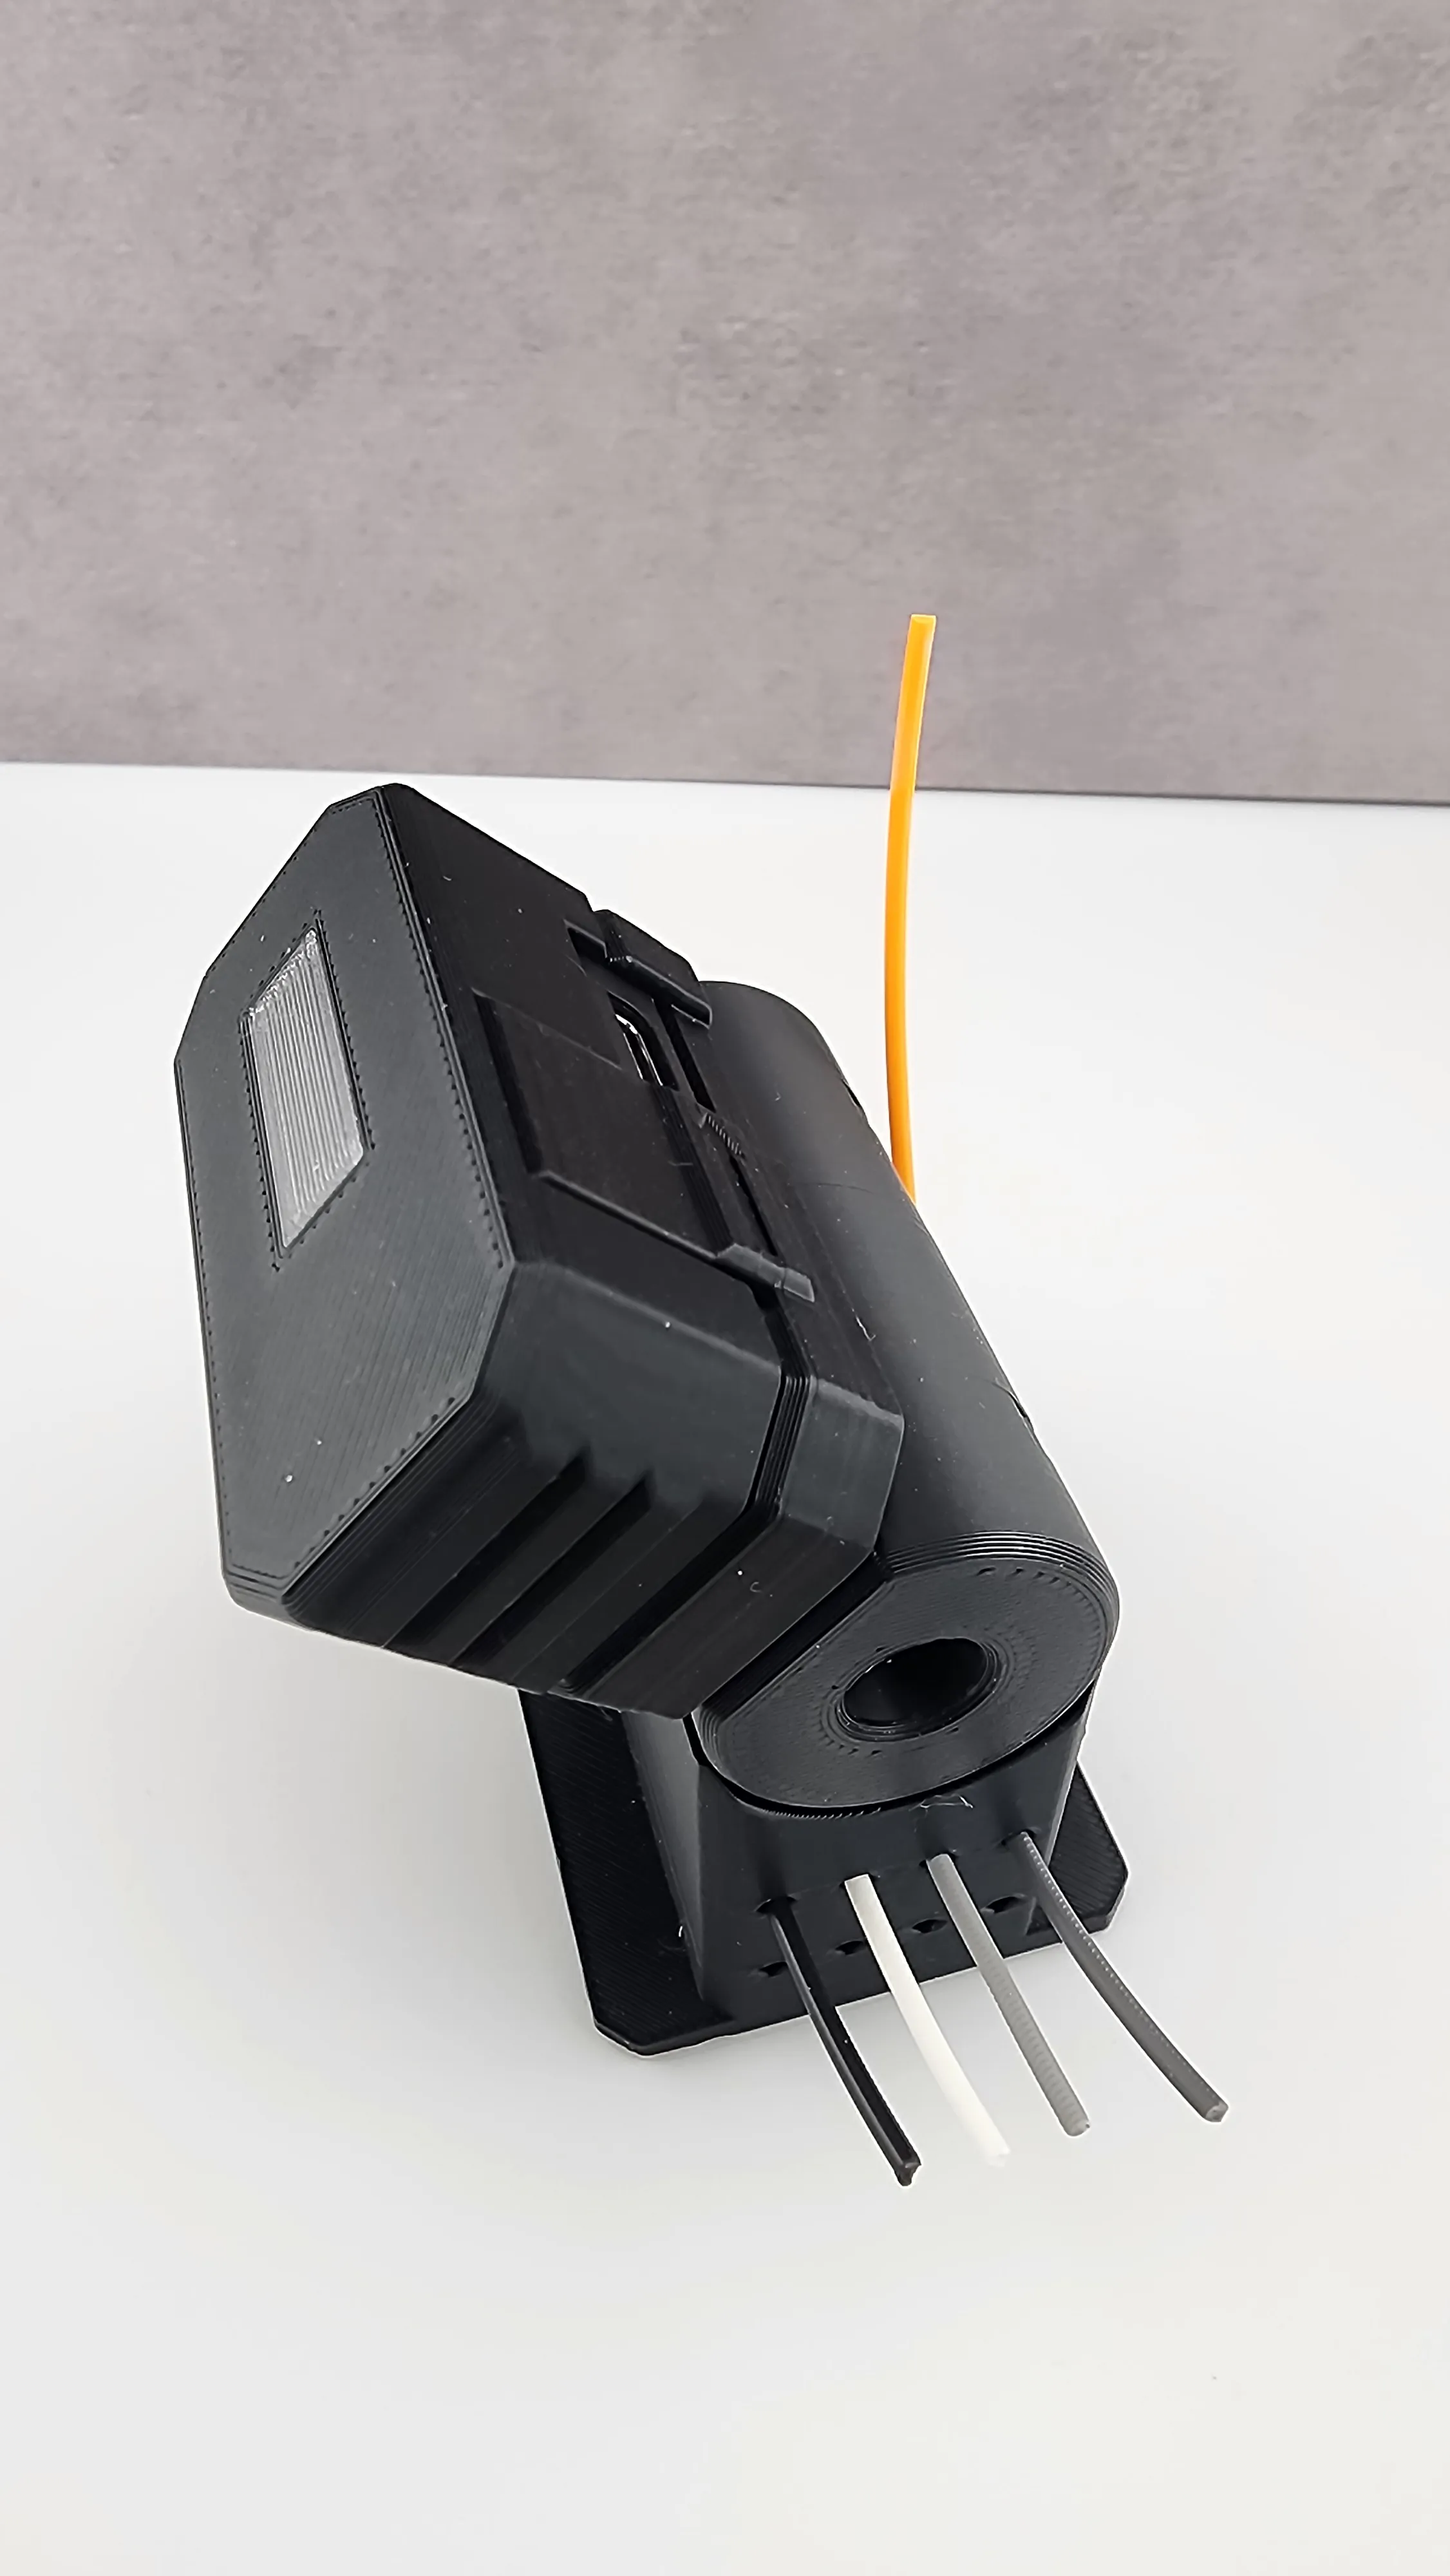
This is an adjustable desktop mount for the super handy BIQU AJAX TD1s transmission distance measurement device (also identifies filament color in HEX or RGB). I got tired of using the USB C cable as a handle when inserting and removing filaments to be read, so I cleared my desk and overdesigned a solution to my problem and figured why not share it with the masses! There are 4 variations of covers to keep the little guy under wraps when not in use. The cover to accommodate the USB being plugged in without the window is included in plate 1, all other flavors (3) are on plate 2. I personally prefer one of the covers with the translucent window so I can see if I left it plugged in or not. The transparency is not clear enough to read the output off of the TD1s, but is very clear whether the display is lit or not (which was my sole purpose).
It is a relatively easy print with some basic assembly required. I try to avoid supports like the plague, so I designed it to minimize supports and my profile includes settings that make support removal very clean and easy. There is one small pivot hole support on the base, one dovetail support on the mount, and one dovetail support and a counterbore support on pivot2 (refer to the parts on plate 1 for reference). I tried to optimize everything for easy fit up, but as we are all aware, not all 3D printers are created or maintained/set-up equally and some slight adjustments may be needed, but I really doubt it. I used PETG for all of the printed parts for flexibility/longevity, but again, that is overkill. PLA also works fine (unless you choose to print the version of the cover with the translucent window, where PETG is required for my print profiles).
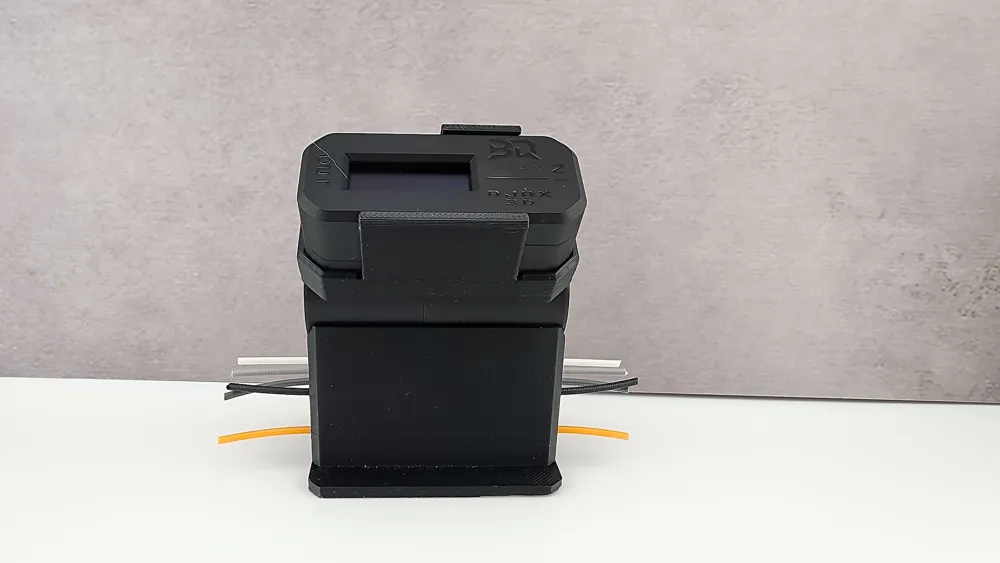
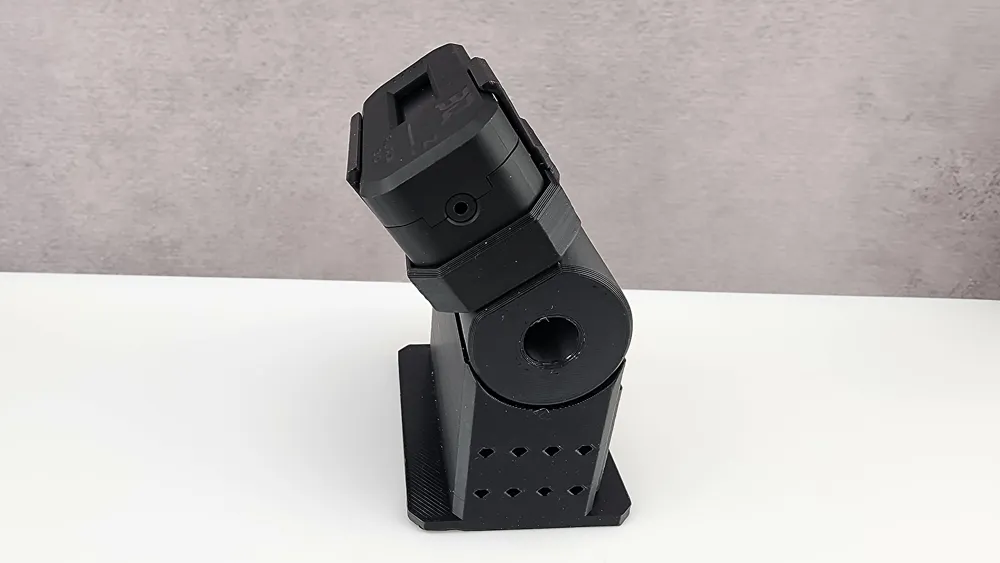
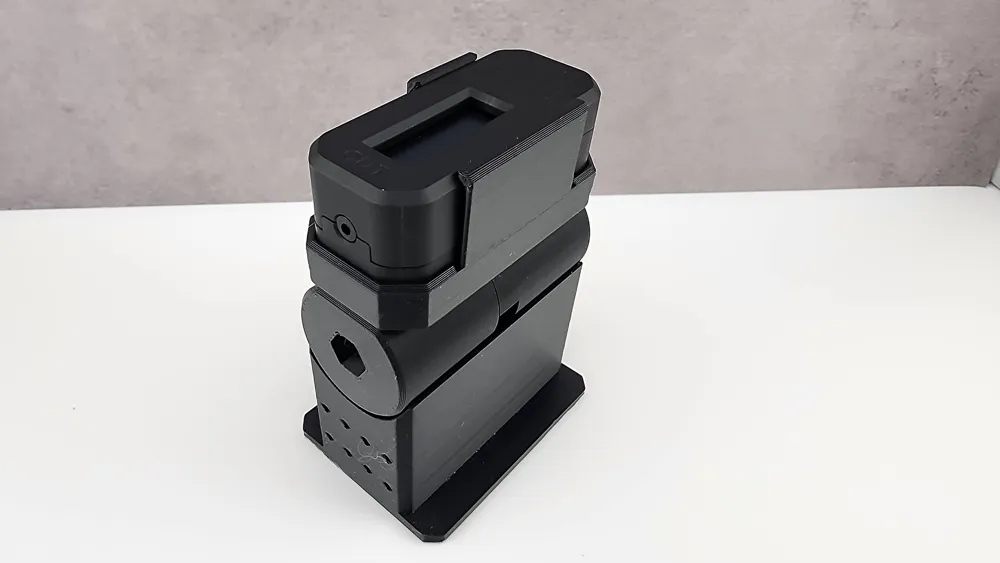
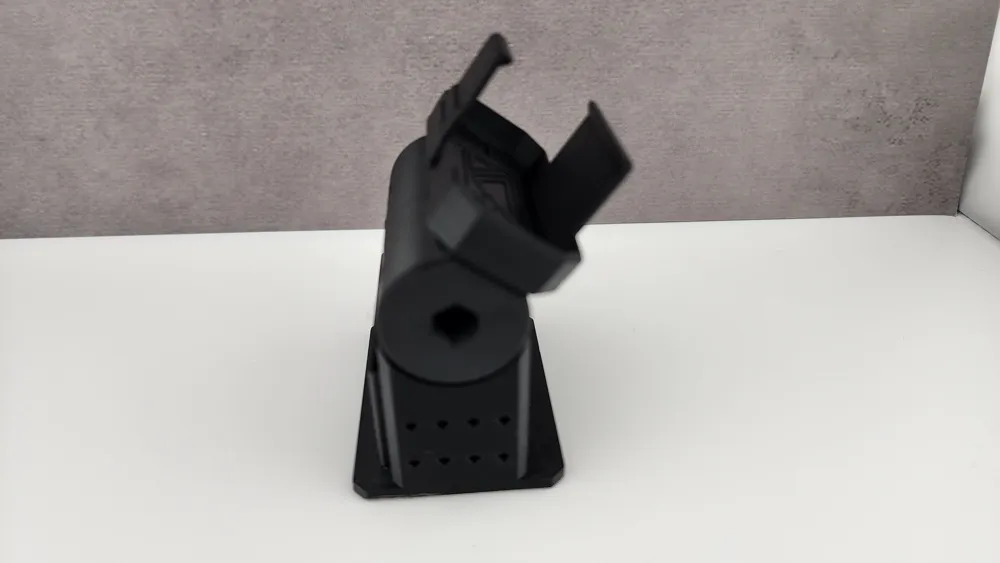
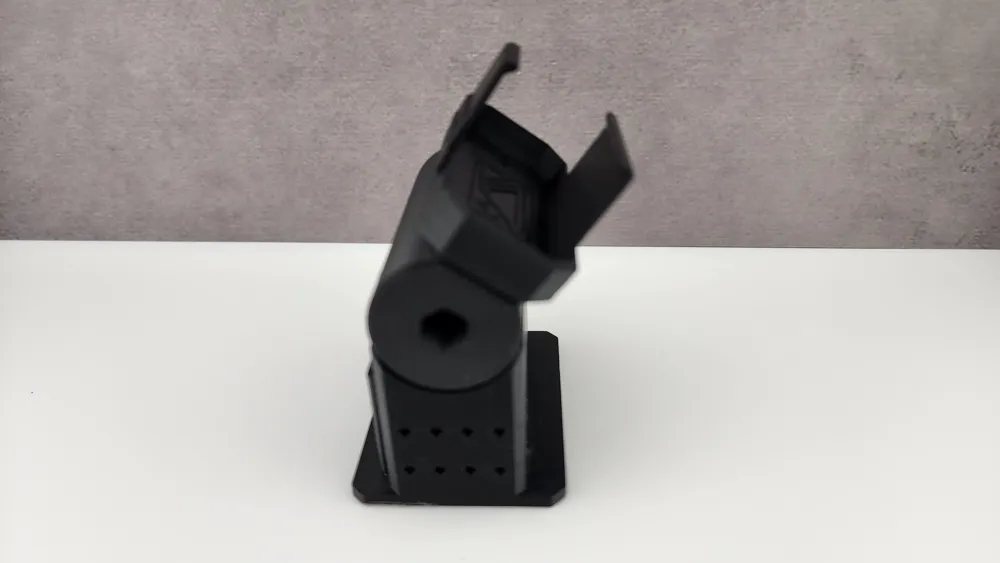
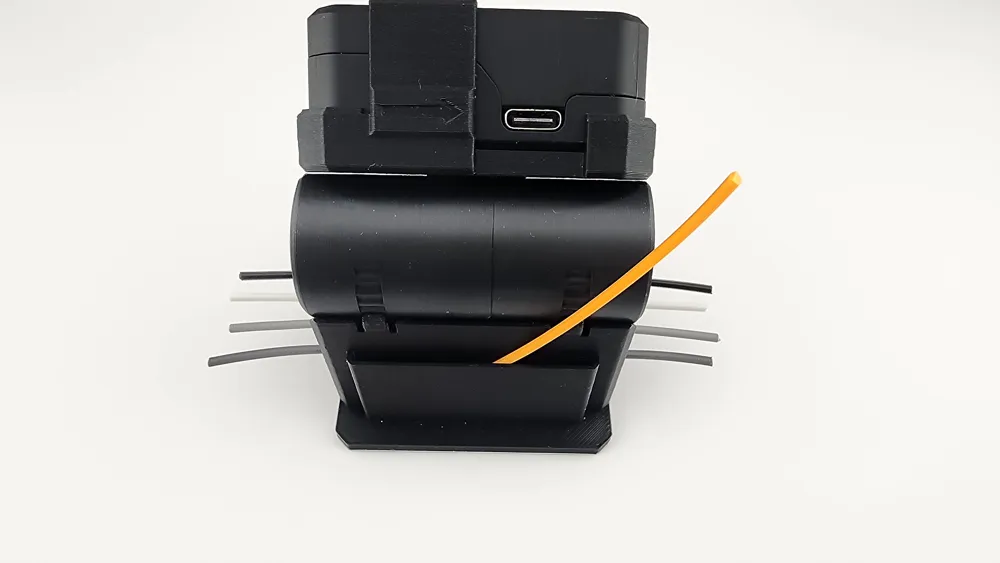
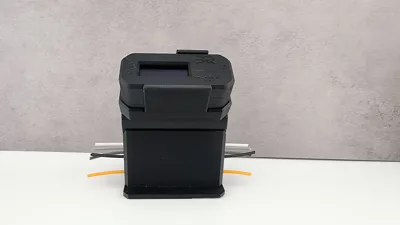
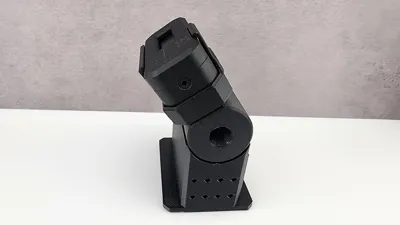
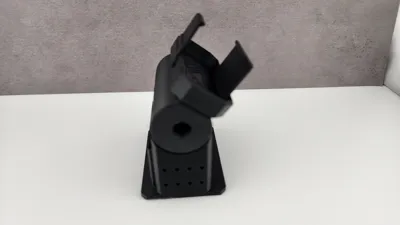
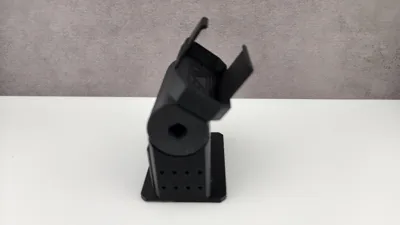
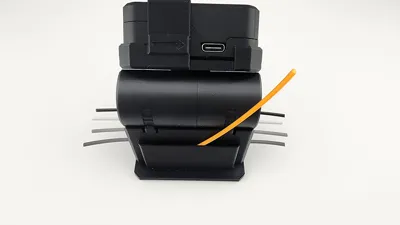
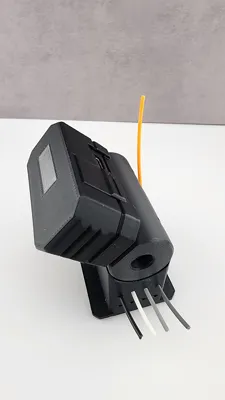
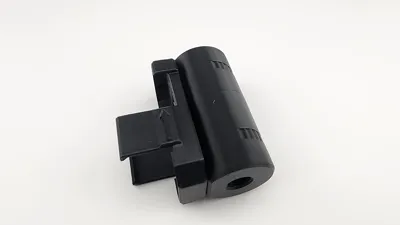
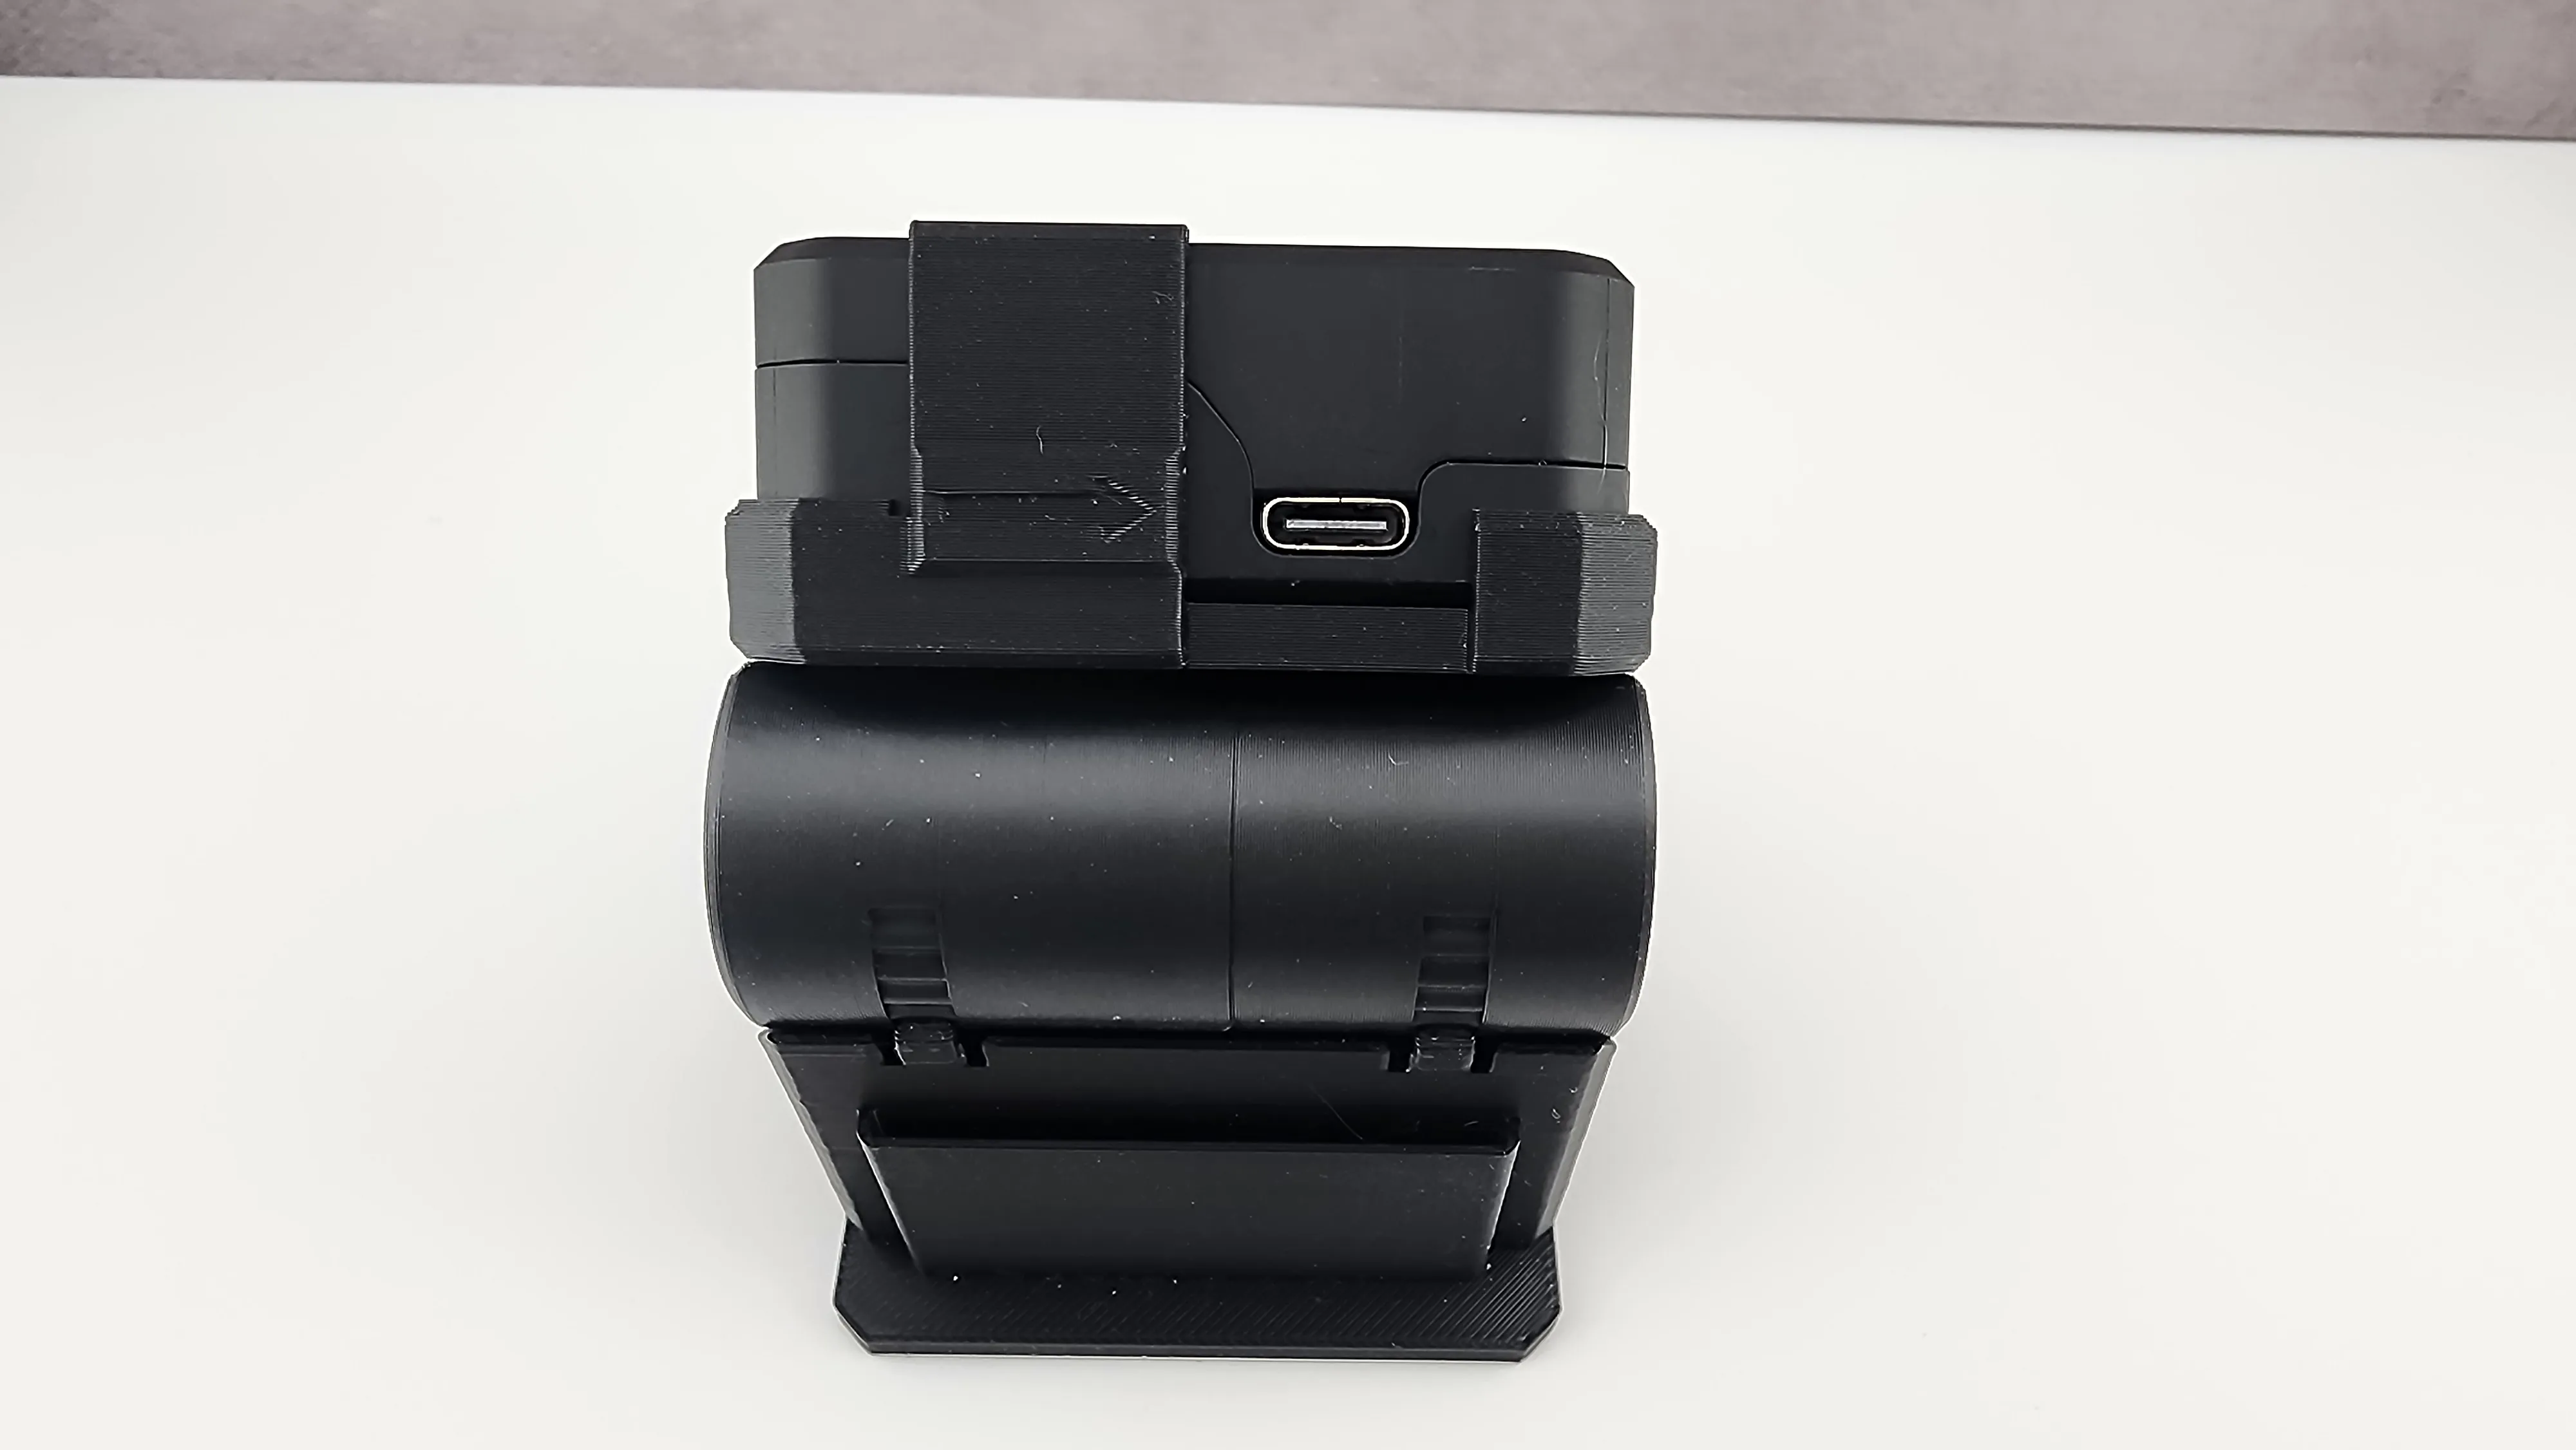
The mount has an adjustable head to optimize the angle you view the TD1s readout from. The base has 8 ports to store the filament segments you may want to keep handy for routine calibrations. I use Bambu PLA Basic black, white, gray, and dark gray filaments for TD1s calibration. Occasionally, I will also throw orange in there as a sanity check - to each their own! There is also a pocket on the backside for more filaments or perhaps some printed instructions for use of the TD1s.
Other than filament, the only other materials required is one (1) an M5 hex nut and one (1) M5 x 16mm socket head capscrew (longer than 16mm will work fine also, just more turns to tighten!).
There are 4 different cover options totaled:
- USB Cover Blank - Allows cable to be plugged into TD1s when cover is installed (no translucent window)
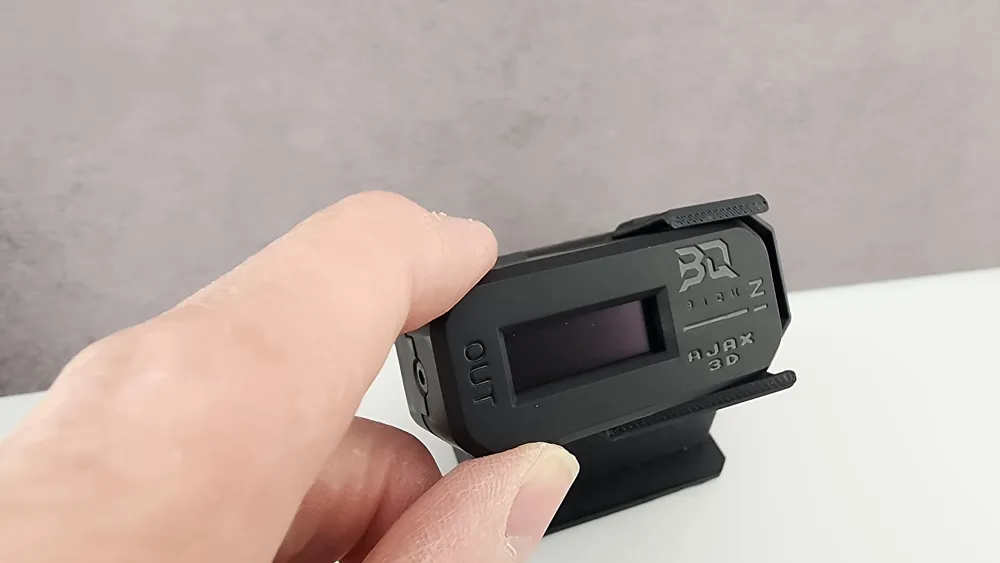
- USB Cover w/ Translucent Window* - Allows cable to be plugged into TD1s when cover is installed (has translucent window)
- Full Cover Blank* - USB cable must be unplugged from TD1s, also covers USB port on TD1S (no translucent window)
- Full Cover w/ Translucent Window* - USB cable must be unplugged from TD1s, also covers USB port on TD1S (has translucent window)
*on build plate 2
ASSEMBLY:
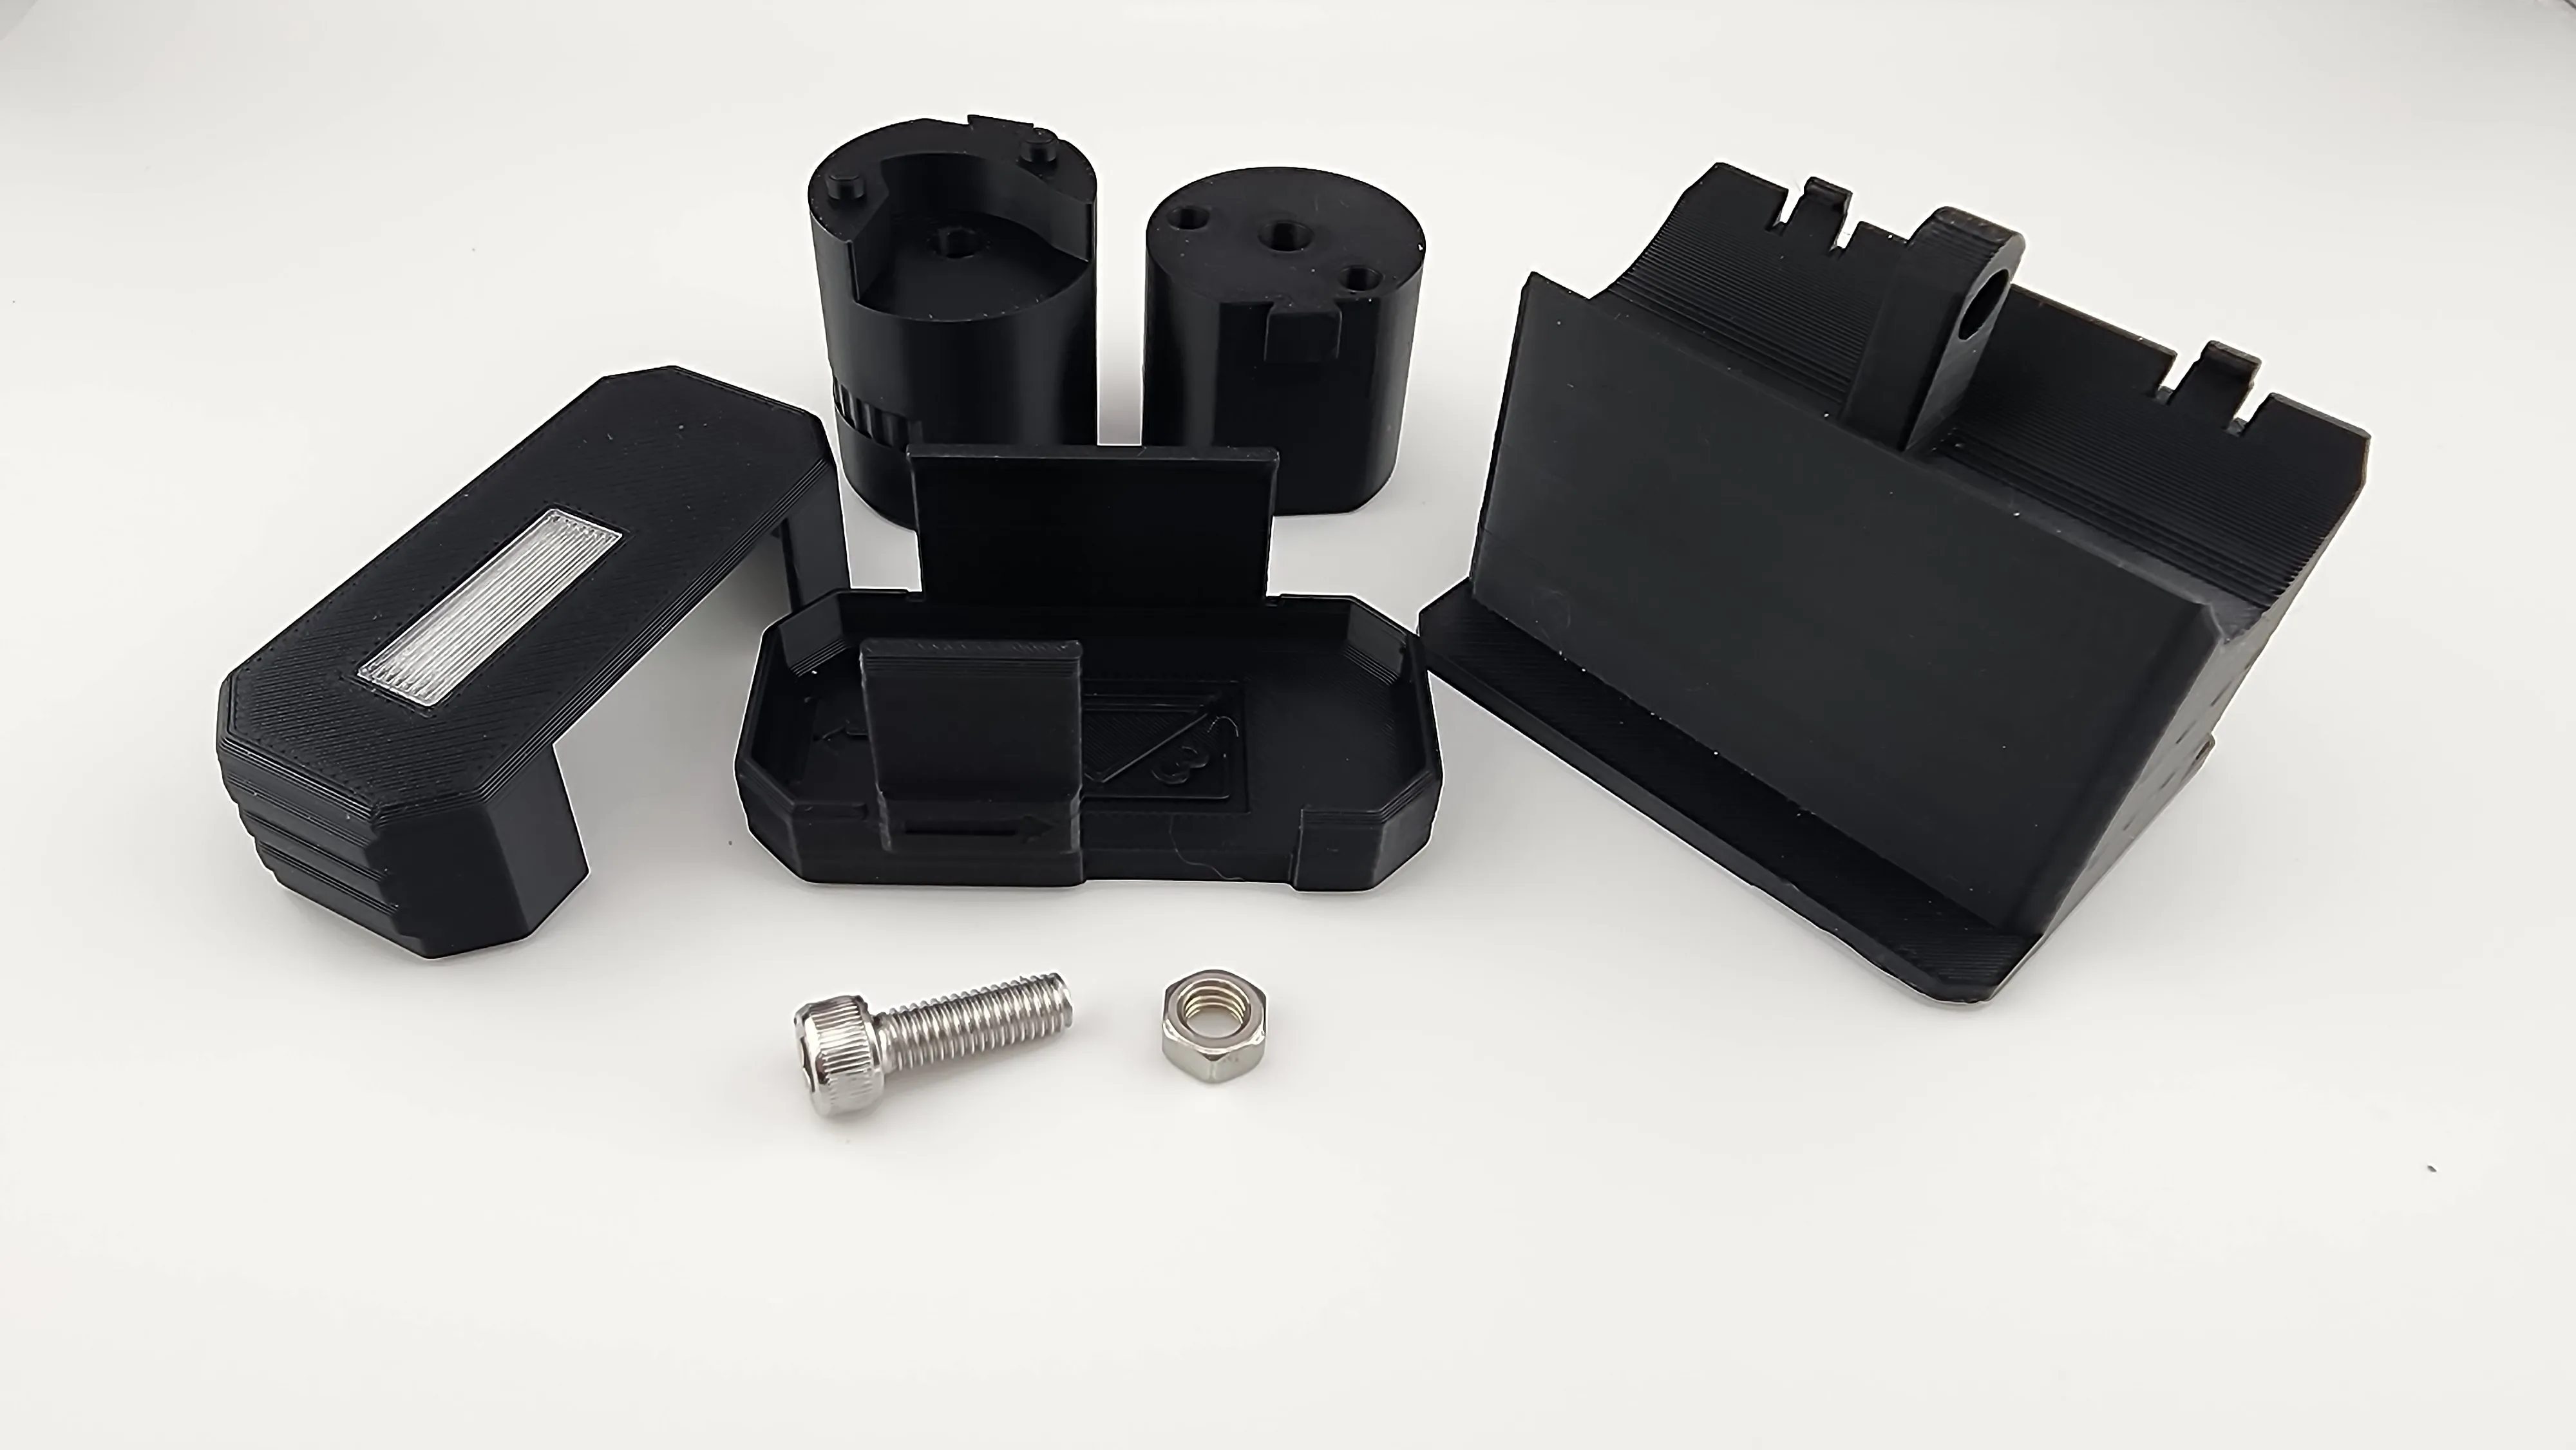
Remove all supports from printed parts (see description above for support locations).
PIVOT ASSEMBLY
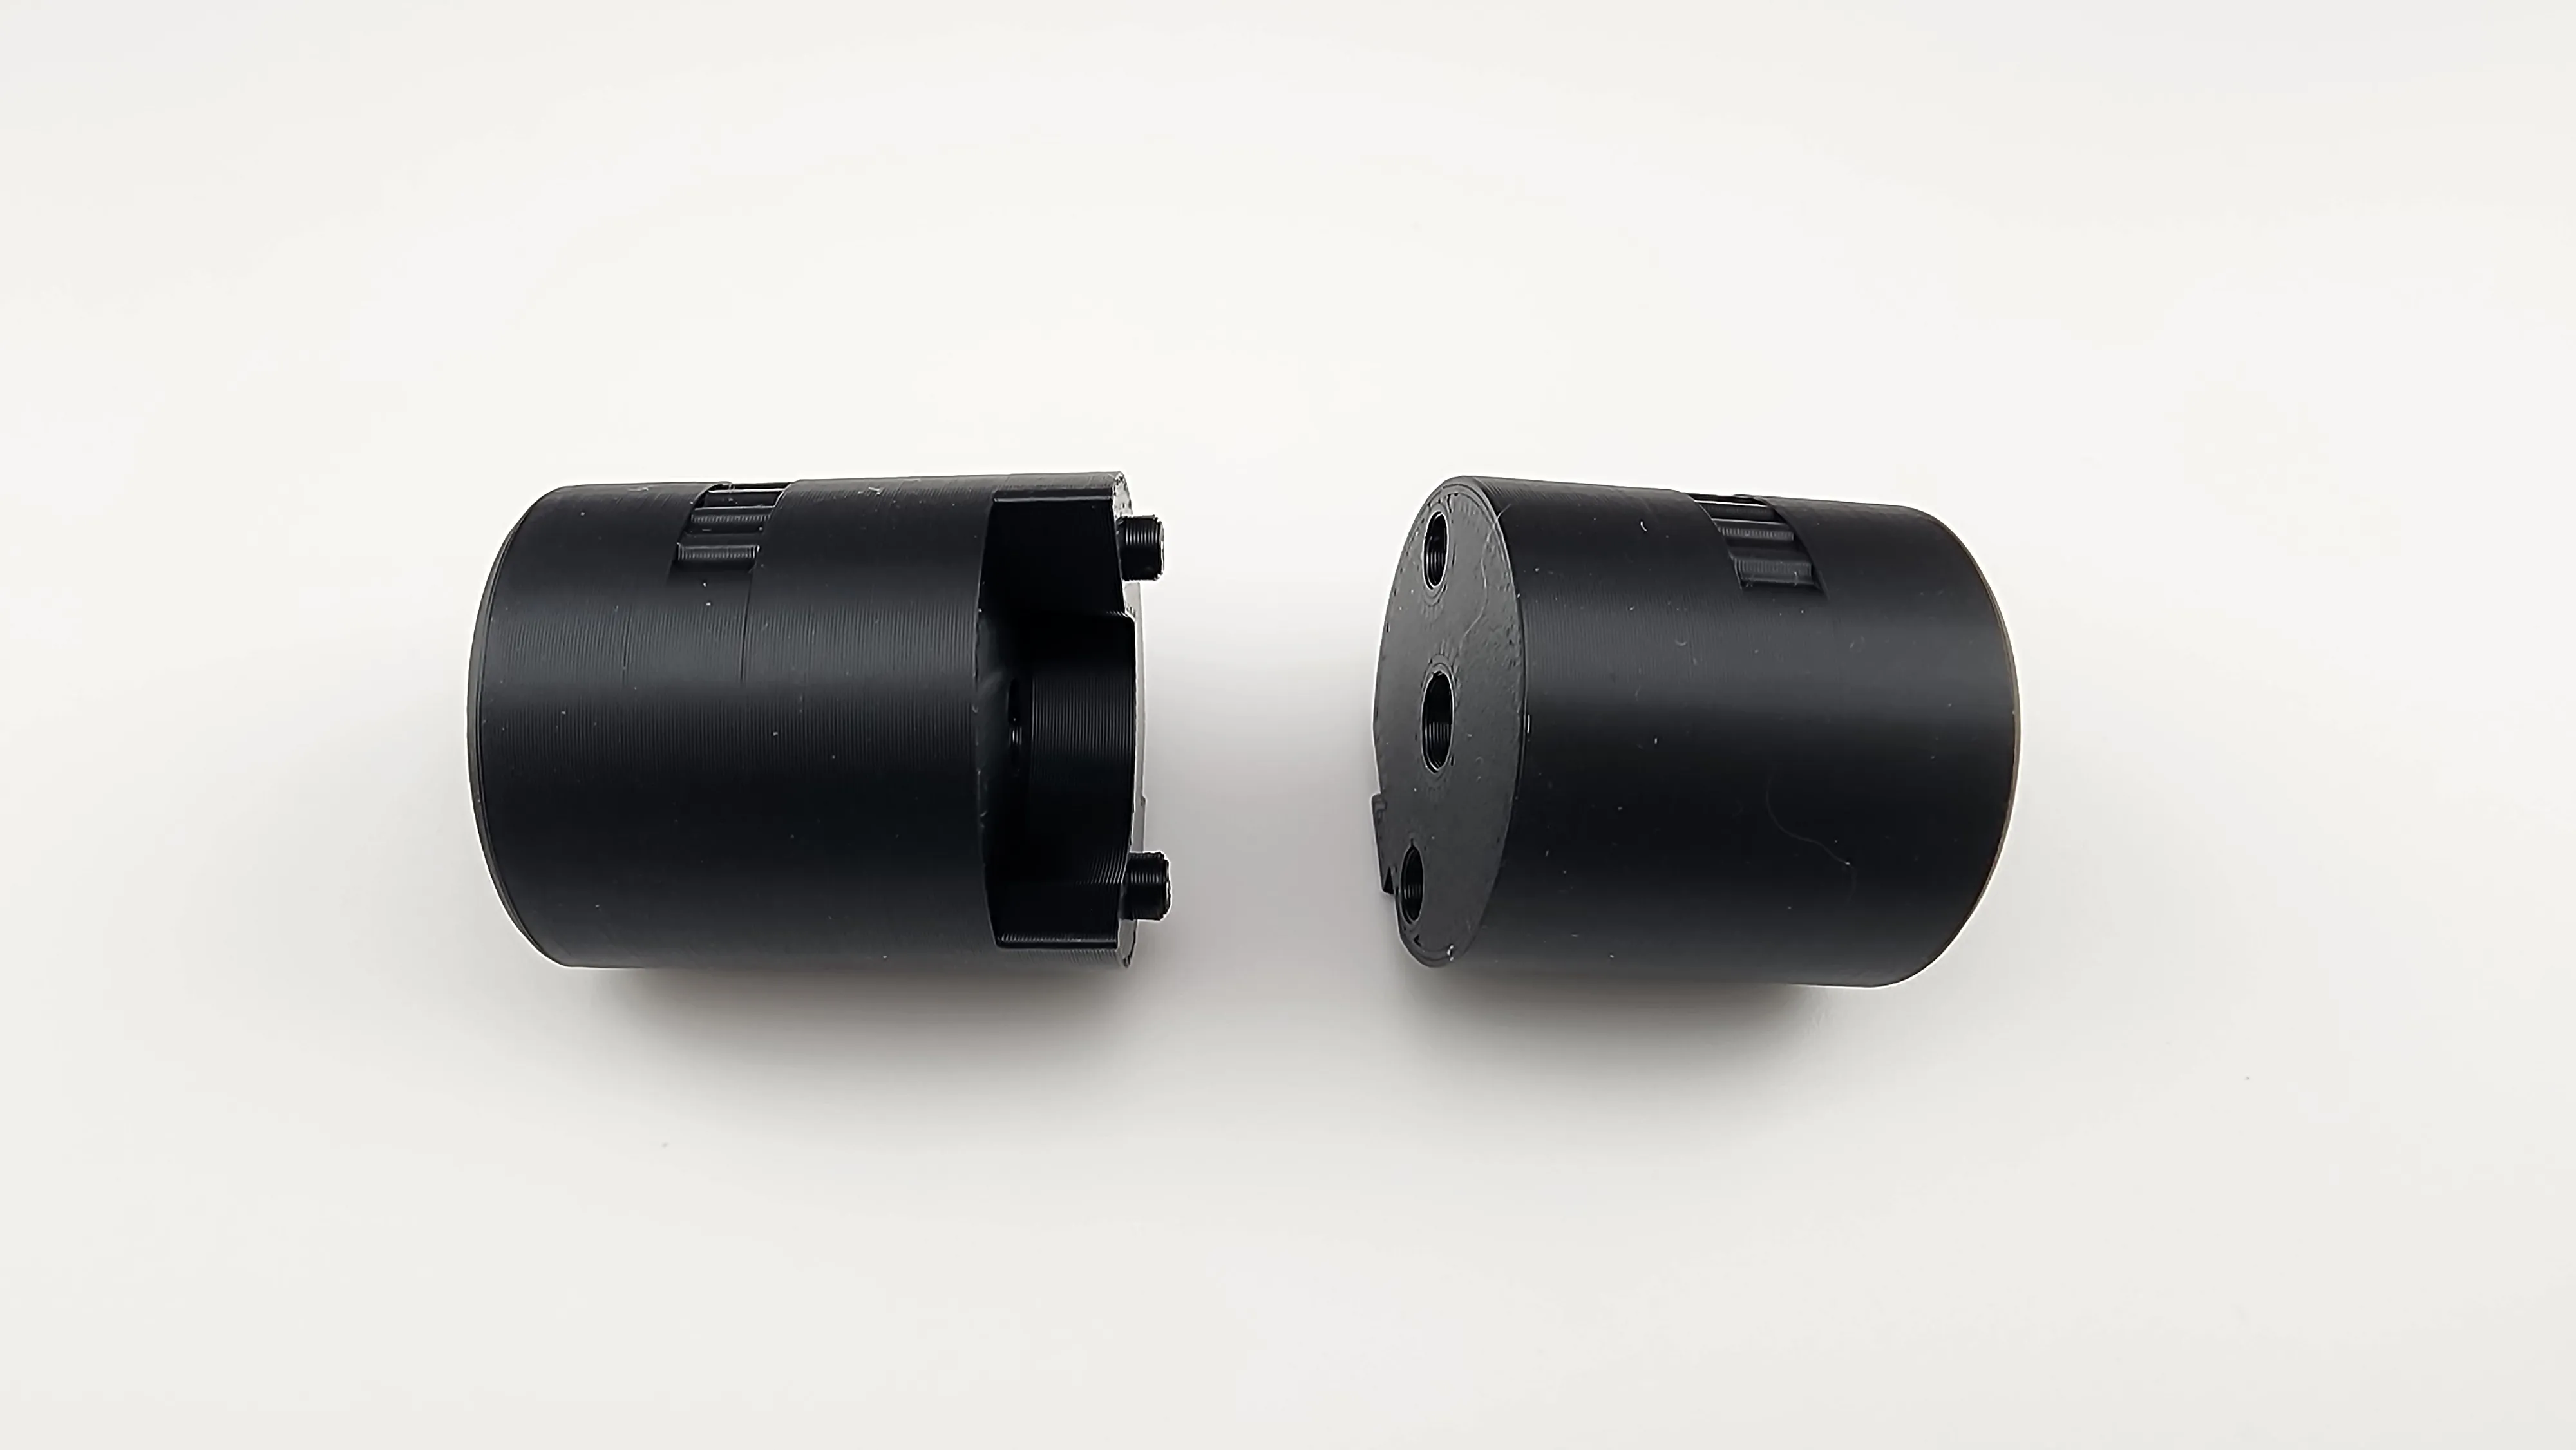
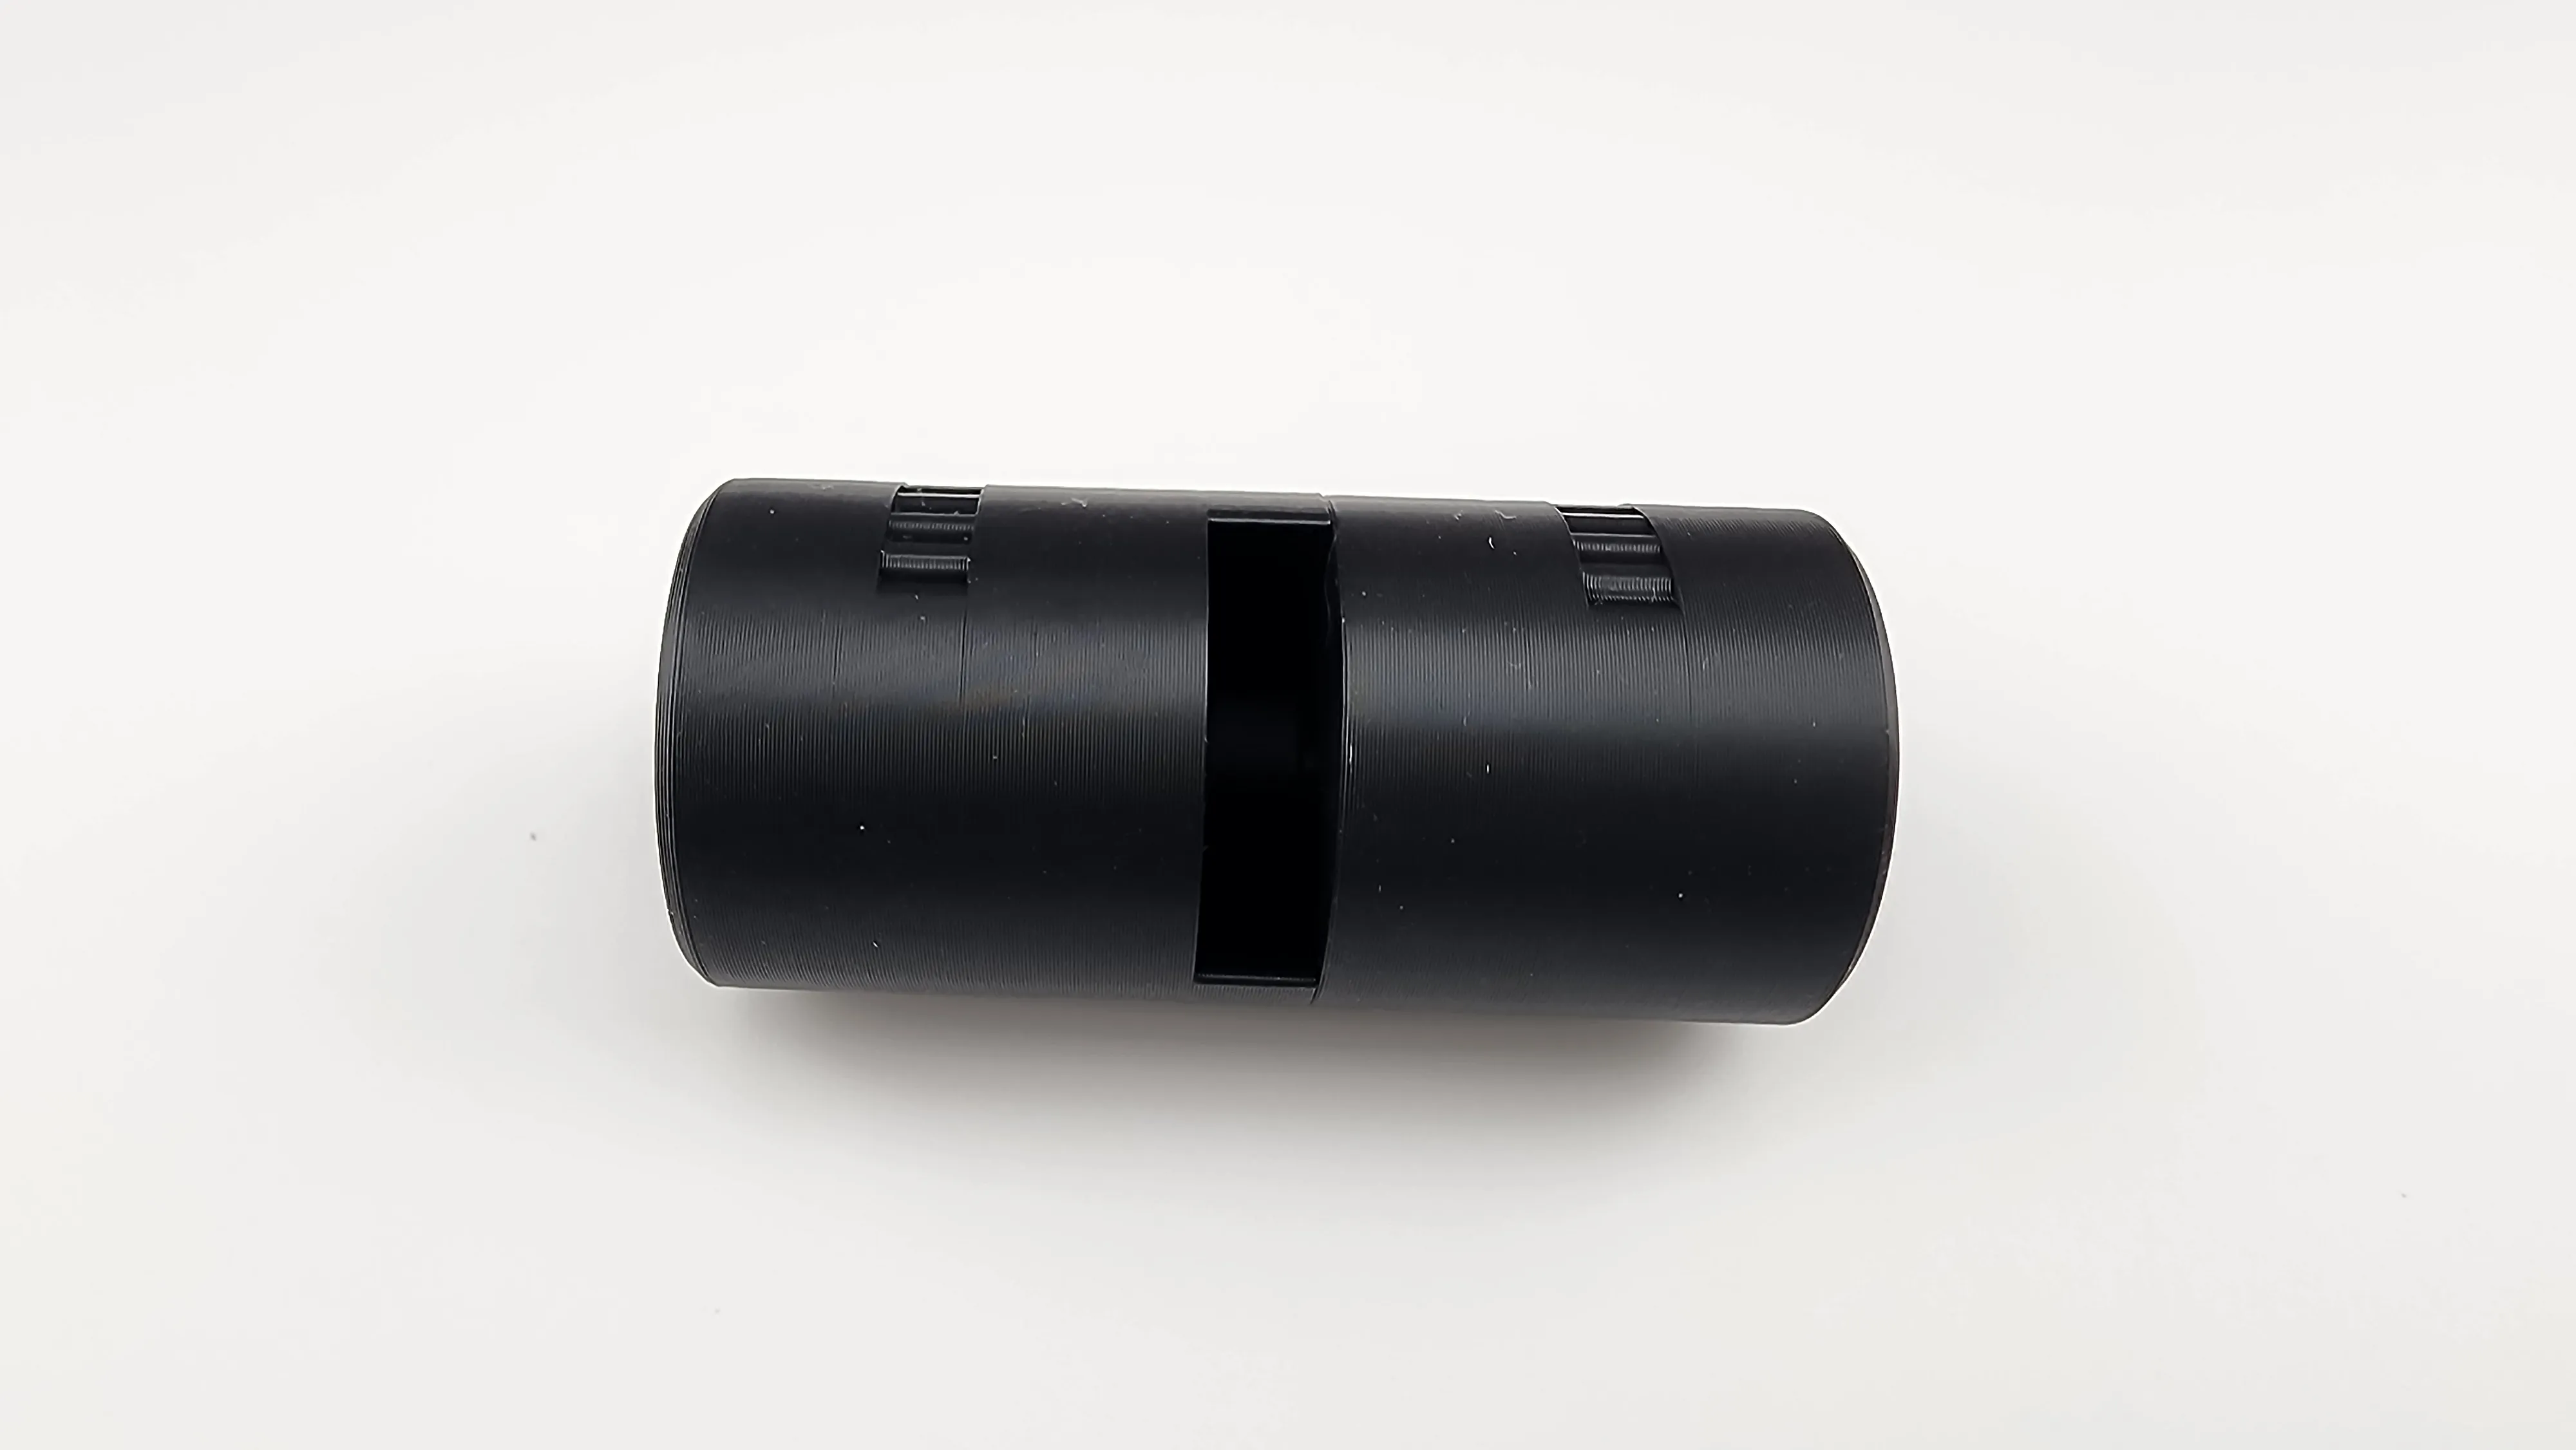
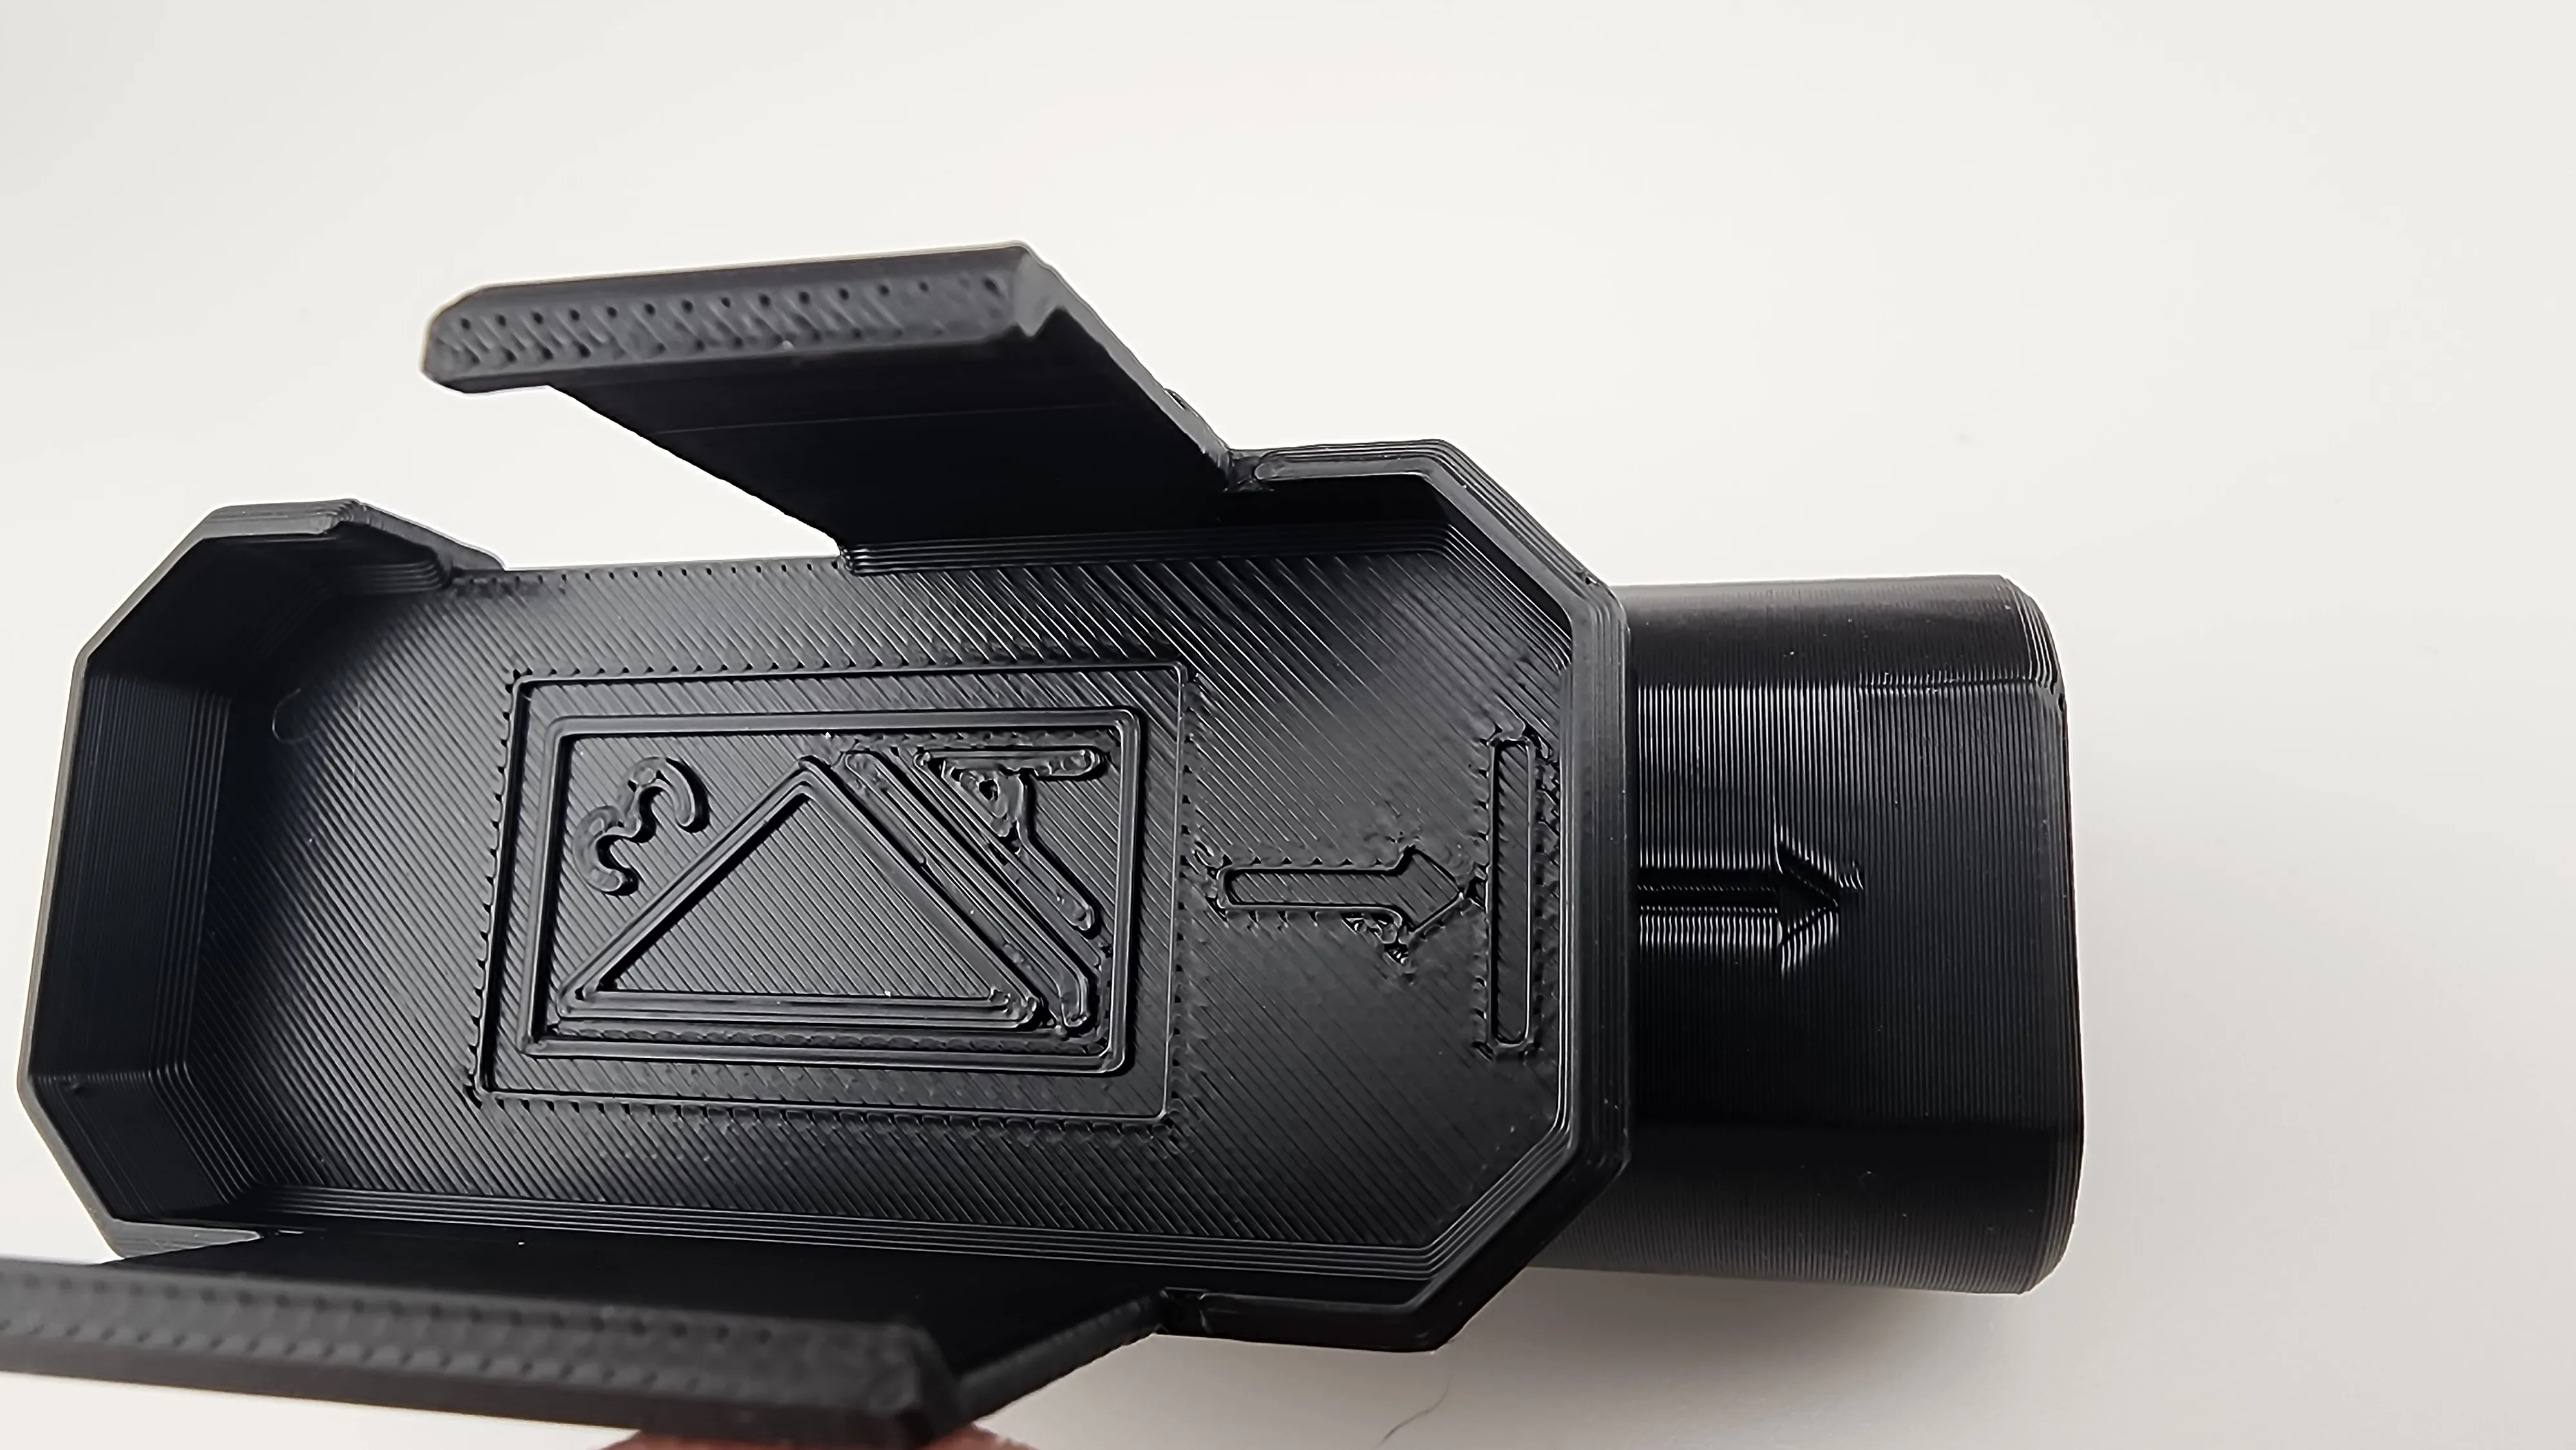
MOUNT ASSEMBLY
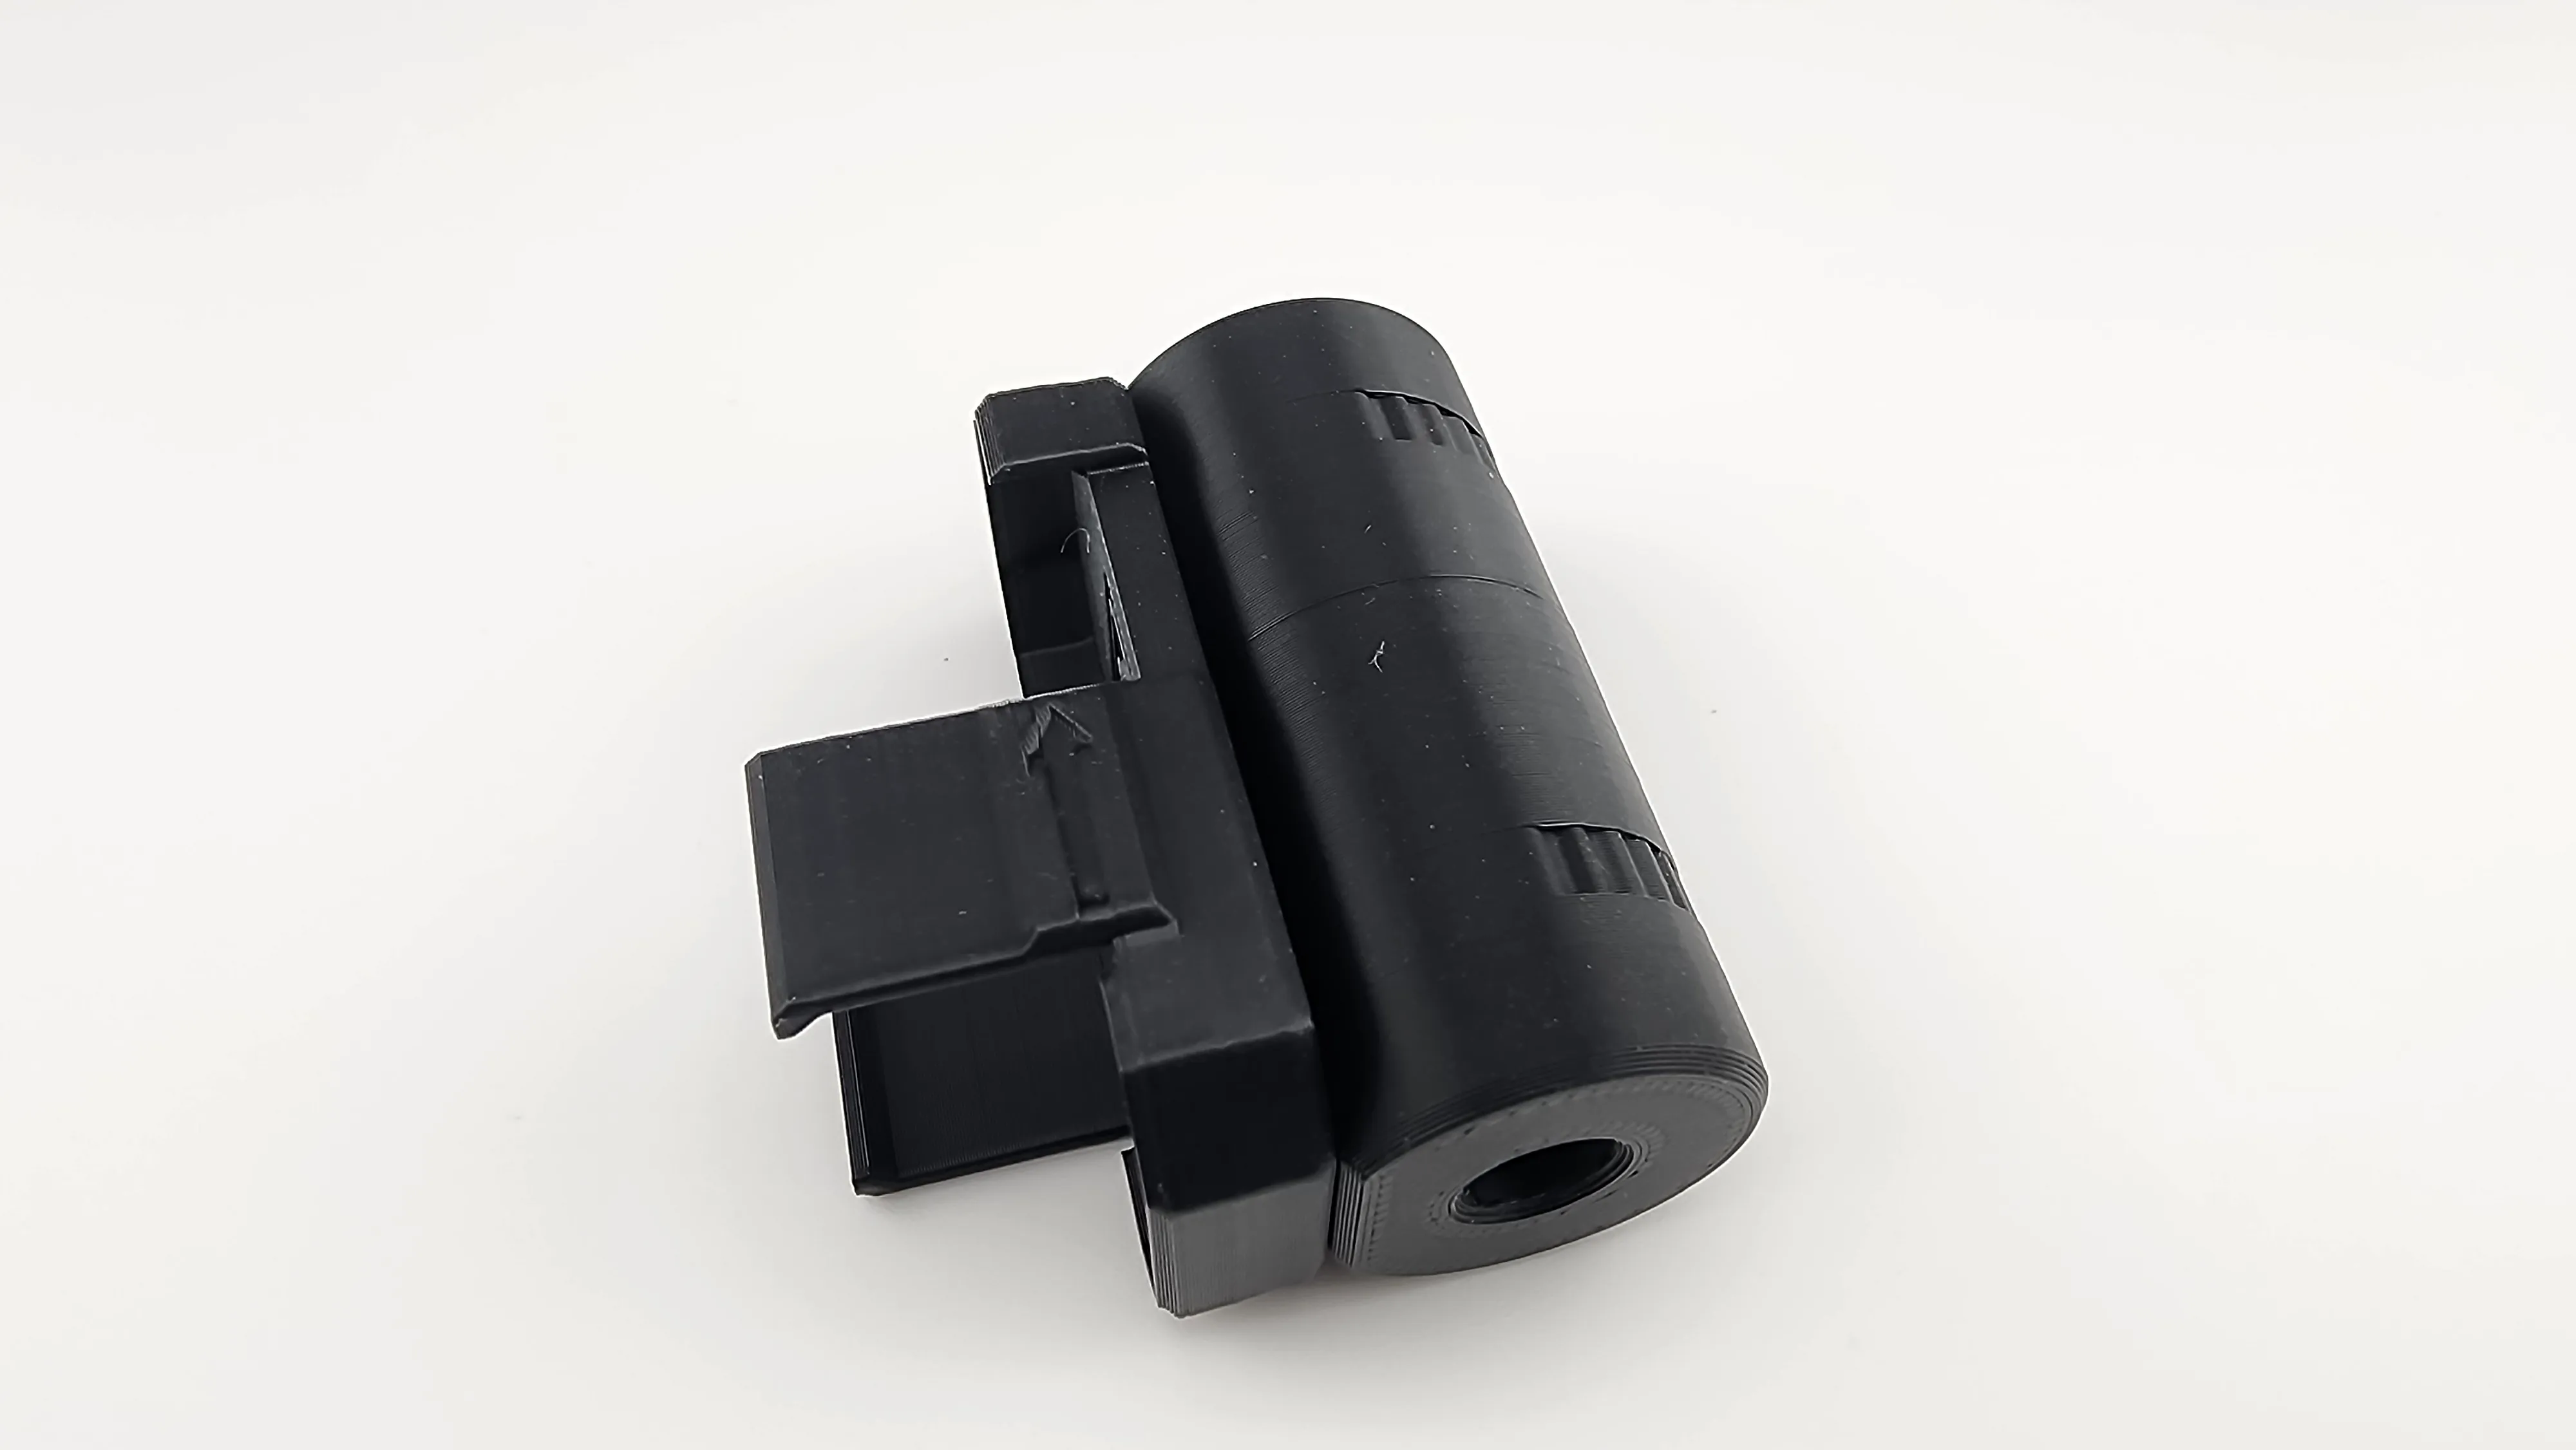
BASE ASSEMBLY
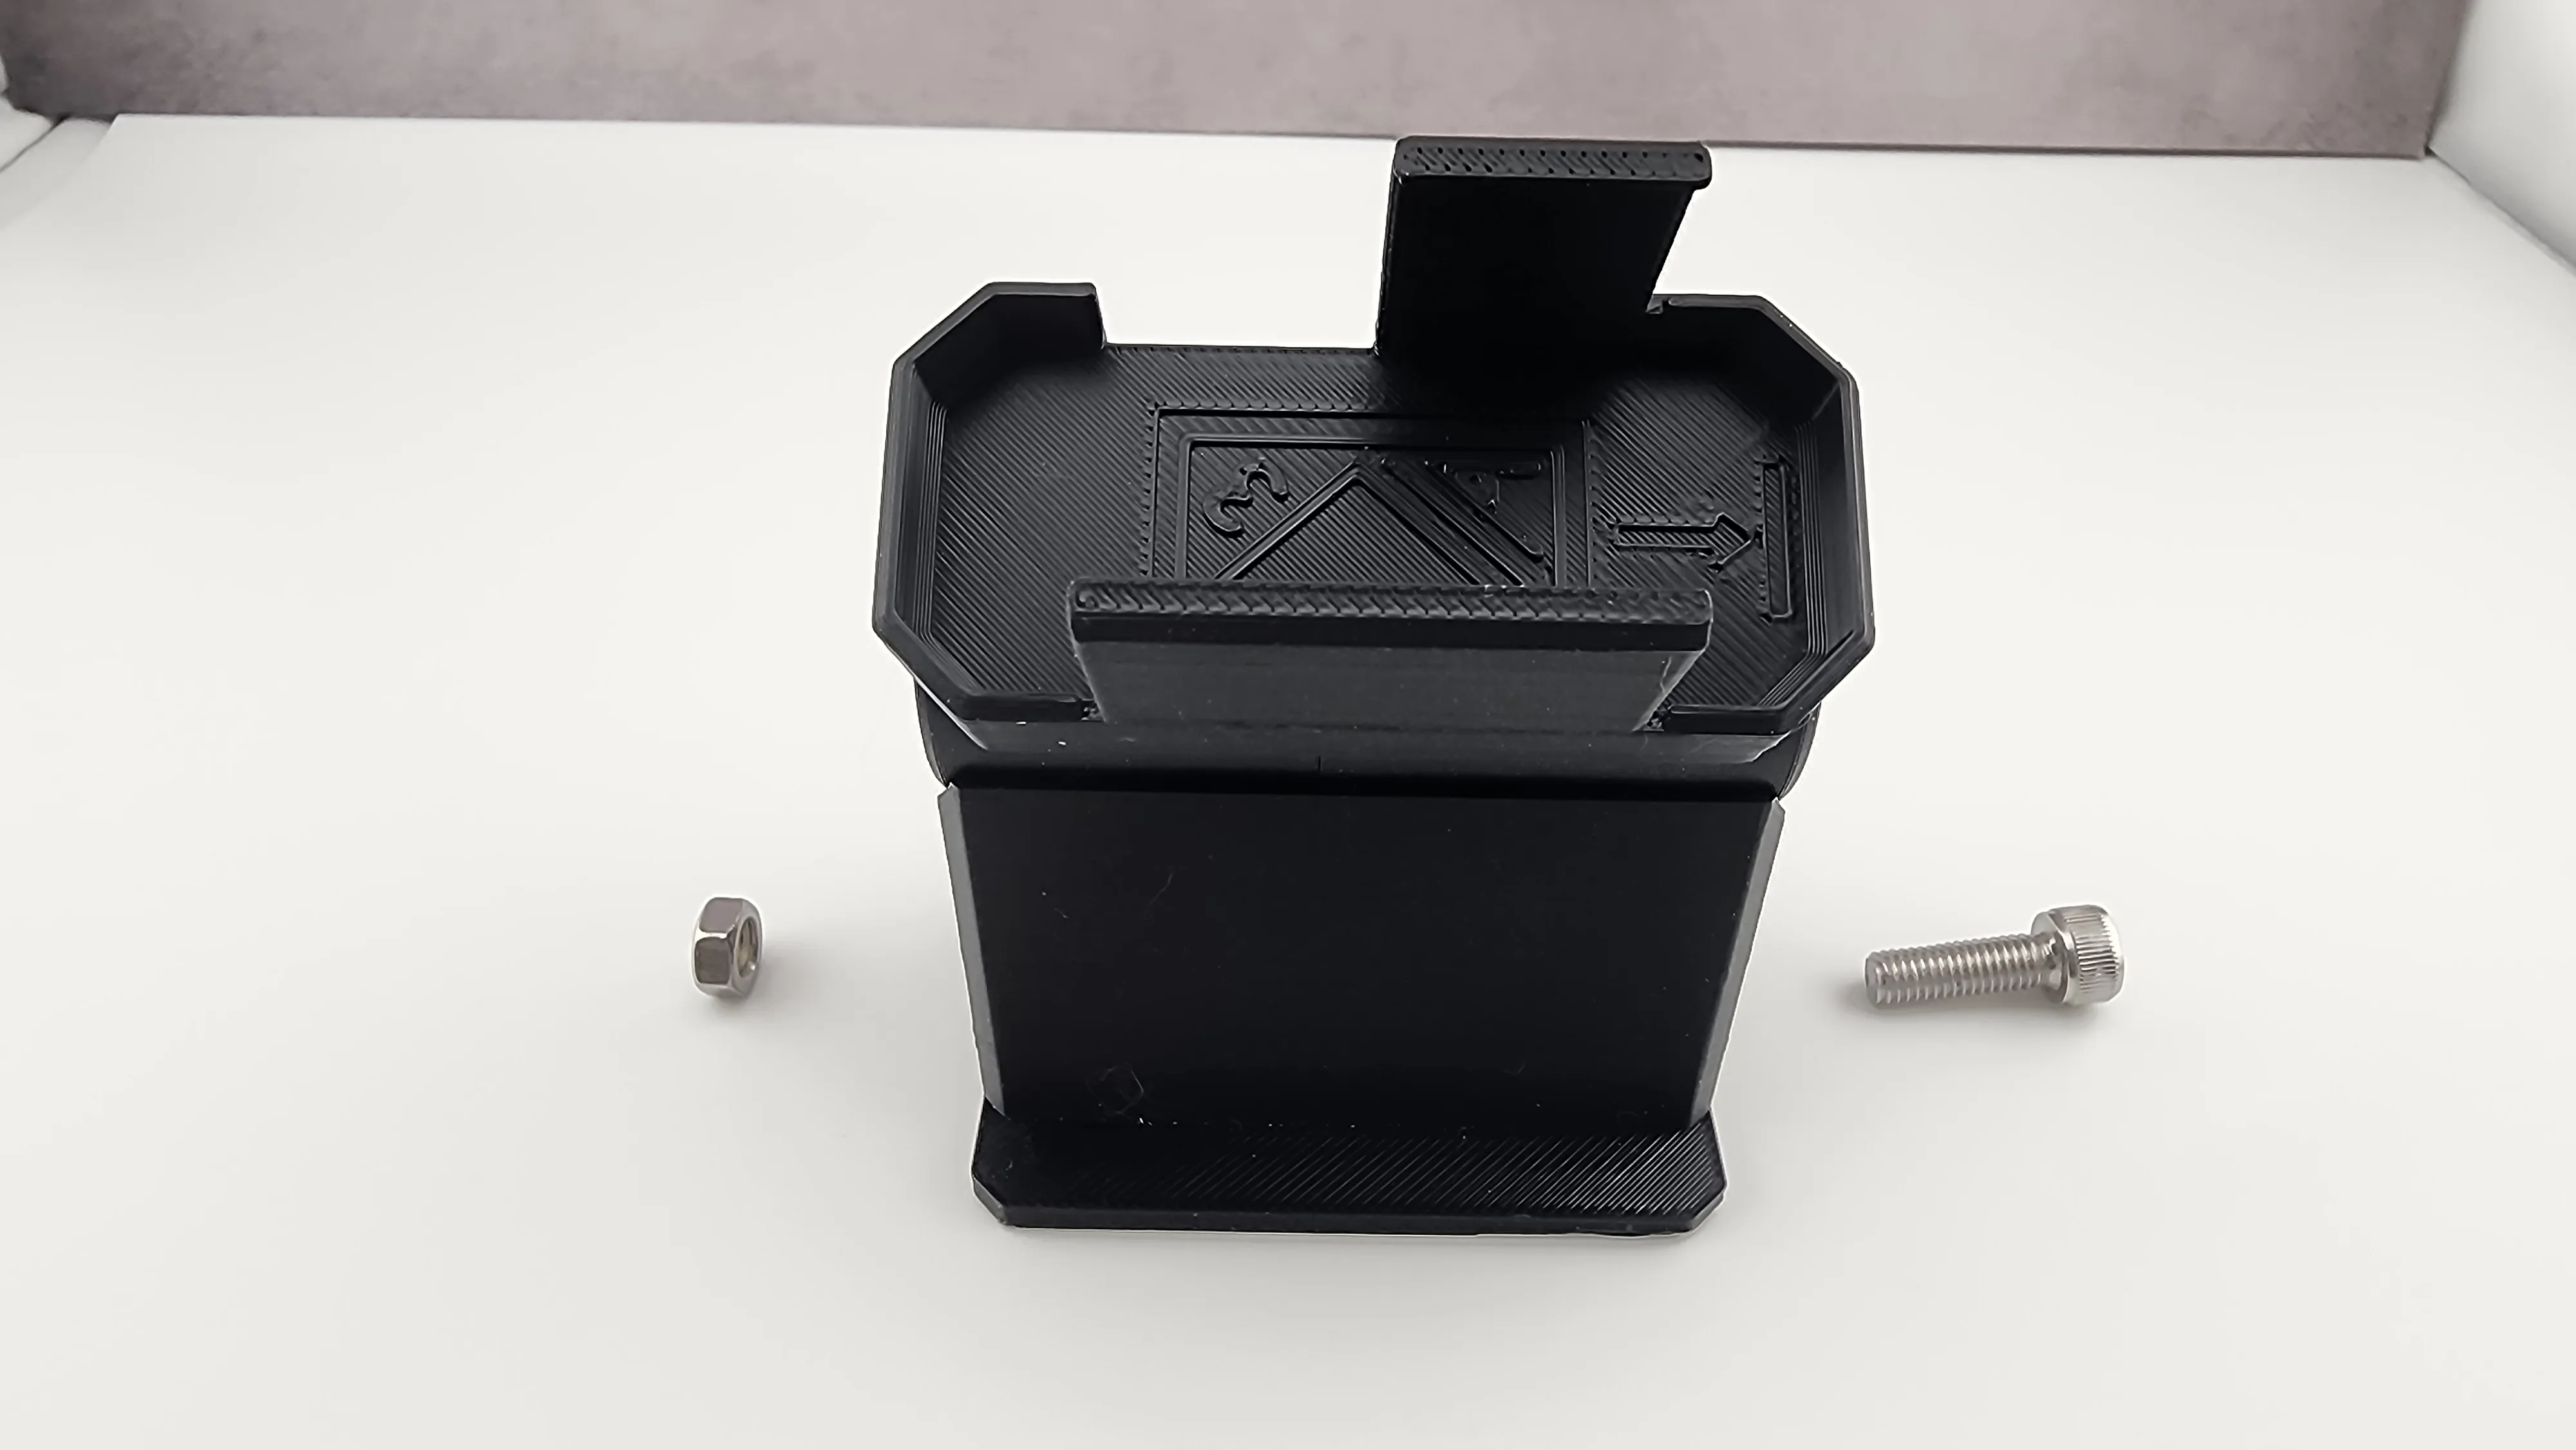
It is easiest to rotate the assembly sideways so the 4mm hex wrench goes up into the screw and the nut floats on top. It may require slight pressure on the nut to engage the threads. Do not overtighten - tighten just enough so the pivot can rotate freely with “wobbling”.
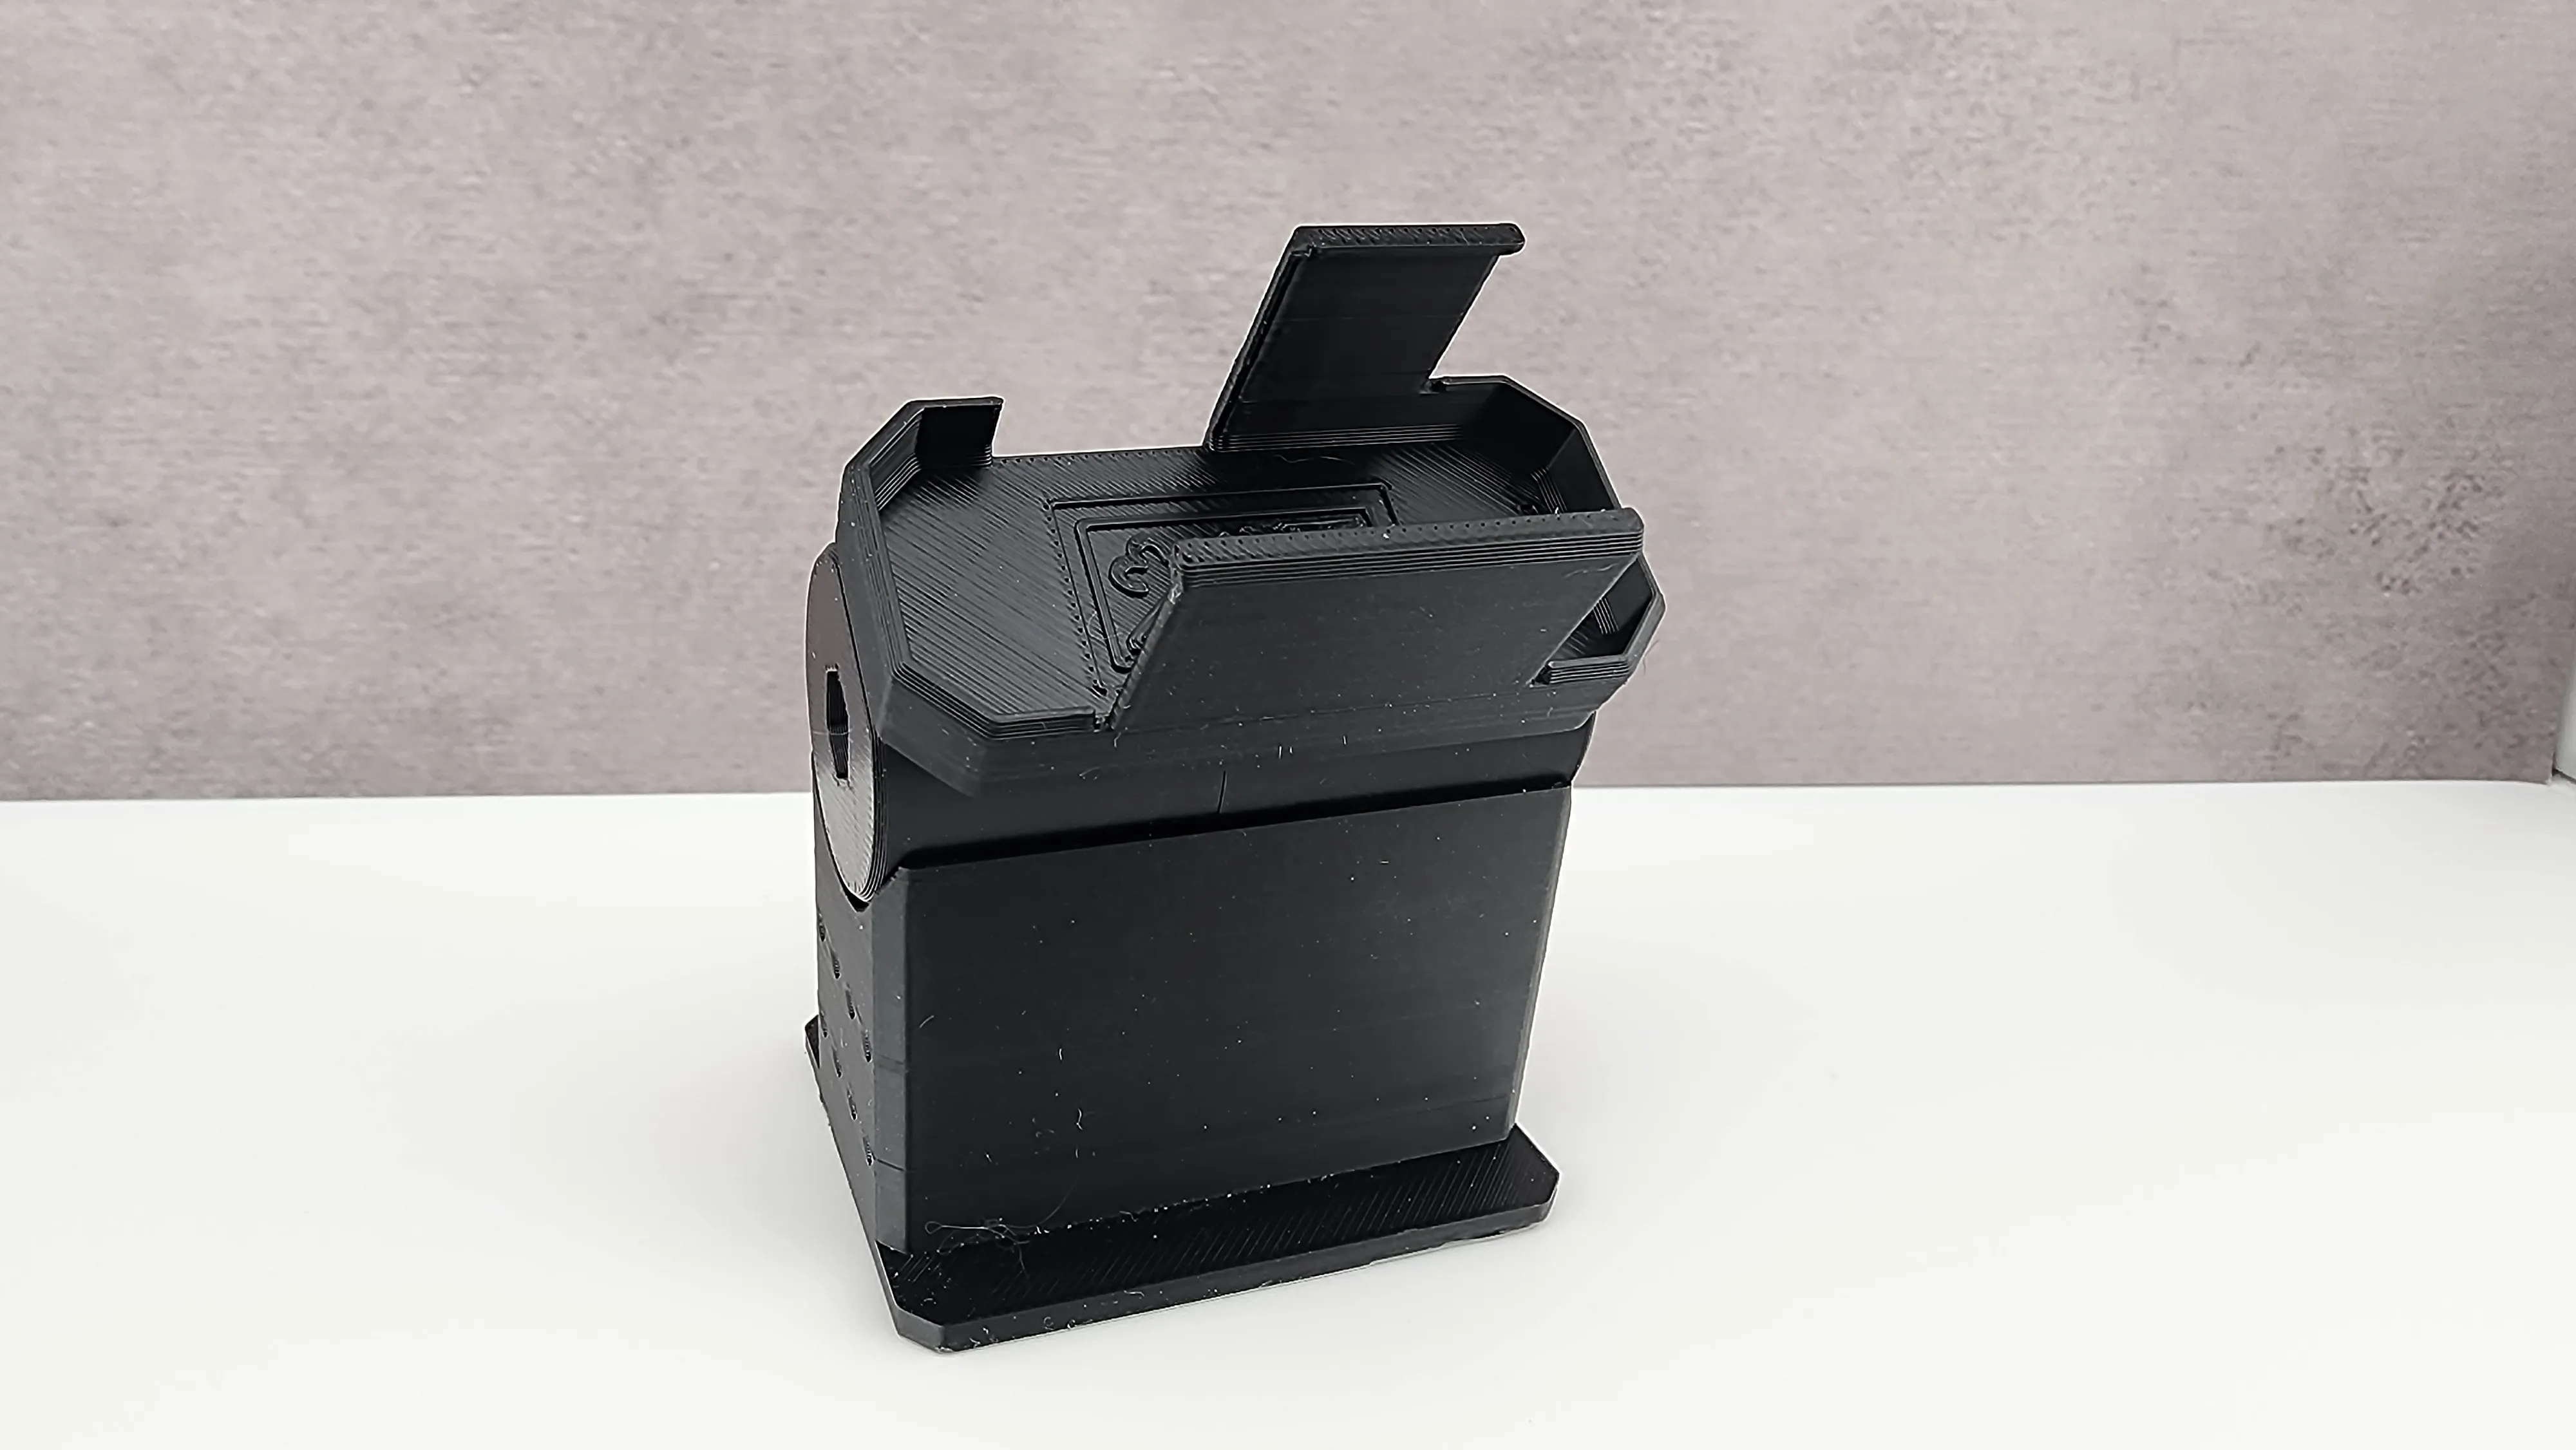
FINAL ASSEMBLY
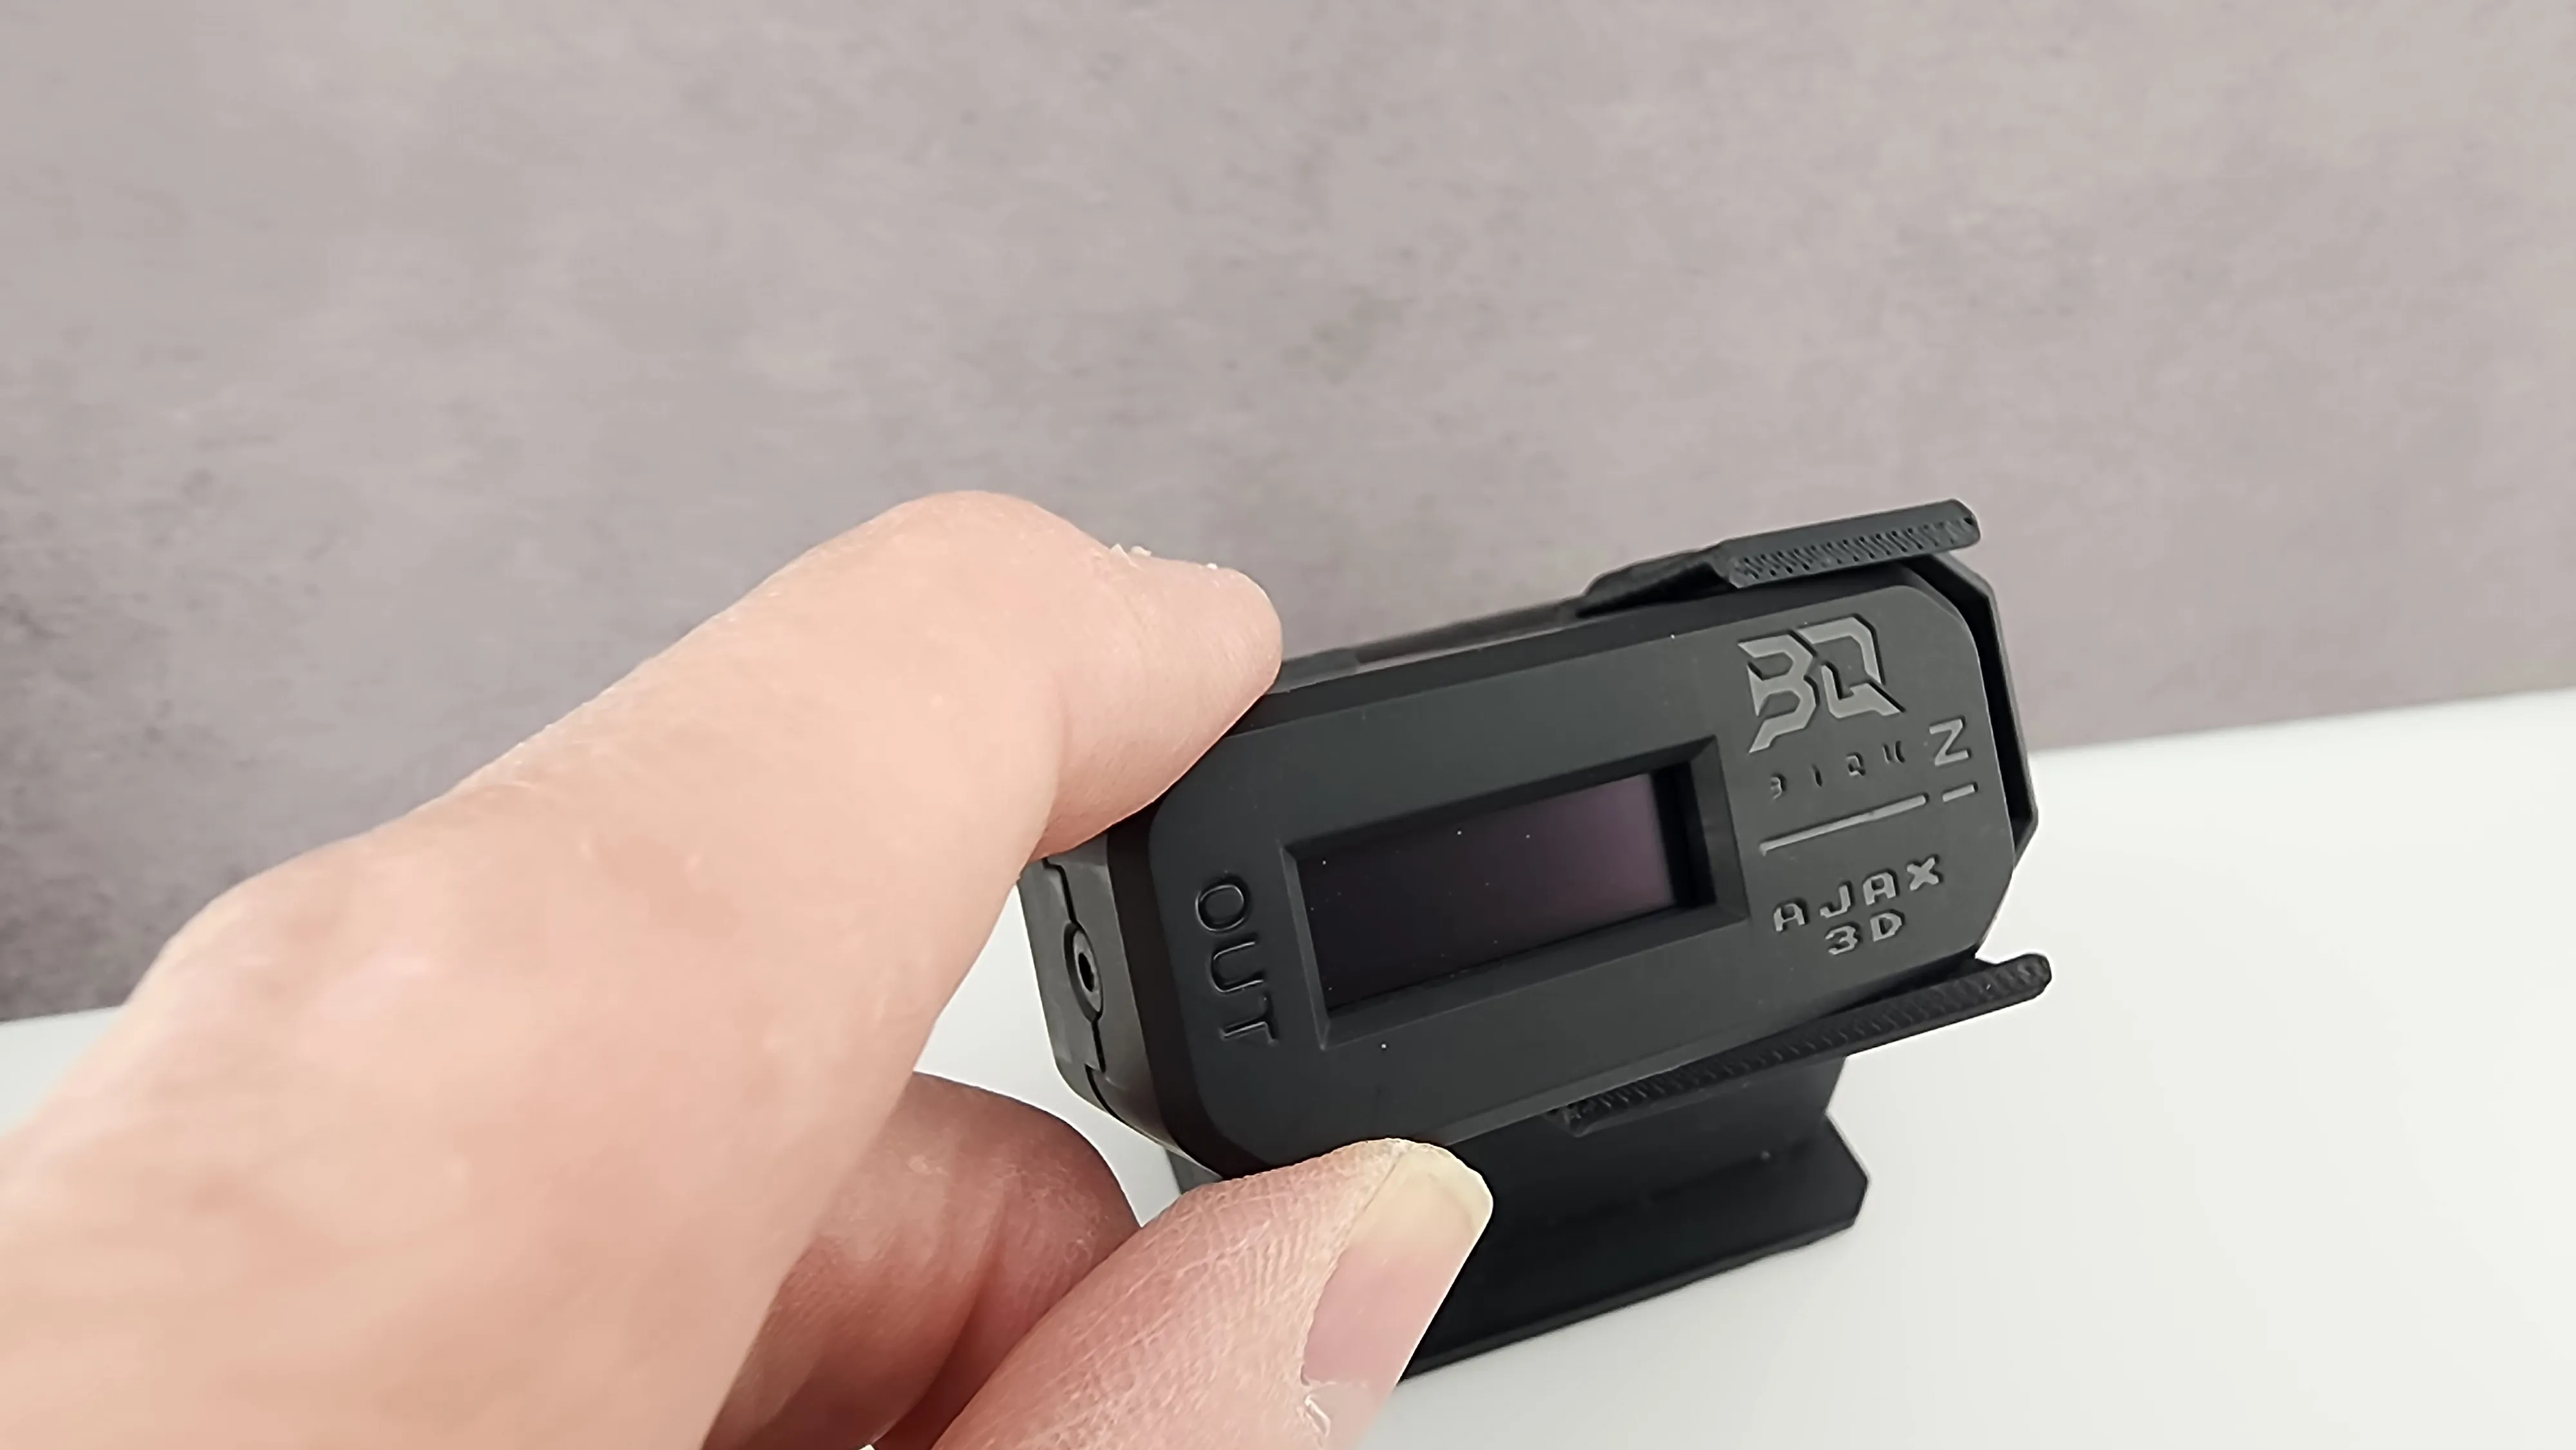
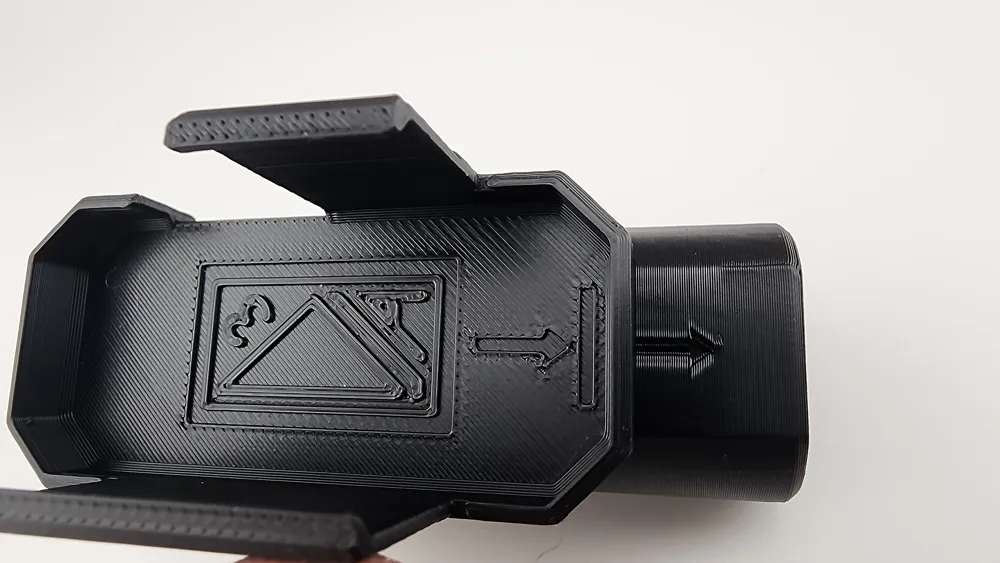
Slide the BIQU TD1s into the Mount Assembly. It can be dropped in from the top, flexing the tabs, but it is easier to just slide it in from the side as shown. Once against the right edge, just pop it down it will be held securely in place. The arrow on the top side of the mount is for clarity to show the direction that the filament goes when reading (activates the switch in the TD1s). That's it!
Boost Me (for free)
I truly appreciate any and all support. A Boost, rating, or even a like goes a long way and encourages me to keep creating. Thank you.
License

You shall not share, sub-license, sell, rent, host, transfer, or distribute in any way the digital or 3D printed versions of this object, nor any other derivative work of this object in its digital or physical format (including - but not limited to - remixes of this object, and hosting on other digital platforms). The objects may not be used without permission in any way whatsoever in which you charge money, or collect fees.


Comment & Rating (1)