


Print Profile(2)


Bill of Materials


Description
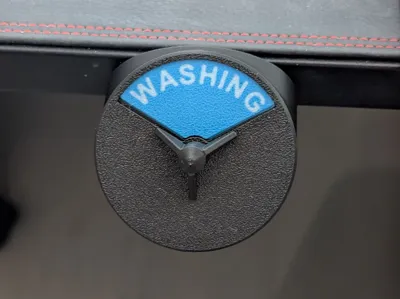
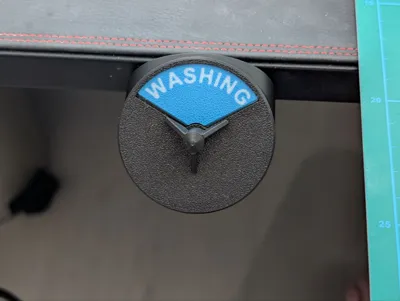
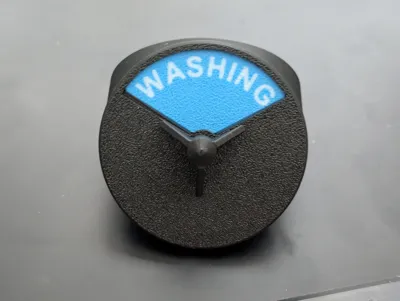
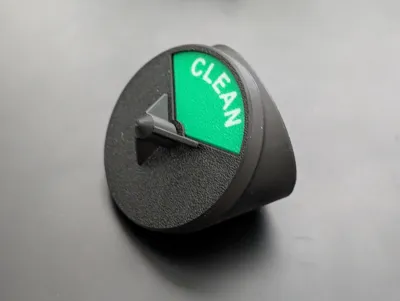
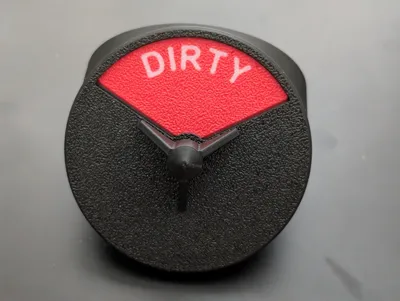
This was designed for my workplace since we had cases where dirty and clean dishes were mixed up.
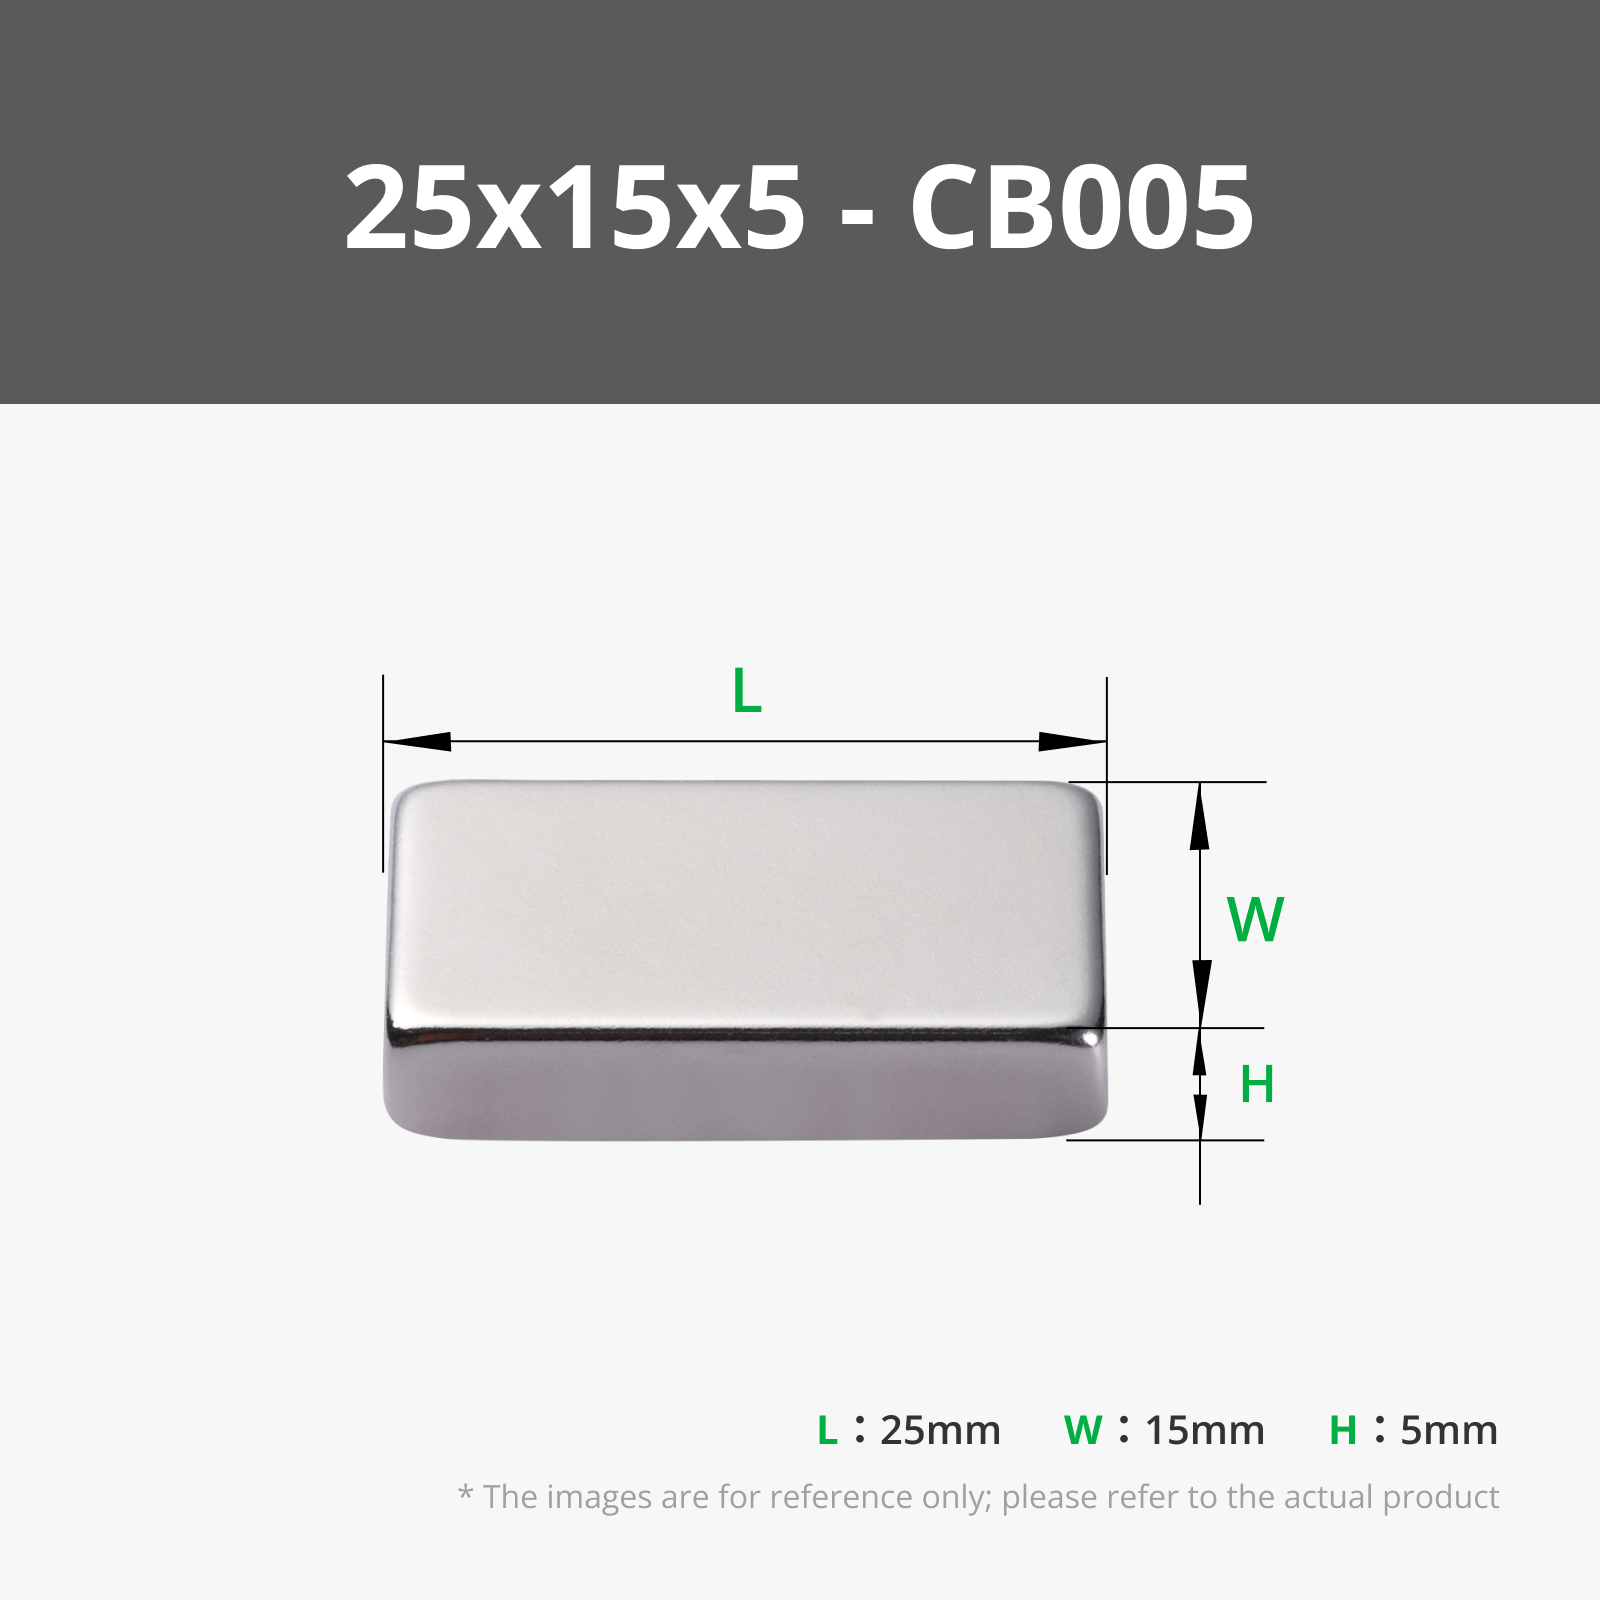
I used 1cm cube magnets, but I made variation which has option for 25x15x5 magnet which bambu sells.
Assembly
Glue is not necessary, but I highly recommend to prevent undesired disassembly. Using glue will improve turning and enables satisfying click sound.

Step 1
Insert 5x1 round magnets to turning plate. Using pliers will help since fit is tight.
All magnets should have same orientation!
Use magnets to verify orientation!

Step 2
Insert 5x3 magnets to base. Check orientation! These magnets should be attracted to turning plate.

Step 3
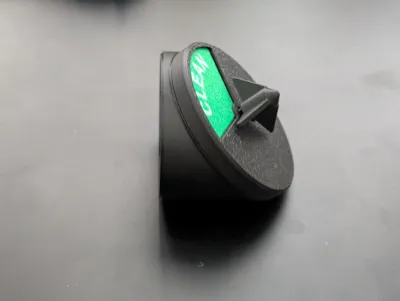
Insert status labels to rotator plate. Using glue is recommended for better rotation and noise reduction. Order does not matter.

Step 4
Insert 1cm cube magnets to base or if you printed bambu edition then 25x15x5 magnet. Glue is recommended.

Step 5
Insert rotator table to base and add cover.
NOTE! Cover has small pin to prevent it to be inserted wrong way around (was added to design because someone (read me) put it too many times wrong way around)

For cover, tiny drop of glue will prevent accidental disassembly.

Step 6
Push knob in to place and small drop of glue is recommended.

License
You may create derivative works based on this object, provided that all such derivative works are published exclusively on the MakerWorld platform and include proper attribution to the original creator. You may not share, upload, host, distribute, or publish this object—or any derivative work of this object—on any other digital platform, marketplace, or distribution channel. Commercial use of this object and any derivative works is strictly prohibited. This includes, but is not limited to, selling, renting, sublicensing, or using the object in any context in which you receive monetary compensation or other financial benefits.
Comment & Rating (18)