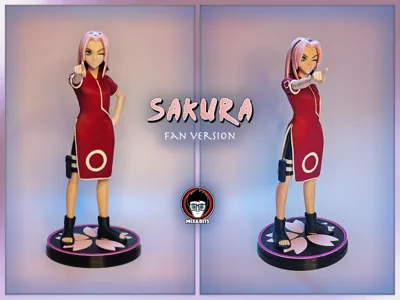
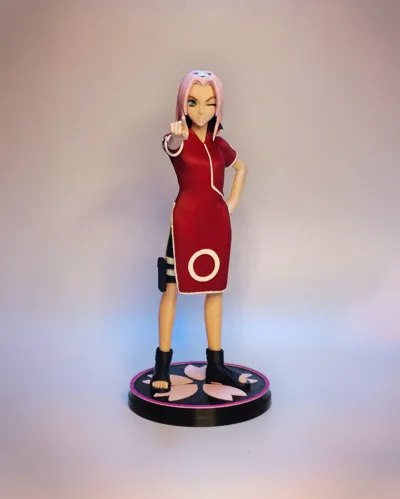
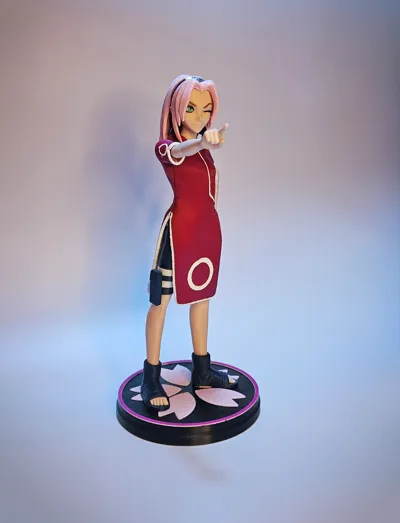
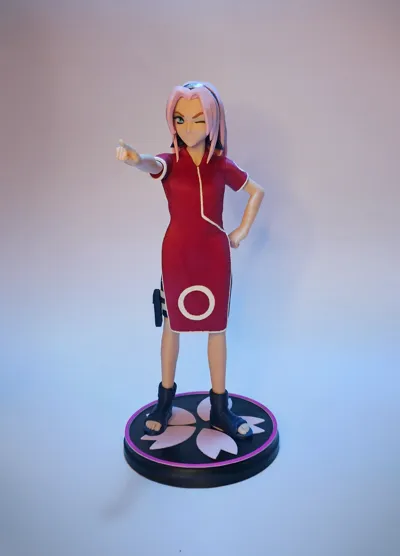
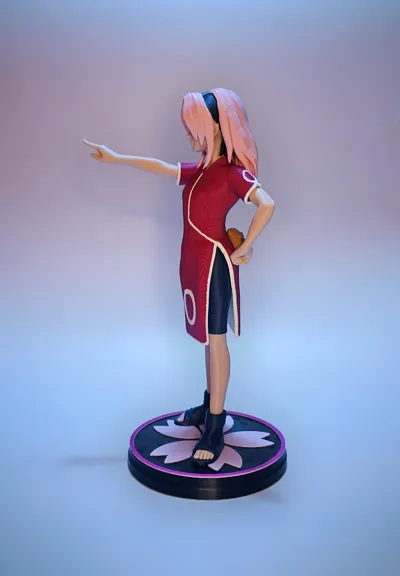
Thank you 20k! Sakura fanart! (30,5 cm tall)


Print Profile(1)

Bill of Materials


Description
Boost Me (for free)
Would you like to continue the collection? At 80 boosts we'll make a poll and once reached the 150 boosts we'll start working on the next chracter.


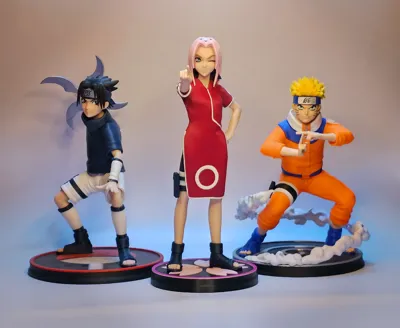
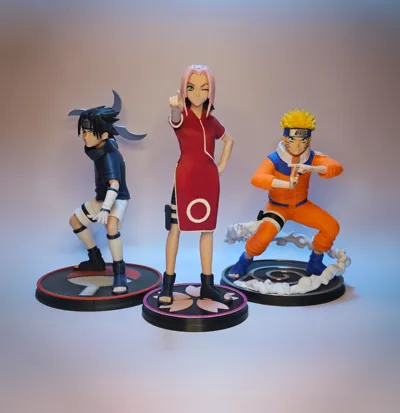
Results of the Poll: The fight between Itachi and Jiraiya was harsh!

As promised here is the new poll:
https://makerworld.com/community/post/1715867
Vote at the link!!

Thank you everybody for your great energy and for supporting us!!
As promised here is the new fanart of the collection!
We hope you like her!
It was fun to sculpt and to print.
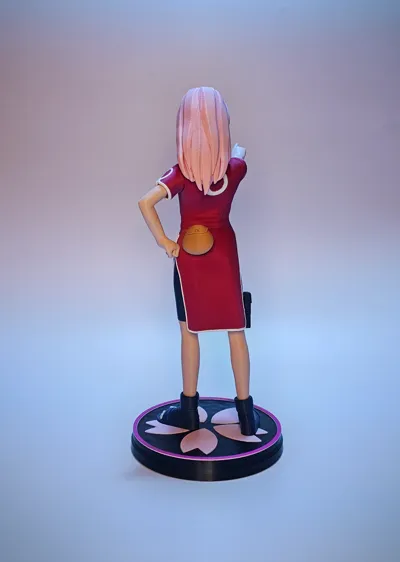
The model is divided in many pieces mostly of 1 color or at least quite quick pieces to print BUT (there is a but) the dress!! Unfortunately, it's almost impossible to split all the white parts from the red (and also the inside of the dress is white).
So we decided splitting the dress into pieces to keep the print not too tall and not too difficult to print (do not remove supports as the dress need them).
The dress would be a lot quicker to print with a H2C or H2D (about 71/2 or 8 hours) instead of the 16 hours of a single color printer.
Or you can paint the white parts if you want to avoid too much waste!
WE FOUND THE PERFECT COLOR FOR THE DRESS (CHECK THE BOM LIST)
ASSEMBLING:
The model is quite easy to assemble.
- Start with the pieces that form the head. Insert the eyes and the brows. Add the front part of the hair, then the hairband (mounting on top the metal symbol) and close with the back part of the hair. Glue if needed.
Mount the parts of the dress, adding glue in the middle. Once dry add the sleeves (glue).
Insert the pants inside the lower part of the dress.
Now mount the blue pocket to the legband and mount to the pants, add some glue and close with the lower part of the pants that is separated.
Now you can add legs, and arms (glue all).
Add the toes to the shoes and mount on top of the base. Now you can mount the figure on top!!
Lastly, there is the little round purse that goes behind the dress!!
OK, DONE!!
ENJOY printing!!!
License
You shall not share, sub-license, sell, rent, host, transfer, or distribute in any way the digital or 3D printed versions of this object, nor any other derivative work of this object in its digital or physical format (including - but not limited to - remixes of this object, and hosting on other digital platforms). The objects may not be used without permission in any way whatsoever in which you charge money, or collect fees.
Comment & Rating (50)