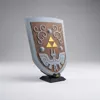
Hero's Shield - The Legend Of Zelda (Buckler Size)


Print Profile(4)


Description
Boost Me (for free)
If you'd like to see more Pokémon kit cards, leave a boost or comment with the next Pokémon I should design! Can’t boost? No worries — printing, sharing, and posting your make helps just as much!
Interested in a Sneak Peeks? Assembly Guides? A Commercial License? Check out my Patreon!
---
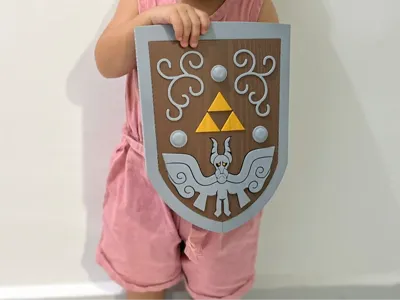
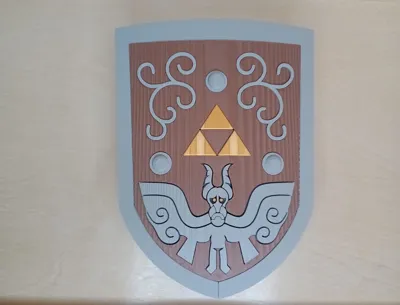
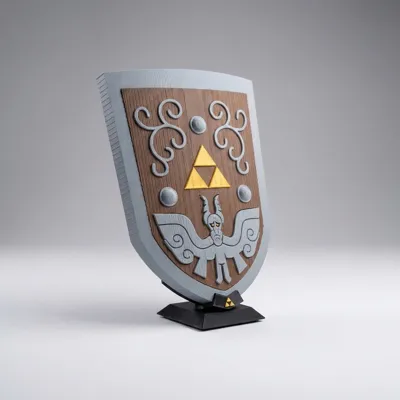
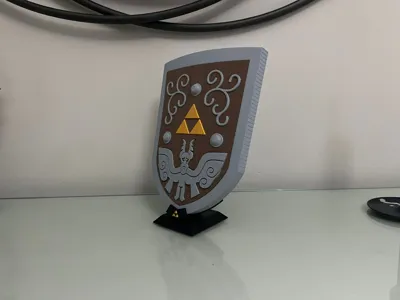
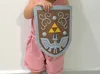
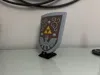
Bring Hyrule home with this shield inspired on the iconic Hero's Shield from The Legend of Zelda: The Wind Waker. Designed with cosplay and display in mind, this piece balances presence, detail, and practical printing.
Key Features:
- 📏 24 cm tall – Compact yet bold size, perfect for children cosplay accessories, photos, or themed displays
- 🎨 Split-by-color design – Parts are separated by color for clean multicolor printing with crisp results
- 🧩 Straightforward assembly – Parts are designed for proper alignment; glue may be required on some joints for a secure fit
- 🧍 Includes display stand – Easily pose it upright when not in use for a clean presentation
- ⚔️ Inspired detailing – Captures the iconic look and feel of the legendary shield
A great print for cosplayers, collectors, and fans looking to add an eye-catching piece to their Zelda-inspired setup.
Printing Notes:
- Always clean your build plate well before printing.
- Try to use dry, calibrated filament if possible before printing.
- Let parts cool completely before removing from the build plate. This avoids possible warping while removing the parts due to temperature.
- It may be possible to resize up (profile size is 65%) on larger printers without hindering tolerances.
Assembly Notes:
- I strongly recommend gluing the 2 big silver pieces first (shield frame), gluing the wood piece on top, and finally assembling the other pieces on top.
- The parts are all oriented in such a way that the layers match each other. For a cleaner look, match each of the lines to their respective piece.
- When gluing the eyes on the beast at the bottom, use tweezers, dip the eye in glue, and then join to the eye socket. There is a small cavity for it.
- A GIF will be coming soon, hopefully adding some additional clarity to glue up.
Happy Printing and feel free to comment if you have any questions!
Like Pokemon Kit Cards? Checkout my Collection and Build-'em-all!

Interested in a Sneak Peeks? Assembly Guides? A Commercial License? Check out my Patreon!
License
You shall not share, sub-license, sell, rent, host, transfer, or distribute in any way the digital or 3D printed versions of this object, nor any other derivative work of this object in its digital or physical format (including - but not limited to - remixes of this object, and hosting on other digital platforms). The objects may not be used without permission in any way whatsoever in which you charge money, or collect fees.
Comment & Rating (24)