
filament connector, Jointer
Print Profile(1)
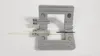
Description

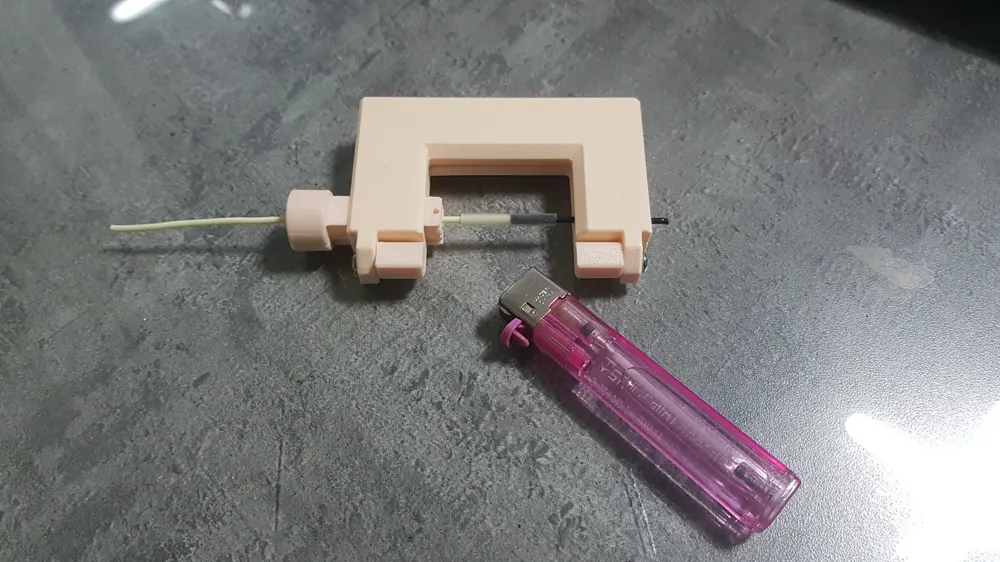
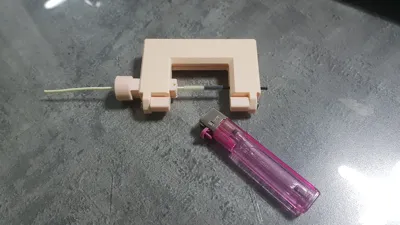
When connecting filaments, one side can move flexibly instead of both being fixed, allowing stable gripping or pushing of the filament within the PTFE tube
Silicone tubes (ID 1.5mm, OD 3mm) and heat-bonding specific PTFE tubes (ID 1.9mm, OD 2.7mm) can be used
Neodymium magnets needed
- 10x2mm 2pcs(~4pcs)
- 4x2mm 4pcs
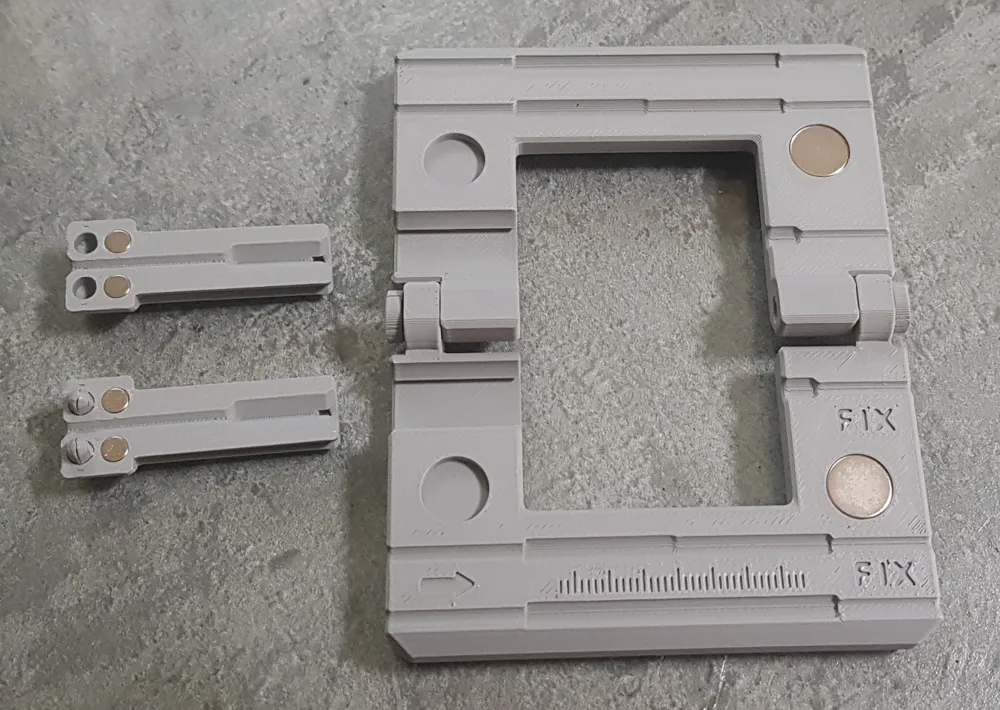
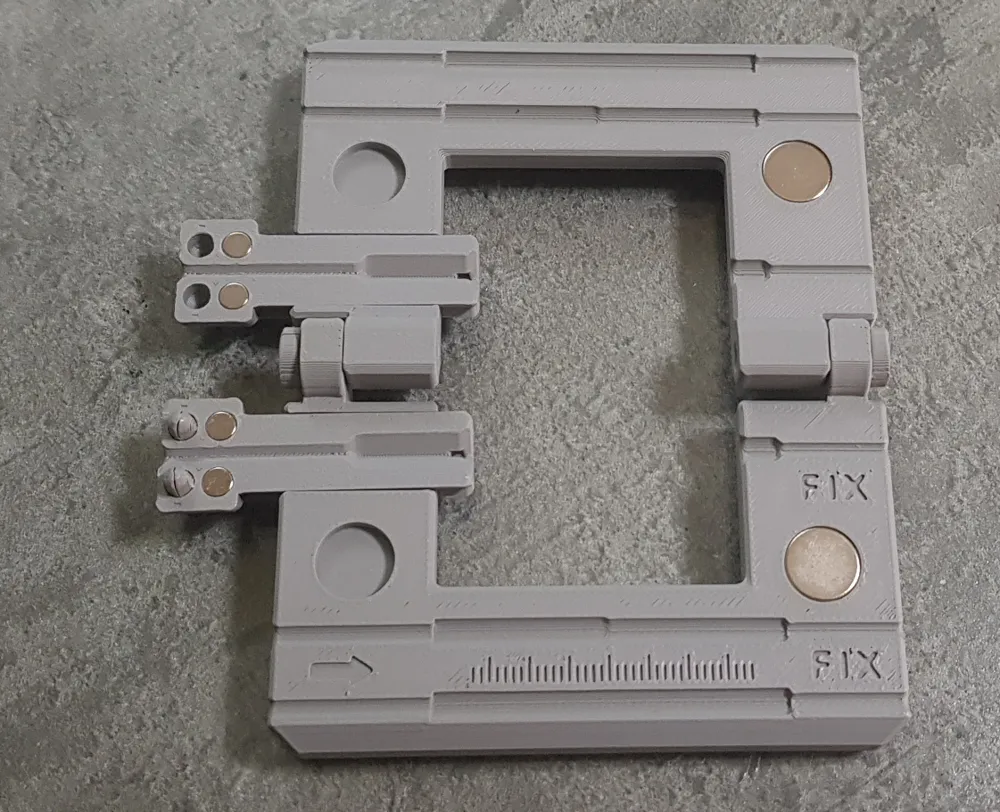
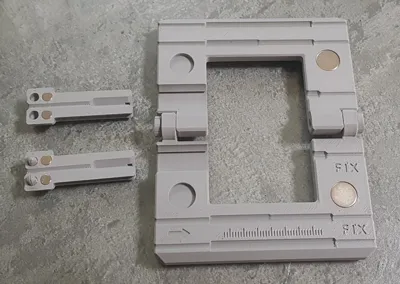
Insert and glue 10 x 2mm magnets (2pcs) into the right hole (inserting only into the right hole provides appropriate magnetic force)
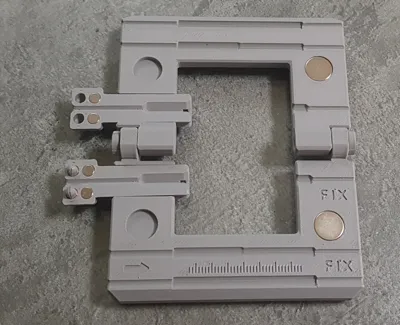
Insert 4 x 2mm magnets (4pcs) into the movable part in the direction where they attract each other
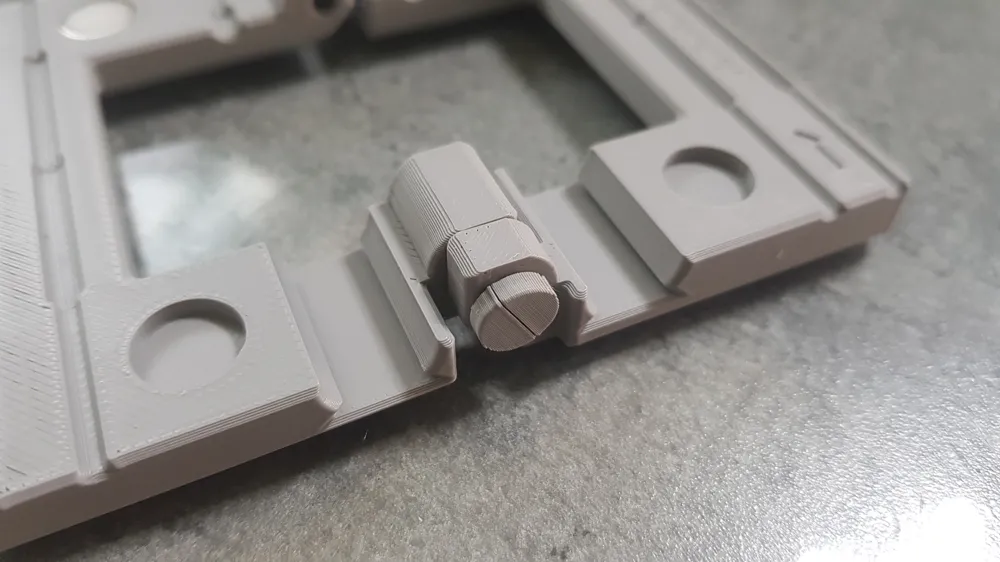
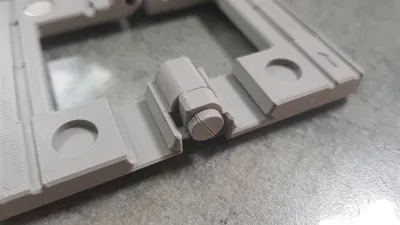
The hinge pin can be inserted with printed pins (overlapping 2 pieces) or an M4 x 8mm or longer bolt
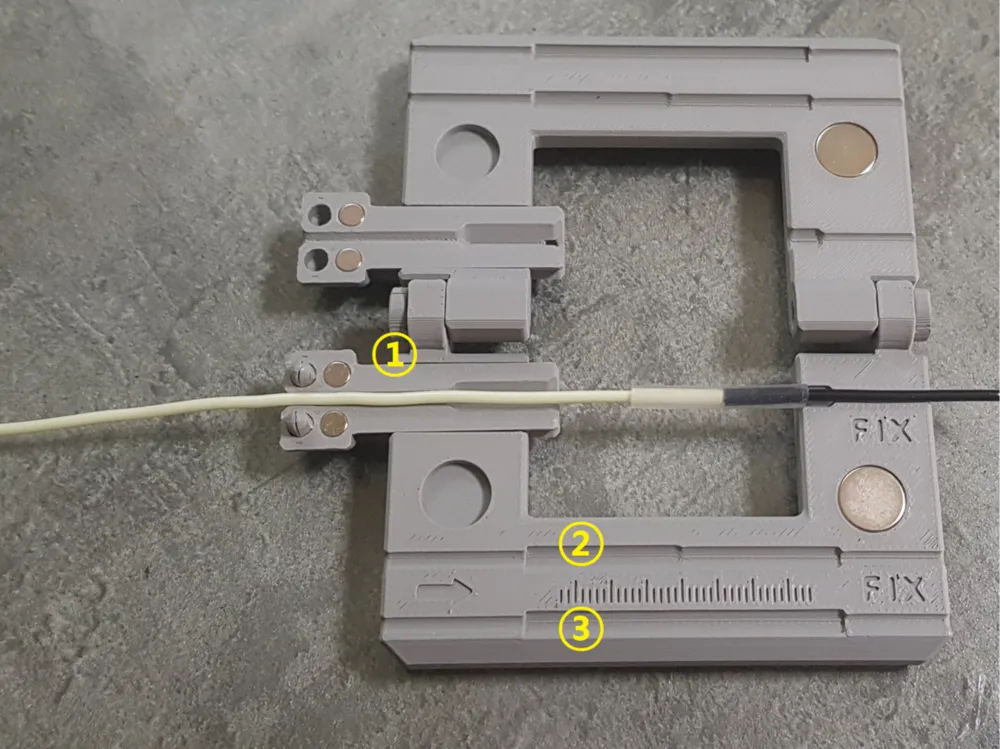
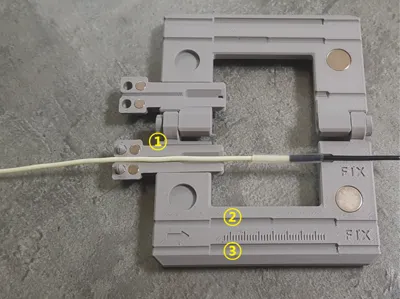
① The upper movable part should be inserted after assembly, and a cut-off filament scrap should be inserted into the rightmost hole to prevent it from coming out
It is recommended to use it by inserting the interlocking guide pins and 4x2mm magnets
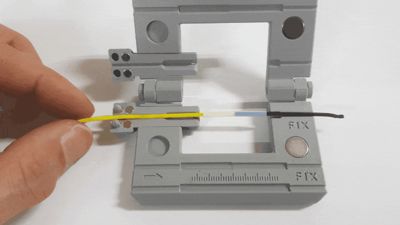
The right side is interlocked, pressed, and fixed, and you can hold or push the left filament firmly while heating the PTFE tube with a lighter for 3-4 seconds
Wait about 10 seconds for it to cool down, or press it firmly into the ③ groove to cool it flat, then trim the tube with a knife (if the filament is short, it can be pulled out)
② The long central groove allows the left filament to be pushed in after fixing the tube and filament on the right side
③ The long bottom groove can be used to press down or flatten the thickened filament immediately after heat bonding
License

You shall not share, sub-license, sell, rent, host, transfer, or distribute in any way the digital or 3D printed versions of this object, nor any other derivative work of this object in its digital or physical format (including - but not limited to - remixes of this object, and hosting on other digital platforms). The objects may not be used without permission in any way whatsoever in which you charge money, or collect fees.


Comment & Rating (31)