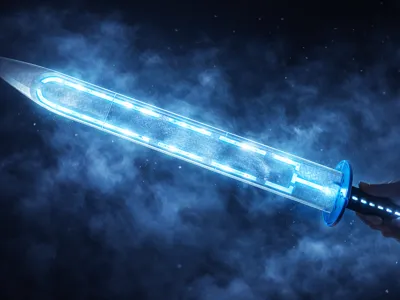
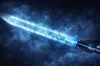
ZAMHARĪR – The Sword of Absolute Cold


Print Profile(3)


Bill of Materials


Description

ZAMHARĪR – The Sword of Absolute Cold
Forged beyond fire and life, Zamharīr did not come into being through heat – but through the opposite of all existence: absolute cold.
Legends tell of a forgotten forge deep beneath frozen worlds, where no light exists and even time stands still. There, a metal was discovered that does not melt… but rather drains the warmth from everything it touches.
This material was not heated – it was frozen.
Not shaped by flames – but by pressure, darkness, and infinite cold.
The blade of Zamharīr carries no heat, no fire, no life.
It absorbs energy. It extinguishes it.
Where TAMUOD burns,
Zamharīr freezes existence itself.
The glowing veins along the edge are not light –
they are frozen energy, captured in a state between motion and stillness.
Whoever wields Zamharīr feels no power.
No heat.
No weight.
Only emptiness.
And that is precisely what makes it so dangerous.
Also check out my other swords:

⭐ Highlights
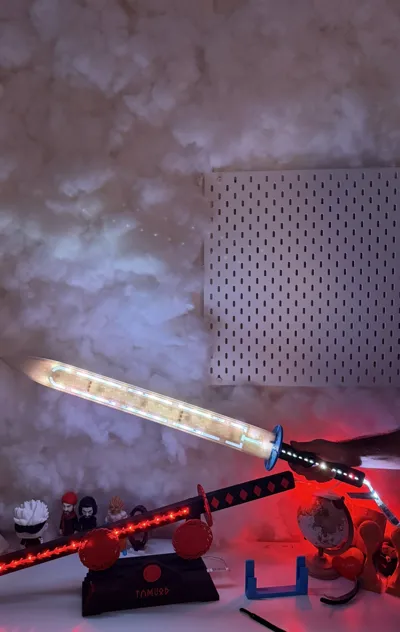
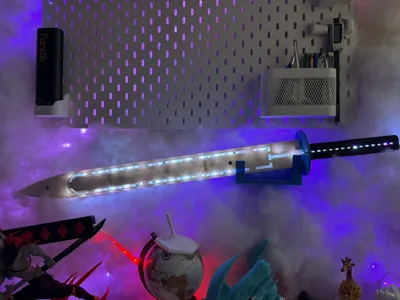
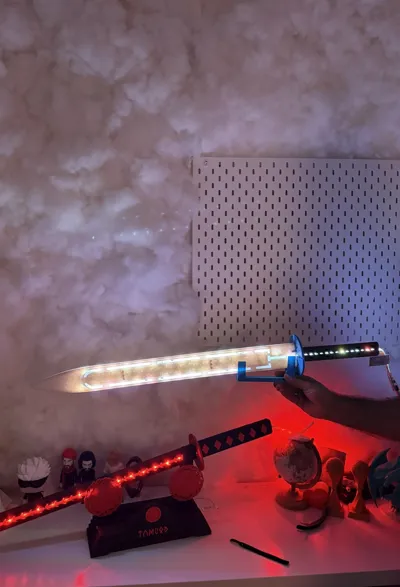
- ❄️ Blade with integrated LED channel along the cutting edge
- 🧊 Minimalist, cold design with structured energy lines
- ⚔️ Multi-part optimized for large prints
- 🧲 Magnetic plug-in system (10 neodymium magnets (10x2mm) for the blade and 8 for the handle)
- 🛜 Space in the handle for wiring
- 🔧 Perfect for custom builds & lighting
- 🧱 A custom wall mount / display system with lettering
🧲 Required Hardware
- Neodymium magnets 10×2 mm
- 4 per handle side → 8 pieces total in the handle
- 5 per blade side → 10 pieces total in the blade
- LED strip + mini controller + on/off switch (depending on the variant you use)
- 2 screws for the wall mount (depending on whether with or without anchors)
ℹ️ Info
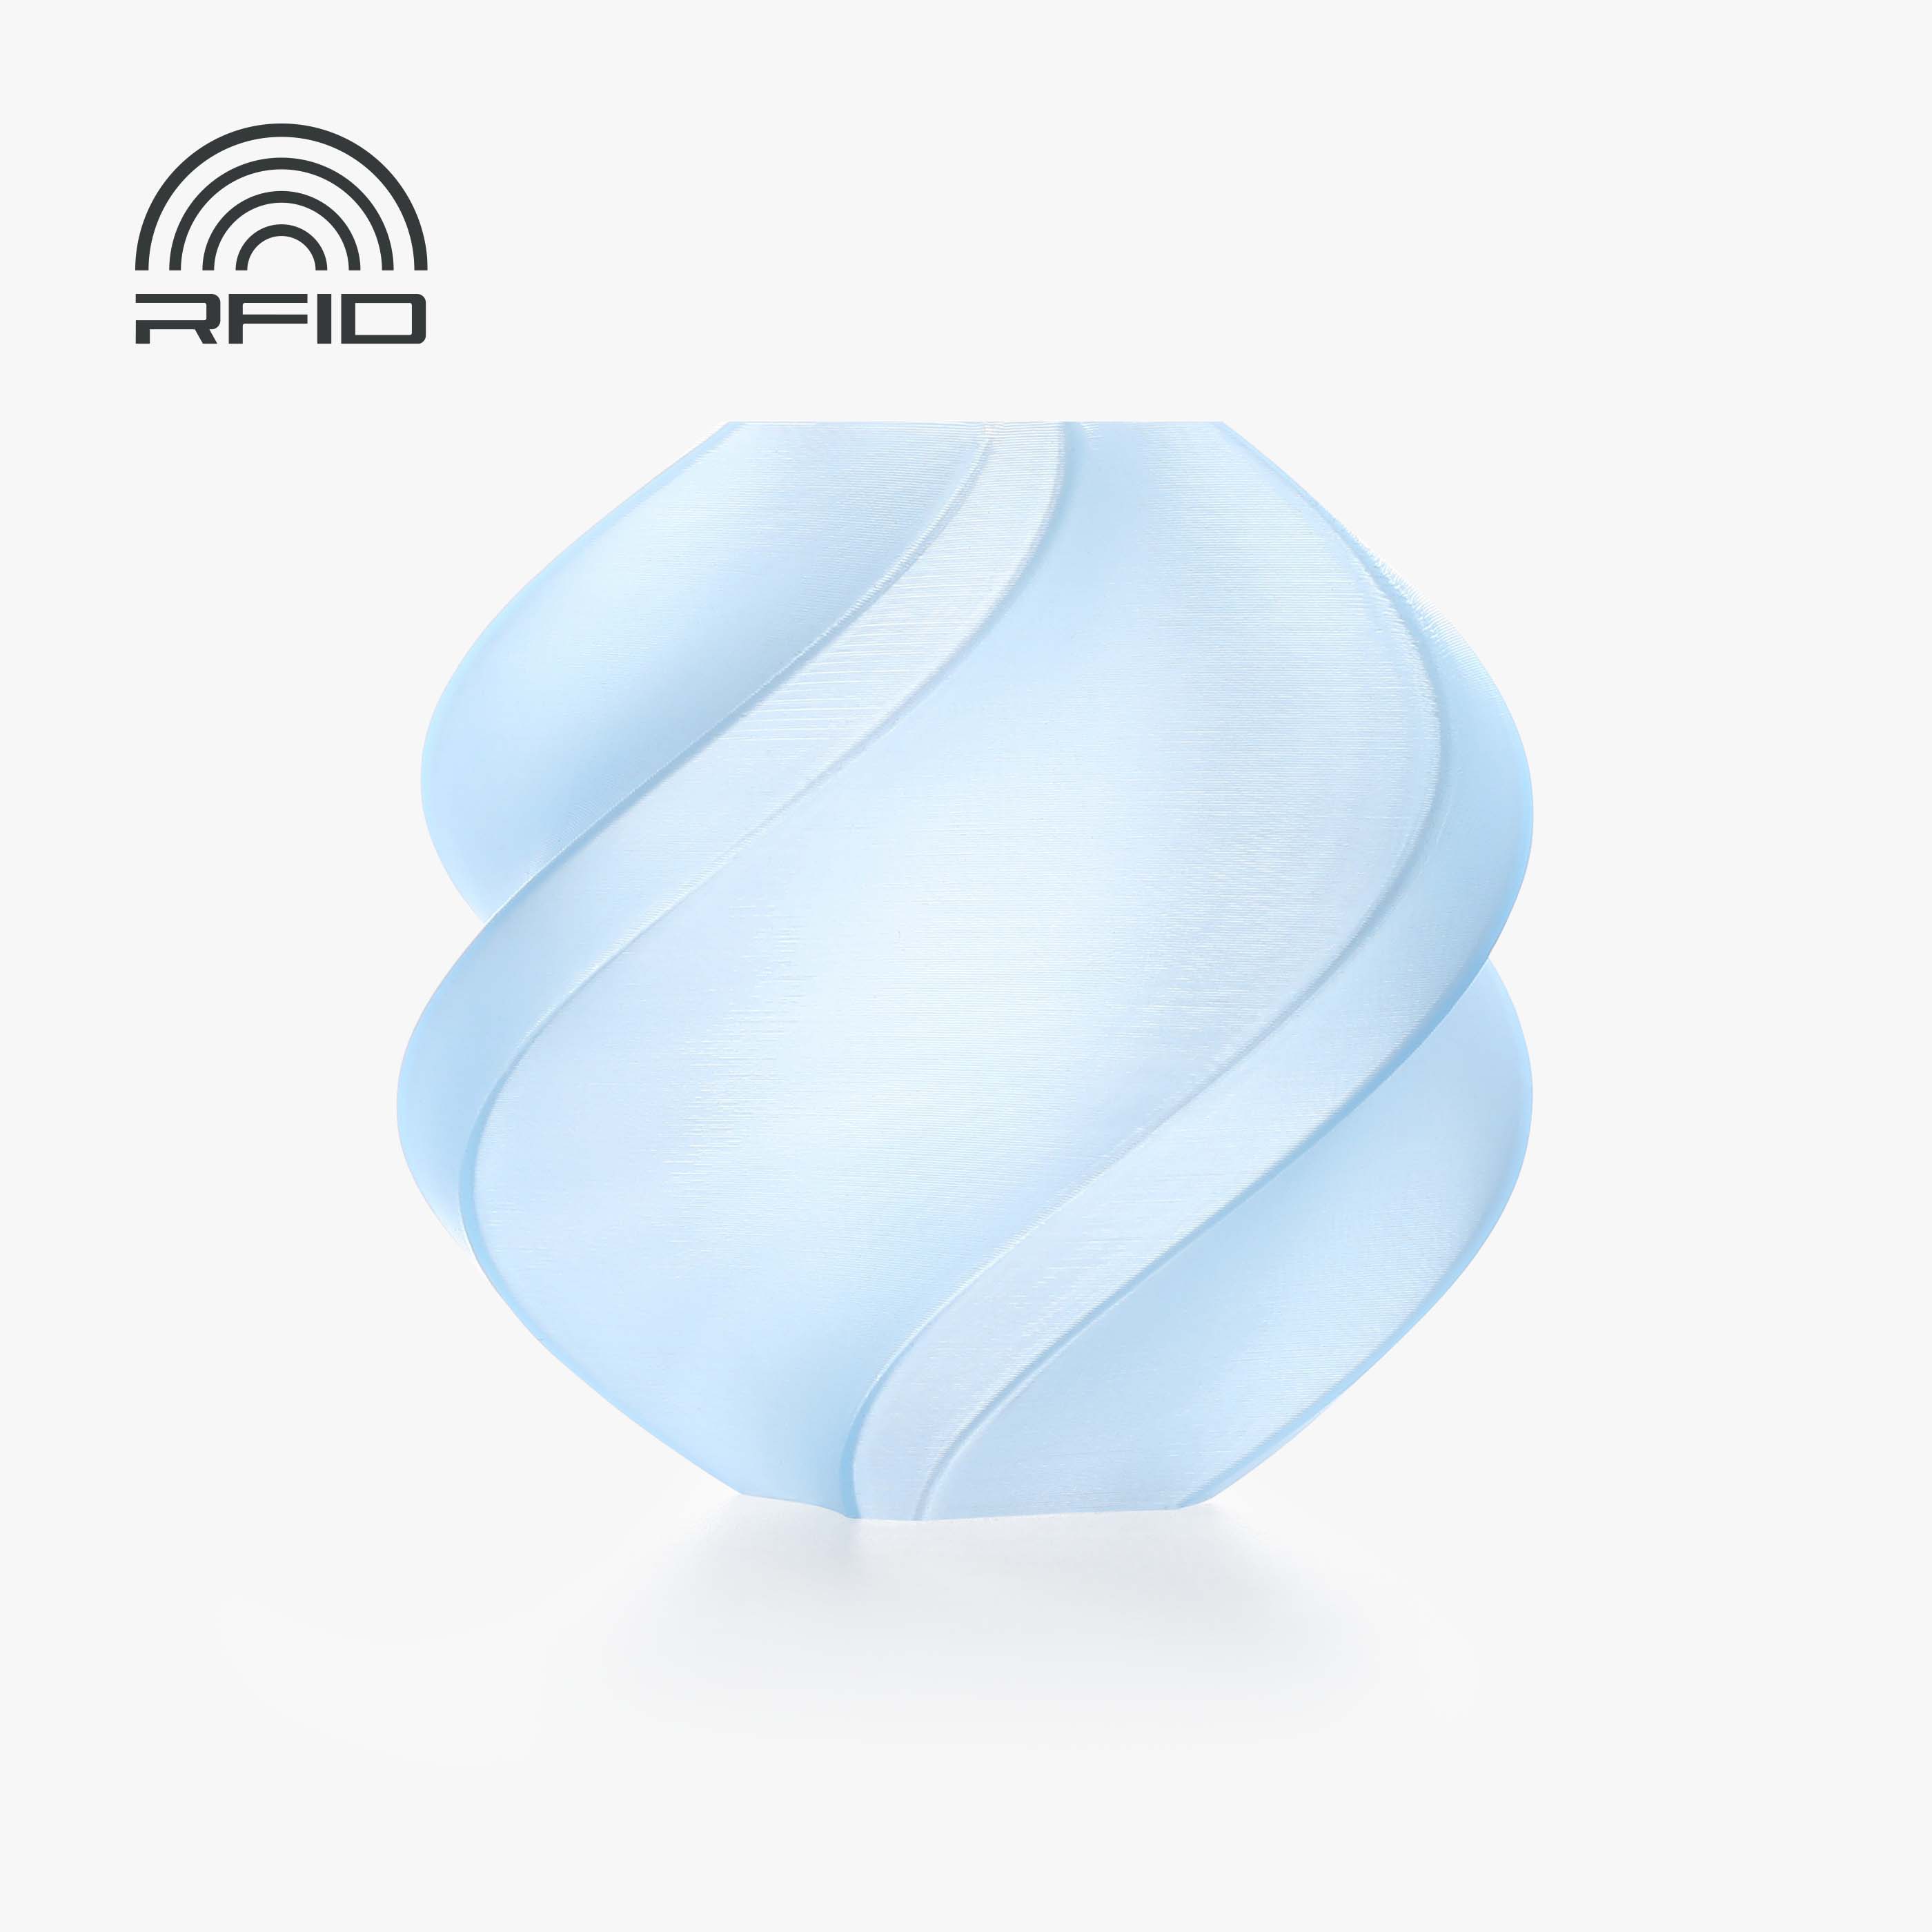
I used “PLA Matte White” for the blade because I didn’t have any PLA Translucent Ice Blue in stock at the time of printing, but with the Translucent PLA Ice Blue, you would get the maximum “WOW” effect!
- Support-friendly design (only minimal support for the handles
- Stable print with PLA / PLA Matte
- Optimized for clean edges & high-quality appearance
- Print settings:
- 0.2mm layer height
- 3 wall lines
- Infill sword: 10% Gyroid
- Infill wall mount: 15% Gyroid
- Detect thin walls: ON (IMPORTANT: Except for the shaft & wall mount, please turn OFF!)
- Supports: On, 30° threshold angle, Organic (auto)
- Seam: Back
🧱 Wall Mount
The wall mount has 2 3mm diameter holes each with a 1mm chamfer to perfectly fit standard self-tapping screws.
⚙️Assembly Instructions (ATTENTION: Please pay attention to the polarity of the magnets)
- Insert 8 neodymium magnets (10x2mm) into the designated slots in the handle with a little super glue.
- Insert the shaft through the 2 holes onto the pins of the handle.
- Lightly deburr the edges of the blades (due to supports on the edges, minimal traces appear which can be removed relatively easily with a deburring tool).
- Insert 10 neodymium magnets (10x2mm) into the designated slots of the blades with a little super glue.
- Pull the LED strip through the handle and shaft, then stick it starting from the blade to the handle. PLEASE pull it completely through the handle and shaft first, → If you start with the blade first, you won’t be able to get the large module of the LED strip through the shaft anymore. (Attention: the LEDs should also still be included in the handle to get the maximum potential for lighting & magic!)
- Bring both blade sides together via magnetic connection.
- Attach the wall mount to your desired location (wall, cabinet, etc.) with 2 screws.
- Insert the sword into the wall mount and enjoy the view! HAVE FUN ❤️
❤️ Support
If you like the project:
⭐ Rate the model
💬 Write a comment
🚀 Boost me for free
🛑 Note
This model is a 3D-printed decorative prop and not a real sword.
This model is part of a legendary series.
TAMUOD represents the fire of the underworld.
ZAMHARĪR is its opposite.
Fire destroys.
Cold preserves.
Or… extinguishes permanently.
🧾 Credits / License
Design & Construction: O_G 3DStudio
Concept & Lore: Original creation by O_G 3DStudio
Name Origin: ❄️ „Zamharīr (زمهرير)“
The name „Zamharīr“ comes from Arabic and means: extreme, penetrating cold – a cold that not only freezes, but destroys
License
You shall not share, sub-license, sell, rent, host, transfer, or distribute in any way the digital or 3D printed versions of this object, nor any other derivative work of this object in its digital or physical format (including - but not limited to - remixes of this object, and hosting on other digital platforms). The objects may not be used without permission in any way whatsoever in which you charge money, or collect fees.
Comment & Rating (0)