Mini Sanding Block - 8 grits (160mm x 25mm paper)


Print Profile(2)
Bill of Materials


Description
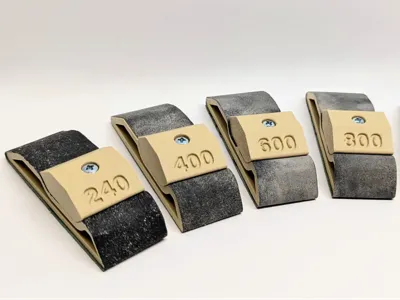
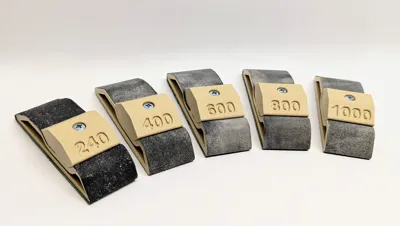
Mini Sanding Block
Great for leatherworking and woodworking, these small lightweight sanding blocks hold sandpaper strips with dimensions of 160mm x 25mm. No supports, no AMS needed.
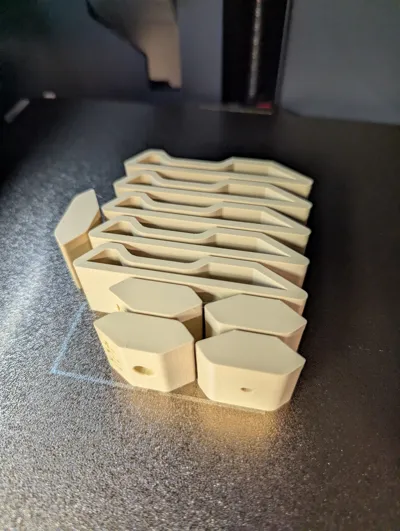
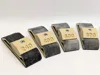
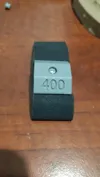
The first plate has blocks for grits 120, 240, 400, 600, 800, 1000, 1500, and 2000. The second plate has a plain block with no number embedded, and the following plates are for printing each grit by itself.
These blocks are originally designed for this product (leathertools.ca/products/sanding-strip-set-120-240-400-600-800-1000-1500-2000-grit-24pc-total) but you can cut your own to size.
If there is a grit you want to use that's not included, let me know (or just write on the blank block).
I have created a holder for these blocks to keep your workbench tidy. https://makerworld.com/en/models/2561766-mini-sanding-block-holder
Fits up to 8 and has a version with and without french cleat mounts.
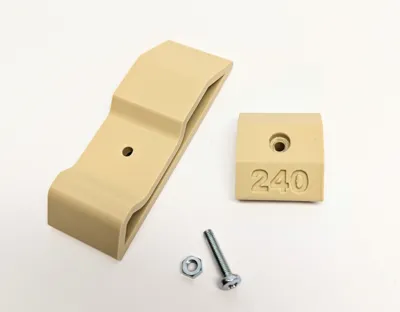
Required Hardware
- M3 x 16 screw (1 per block)
- 1 M3 nut (1 per block)
Assembly
- Place the nut in the hex pocket under the base
- Place the screw through the cap and the base and tighten the screw so the nut is set deeper in the pocket
- Loosen the screw, but leave it engaged with the nut
- Place one end of the sandpaper under the front of the cap and pinch the cap and base to hold it there
- Loop the rest of the sandpaper around the block and tuck the end under the cap
- Hold the sandpaper in place, and tighten the screw
Note: If the screw holes don't line up, turn the cap around 180 degrees
If you like leatherworking and want to see more tools, check out my profile and give me a boost!
Leather Strap Cutter: https://makerworld.com/en/models/2238703-revised-leather-strap-cutter
License
You may create derivative works based on this object, provided that all such derivative works are published exclusively on the MakerWorld platform and include proper attribution to the original creator. You may not share, upload, host, distribute, or publish this object—or any derivative work of this object—on any other digital platform, marketplace, or distribution channel. Commercial use of this object and any derivative works is strictly prohibited. This includes, but is not limited to, selling, renting, sublicensing, or using the object in any context in which you receive monetary compensation or other financial benefits.
Comment & Rating (20)