
Hexa Waves - Giant Wall Art
Print Profile(2)
Bill of Materials


Description
Hexa Waves
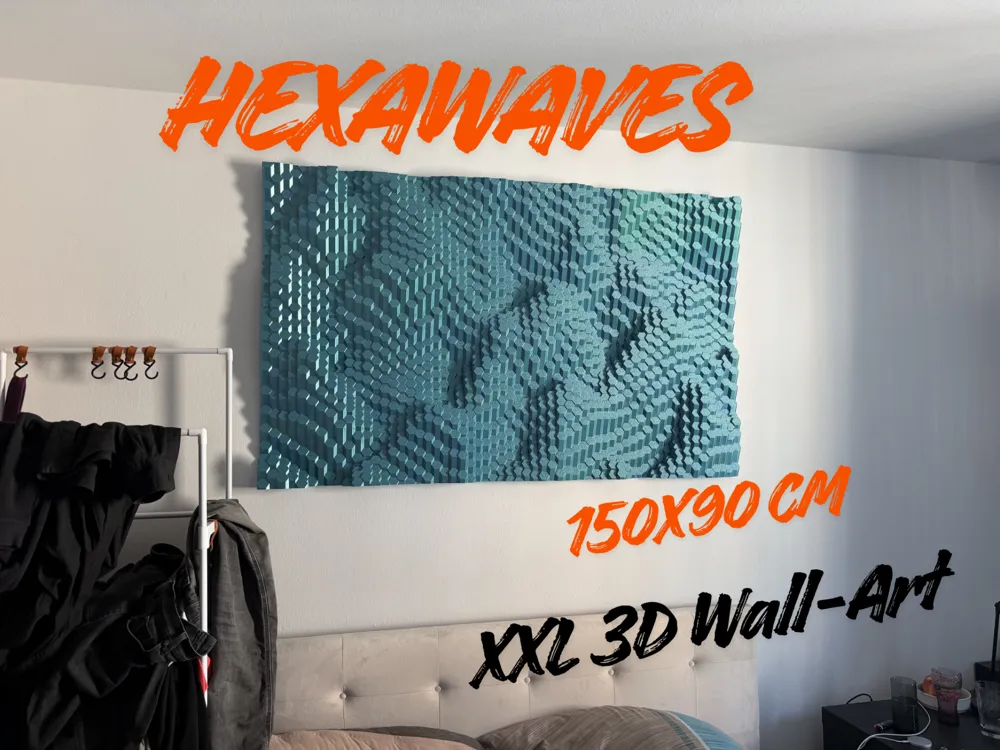

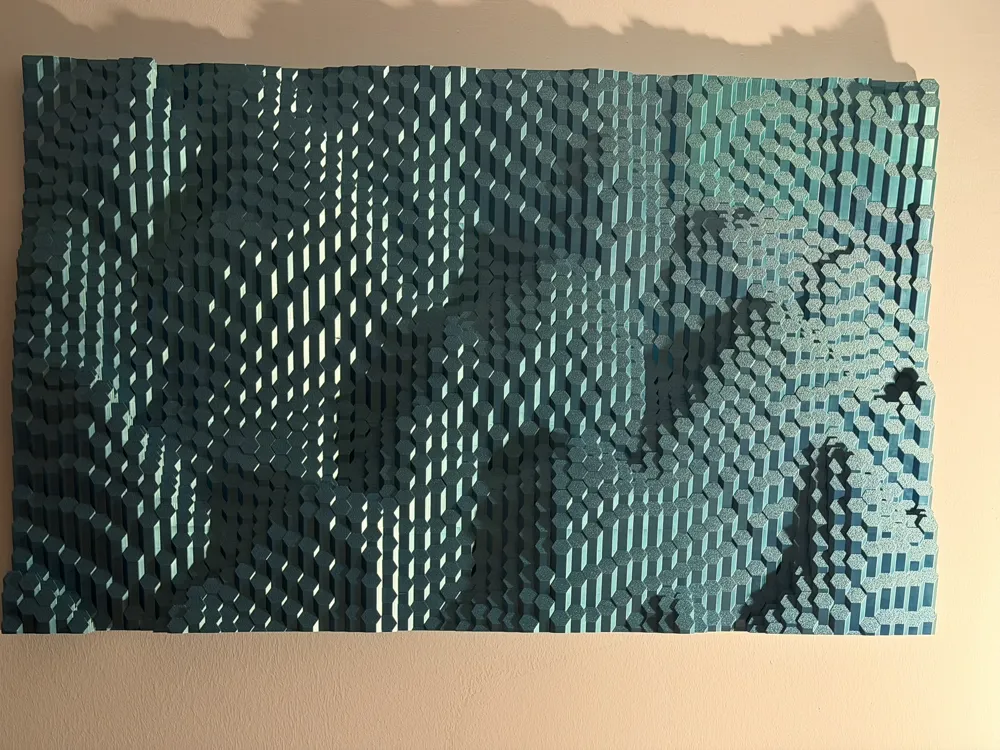
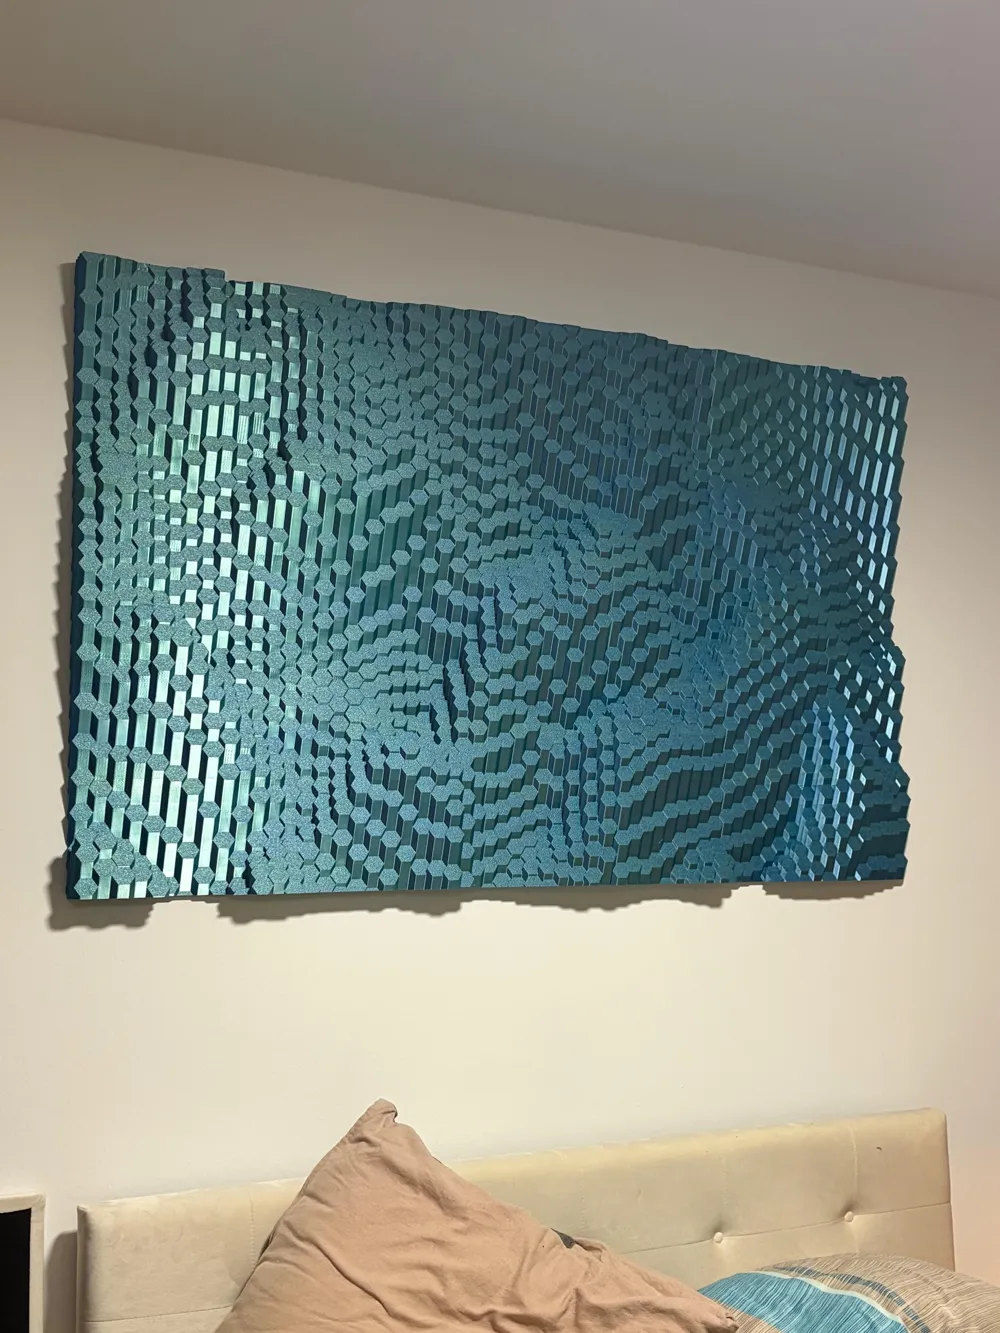
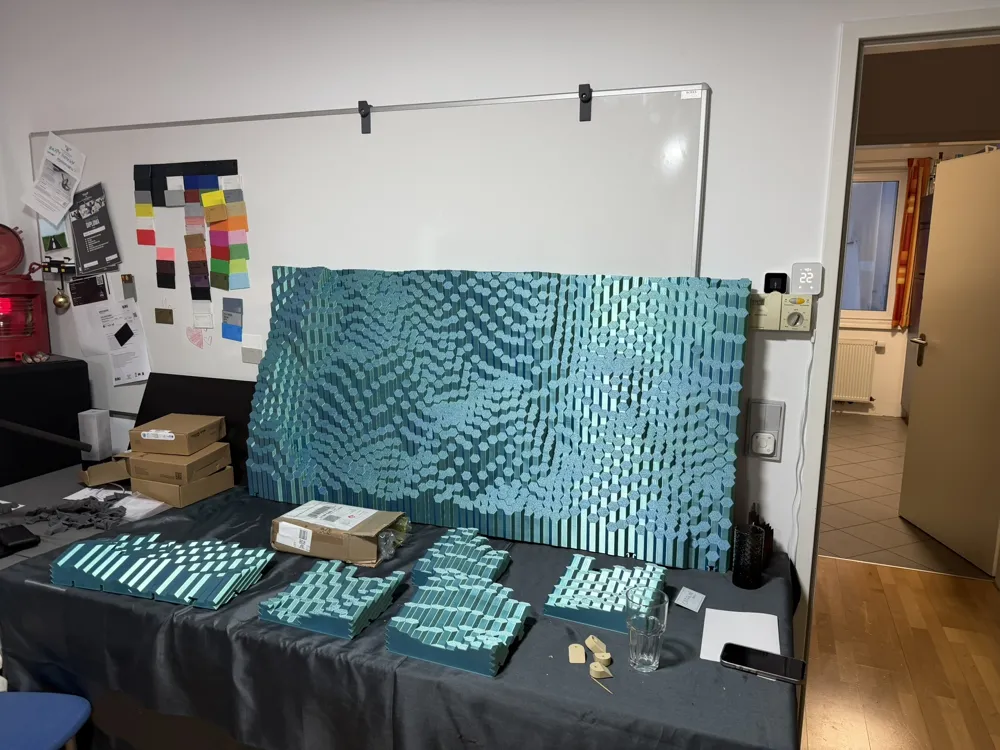
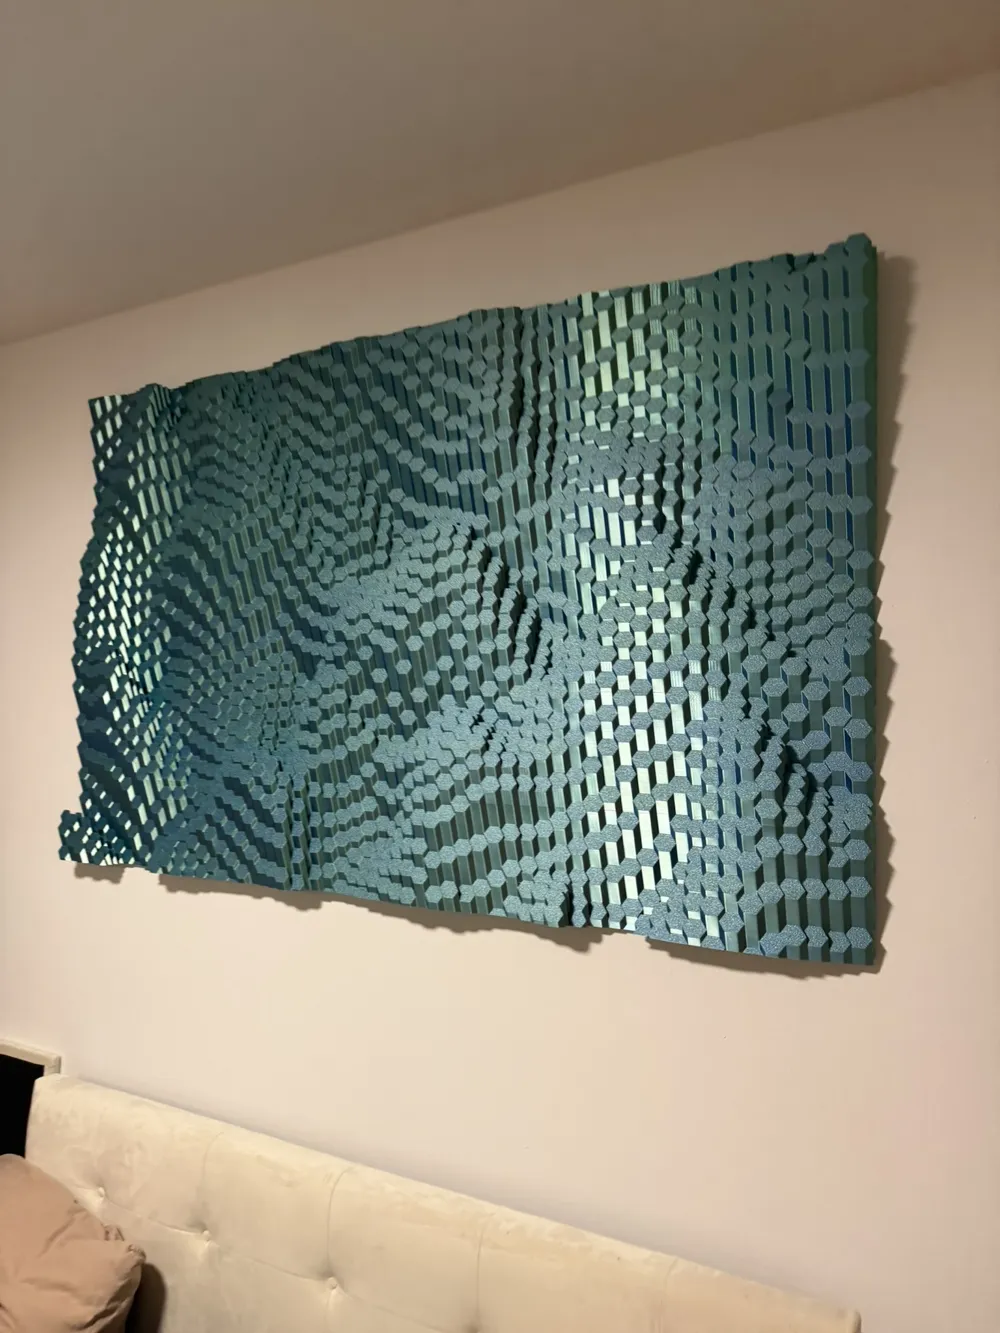
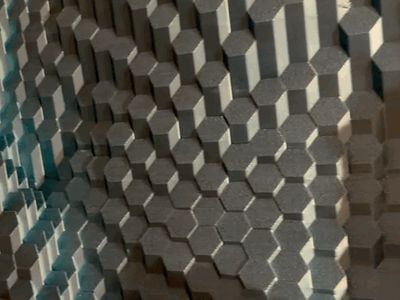
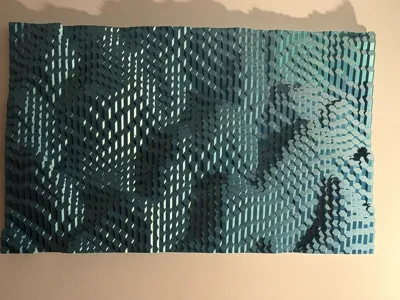
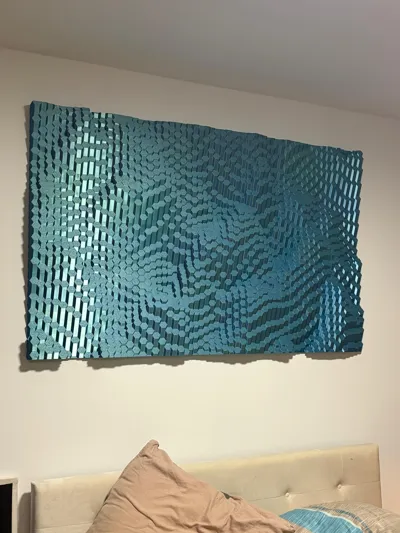
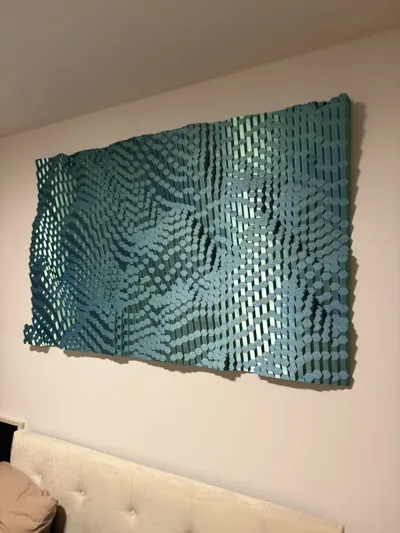
Hexa Waves is a large-scale 3D printed wall sculpture inspired by the natural basalt formations of the Giant’s Causeway on the Irish coast. The flowing, wave-like geometry recreates the feeling of shifting terrain and frozen motion, built entirely from lightweight printed panels.
Final dimensions: 1475 × 906 mm
Weight: approx. 6.5 kg
No backplate required.
Structure & Printing Overview
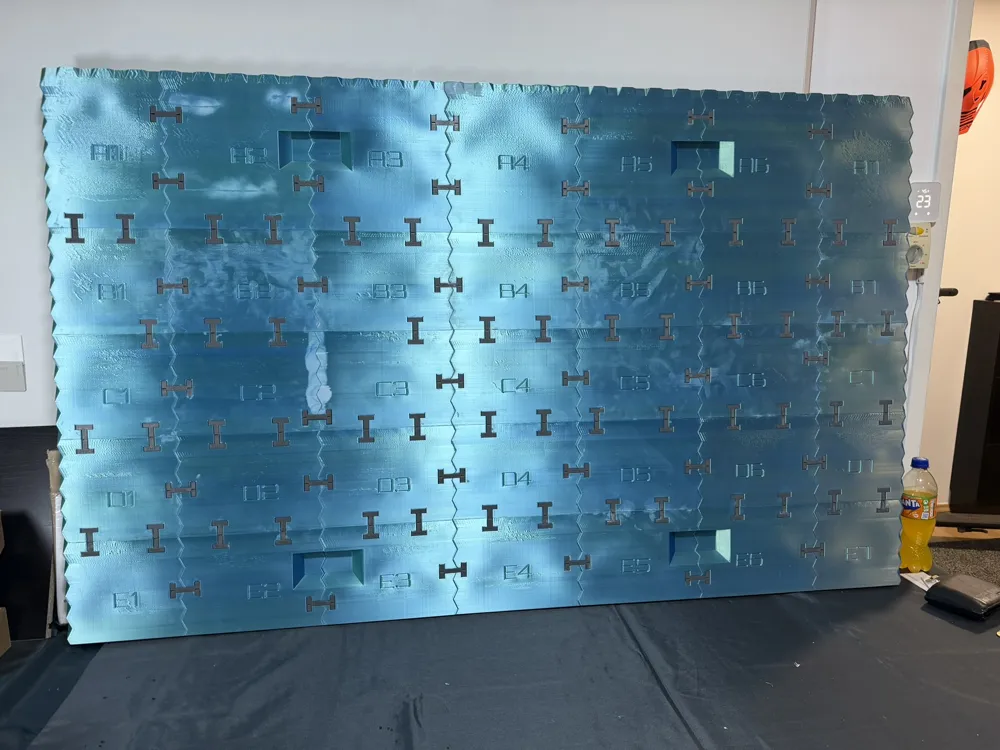
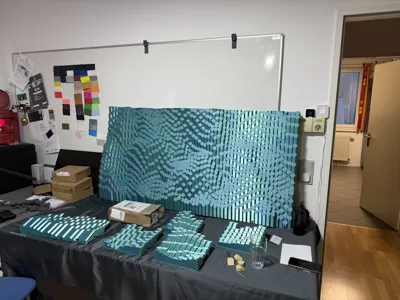
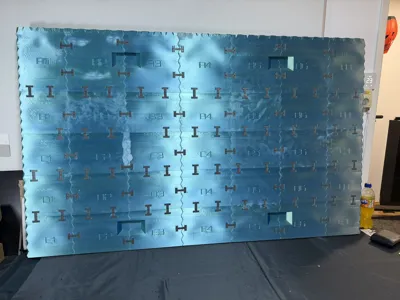
- 35 panels arranged in a 7 × 5 grid (labeled A1 to E7).
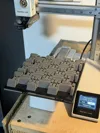
- Print only 2 panels at a time (strongly recommended).
- Although 3–4 panels fit on one build plate, print failures would waste significantly more time and material.
- Designed to minimize required supports through smart geometry.
- Uses Lightning infill. Panels are mostly hollow to reduce weight.
- Optimized for low material usage and structural efficiency.
- Approx. 7 spools of filament used (including 2 failed prints).
- Pure print time: ~13 days.
- Total project time including gluing and assembly: ~1 month.
Assembly Instructions
Start with A1, then continue with A2 and proceed row by row. Best method: assemble vertically and upside down.
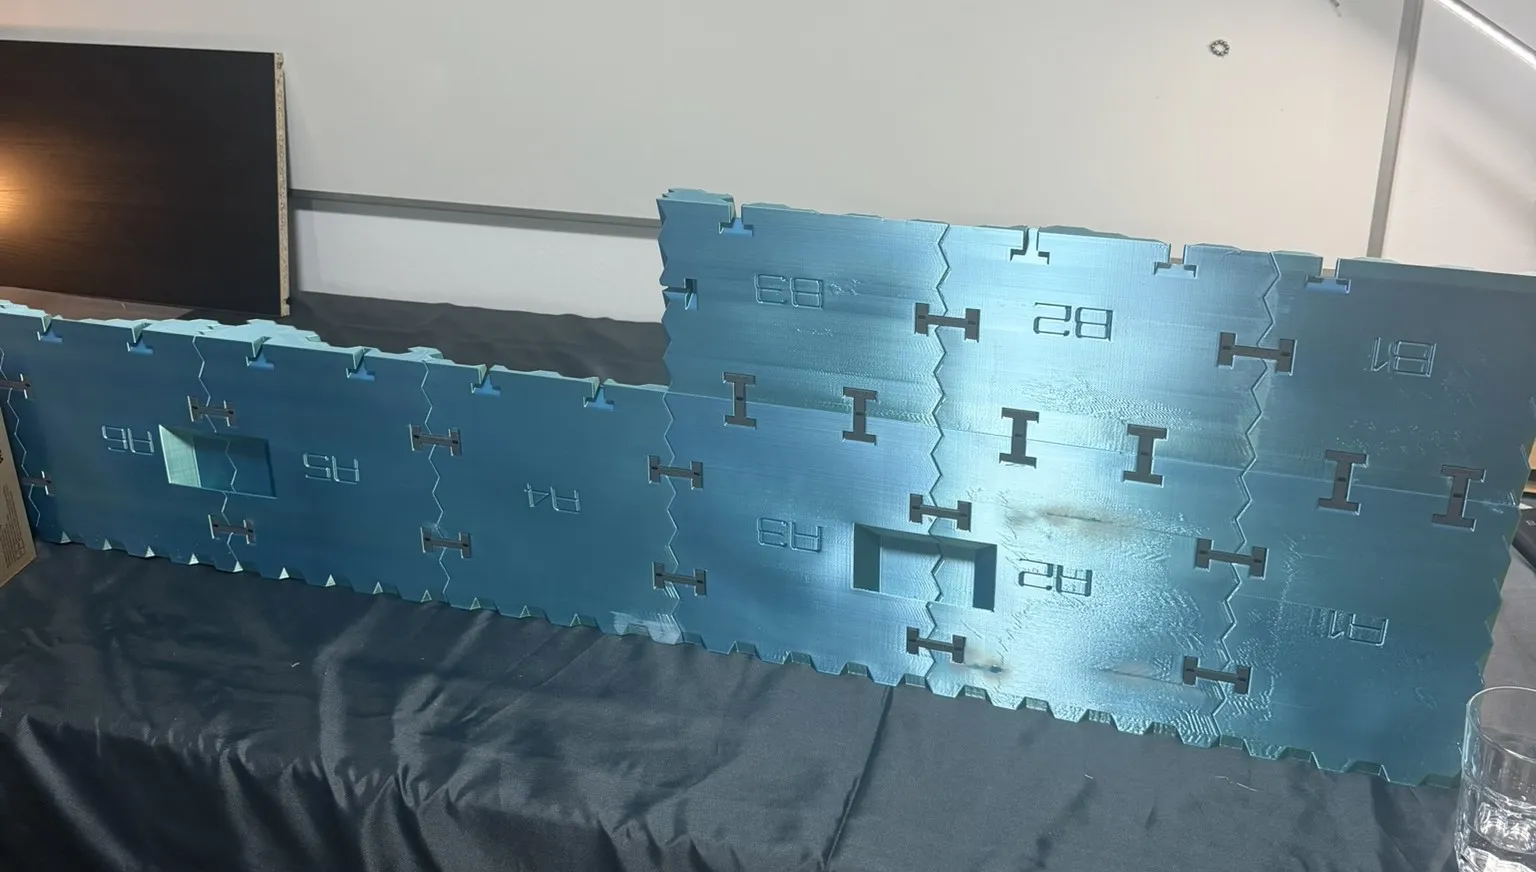
All panels must be glued together and reinforced using printed connectors. There are two connector types: Vertical and Horizontal.
When inserting connectors, always support the backside with your flat hand to distribute pressure evenly.
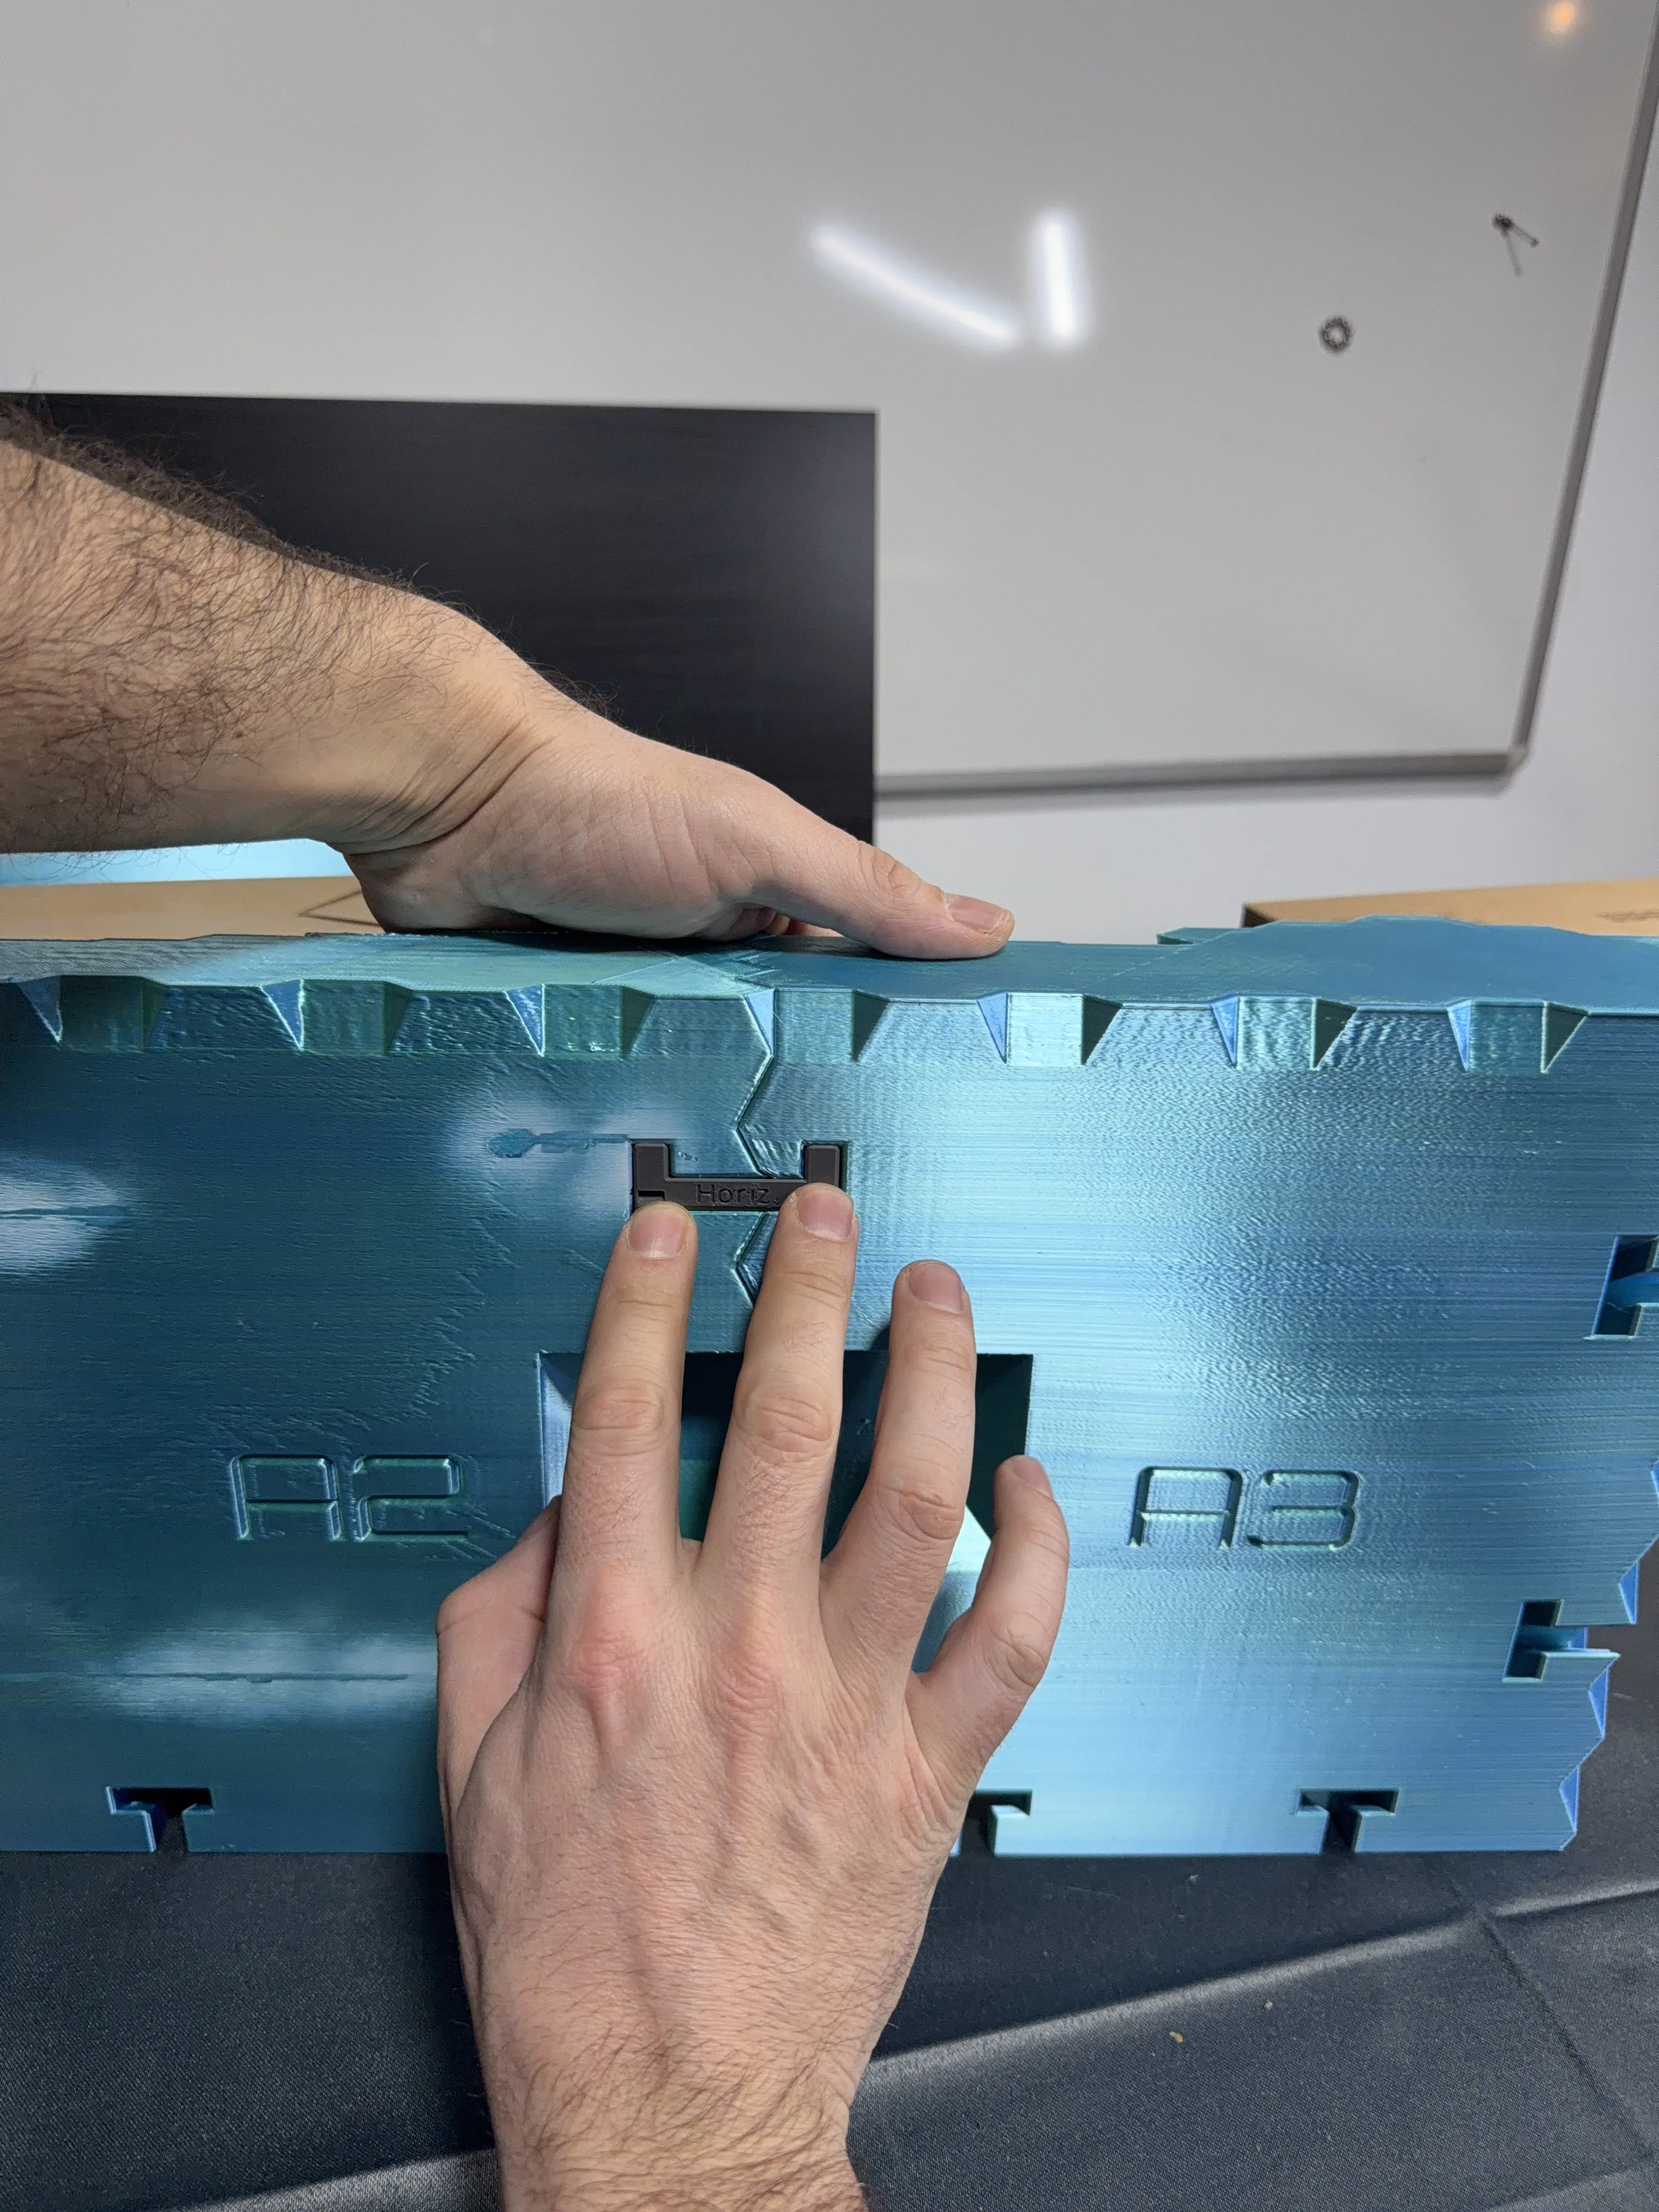
As the structure grows larger, handle it increasingly carefully , the model is highly filigree and weight-optimized.
One specific connector (horizontal between C2 and C3) must be temporarily left out, otherwise you block the mounting of the panels D2 and D3.
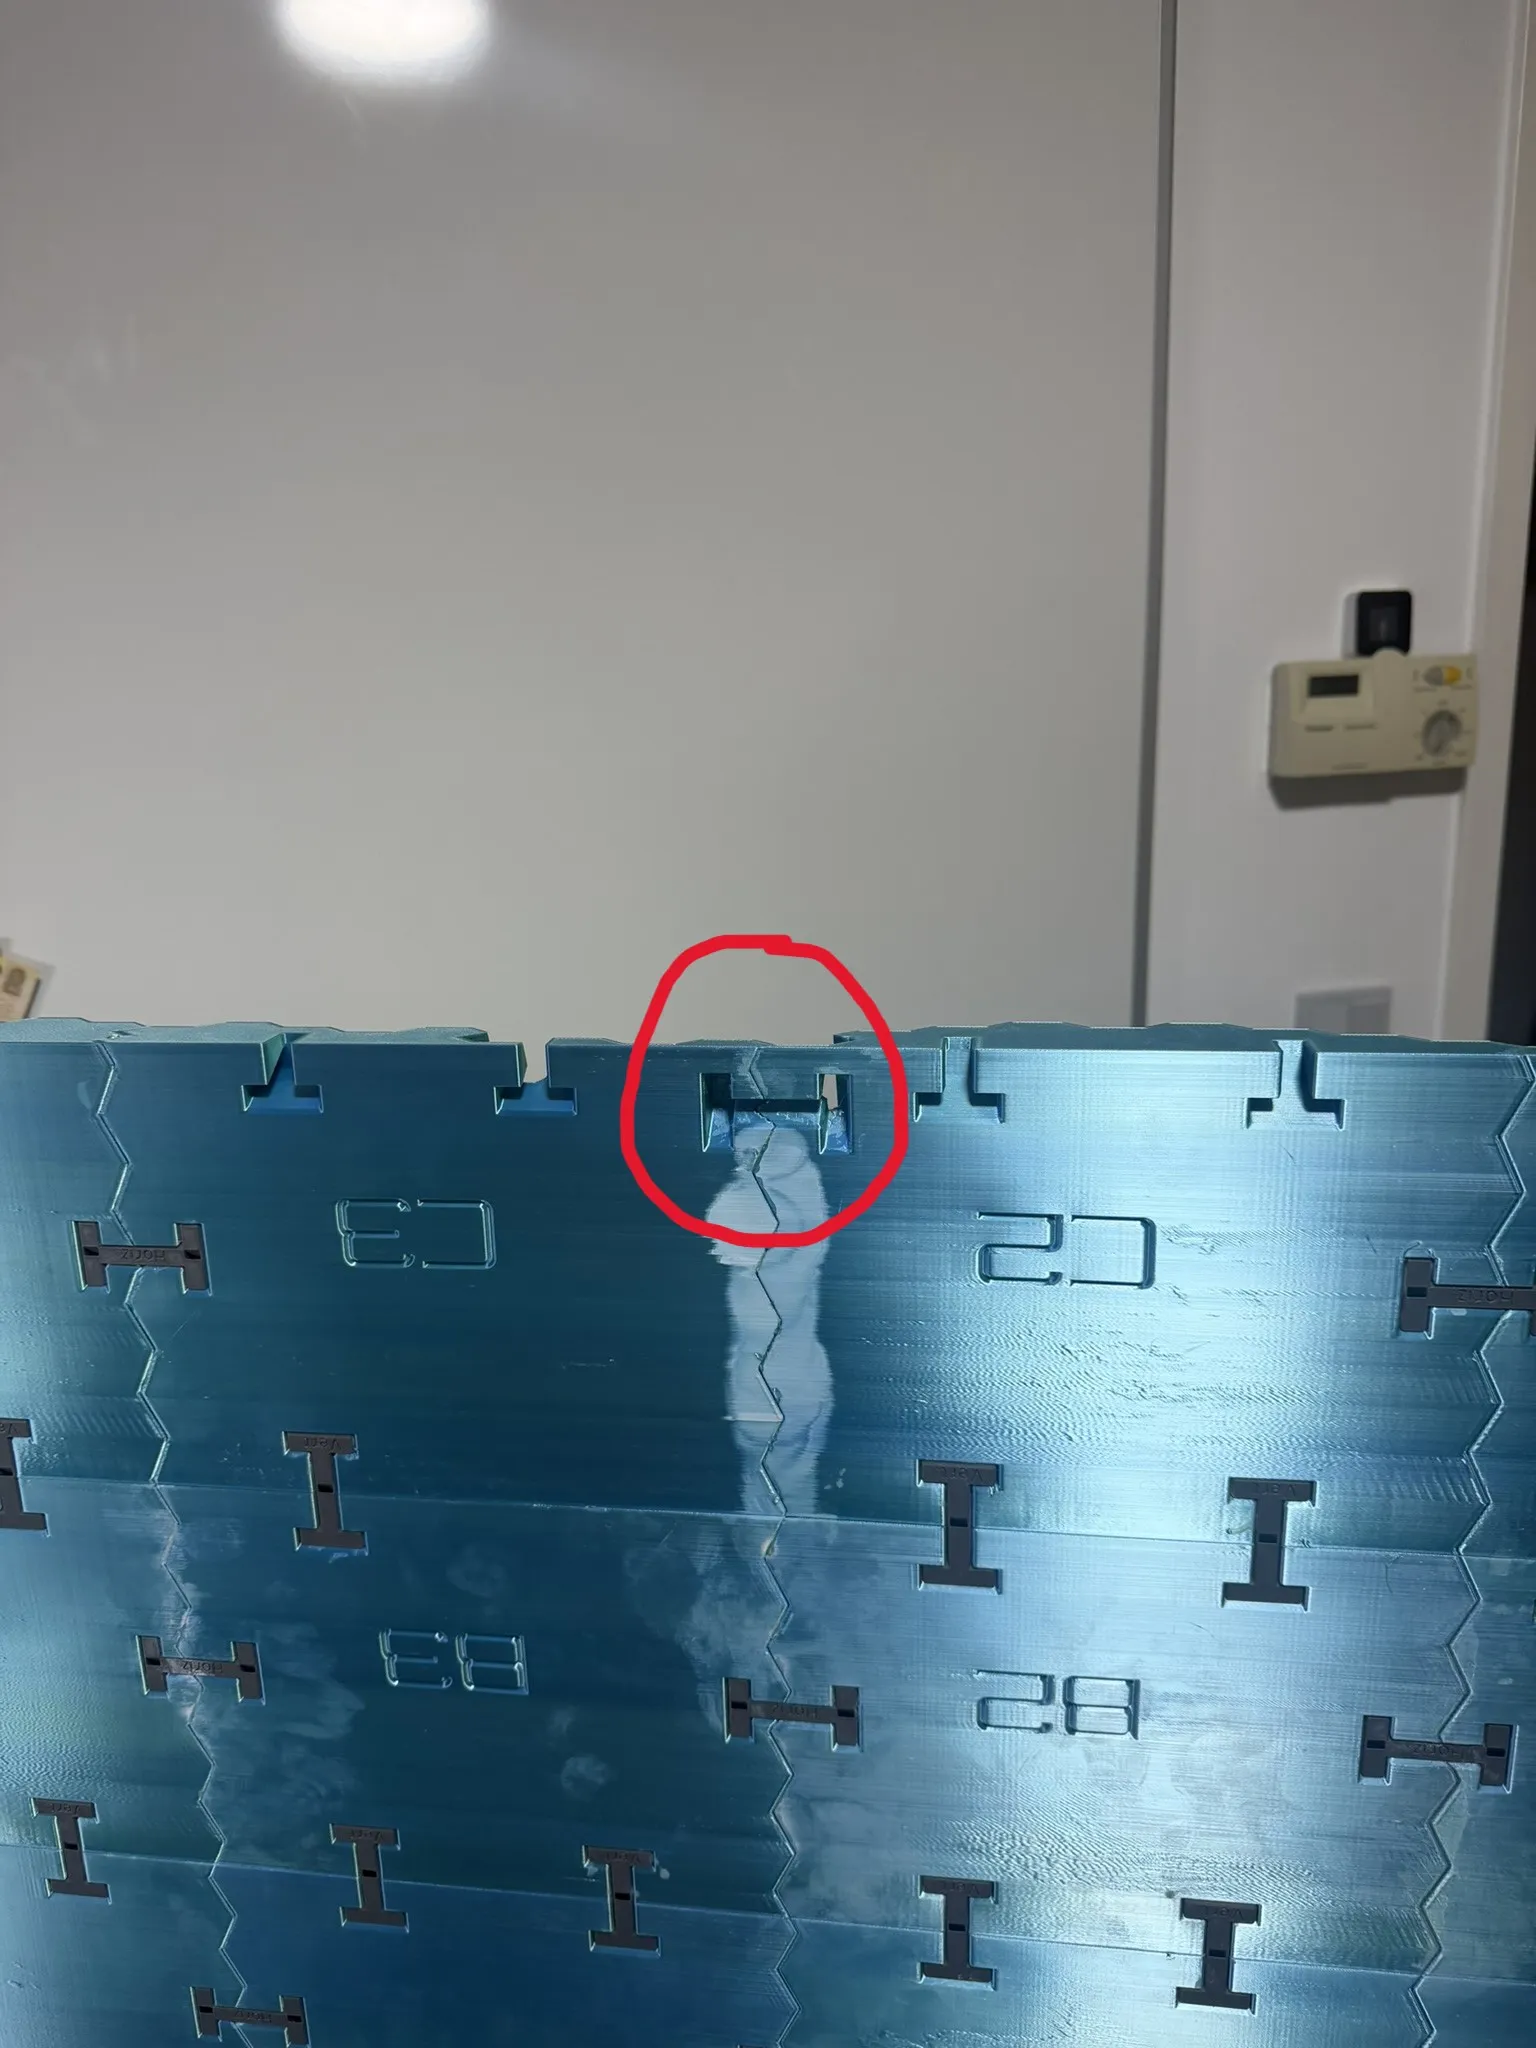
- Assemble all connectors between C3–C4–C5–C6–C7–D1–D2–D3 first.
- After D2 and D3 are fully placed and aligned, return to the horizontal C2–C3 connector and glue it in.
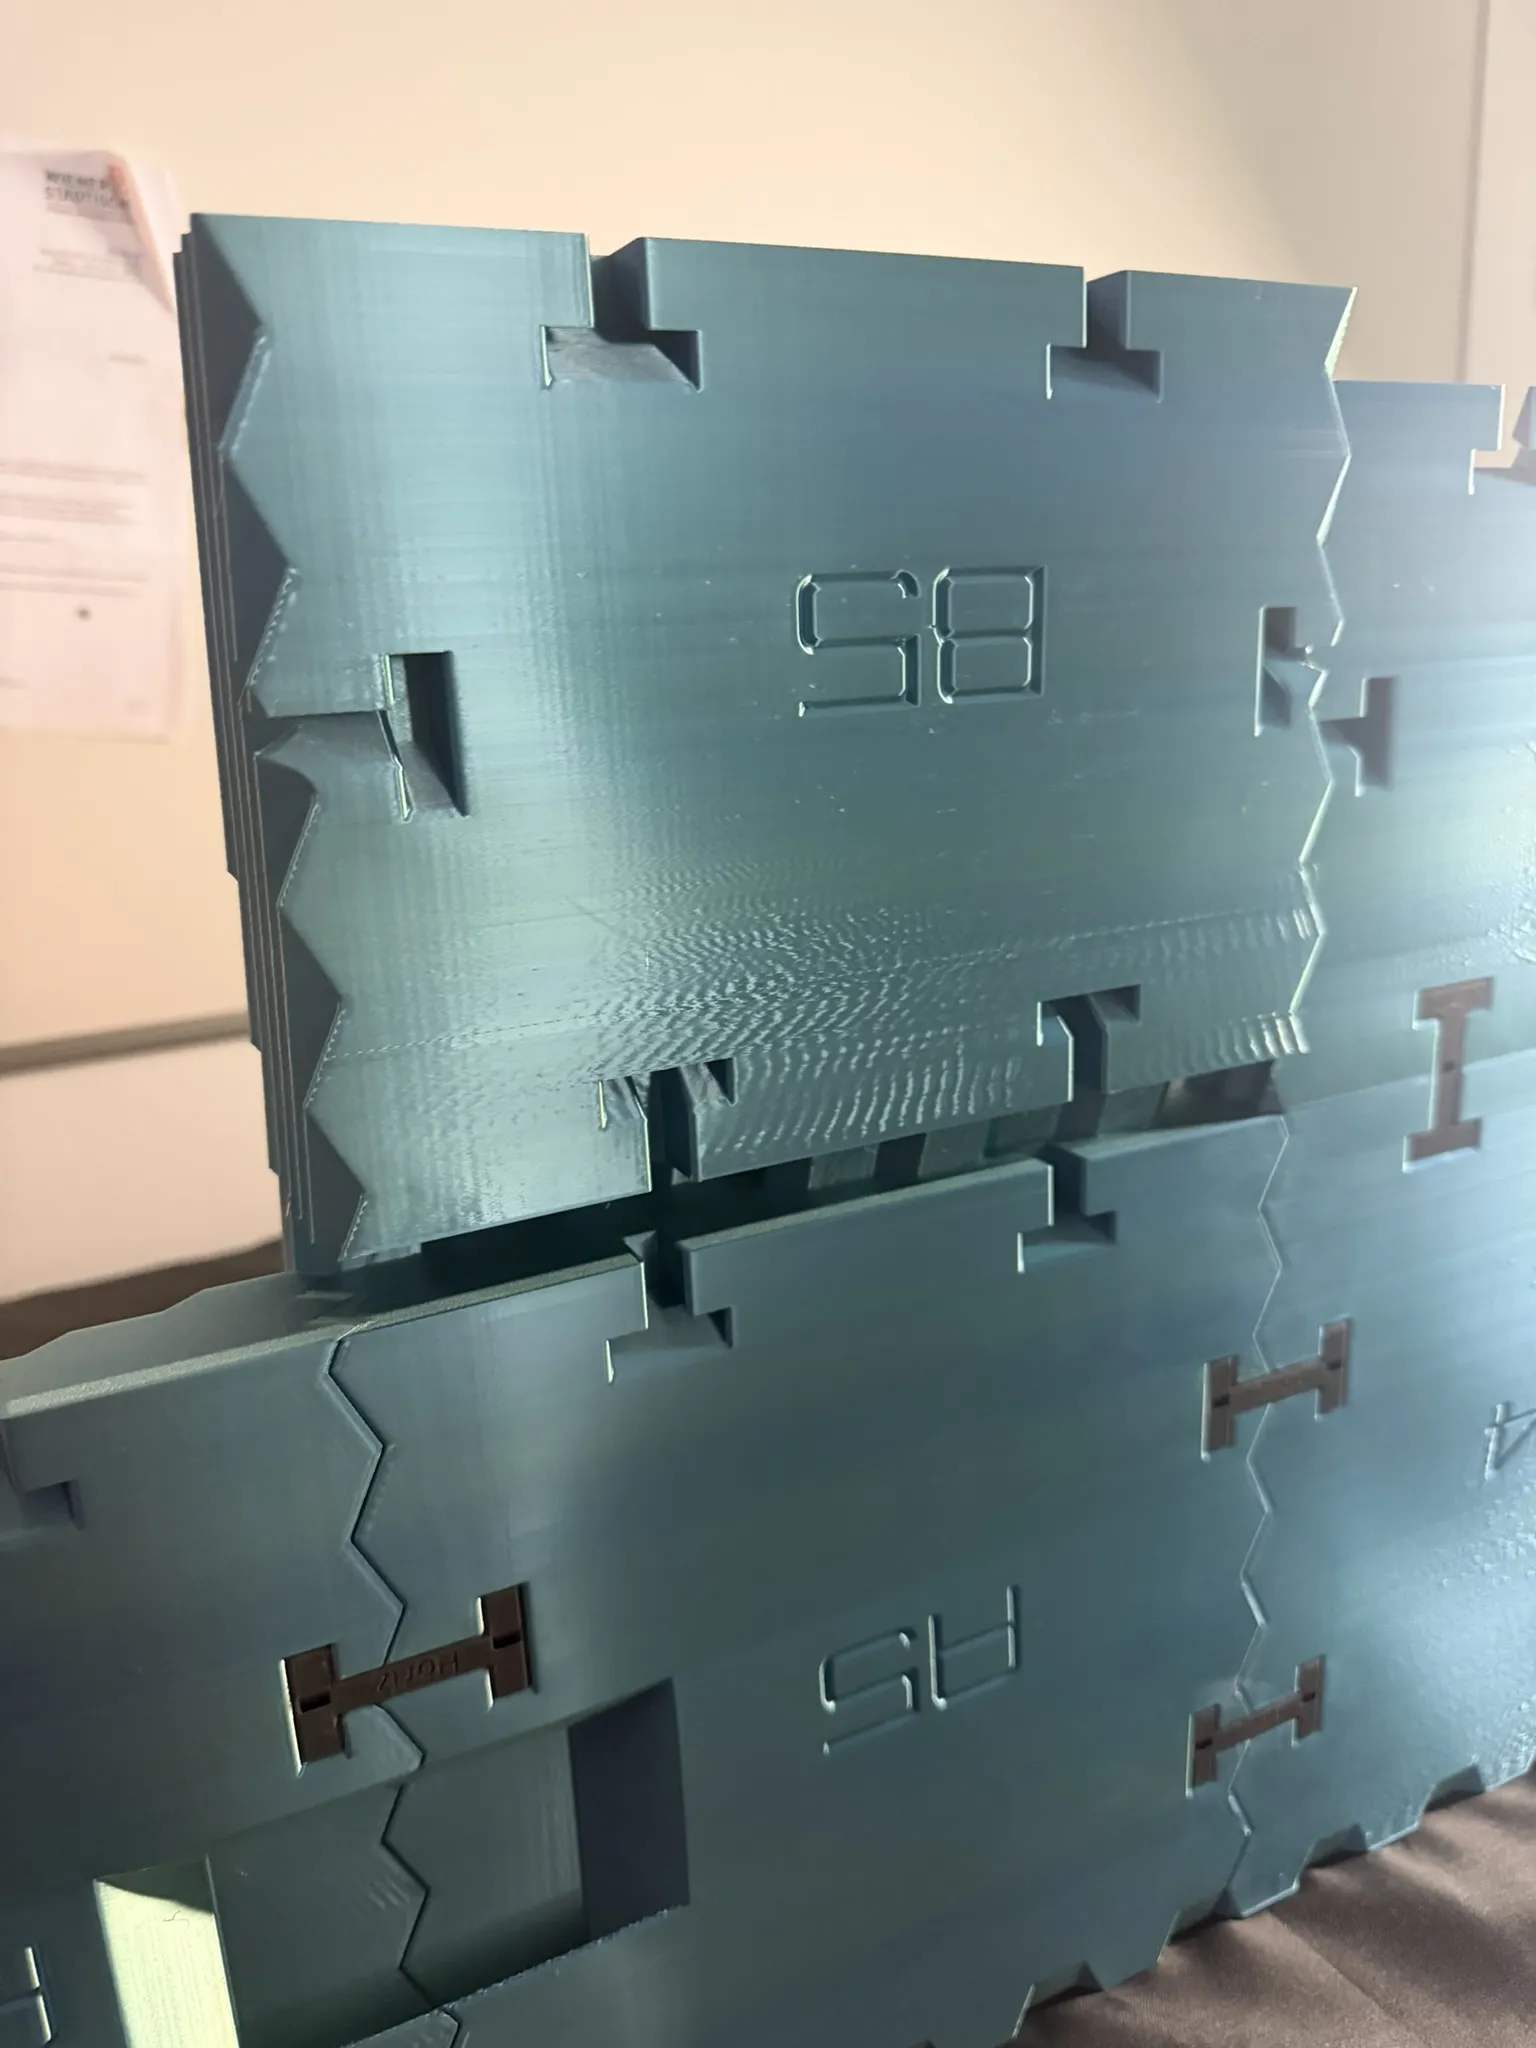
Some panels partially interlock and must be slid into place rather than pressed straight in.
Adhesive & Material Disclaimer
- Using super glue with activator spray can react with certain filaments, especially silk PLA.
- This reaction may create white, matte, or cloudy surface spots.
- In this build, the effect only occurred on the backside and is not visible from the front.
- Activator should be used carefully and preferably not on visible surfaces.
- Always test glue and activator on a scrap piece first.
- Minor surface artifacts may appear on flat backside areas depending on printer tuning.
- These artifacts are not visible after installation and do not affect structural integrity.
Mounting System
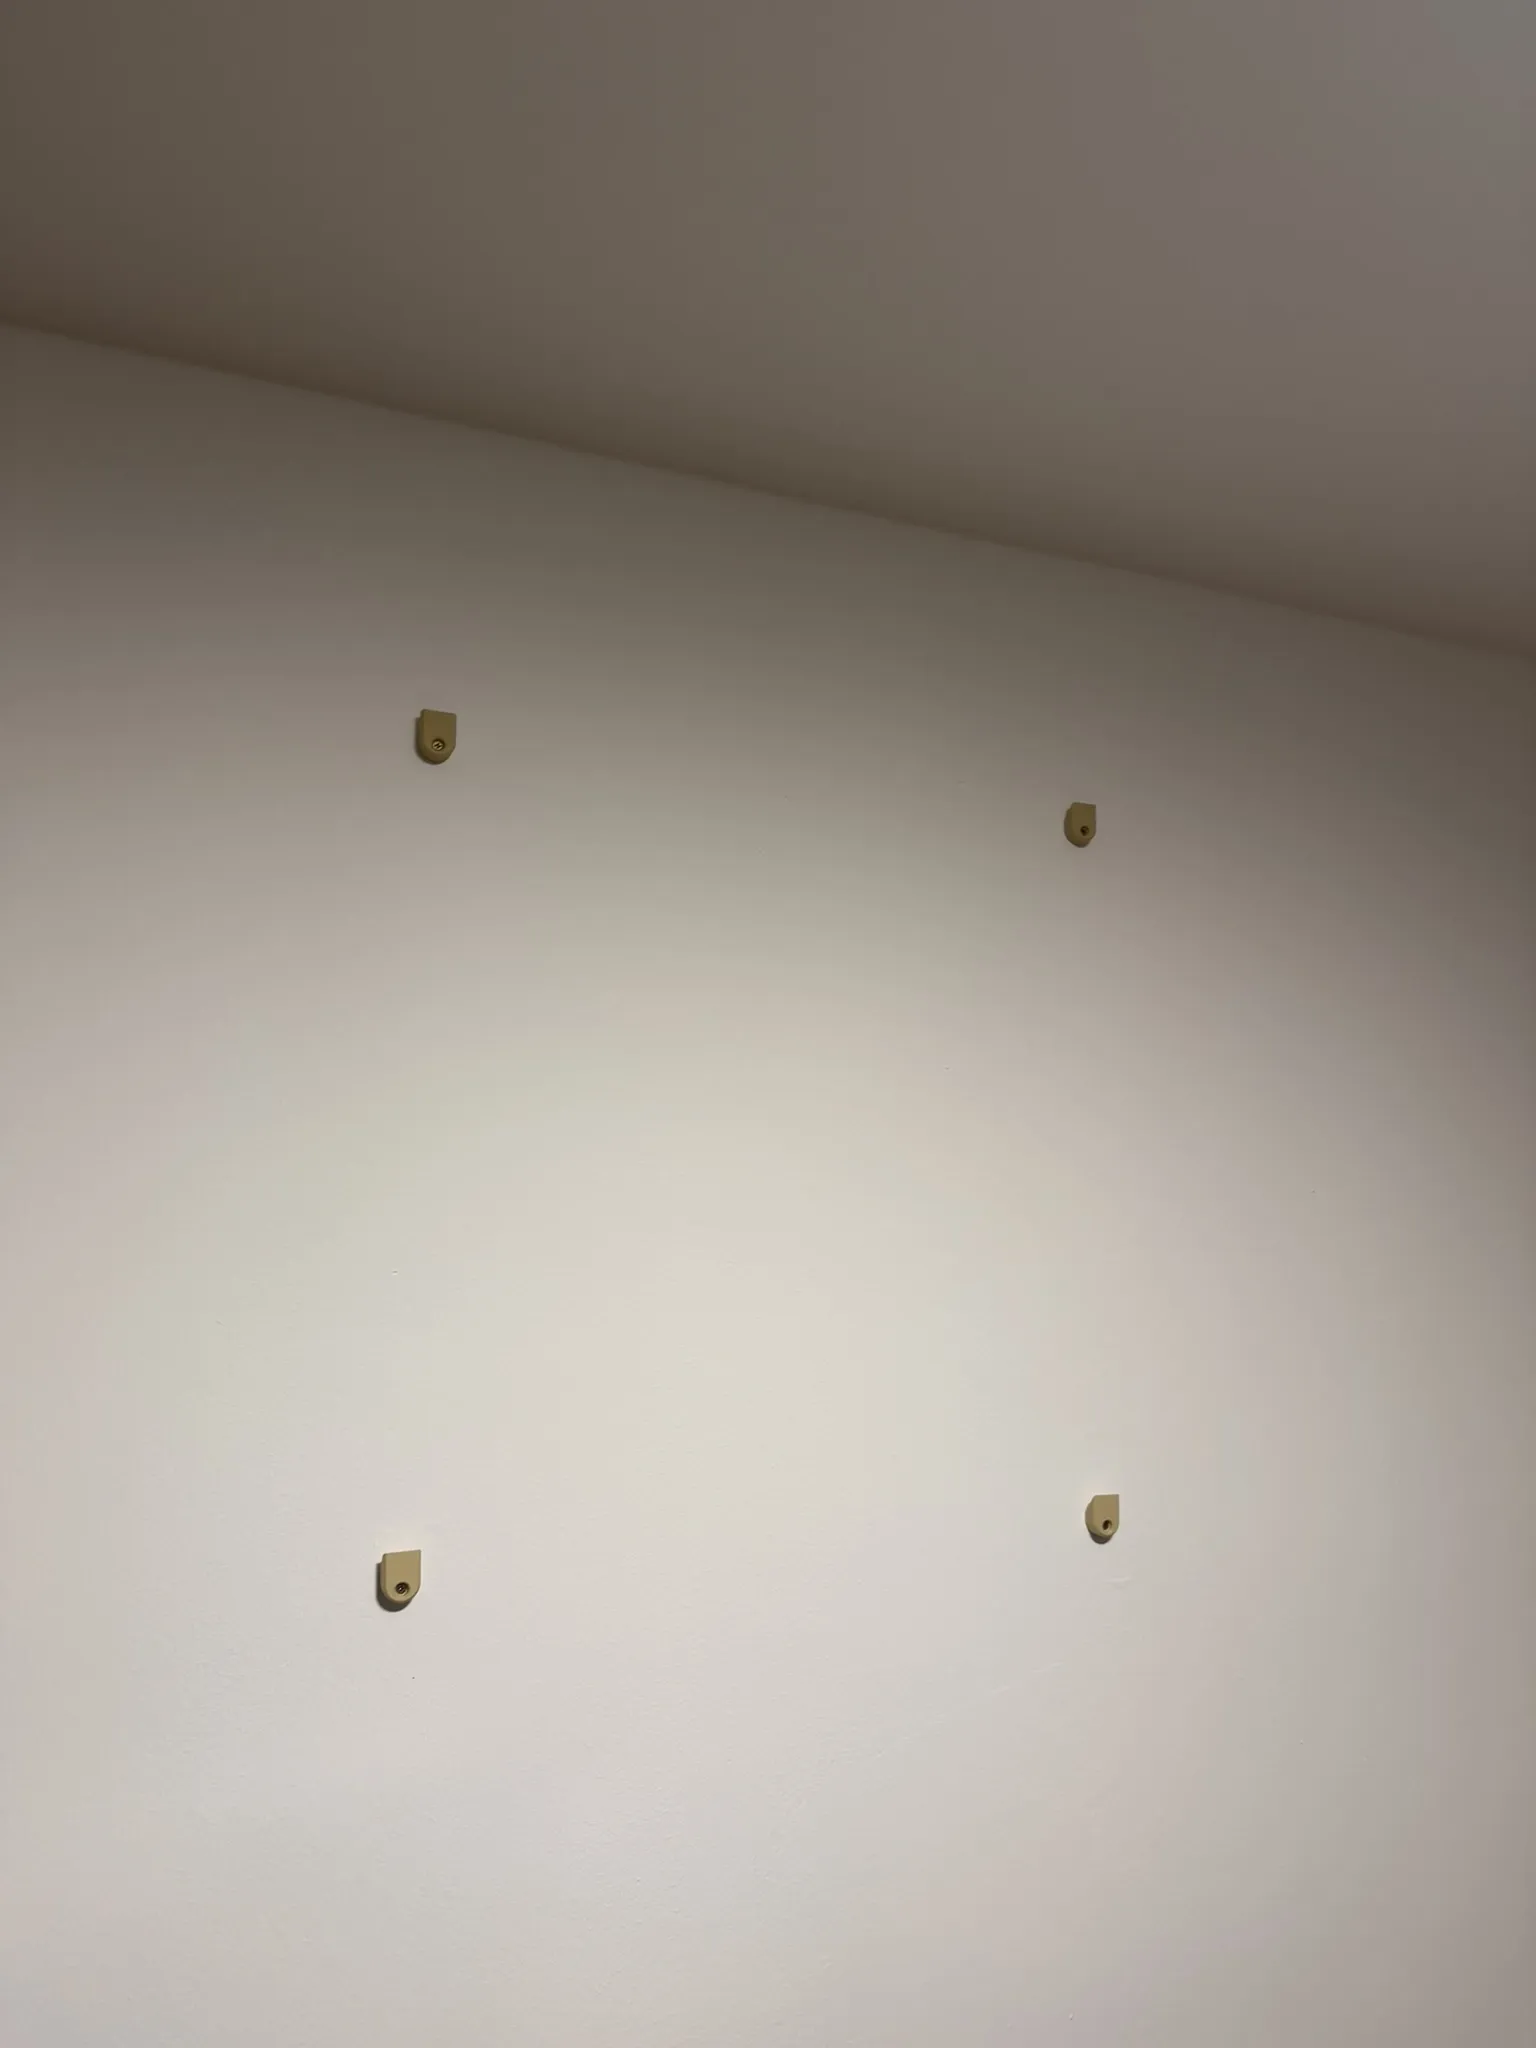
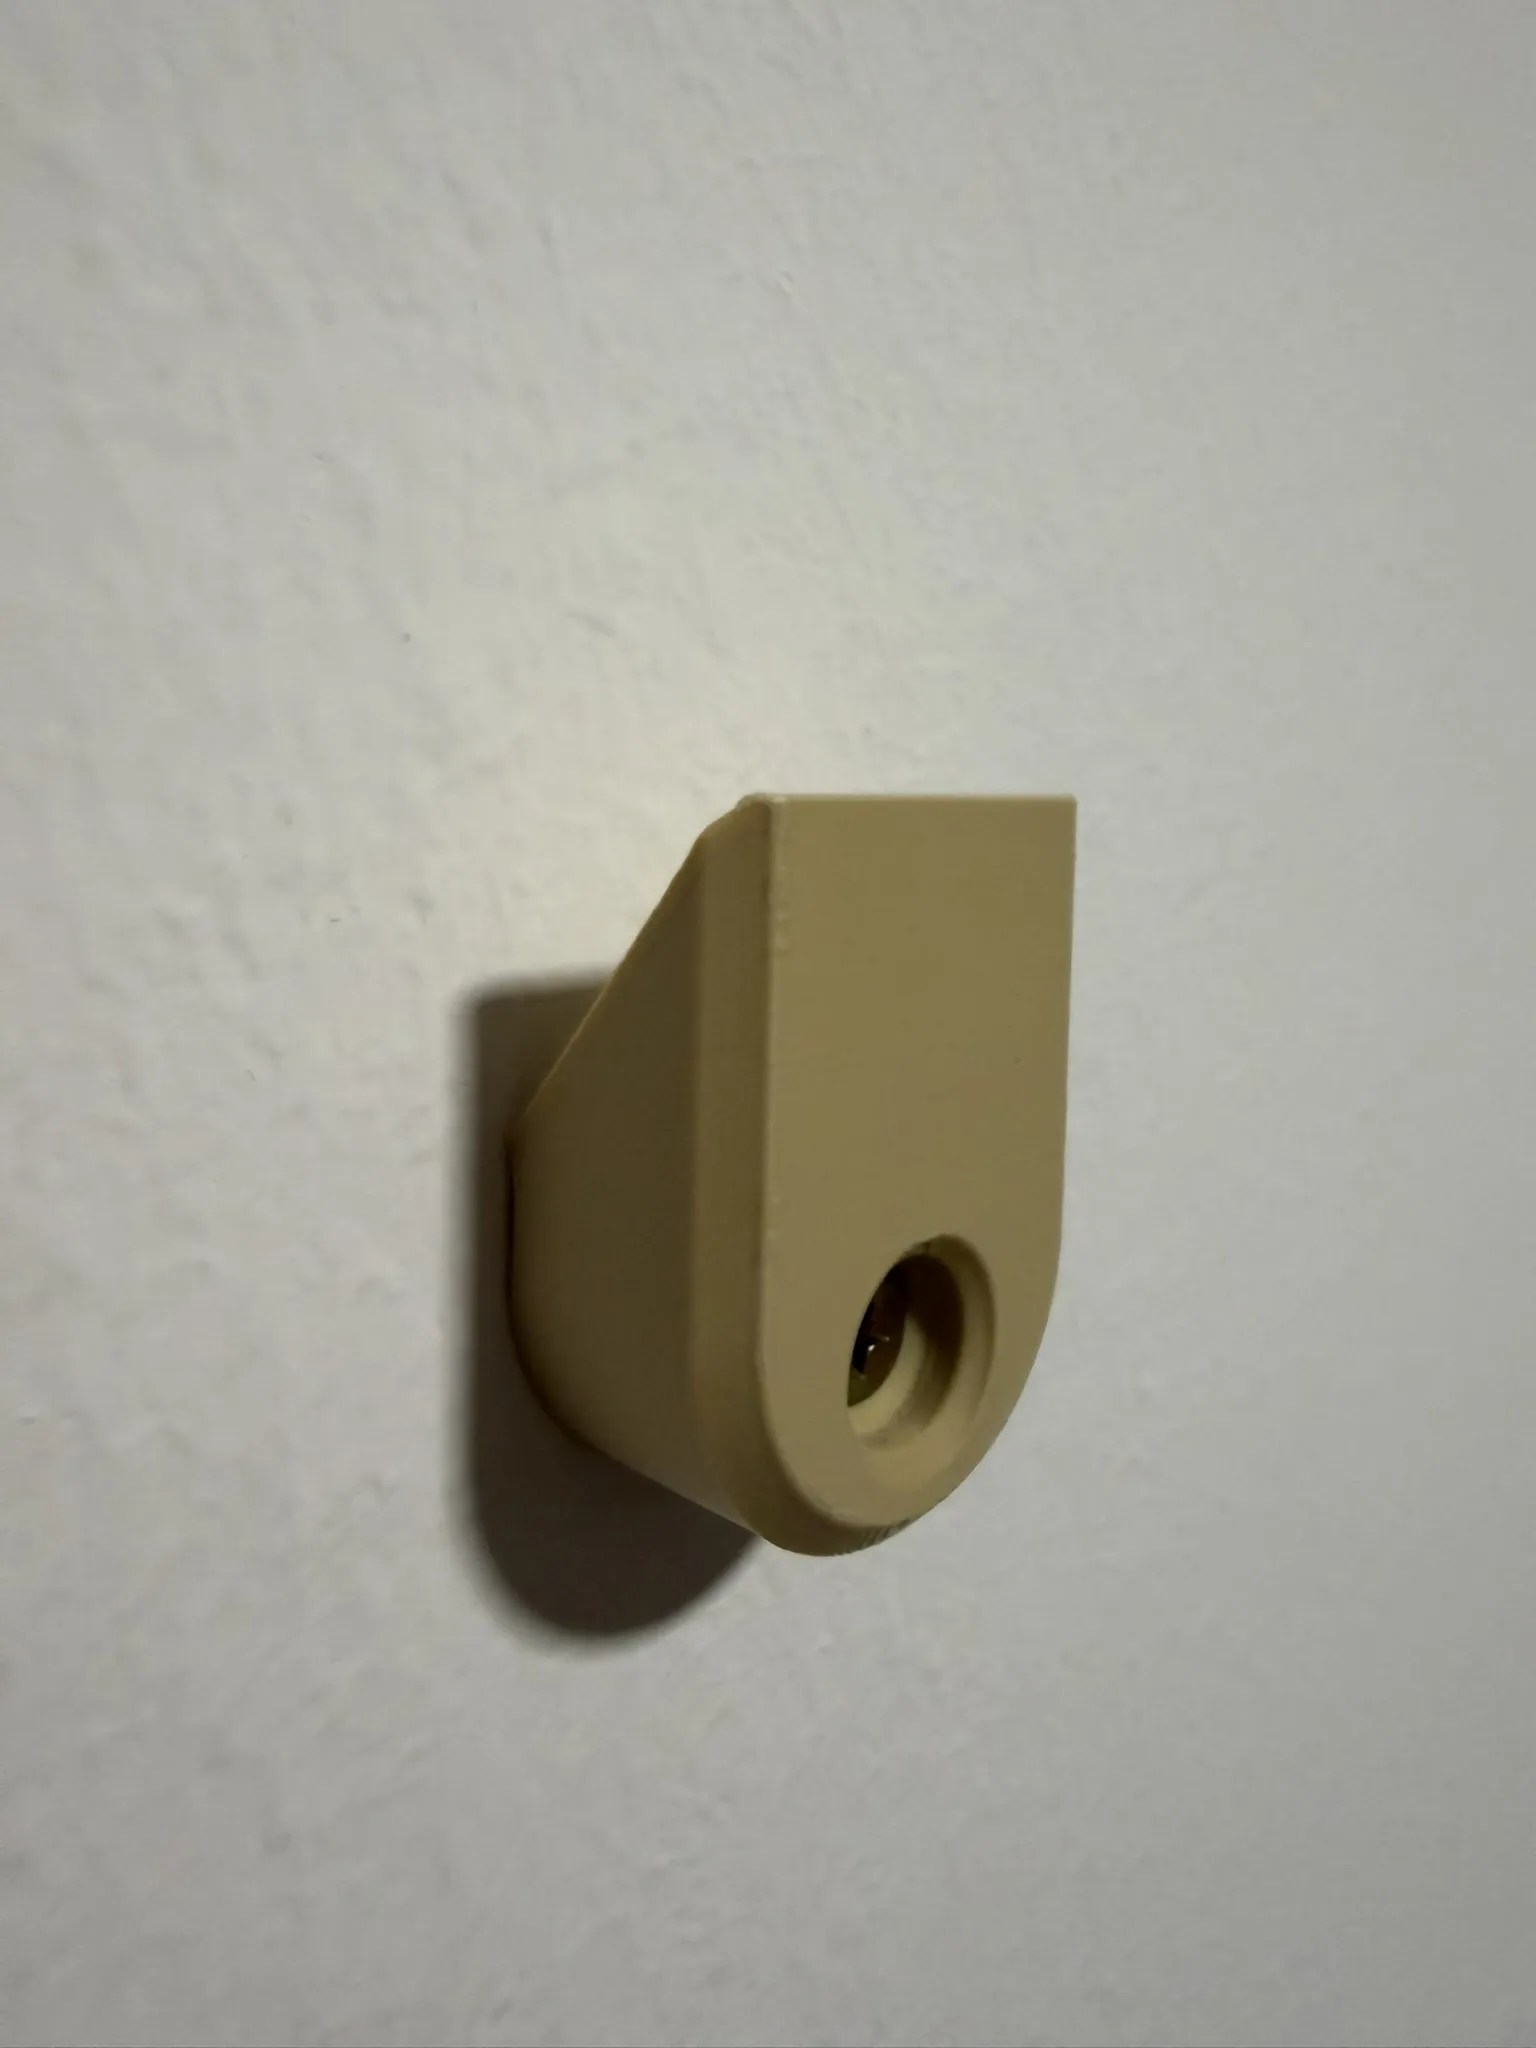
- Uses 4 printed wall brackets.
- Brackets can be mounted using 4 mm or 6 mm screws.
- Print the bracket version matching your screw size.
- Use appropriate wall anchors unless mounting to wood.
- The 4 Wall brackets are positioned in a rectangular layout measuring 693mm in height and 663mm in width.
- Brackets are wedge-shaped so the artwork can be securely hung.
- Large backside openings allow easier alignment when mounting.
Boost Me (for free)
Enjoyed this model? Give it a little BOOST boost! Your support helps more makers find my designs—and keeps the ideas flowing (and the filament melting)! Thanks for helping this project shine.
Membership
If you plan to sell prints made from this model, please make sure you have an active Commercial Membership.
License

You shall not share, sub-license, sell, rent, host, transfer, or distribute in any way the digital or 3D printed versions of this object, nor any other derivative work of this object in its digital or physical format (including - but not limited to - remixes of this object, and hosting on other digital platforms). The objects may not be used without permission in any way whatsoever in which you charge money, or collect fees.


Comment & Rating (0)