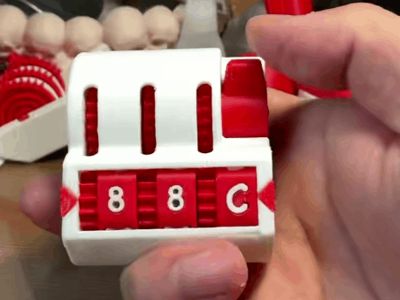
Pocket Slot Machine (Auto-Reset Version)


Print Profile(1)

Description
Boost Me (for free)
Please read the installation instructions before assembly
Installation Steps:
Prepare 21 pieces of 4mm × 2mm round magnets.
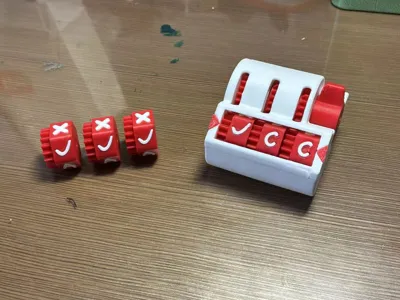
1. Insert 3 magnets into the corresponding holes with the positive pole facing outwards. Secure with super glue.

2.Combine the protruding part of the torsion spring with the hollow of the gear, and add a small amount of glue in the hole to secure it.

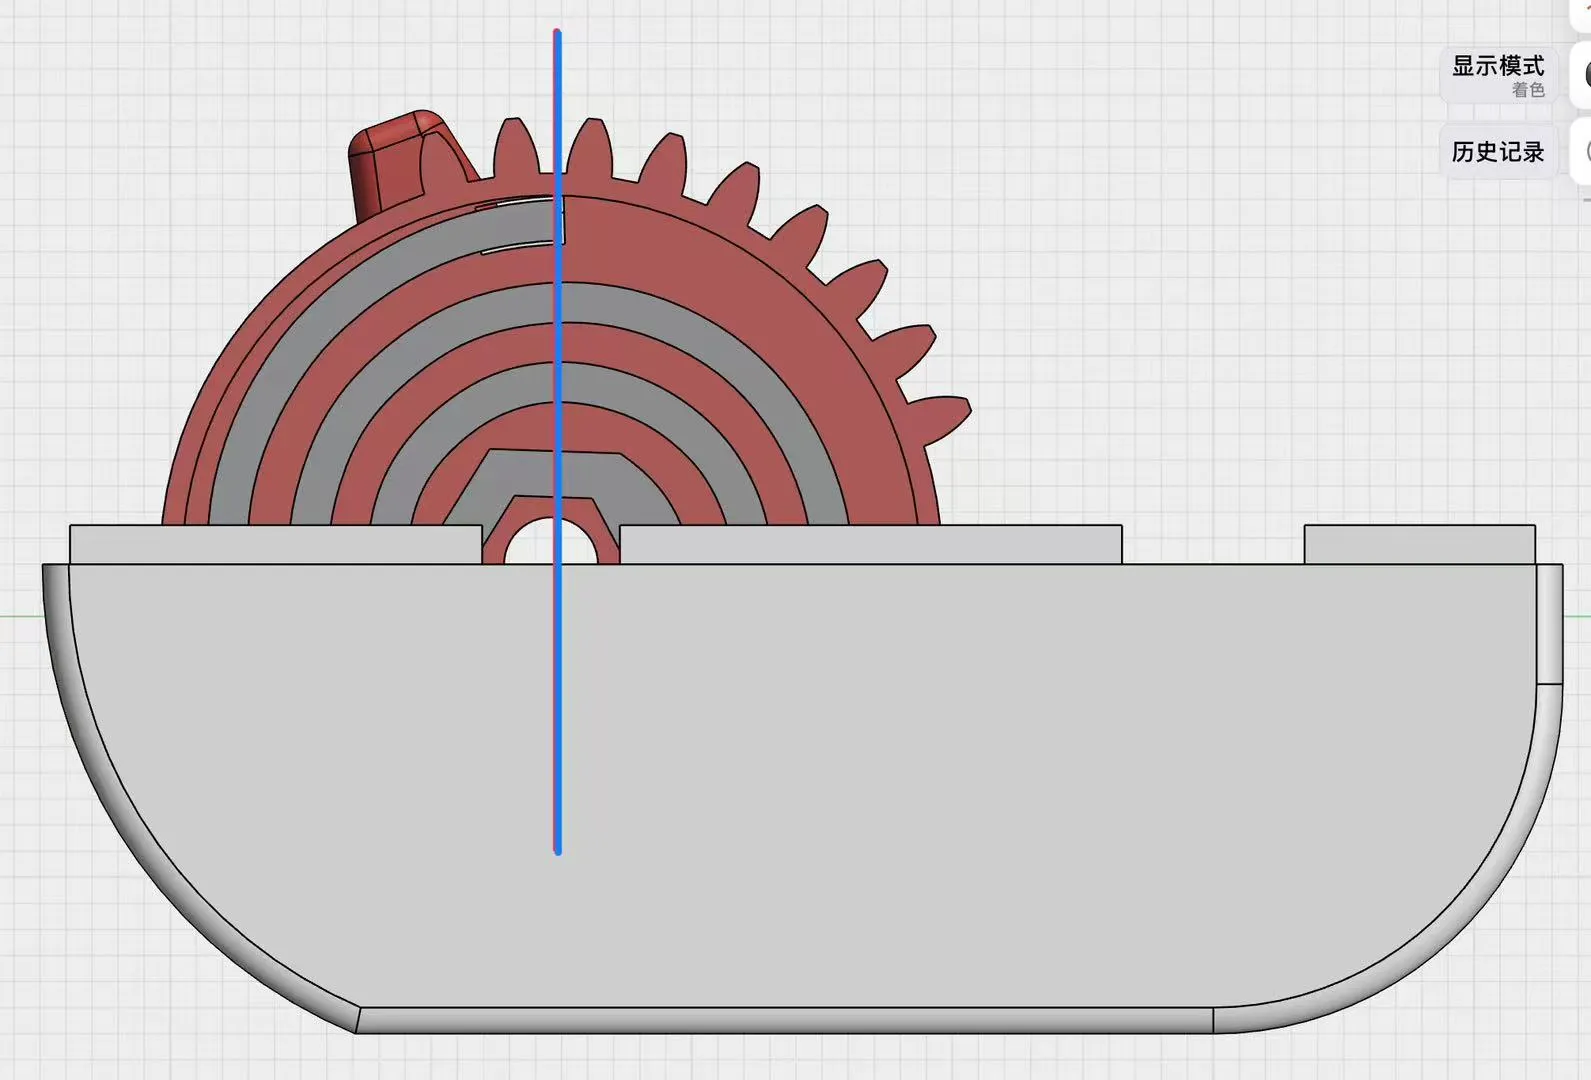
3. After completing the above process for three sets, insert the three gears into their respective slots, Make sure the very front of the torsion spring is behind the blue line. As shown in the figure, the front end of the torsion spring can go backward, but must not go forward. To ensure success, the front end of the torsion spring can be about 1 mm from the blue line. If it doesn't spin in the end, it's likely because the front end of the torsion spring is still too far forward, causing the gears and rotor to jam. (Note that the gears have different thicknesses, do not install them incorrectly)


4.

5. The tops of the gears should ideally be aligned in a straight line. Apply a small amount of glue into the gaps between the gears and the shaft, ensuring the three gears are fixed together with the shaft, (Do not apply too much glue)

6. Insert 6 magnets into the corresponding holes with the negative pole facing outwards, (In step one, the positive pole faced outwards). If the negative pole faced outwards in step one, then the positive pole needs to face outwards in this step. Ensure that the magnets on the gears and the magnets on the base have opposite poles, meaning they should attract each other. (Do not make a mistake). Repeat this step three times.

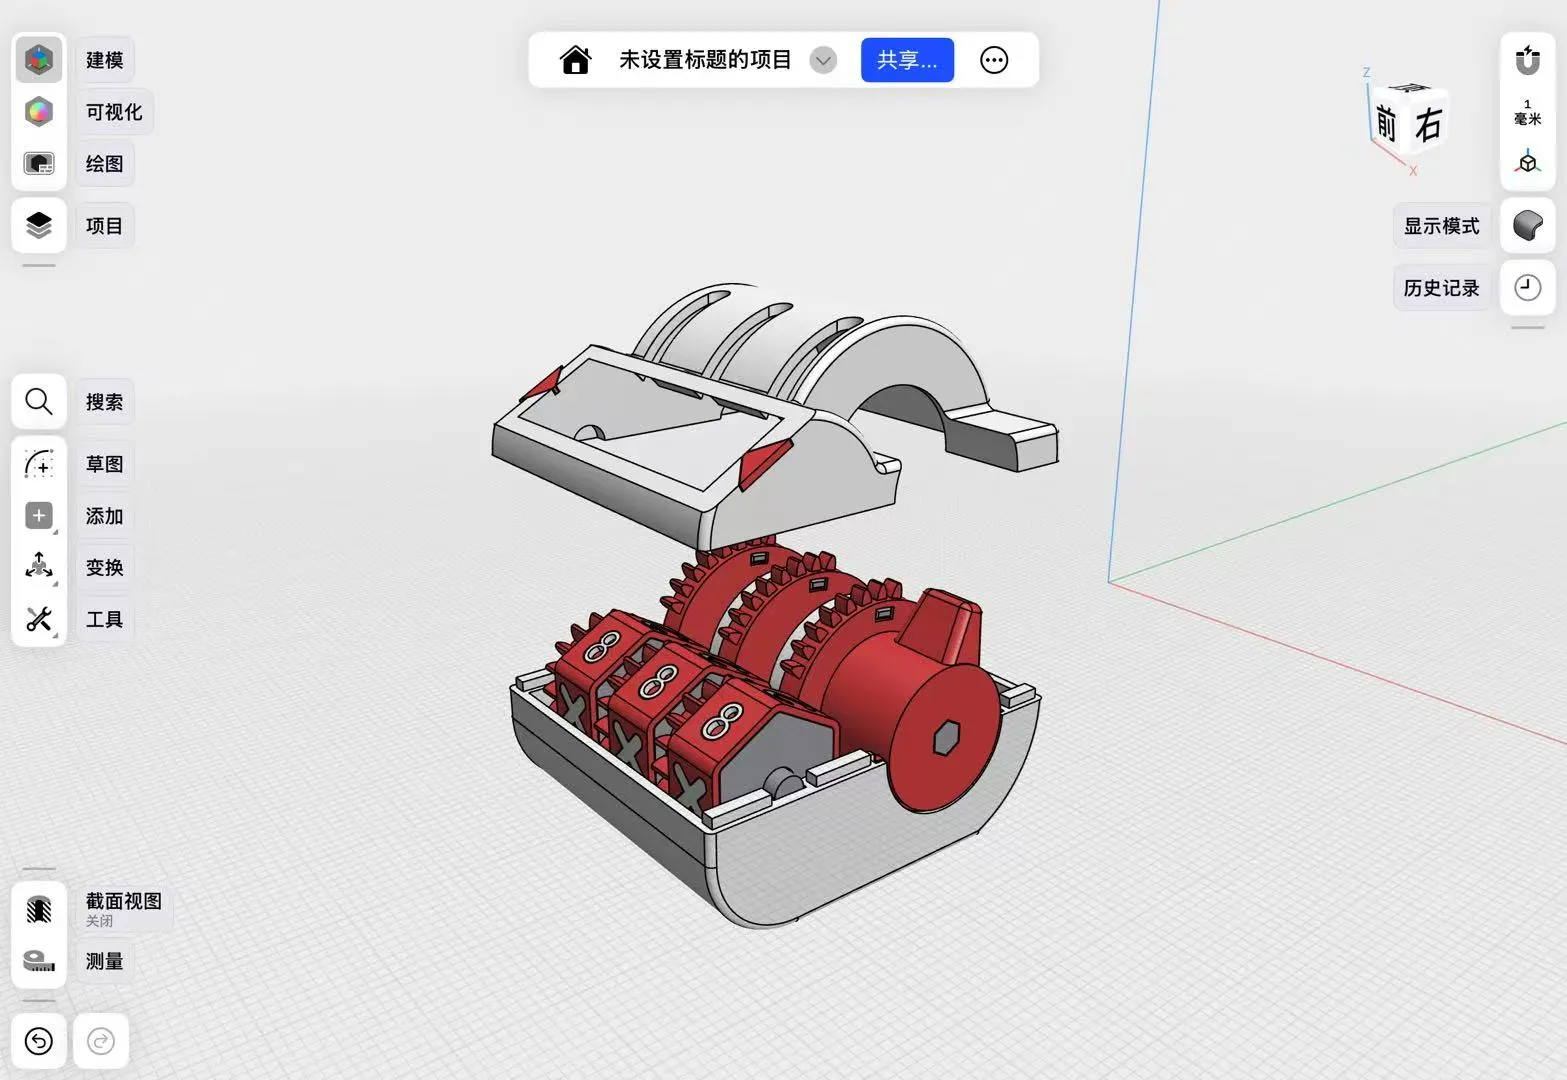
7. Secure the cover plate with glue. Repeat 3 times.

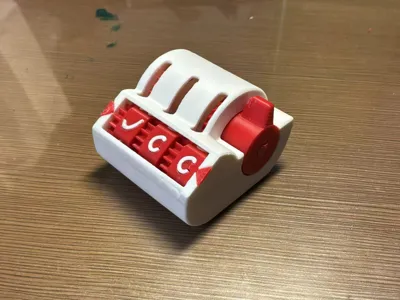
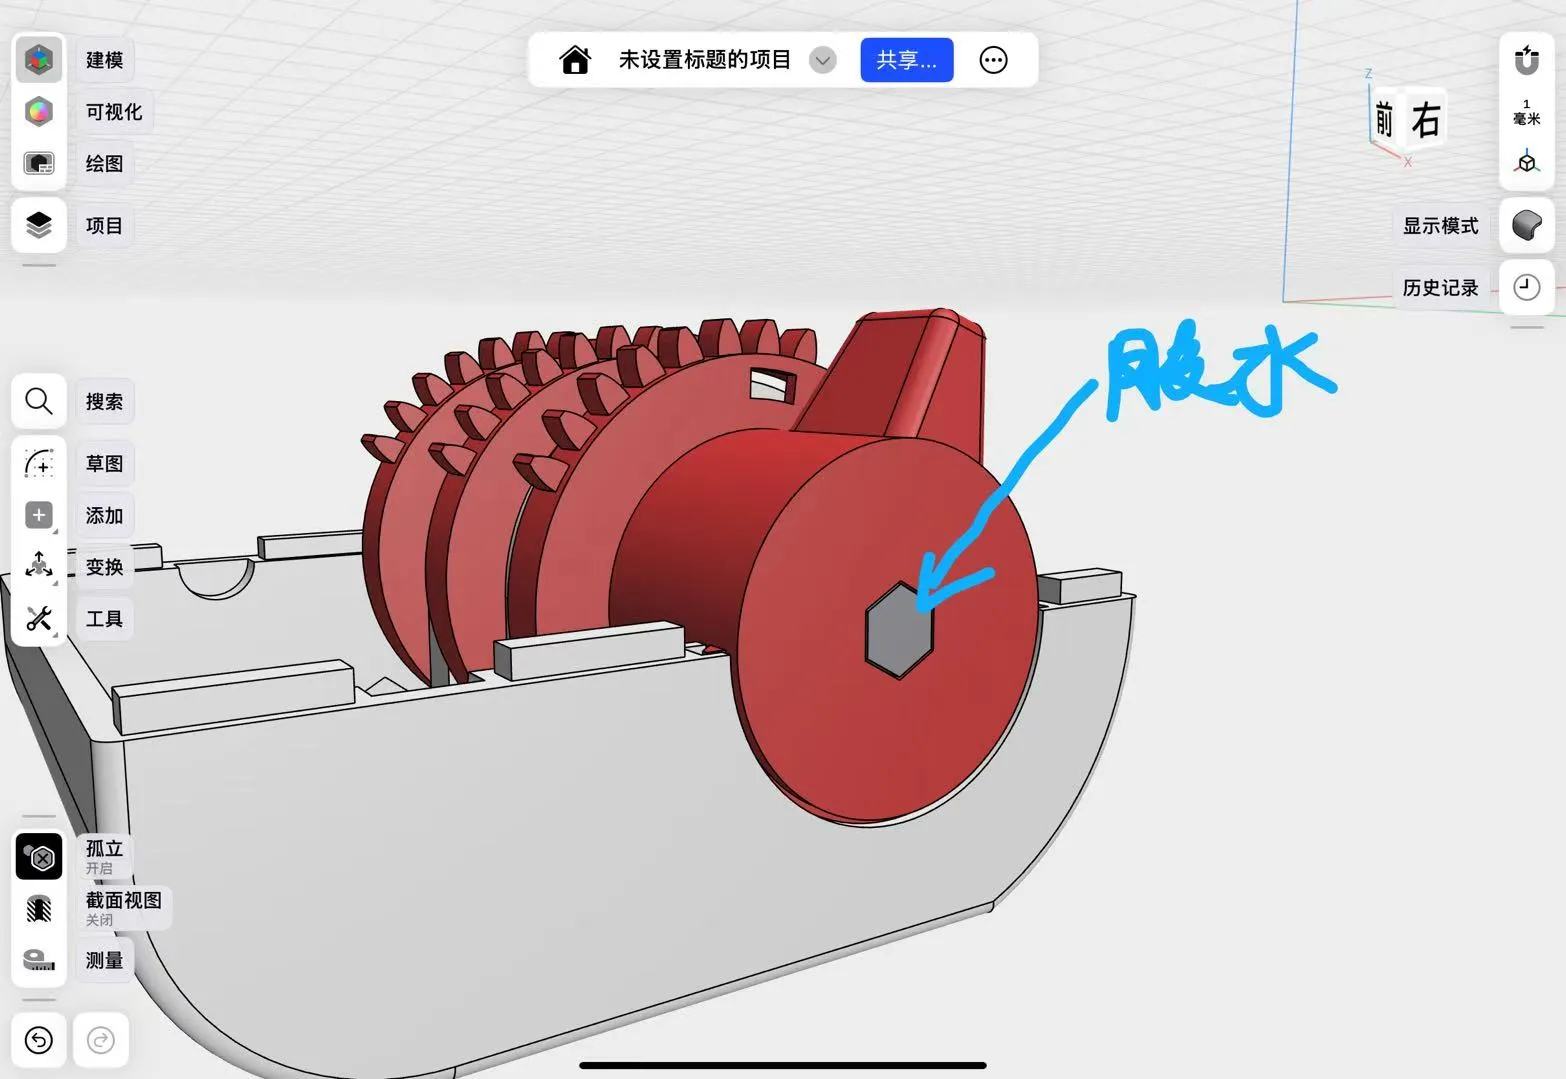
8.First, glue the white numbers and symbols into their corresponding positions with super glue. Then insert the shaft and check if it rotates smoothly.

9.

10. Secure with glue.

11.
12.

License
You shall not share, sub-license, sell, rent, host, transfer, or distribute in any way the digital or 3D printed versions of this object, nor any other derivative work of this object in its digital or physical format (including - but not limited to - remixes of this object, and hosting on other digital platforms). The objects may not be used without permission in any way whatsoever in which you charge money, or collect fees.
Comment & Rating (24)