
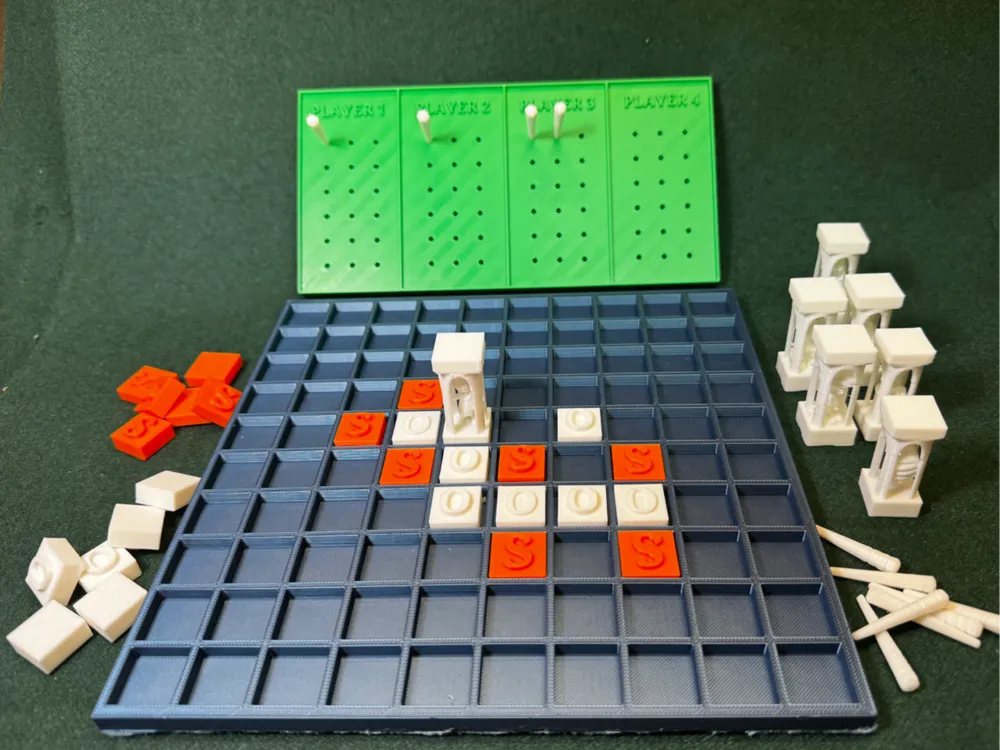
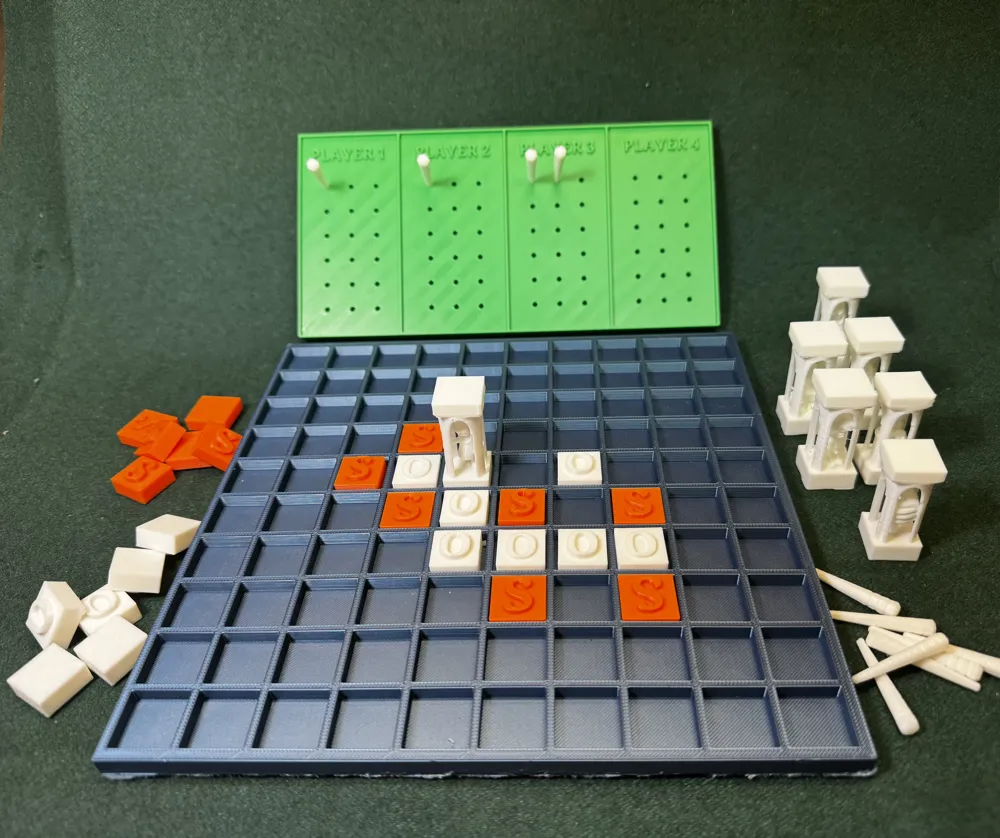
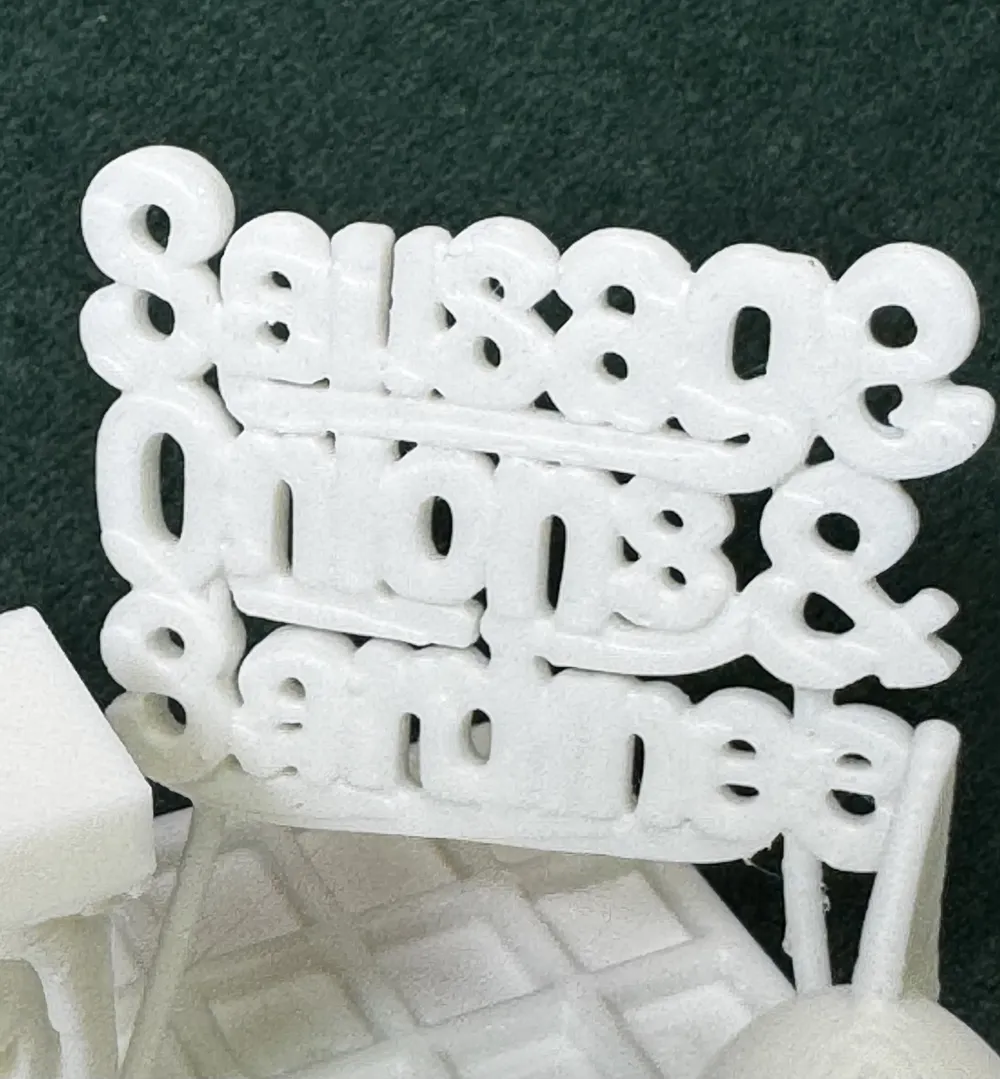
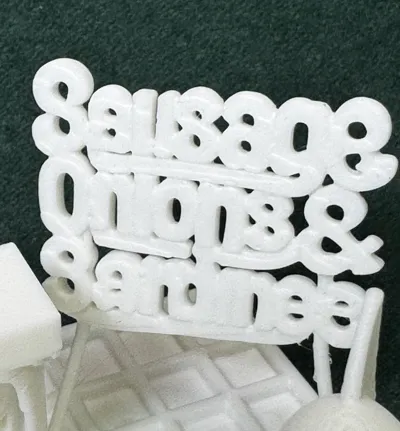
Sausage, Onions & Sardines (SOS): #1 ~ Board Game
Print Profile(1)
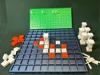
Description

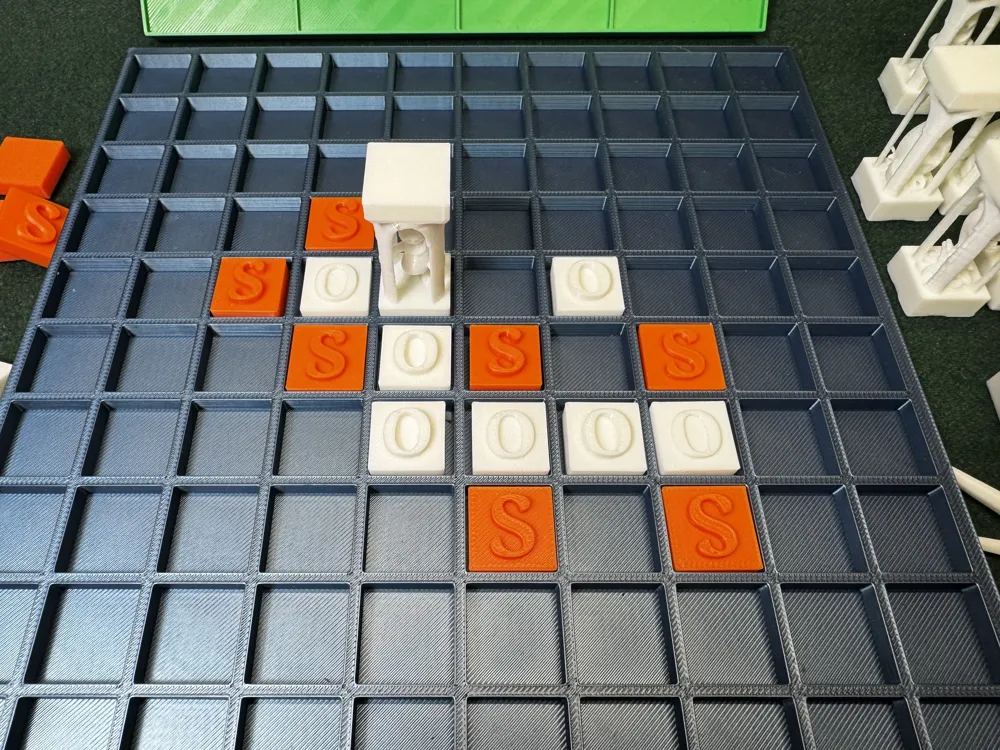
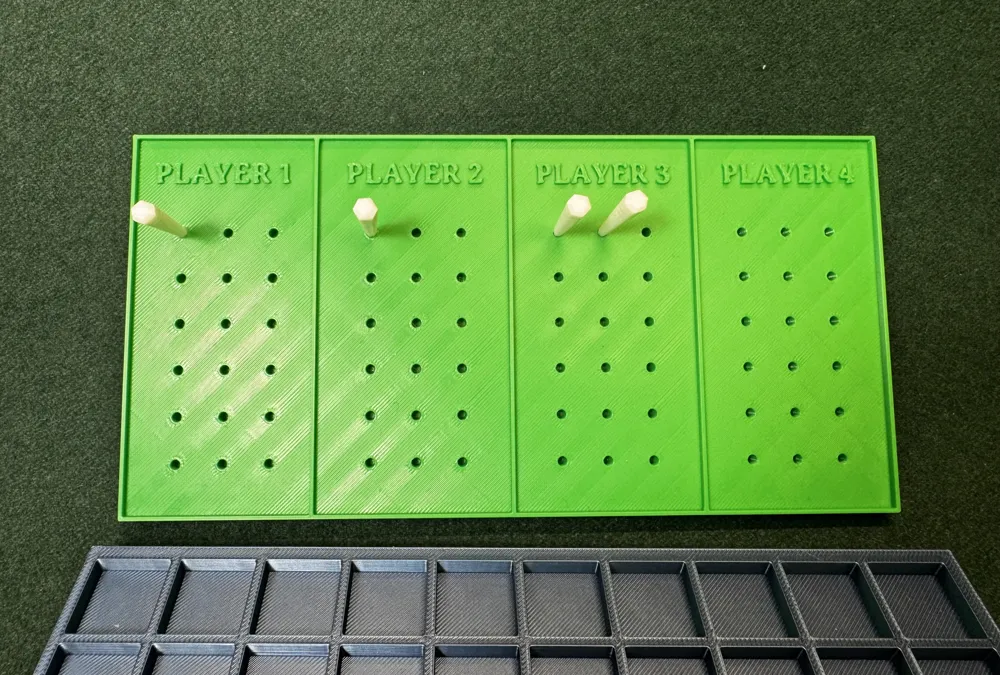
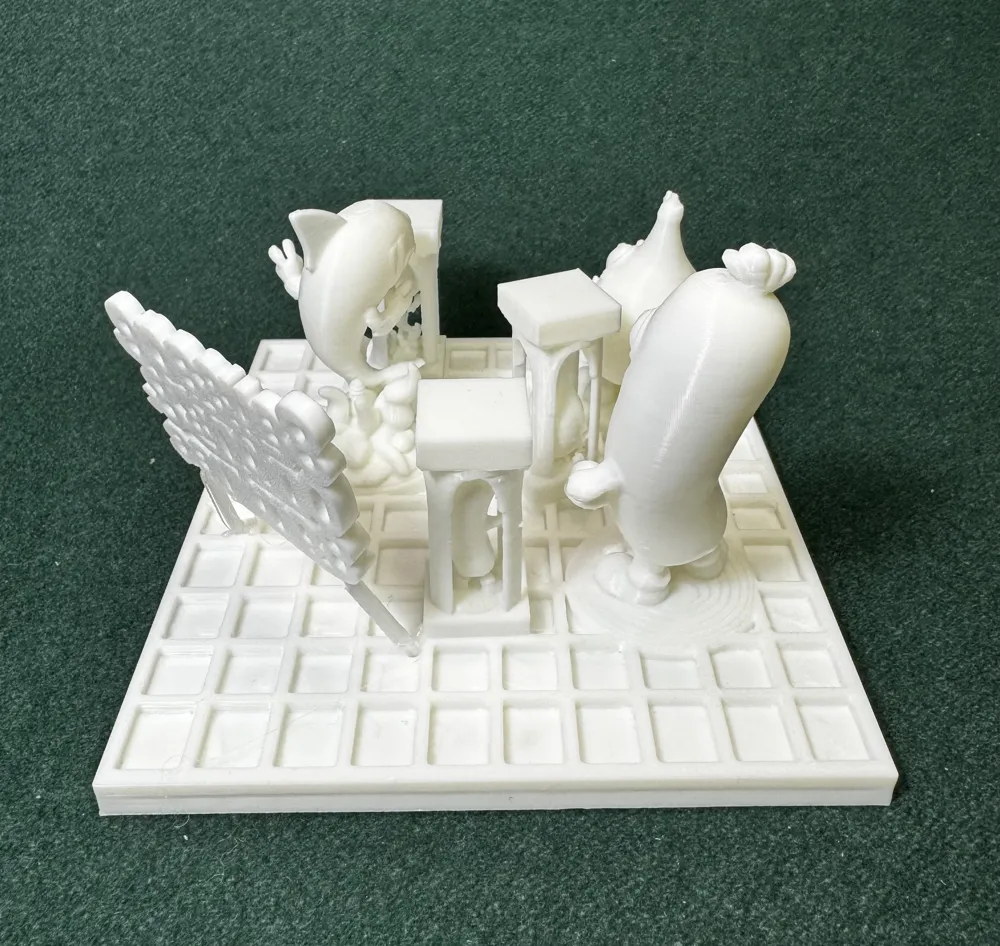
Sausage, Onions & Sardines (SOS): #1 ~ Board Game
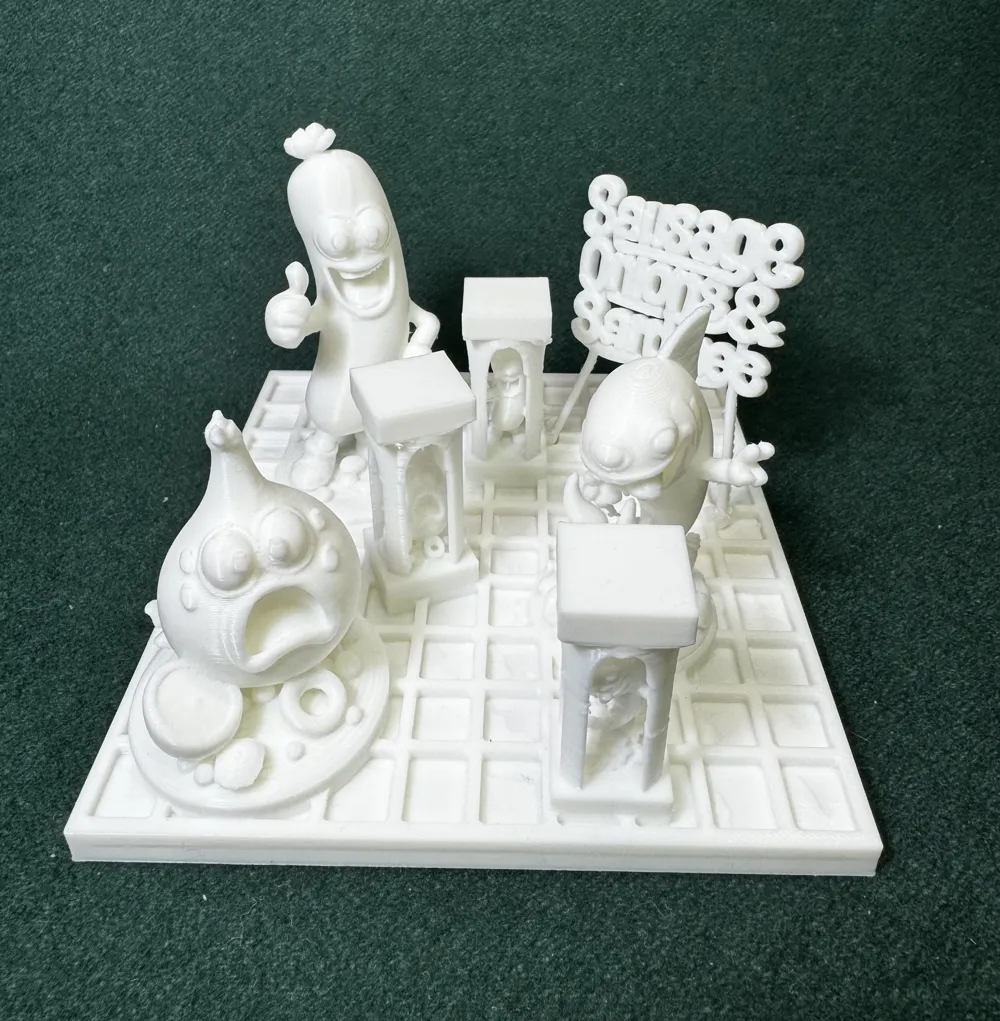
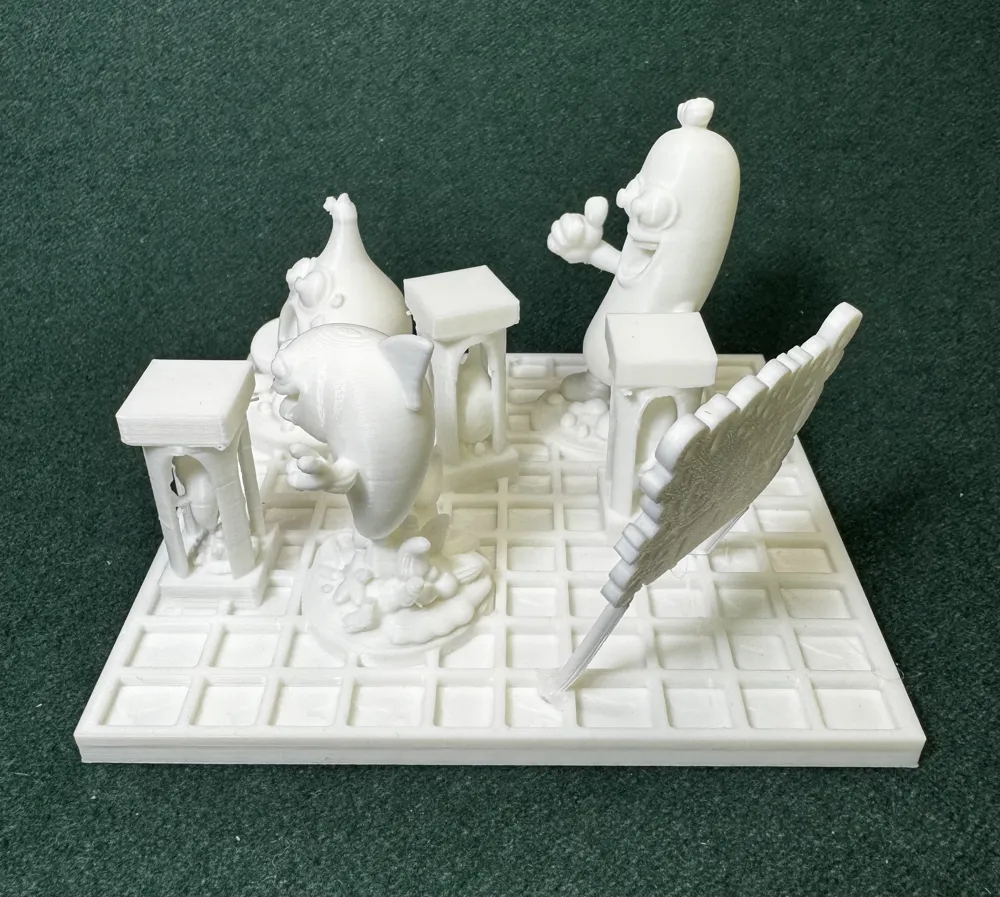
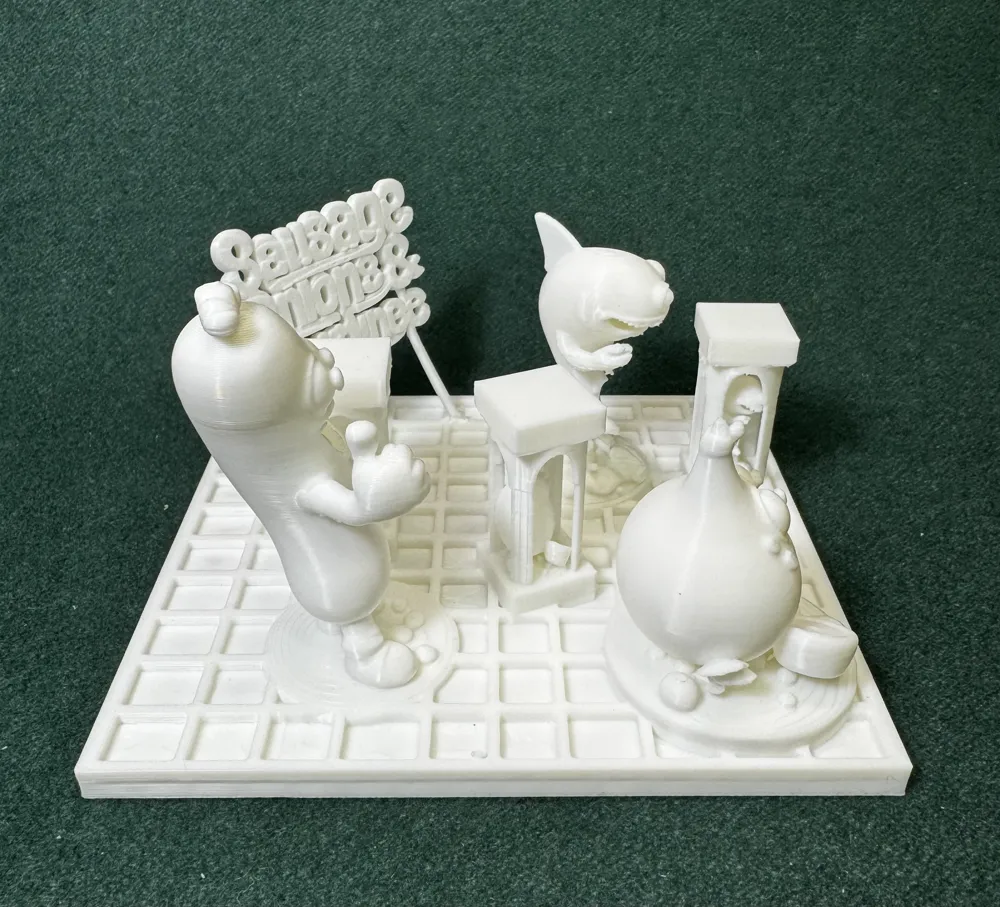
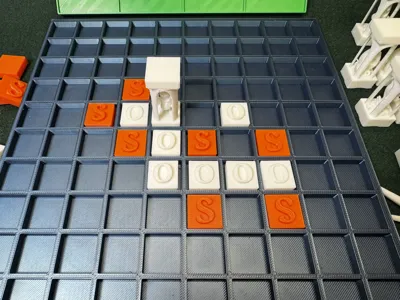
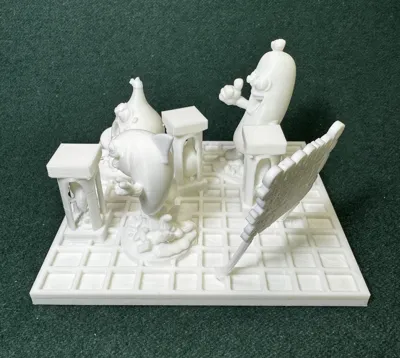
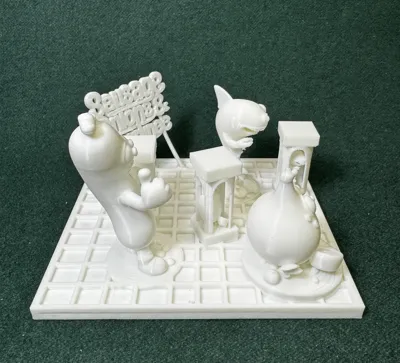
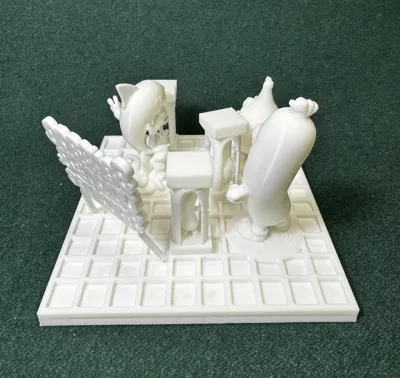
It starts simple. Just three letters. Just an SOS. Calm. Orderly. Civilized. And then someone drops an Onion and quietly steals your points. A Sausage clears the neighborhood. Worms begin crawling through your careful plans. A Sardine slides through like it owns the place. And somewhere, someone plays a Red Herring and smiles.
Sausage, Onions, & Sardines looks like a word game. It behaves like a negotiation. It rewards attention, timing, and just a little bit of nerve. Build carefully. Watch everything. And never assume the board will stay the way you left it.
Game Instruction found on my Google Drive:

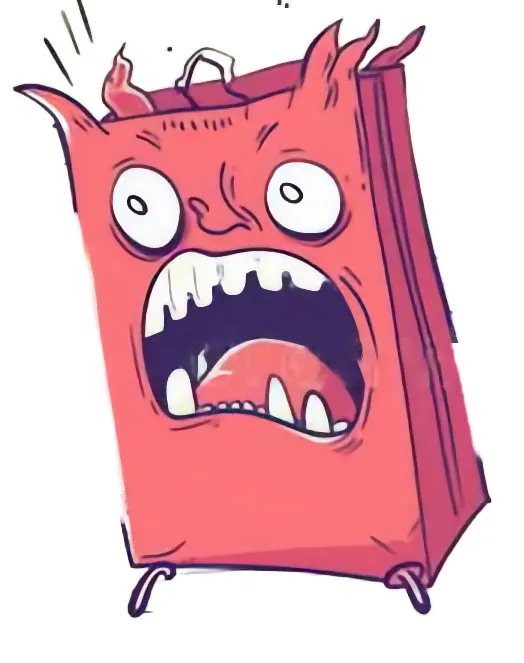
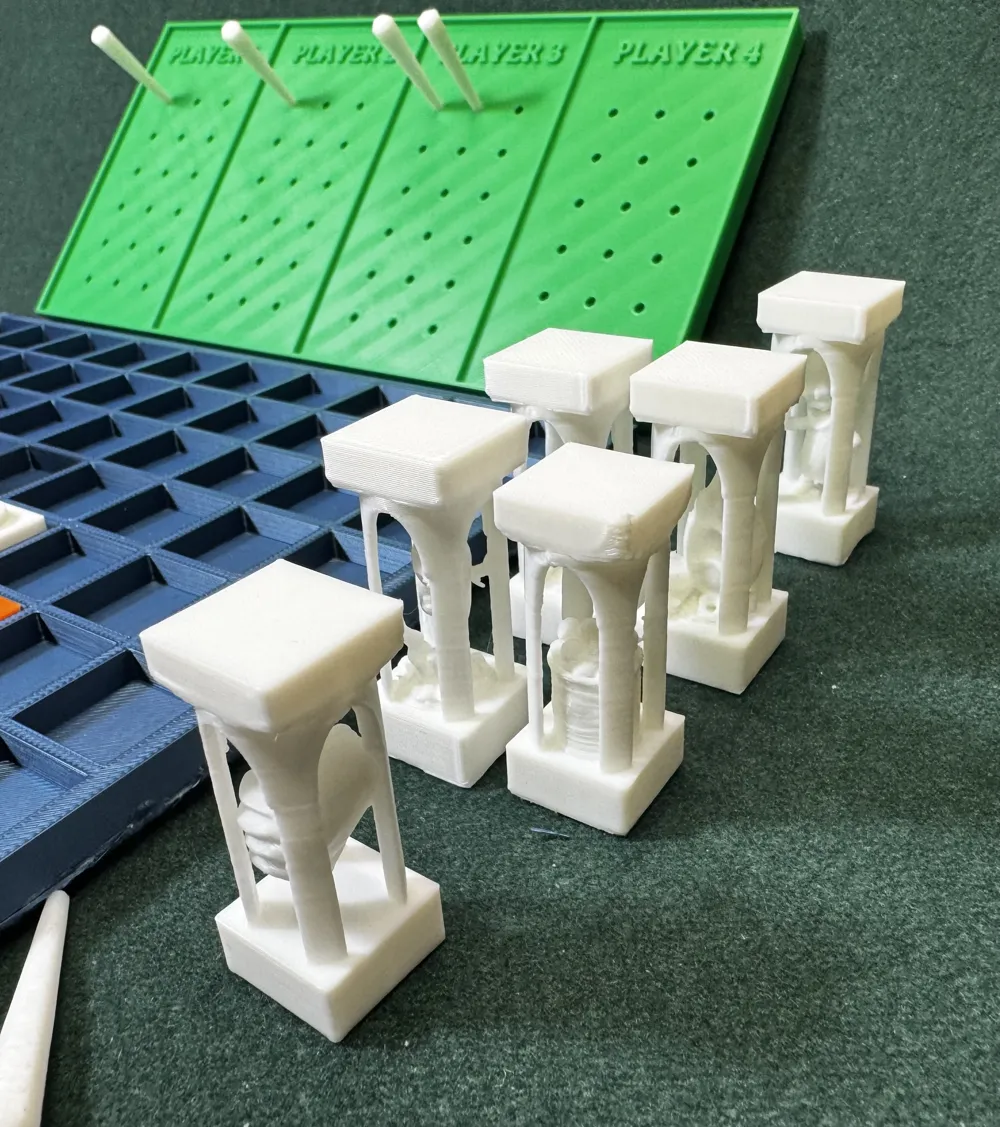
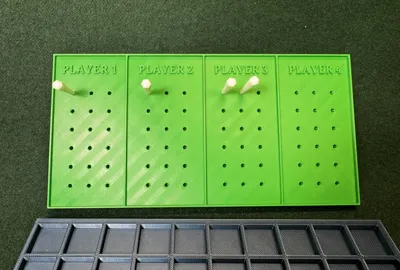
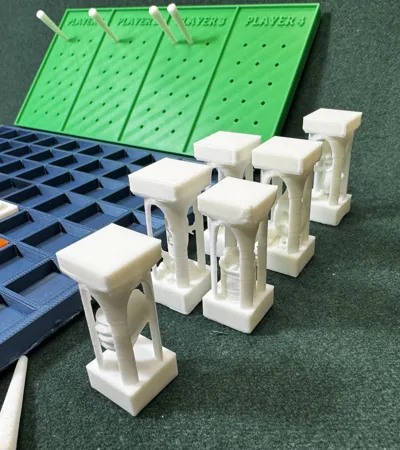
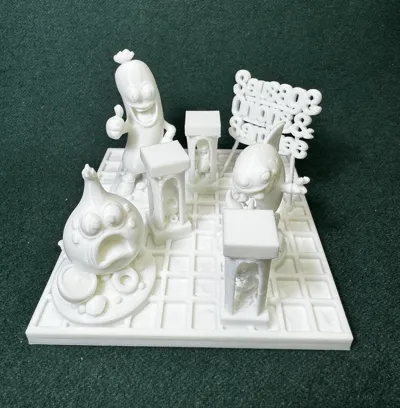
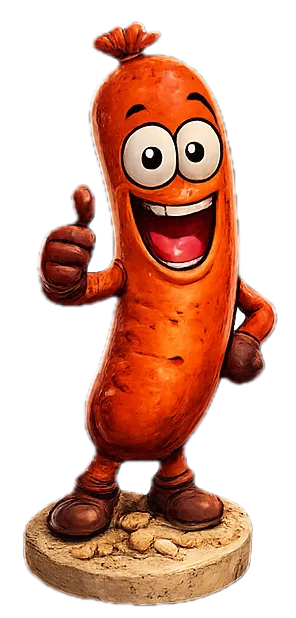
“Fury Bag” holds these chaotic game changing characters.
These are “Caged” so that when you reach into the “Fury Bag” at the start of the game you cannot ‘feel’ what the character is.
See instruction PDF at above Google Drive link.




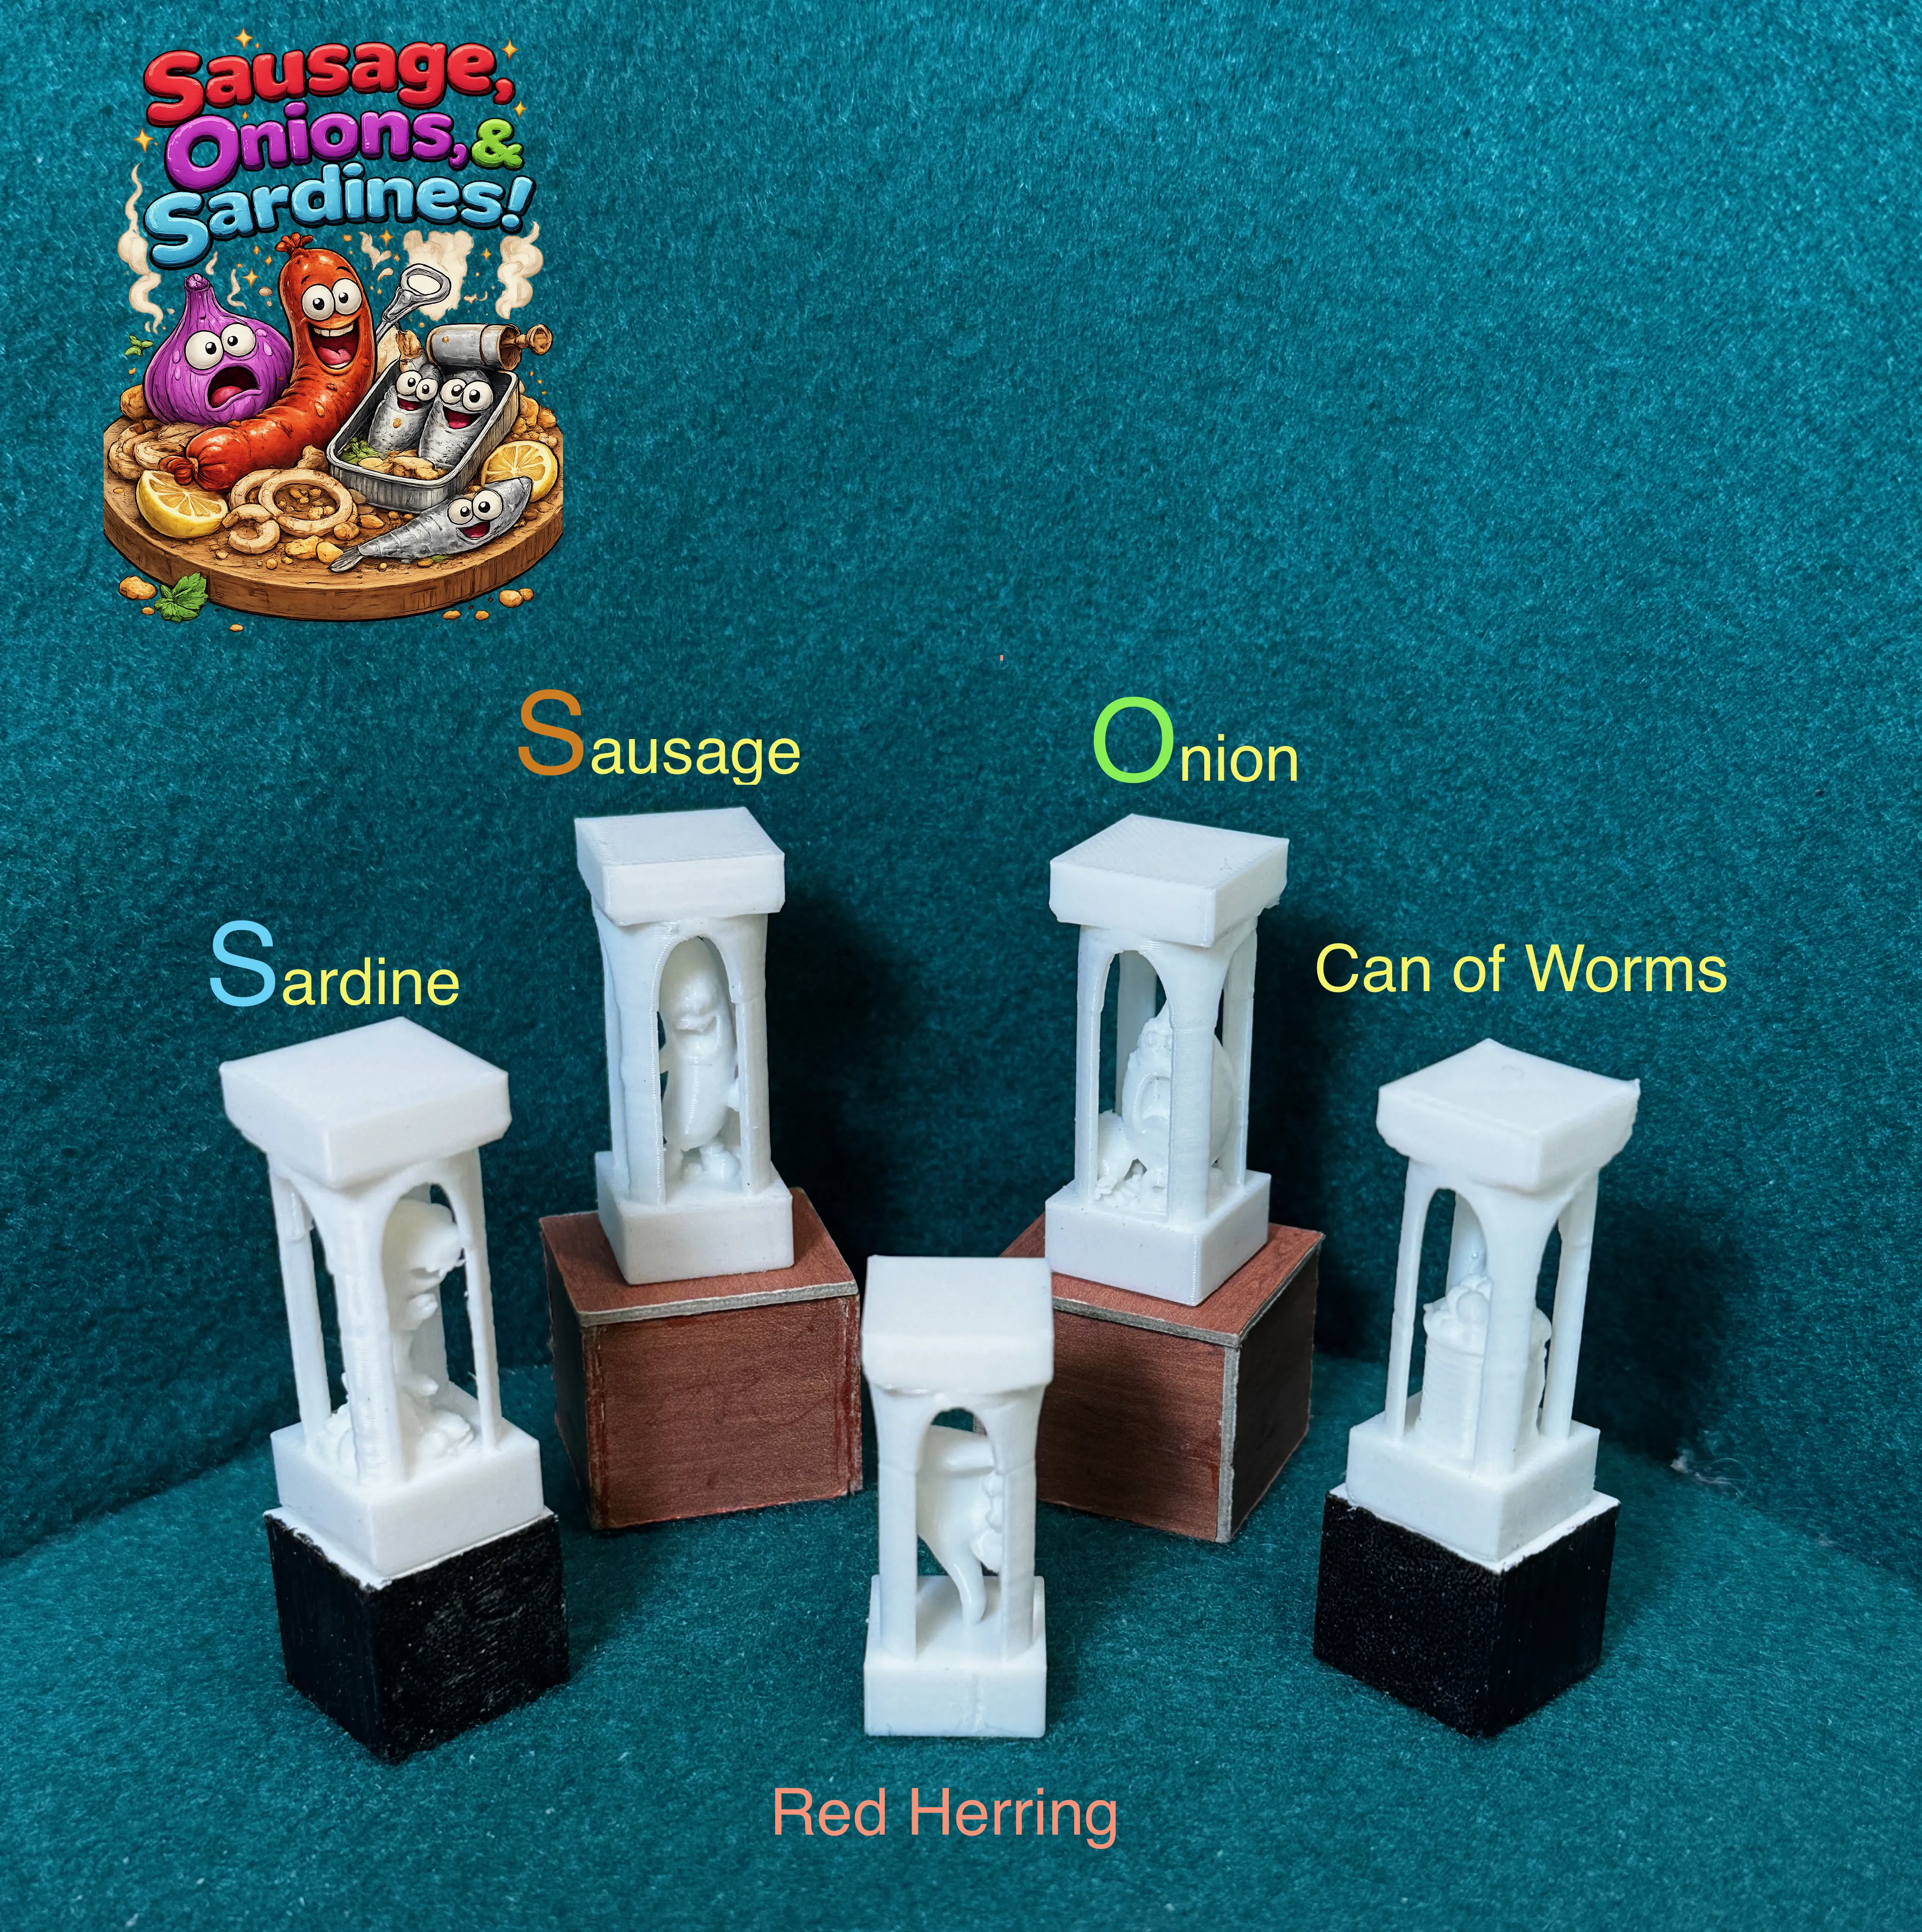
Replacement Components AVAILABLE
SOS Individual Character: #1 ~ Sausage
SOS Individual Character: #2 ~ Onion
SOS Individual Character: #3 ~ Sardine
SOS Individual Character: #4 ~ Can of Worms
SOS Individual Character: #5 ~ Thumb Down

Printer Settings:
Take time to use these settings for optimal prints. Note: Smartphones and tablets cannot print with Tree supports, so use a PC for these settings.
Bambu Studio Settings
Printer Settings
• Nozzle Diameter → 0.4 mm
• Compatible Material → PLA+
Filament Settings
• Nozzle Temperature (first layer) → 205 °C
• Nozzle Temperature (others) → 200 °C
• Bed Temperature (first layer) → 60 °C
• Bed Temperature (others) → 50–55 °C
• Cooling Fan:
◦ Layer 1–2 → OFF
◦ Layer 3+ → 100%
Quality
• Layer Height (Standard) → 0.20 mm
• Initial Layer Height → 0.20 mm
• Line Width → 0.45 mm
• Elephant Foot Compensation → 0.15 mm
Speed
• First Layer Speed → 20 mm/s
• Outer Wall Speed → 35 mm/s
• Inner Wall Speed → 50 mm/s
• Infill Speed → 50 mm/s
• Travel Speed → 120 mm/s
Acceleration / Jerk
• Default Acceleration → 1000 mm/s²
• Outer Wall Acceleration → 500 mm/s²
• First Layer Acceleration → 300 mm/s²
• Travel Acceleration → 2500 mm/s²
• Jerk (XY) → 8 mm/s
Strength / Infill
• Wall Loops → 3
• Top Layers → 4
• Bottom Layers → 4
• Infill Density → 20%
• Infill Pattern → Gyroid
• Sparse Infill Anchor Length → 5 mm (🔔 Note: increase to 10 mm if you see weak infill connections)
Skirt & Brim
• Skirt Loops → 3
• Skirt Distance → 2 mm
• Skirt Layers → 1
Retraction
• Retraction Distance → 4 mm
• Retraction Speed → 40 mm/s
• Z-Hop → 0.2 mm
• Wipe While Retracting → Enabled
• Retract on Layer Change → Disabled
• Minimum Travel Before Retraction → 1.0 mm
Supports
• Support Style → Tree
• Top Contact Z Distance → 0.25 mm (detachable, fixed)
• Support Density → 15%
• Support Interface Pattern → Grid
• XY Distance → 0.5 mm
• First Layer Support Gap → 0.3 mm
Consider 'Annealing' your printed model.
Annealing your PLA models can improve strength by 10–20%. If you plan to use the set regularly, I highly recommend it. For display or occasional play, annealing is optional, and the appearance and finish remain unchanged.
🔗 More info: [Annealing PLA Prints for Strength — Easy Ways (All3DP)]
https://all3dp.com/2/annealing-pla-prints-for-strength-easy-ways/



License

You shall not share, sub-license, sell, rent, host, transfer, or distribute in any way the digital or 3D printed versions of this object, nor any other derivative work of this object in its digital or physical format (including - but not limited to - remixes of this object, and hosting on other digital platforms). The objects may not be used without permission in any way whatsoever in which you charge money, or collect fees.


Comment & Rating (0)