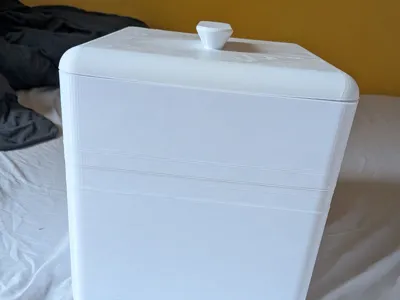
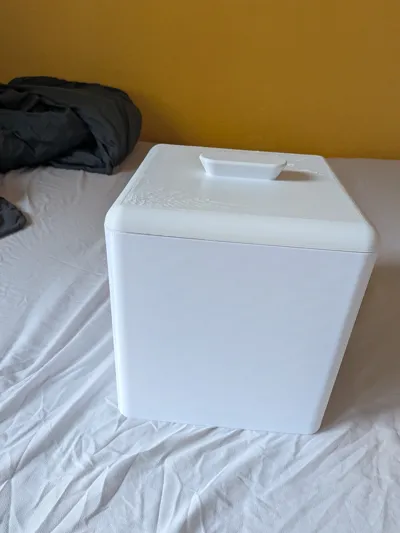
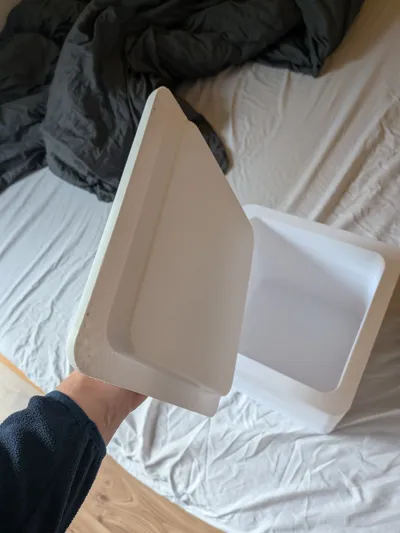
Ice Cube Box XXL Cooler Box


Print Profile(1)

Description
Be careful this is NOT an easy print!!!
The model is far from perfect.
I learned more about warping during the process than I ever wished to know.
So..if YOU are interested to learn something about warping, you are welcome to read further.
Otherwise please skip this model, it's not click and print..sadly!
So let's start from the beginning:
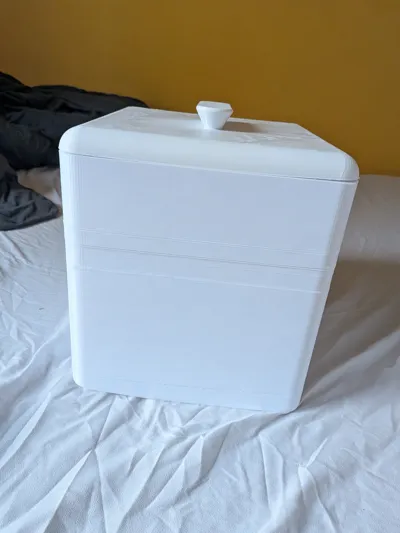
I wanted to design a large ice box for a wedding party, maxing out the print volumens of my A1.
(Mostly because my wife didn't liked the look of a cheap styropor boxes, professional boxes are super expensive and I liked the challenge. Looking back, I should have gone for the cheap and ugly styropor boxes, trust me.)
So I designed an ice box, always keeping in mind, how to reduce the k-values, “letting as less coolnes escape the box”.
- 2 cm thick walls with cubinc infill, separating each wall in 3 chambers (to reduce convection)
- diagonal infill orientation to reduce thermal escape through the PETG infill lines
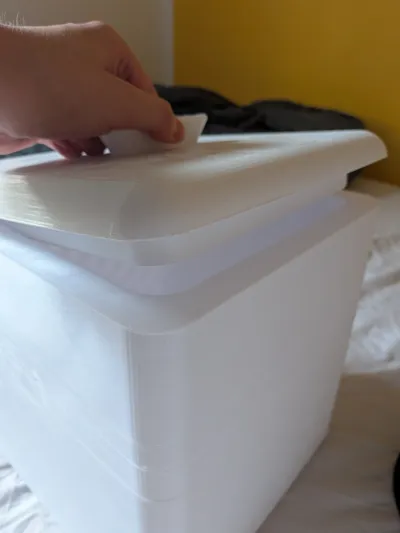
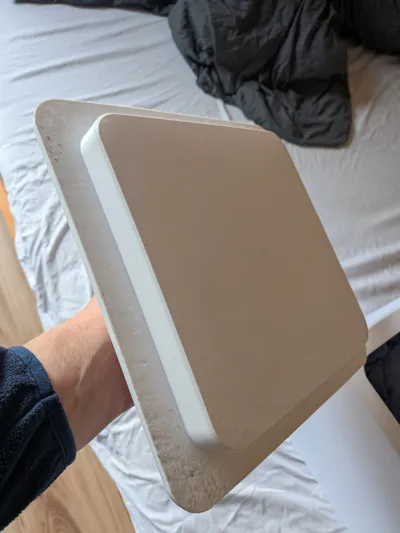
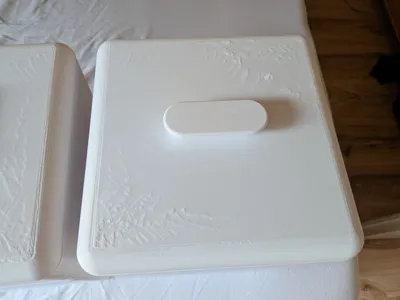
- big lid, with handle and overlapping edges
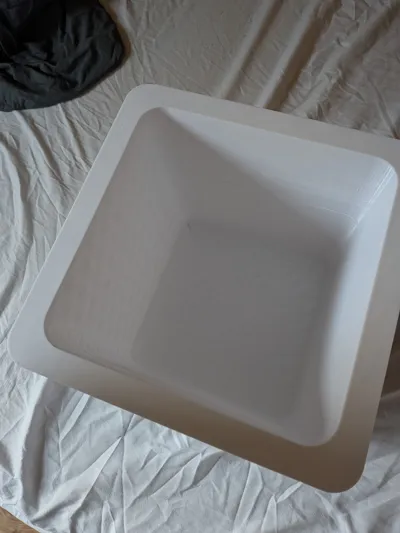
- inside volume has a slope, to allow the melted water to escape (and reduce heat transfer with unmelted ice)
2 versions: 1 with a hole for plugging in a standard silicone tube [3X1mm → 3mm inside diameter and 5mm ouitside diameter bought at Bauhaus]
(to prevent the water to run on the table, so the tube could direct the water on the bottom)
- First plate is with tube hole
- Second plate is the version without tube hole
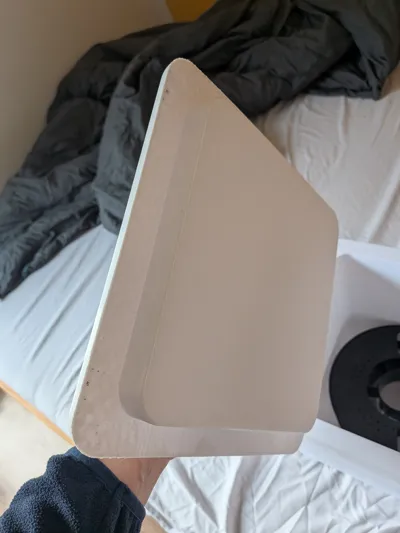
designed an inside separator (plate 5) to allow one box store ice and wild berrys simultaneously
The design is great, BUT the prints did FAIL completely.
Why?
Warping everywhere!
The model is to big, to be printed with cubic infill, otherwise it will pull the printedbed off the magnets.


Printing with 2 layers of brim caused the print to warp even more:

So no chance of realising it with cubic infill, i figured out, it could be possibly printed with gyriod infill (losing the thermal insulating effect!) and reducing top and bottom lines to the bare minimum.


With this settings I managed to make it printable, but it's far from perfect and may cause filament specific problems as well.
I printed with PETG from Kingroon and Geeetech. The Kingroon performed better (less warping, cleaner lines), but both worked in the end.
I suggest using a old nozzle, because of the warping, the nozzle will scrape above the printed part in the corners of the print. ( I could'nt fix the warping completely!)
For A1 users: Secure your printer against moving during printing! And reduce the speed after ⅓ of the print to 50% otherwise the hole printer will start shaking and the icebox will fall from the bed sooner or later and cause chaos.
Plate 1: Ice box with hole for silicone tube
Plate 2: Ice box without hole
Plate 3: cover (fitting both versions)
Plate 4: Testprint for silicone tube
(It's a exact copy of the inside diameter for the tube connection. If your tube fits inside the test print, it fits inside the Plate 1 ice box perfectly. There is a slightly increasing diameter, which could allow you to plug the tube inside and form a waterthight connection just from friction. However if you use bad quality filament, you won't get perfects diameters, so adding a little bit of glue can't be wrong.
That's my failed experienced, I wanted to share it anyways, so maybe someone can learn from it and we can discuss improvements in the comment section. Thank you for your time :)
Comment & Rating (1)