

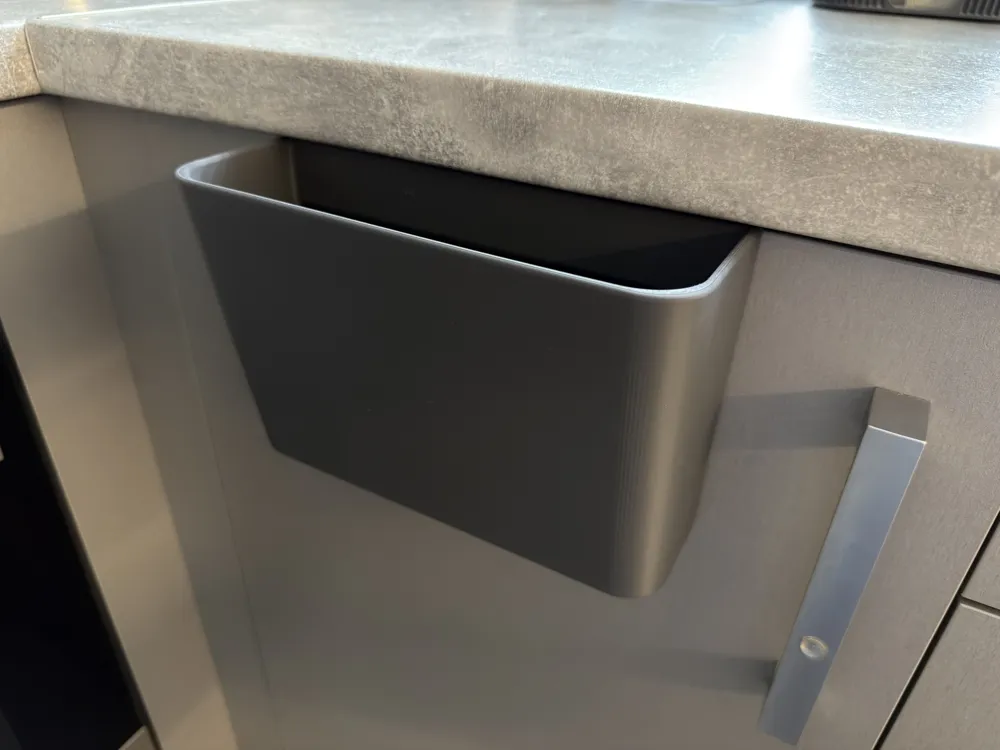
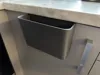
Kitchen Cabinet Door Magnetic Food Scrap Caddy
Print Profile(4)
Bill of Materials

Description
Before you start: measure your cabinet door thickness and download the matching door mounting bracket file.
Tested setups: I used 8×2 mm and 6×3 mm magnets. I tested with a 2 kg load and the bin stayed mounted securely.
Compatible magnets
- Recommended: 8 mm diameter × 2 mm or 8 mm × 3 mm
- Also works: 6 mm diameter magnets
- Total magnets needed: 36 pcs
Step 1: Glue magnets into the magnetic pad
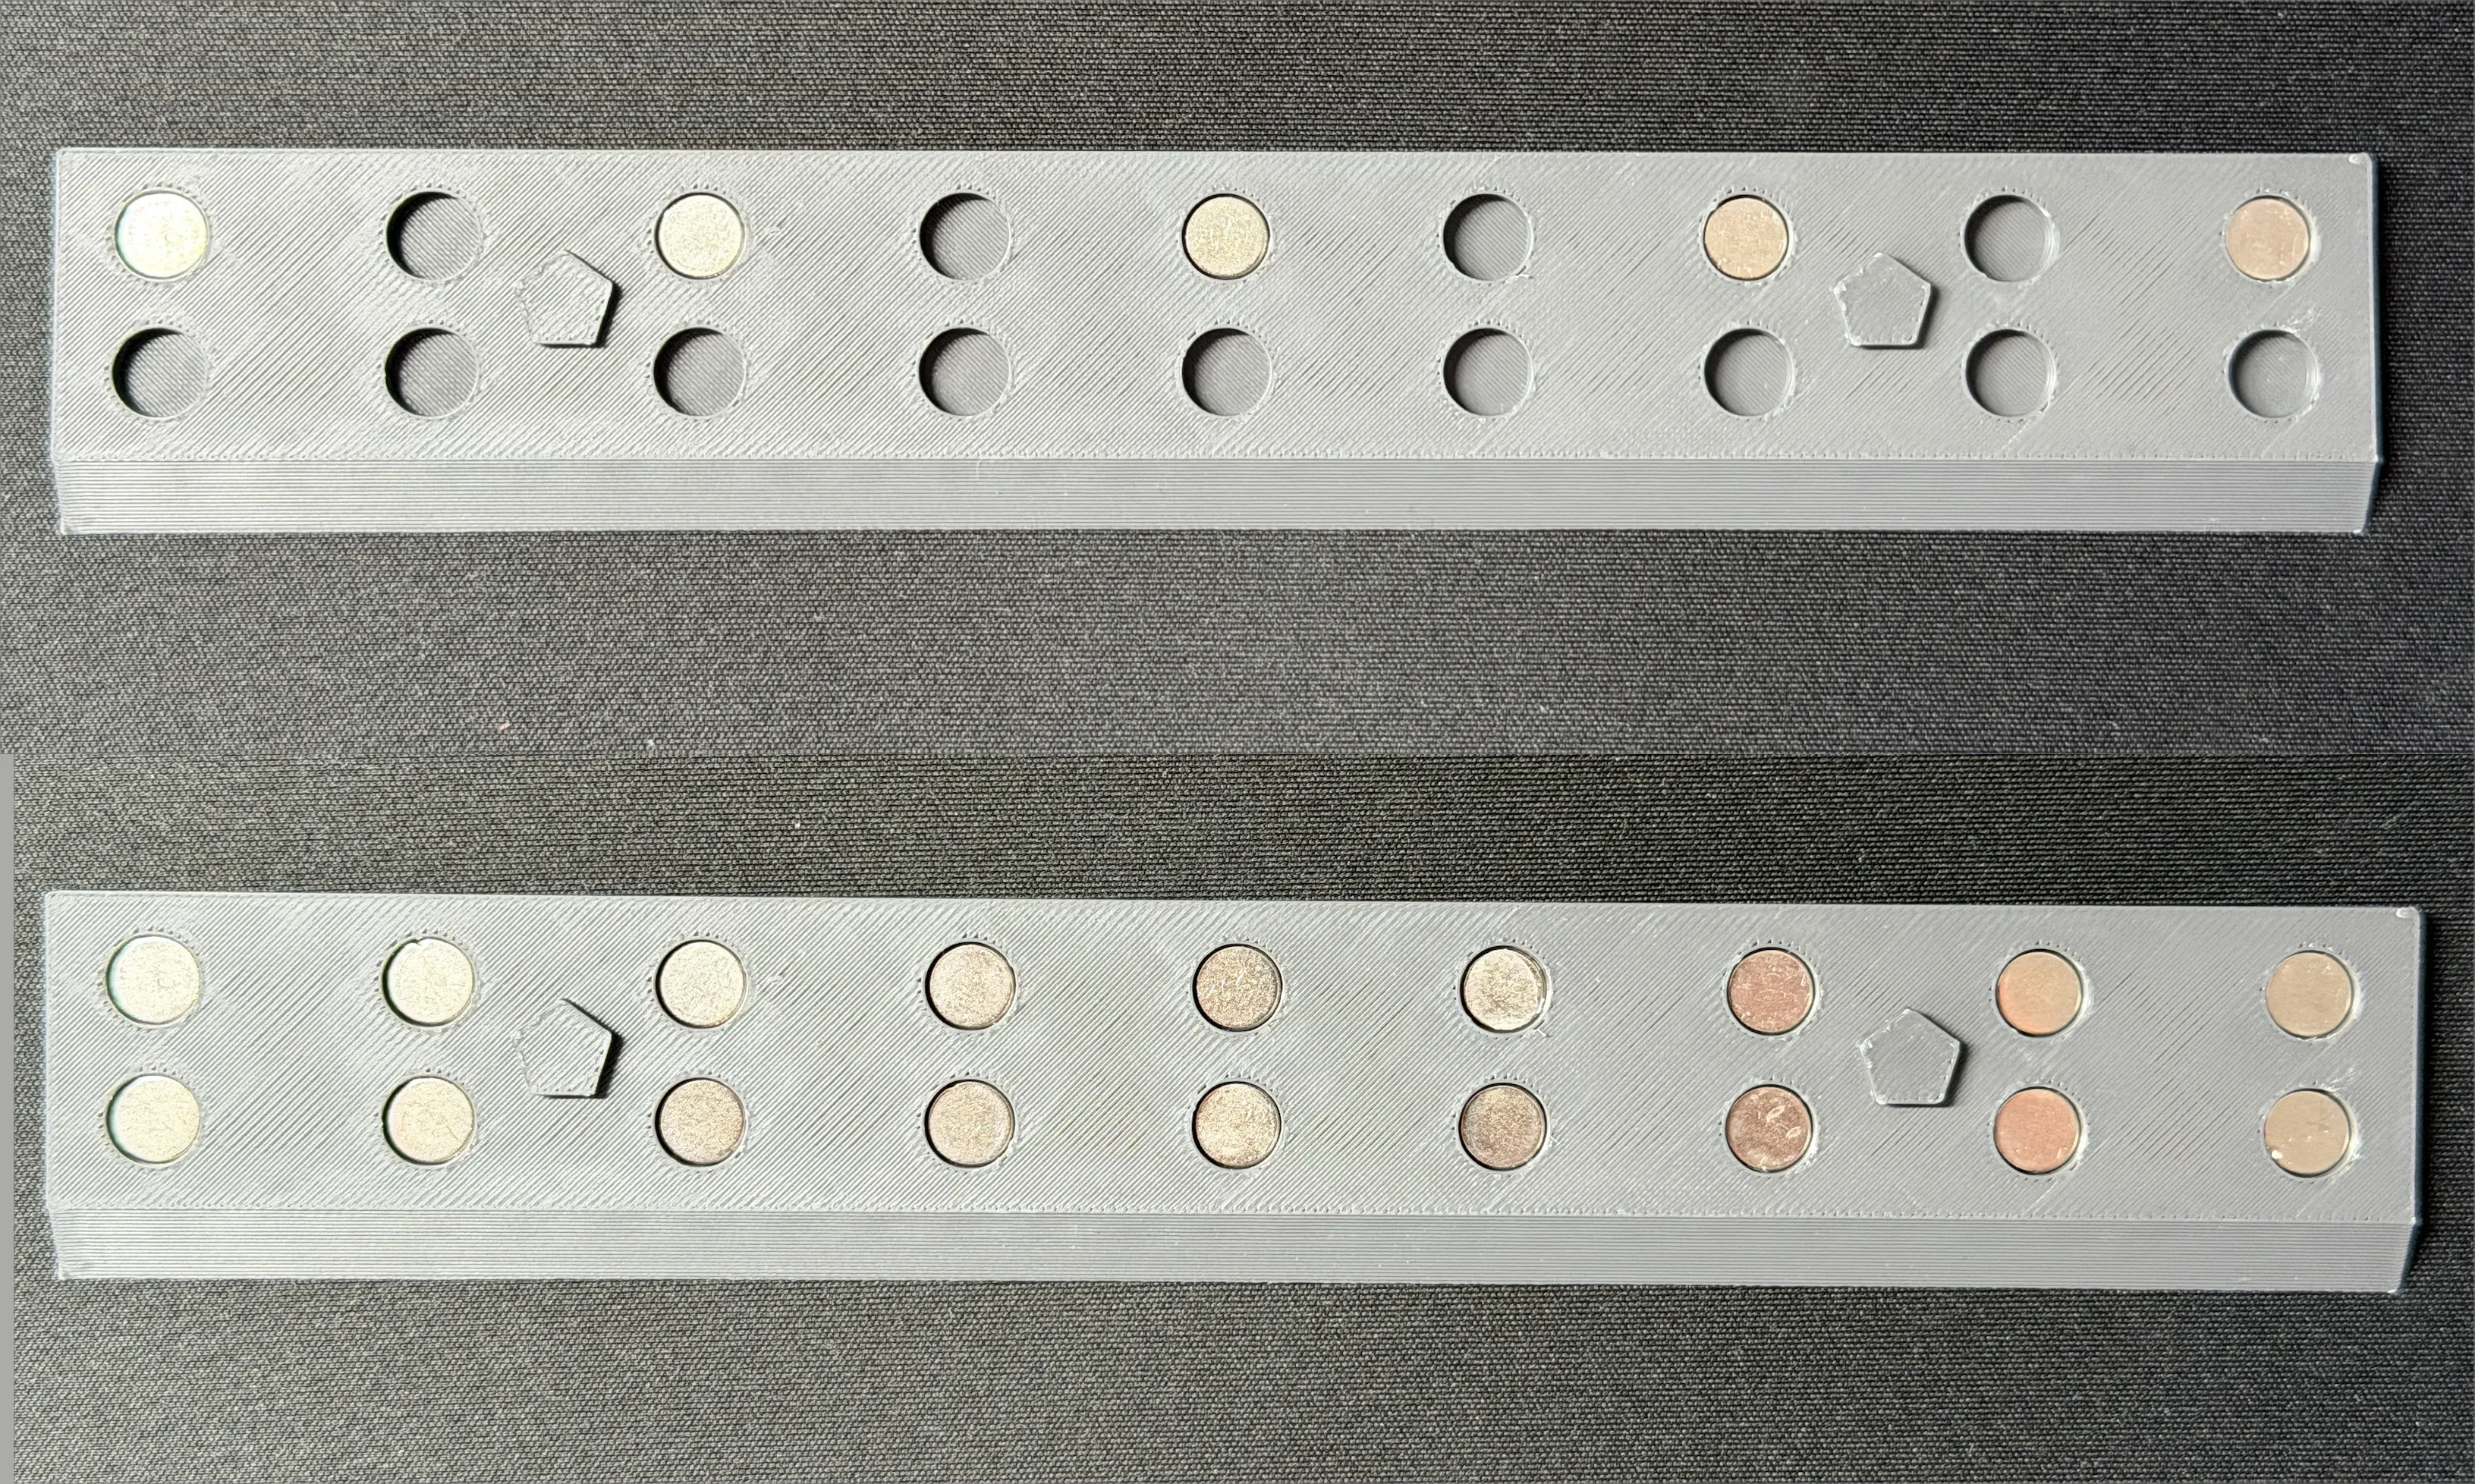
- Place the magnetic pad on the table.
- Add a small drop of glue into every other hole (alternate holes). This helps prevent magnets from jumping out and snapping together while you work.
- Insert magnets into the glued holes.
- Repeat for the remaining holes until the pad is filled. Work hole by hole: glue, insert, move on.
Step 2: Glue the magnetic pad onto the bin
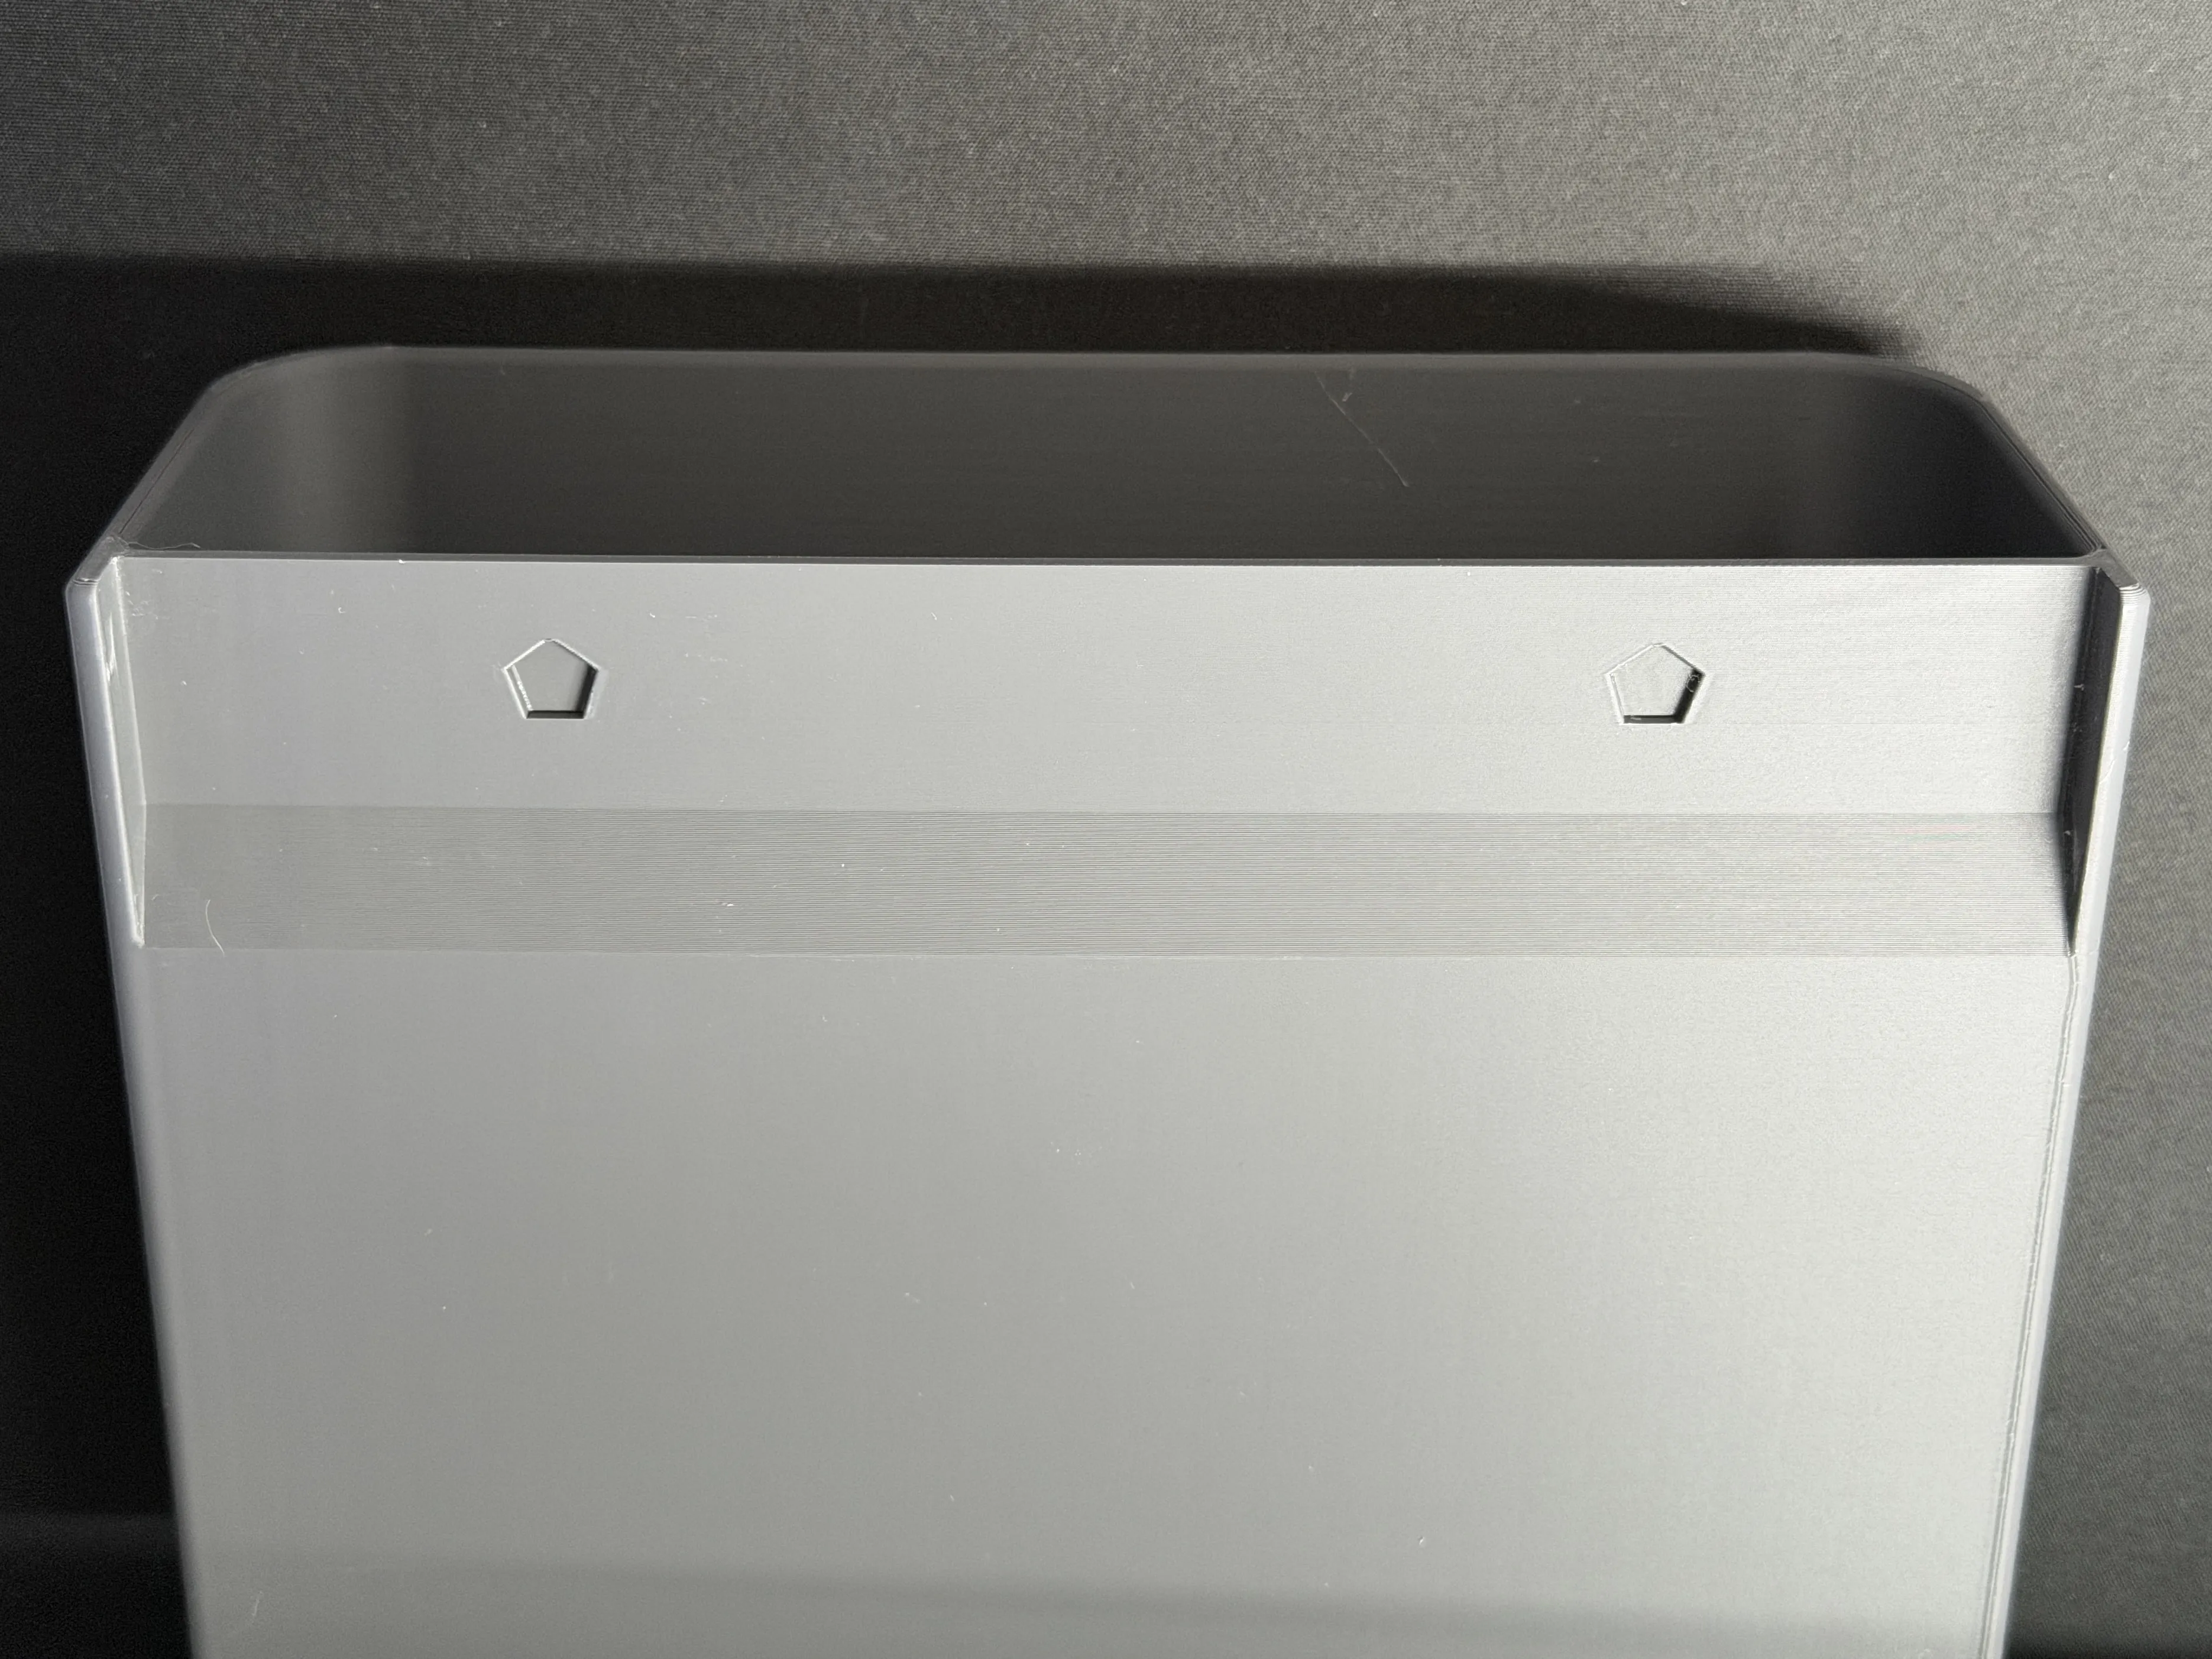
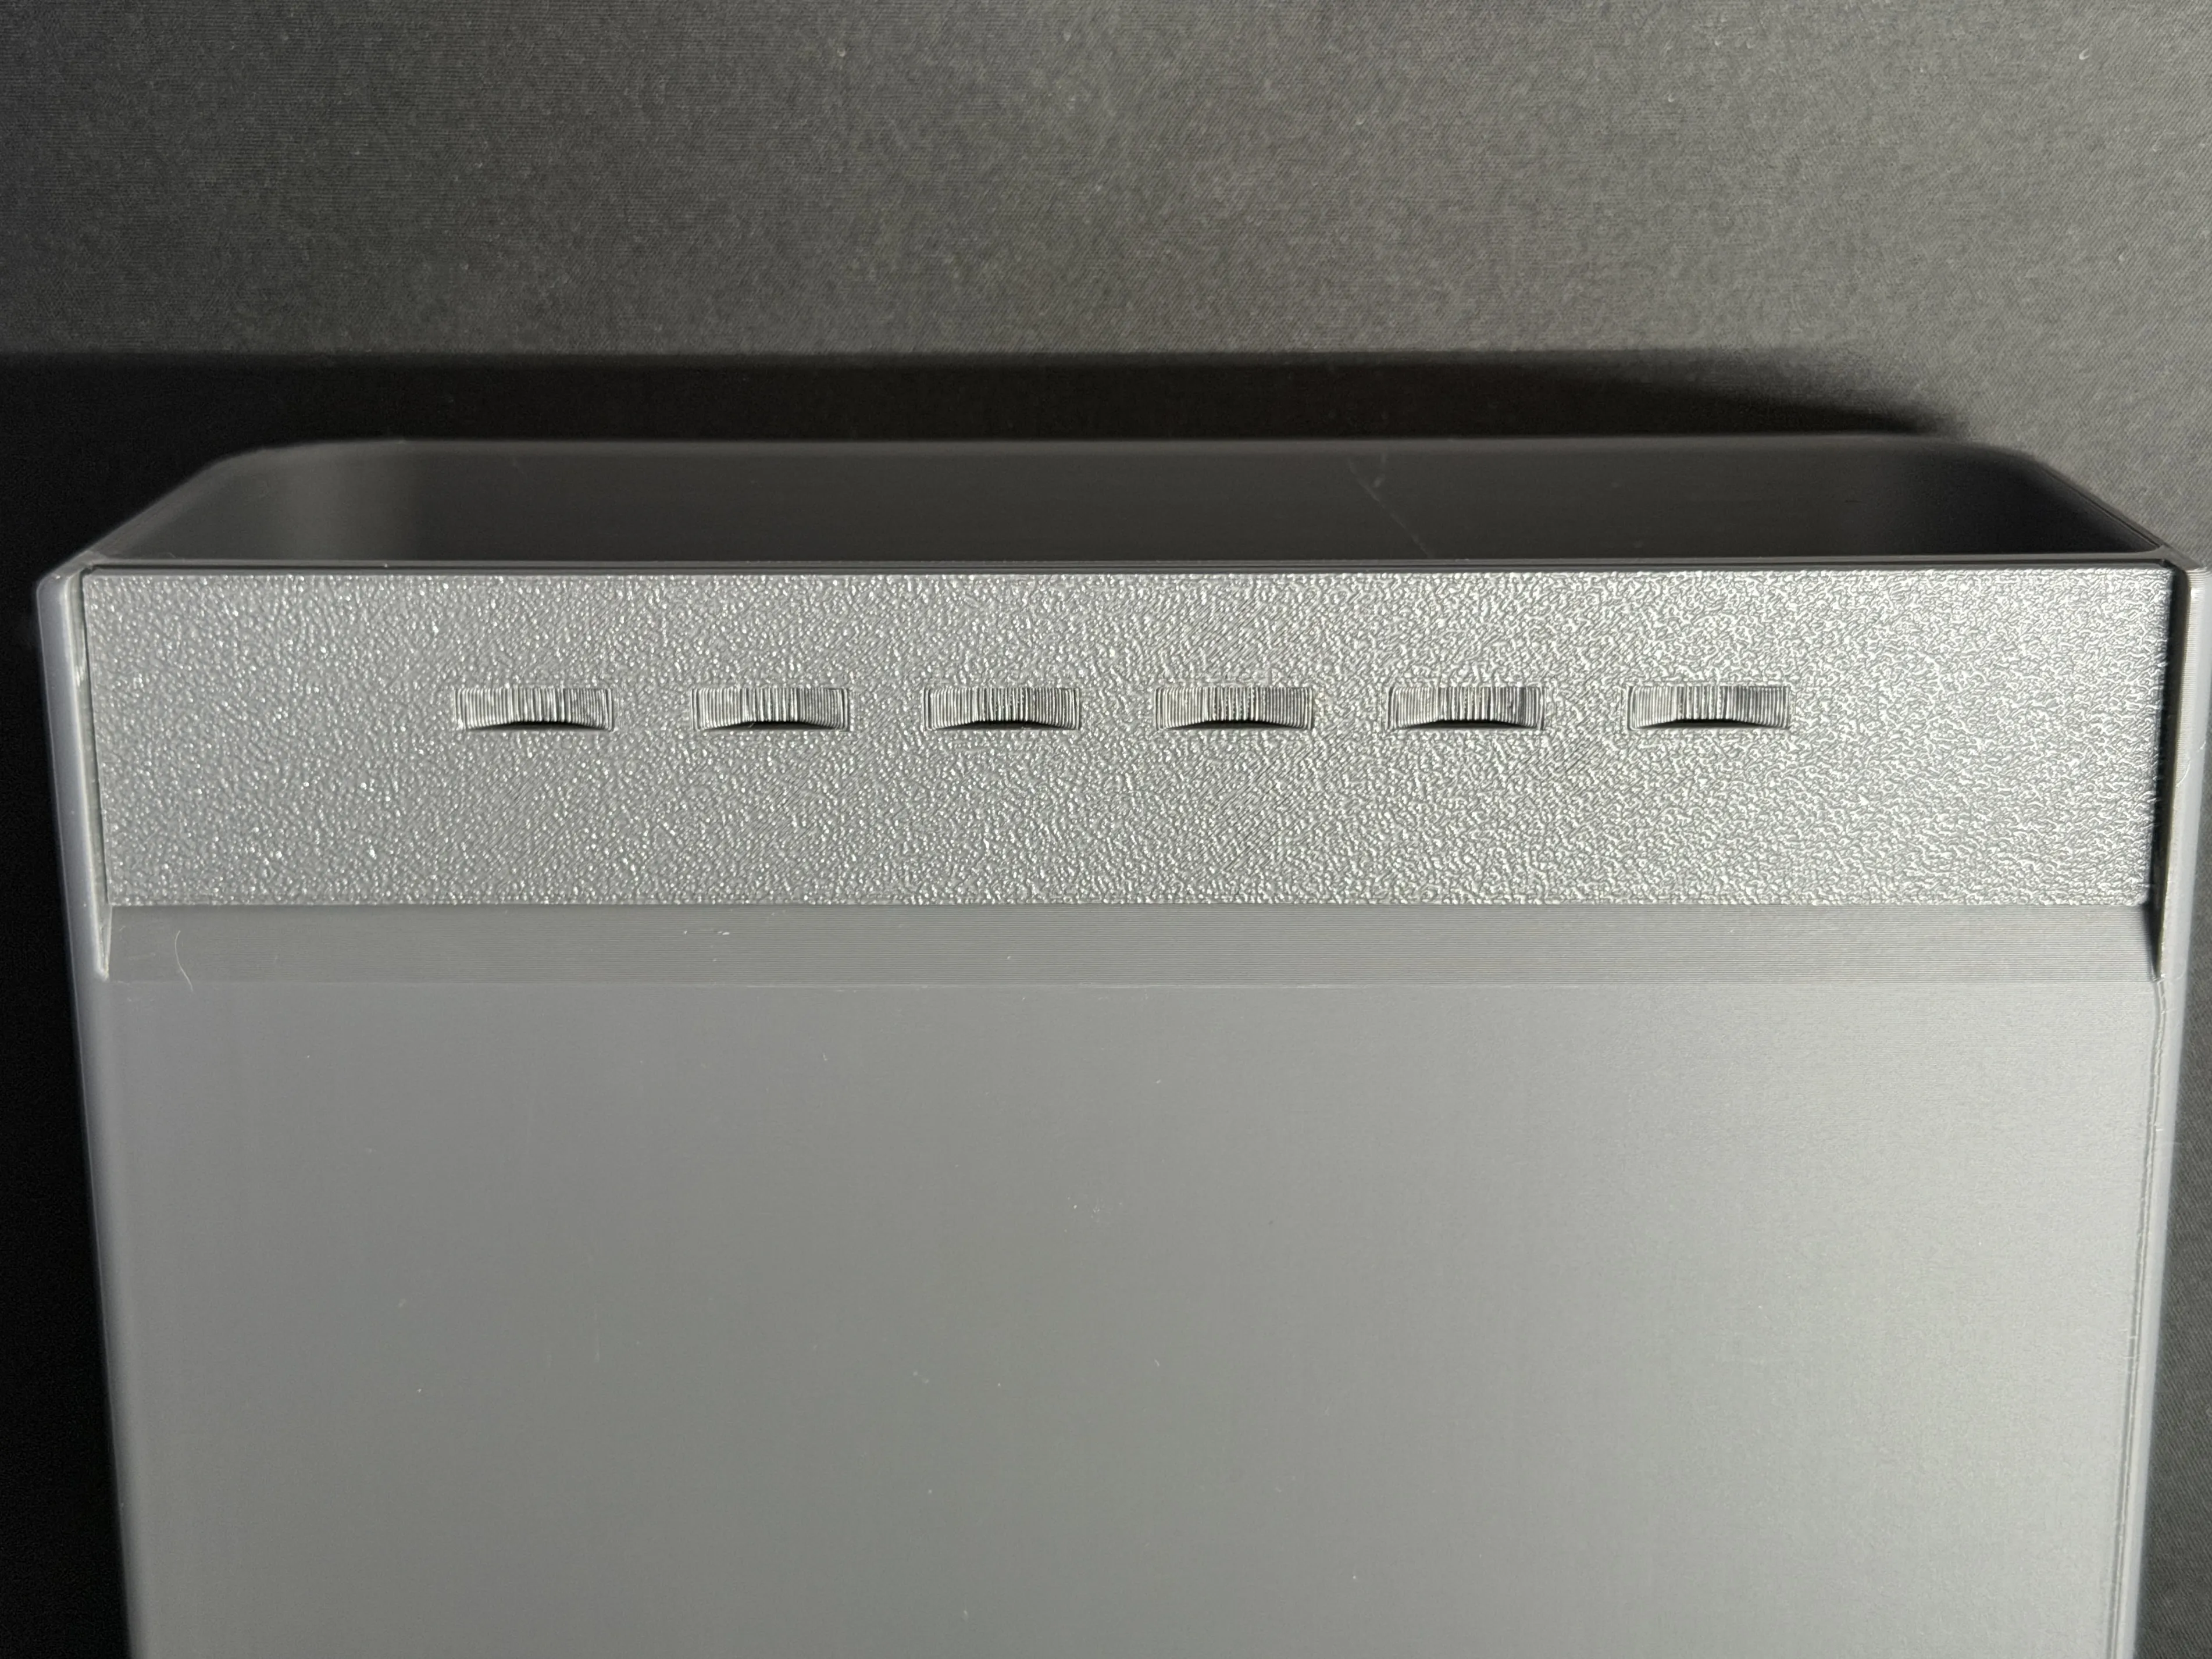
- Apply glue generously to the bin area where the magnetic pad will be attached.
- Leave about 1 mm margin around the edges so glue does not squeeze out.
- Press the pad firmly into place and hold it for a short time.
- Let the glue fully cure before moving on.
Step 3: Glue magnets into the door mounting bracket
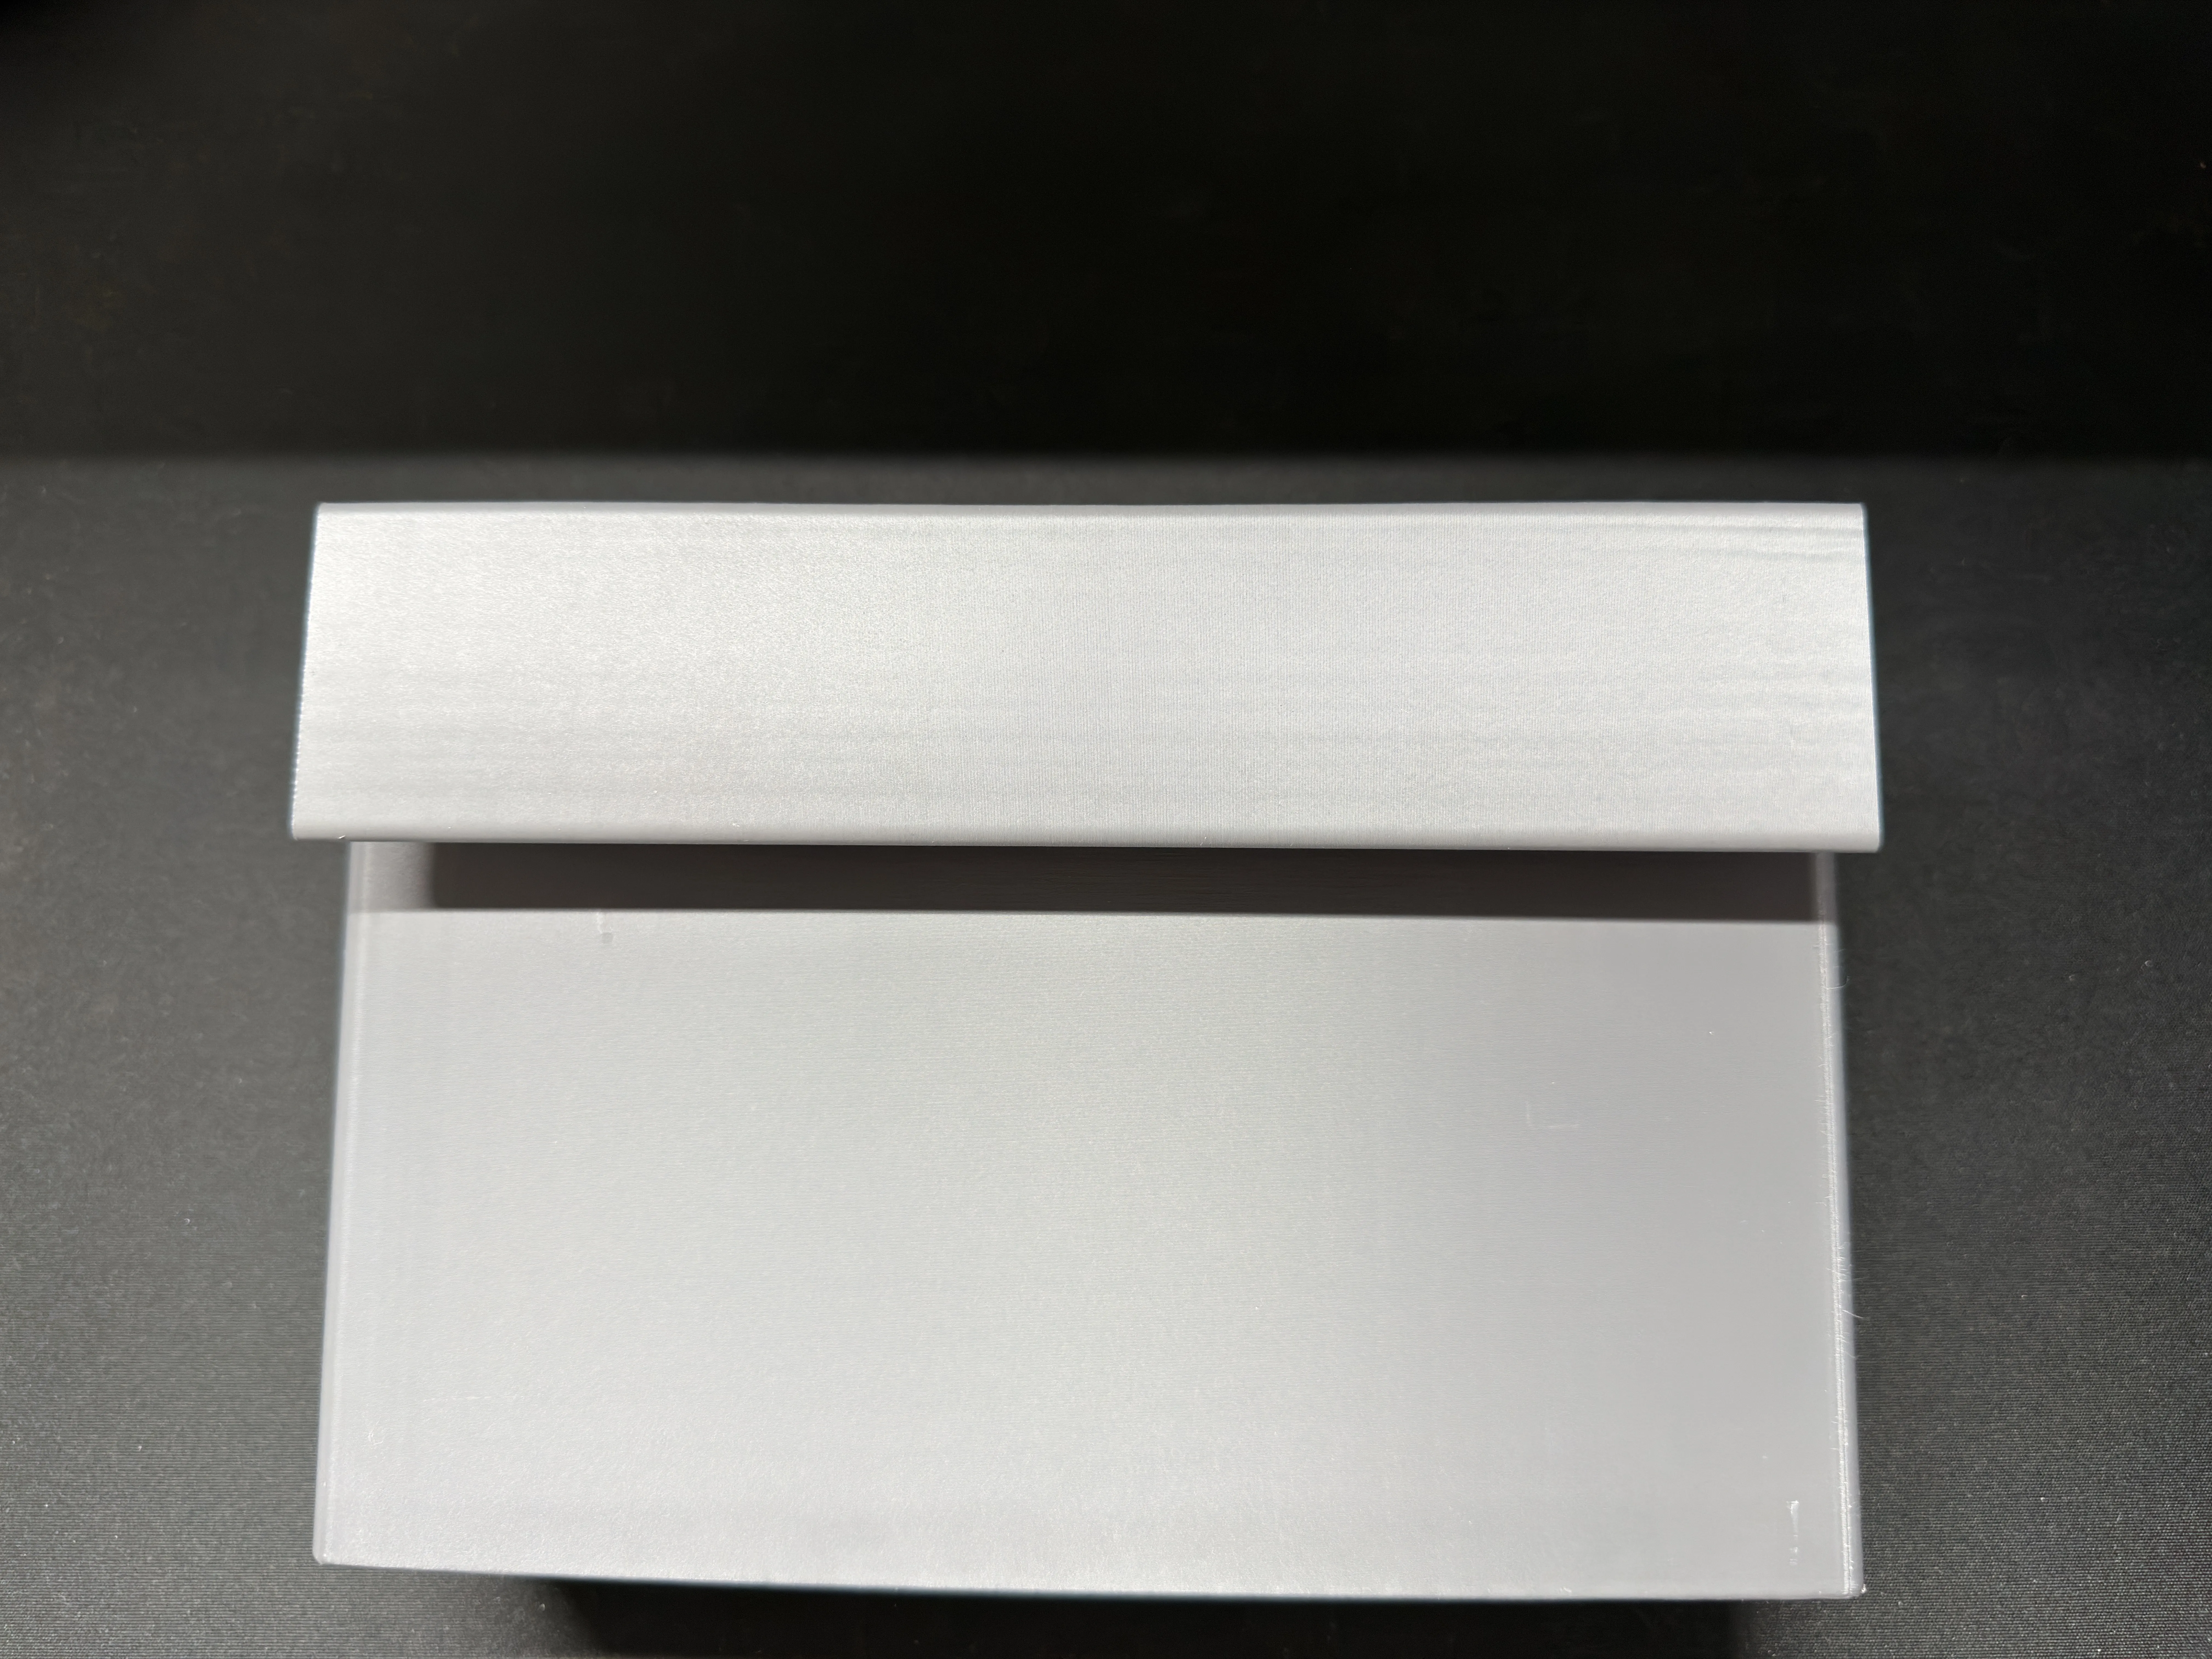
Magnet access is a bit tighter here. The holes have extra tolerance to make insertion easier.
Put a small drop of glue into each hole in the door mounting bracket.
Alternative (easier access): if your glue bottle has a short nozzle and reaching the holes is difficult, you can skip the glue in the holes. Insert all magnets first, then secure them by applying a strip of clear transparent tape over the magnet side
- Attach the bracket to the bin (with the magnetic pad already glued on). Keep it attached while inserting magnets so they self-align and snap into the correct positions.
- Insert magnets one by one. They should “jump” into place.
- Wait a moment for the glue to set before separating the parts.
Note for thin magnets
If your magnets are thinner than 3 mm, be careful. They can jump onto the top of the magnets already glued into the pad and may be hard to separate. If it happens, pry them apart with a thin, sharp tool.
Recommended print settings
I recommend printing exactly as provided in the print profiles. If you’re experienced, you can increase print speed or disable the brim.
License

You may create derivative works based on this object, provided that all such derivative works are published exclusively on the MakerWorld platform and include proper attribution to the original creator. You may not share, upload, host, distribute, or publish this object—or any derivative work of this object—on any other digital platform, marketplace, or distribution channel. Commercial use of this object and any derivative works is strictly prohibited. This includes, but is not limited to, selling, renting, sublicensing, or using the object in any context in which you receive monetary compensation or other financial benefits.


Comment & Rating (5)