


Print Profile(2)
Description
Description
What if opening a bottle didn’t end with a cap on the counter, but instead something a bit more fun?
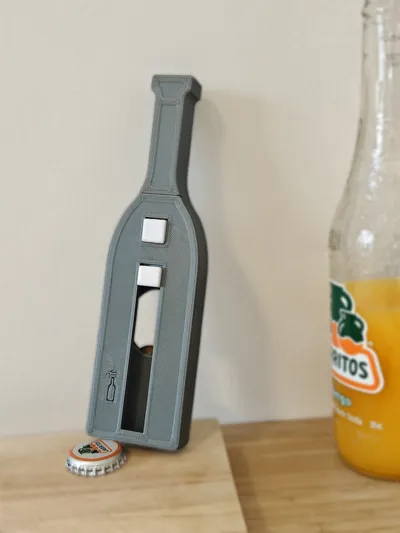
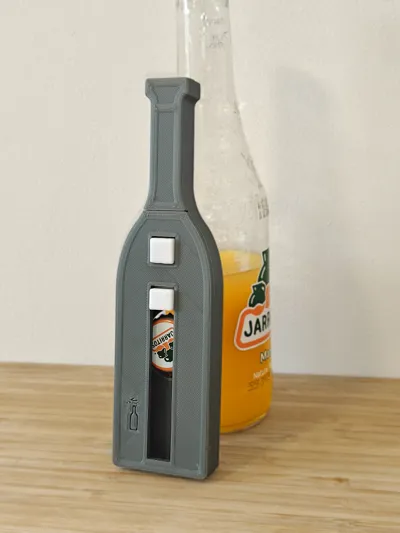
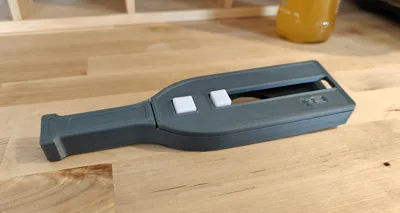
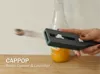
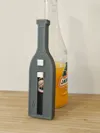
CapPop is a fully mechanical bottle opener built into a bottle-shaped design to fit your home bar setup. It removes the cap, captures it, and fires it with a satisfying trigger press.
No batteries or complex parts. Just a tensioned rubber band, a spring from a pen, and a coin or a washer.
Open. Catch. Launch.


With the setup I've used for the guide I was able to launch the cap 4-5 meters.
Key Features
• Integrated bottle opener
• Press-fit metal washer insert
• Cocking mechanism
• Trigger-activated launch
• Magnetic cap retention
• Adjustable power

How It Works
1. Cock
Pull back the Striker until it locks automatically.

2. Open
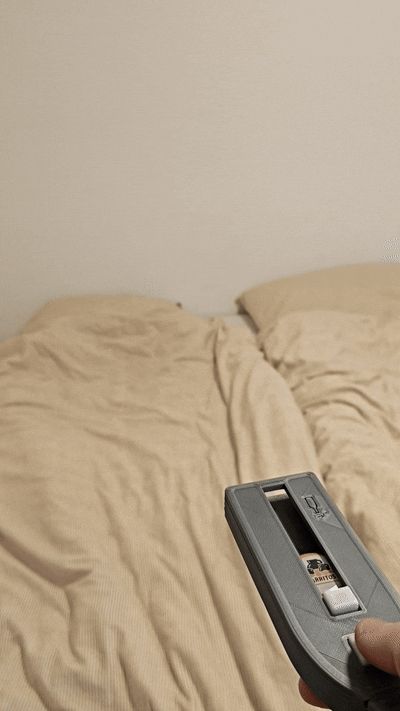
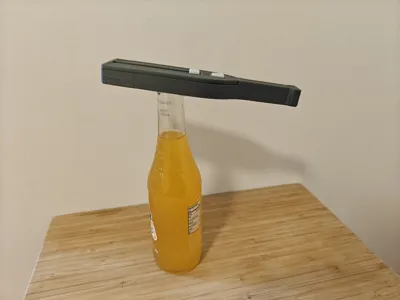
Place CapPop over bottle cap so washer protrusion hooks under cap edge.


Lever the CapPop to open the bottle.

3. Capture
Magnets hold the cap inside the body.

4. Launch
Press the trigger below the neck.
The striker releases and launches the cap.
⚠️ Always aim away from people, pets, and fragile objects.
🔩 Hardware Required
- 1 × Thin Rubber Band
- 2 × 6x2mm Magnets
- 1 × 20–22mm Washer or Coin (2mm thick)
- 1 × Pen Spring (approx. 4mm diameter)
- 2 × M3 screws (4–6mm)
- 5 × M3 screws (12mm)
🛠 Assembly Guide

Assembly Steps
1. Clean Parts
Remove supports and ensure:
- Trigger slides freely
- Striker slides smoothly
- Spring cavity is clear
- Screw holes are clean
2. Install Washer / Coin
Press-fit washer into slot.
Important:
- Slot designed for 22mm coin at around 2mm thickness.
- If using a smaller washer e.g. 20mm, ensure ~4mm protrudes.

3. Install Magnets
Insert 6x2mm magnets into Top-Plate.
Ensure same polarity direction.
If you're having issues pressing in the magnets, you can try heating up the magnets beforehand, to make it a bit easier.

4. Pre-Install Rear Screws
Partially insert 5 × M3 (12mm) screws.
Screw until nearly flush with top surface.
Leave final few mm for easier mounting the top plate.

5. Anchor Rubber Band
Cut band into single strand.
Secure ends using:
- 2 printed washers
- 2 × M3 (4–6mm) screws

6. Route Rubber Band
After the rubberband has been attached, guide the band behind front pillars in U-shape.

7. Install Trigger & Striker
Insert the pen spring into the hole in the Trigger.
Then insert the Trigger and spring into the rear slot.
The spring should:
- Push the trigger upward
- Allow smooth compression when pressed
- Fully reset the trigger when released


Seat Striker behind rubber band.
Striker should tension when pulled toward trigger.

8. Attach Top-Plate
Guide the Trigger into rear vertical slot and the Striker into elongated center slot

9. Final Tightening
Flip and fully tighten screws on the back.

Test:
- Cock → lock
- Trigger → clean release
- Smooth striker travel
License
You shall not share, sub-license, sell, rent, host, transfer, or distribute in any way the digital or 3D printed versions of this object, nor any other derivative work of this object in its digital or physical format (including - but not limited to - remixes of this object, and hosting on other digital platforms). The objects may not be used without permission in any way whatsoever in which you charge money, or collect fees.
Comment & Rating (17)