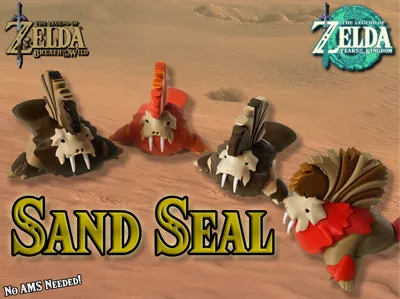
Sand Seal [NO AMS] Zelda: Tears of the Kingdom


Print Profile(1)
Description
Boost Me (for free)
If you enjoy my creations please consider a boost 🎆. It helps them reach more people and helps with motivation to create even more models. Thank you!
The Legend of Zelda: Breath of the Wild/Tears of the Kingdom
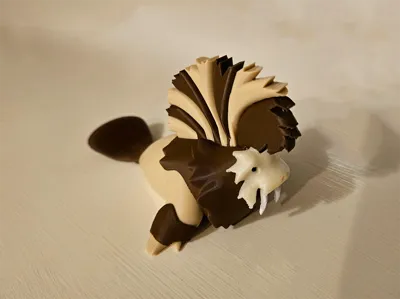
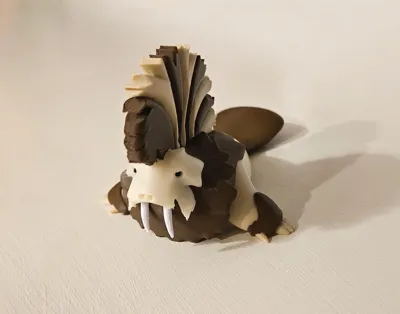
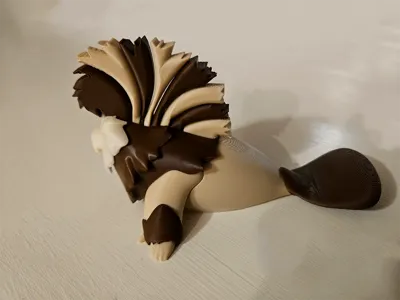
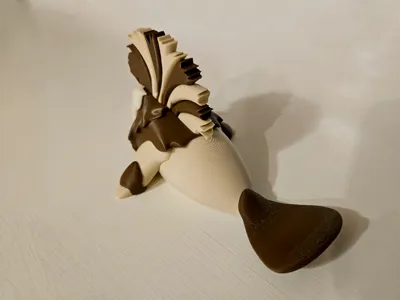
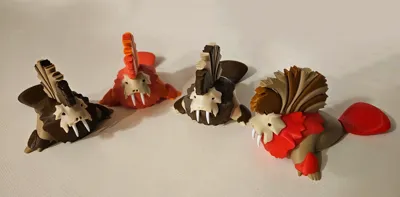
Sand Seal

When you need to get onto a Divine Beast or are just in the mood to traverse the scorching Gerudo Desert sands, you can count on the Sand Seal to help you out.
Now you can print your own Sand Seal with No AMS Required. Assembly instructions are attached below.
Colors used in the pictures are combinations of Elegoo Wood, Polymaker Brown, Elegoo Beige, Elegoo Brown, Sunlu Red, Ujoybio White (more like eggshell white) and Soleyin Strawberry Milk/Orange (and black/white for pupils and tusks)
Please be sure to read this description carefully; I've had people give poor ratings to my models due to issues stemming from their lack of following print/build tips I provide.
🖨 Printing Tips
- Clean, clean, clean your build plate!
- Some pieces feature supports and others do not, the ones without should not require any
- Pull supports off gently on the face and mane
- The tusks should come off all their supports easily, but still be gentle
- The Neck Mane has brims to keep it balanced, but if your build plate is not level and clean it can fall off easily
🏗 Build Tips
- The arms should slip in to their sockets, but may need a little turn/pivot
- The tusk with the longer base goes in the right hole (the seal's right). Depending on how clean the brims come off the tusks could require a little pushing. A dot of glue could also be needed depending on filament tolerance (if it goes in too easily)
- The pupils can be tricky depending on how the hole gets printed on the neck mane. A small screwdriver could be needed to “clear” the hole out prior to sliding them in. The longer pupil goes in the seal's right eye socket. Be gentle and patient.
- Alternatively, a small piece of filament can be cut and inserted, as the diameter of the hole can fit it if needed
- The mane inserts are best to insert with the main piece on its side. Push the inserts in from the base.
- The arm "gloves" slip over the paws. A optional dot of glue can be used to keep them secured
Please check out my entire collection of Zelda-inspired Models
Documentation (1)
License
You shall not share, sub-license, sell, rent, host, transfer, or distribute in any way the digital or 3D printed versions of this object, nor any other derivative work of this object in its digital or physical format (including - but not limited to - remixes of this object, and hosting on other digital platforms). The objects may not be used without permission in any way whatsoever in which you charge money, or collect fees.
Comment & Rating (4)