
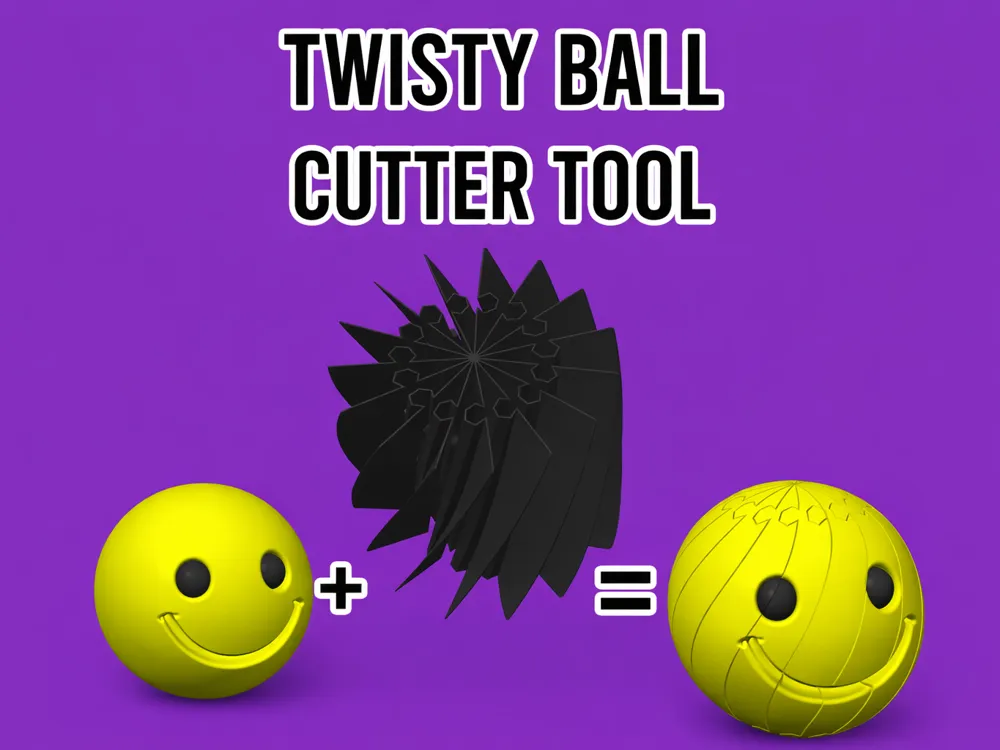
Twisty Ball Cutter Tool
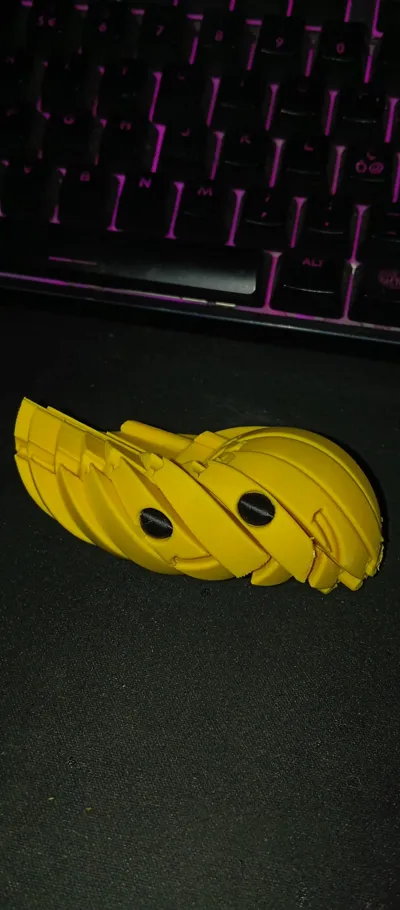
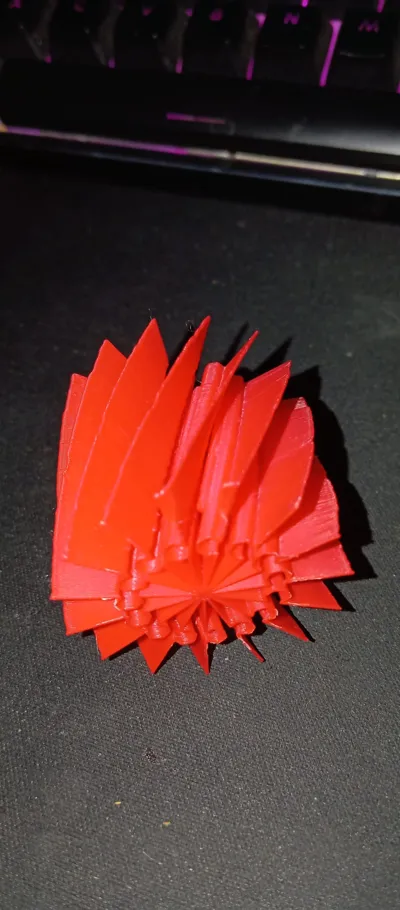
Print Profile(1)
Description
Tutorial – How to create a Twisty Ball with the Cutter
Step 1 – Import your spherical model
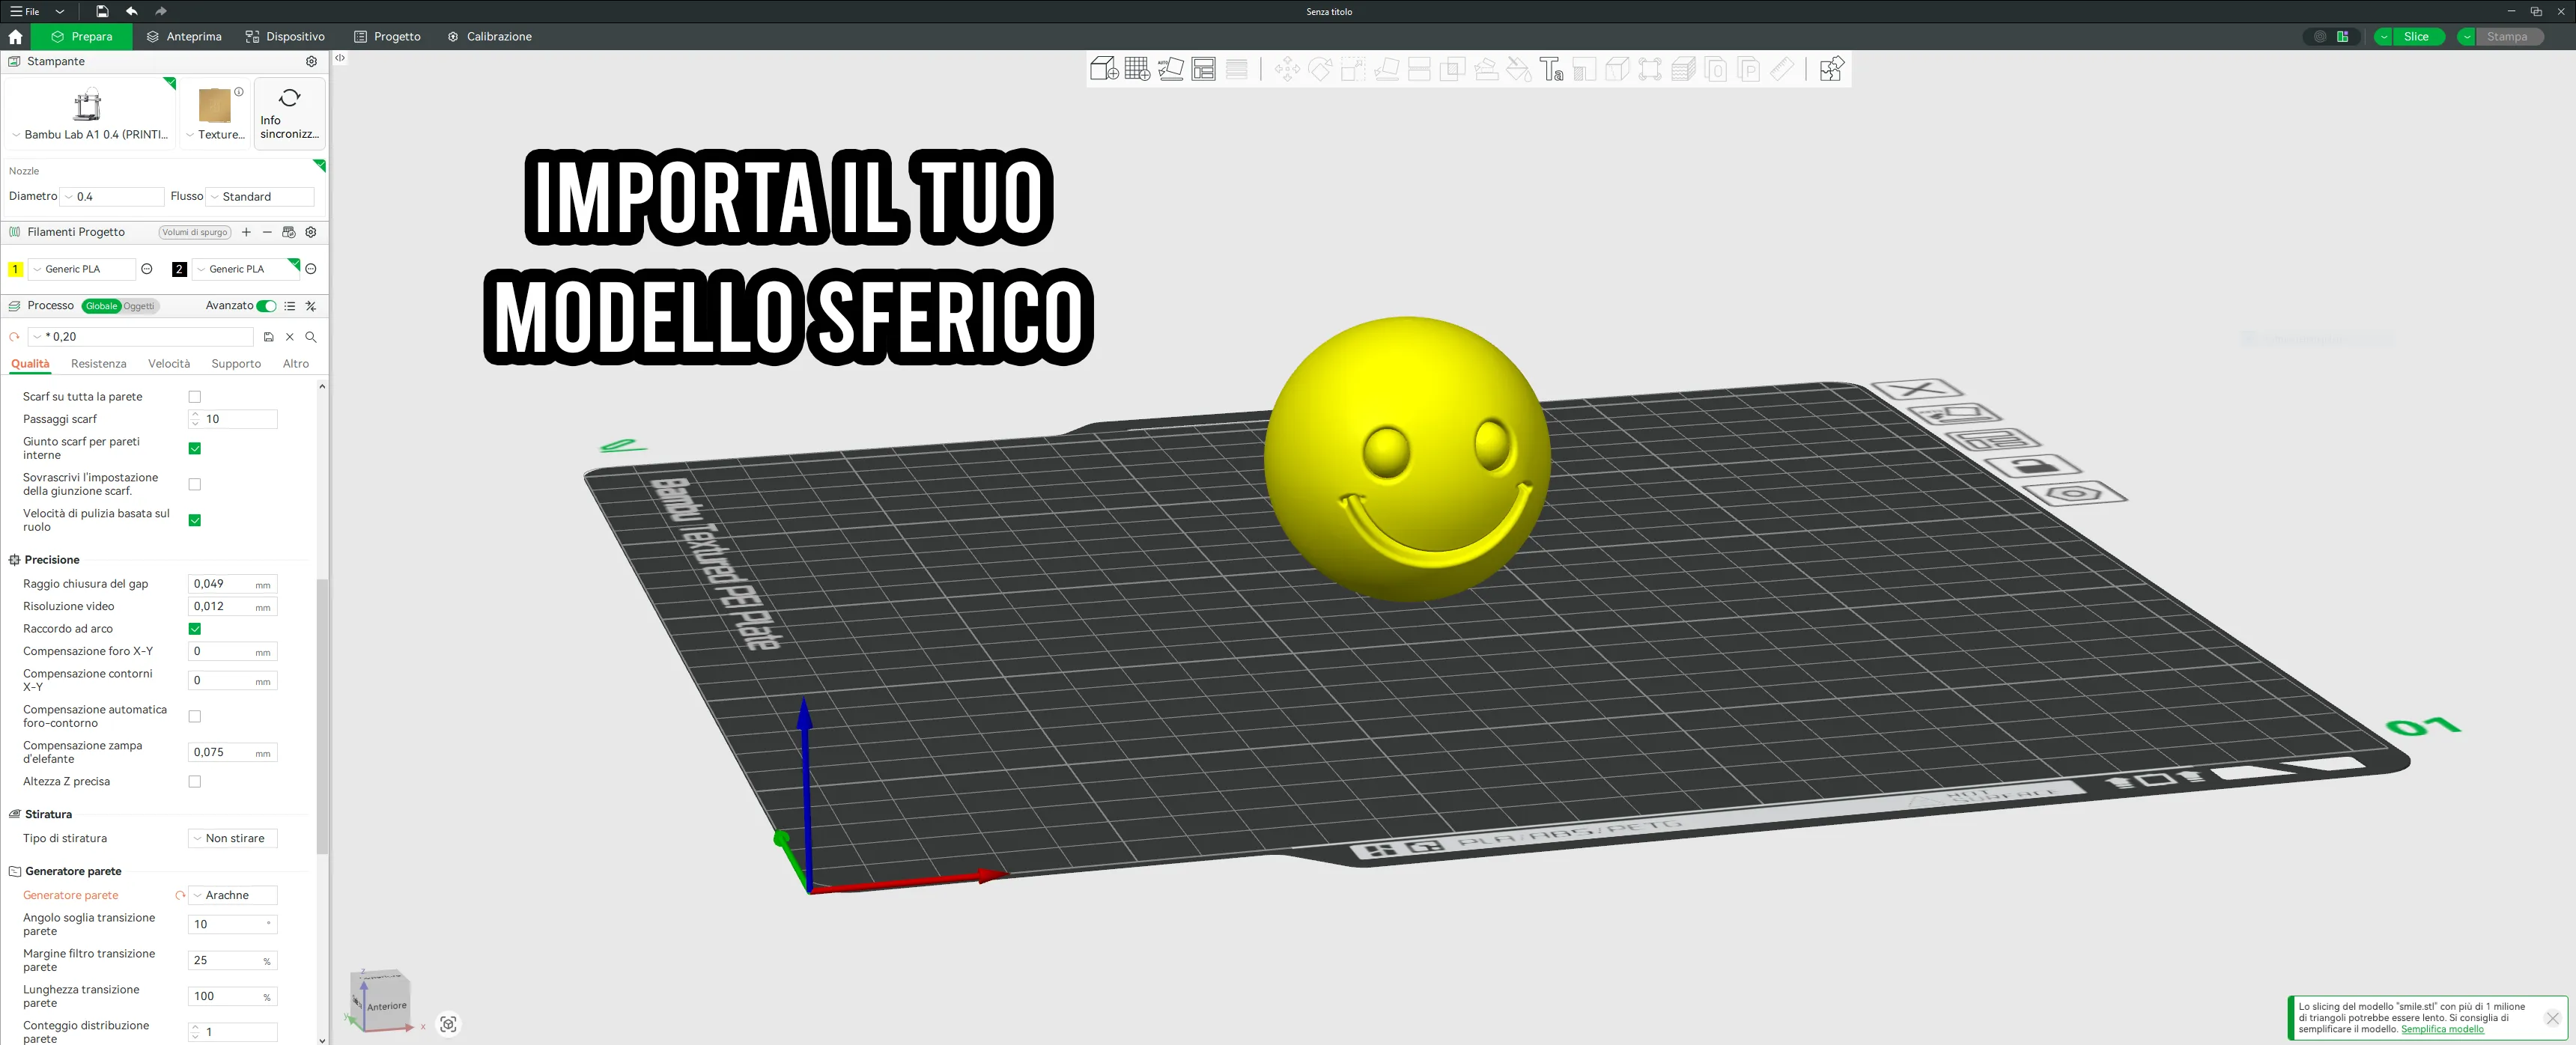
The first thing to do is to import the model you want to transform into a twisty ball.
You can use:
- a simple sphere
- an emoji
- a head
- any spherical or almost spherical model
Step 2 – Import the Twisty Ball Cutter Tool
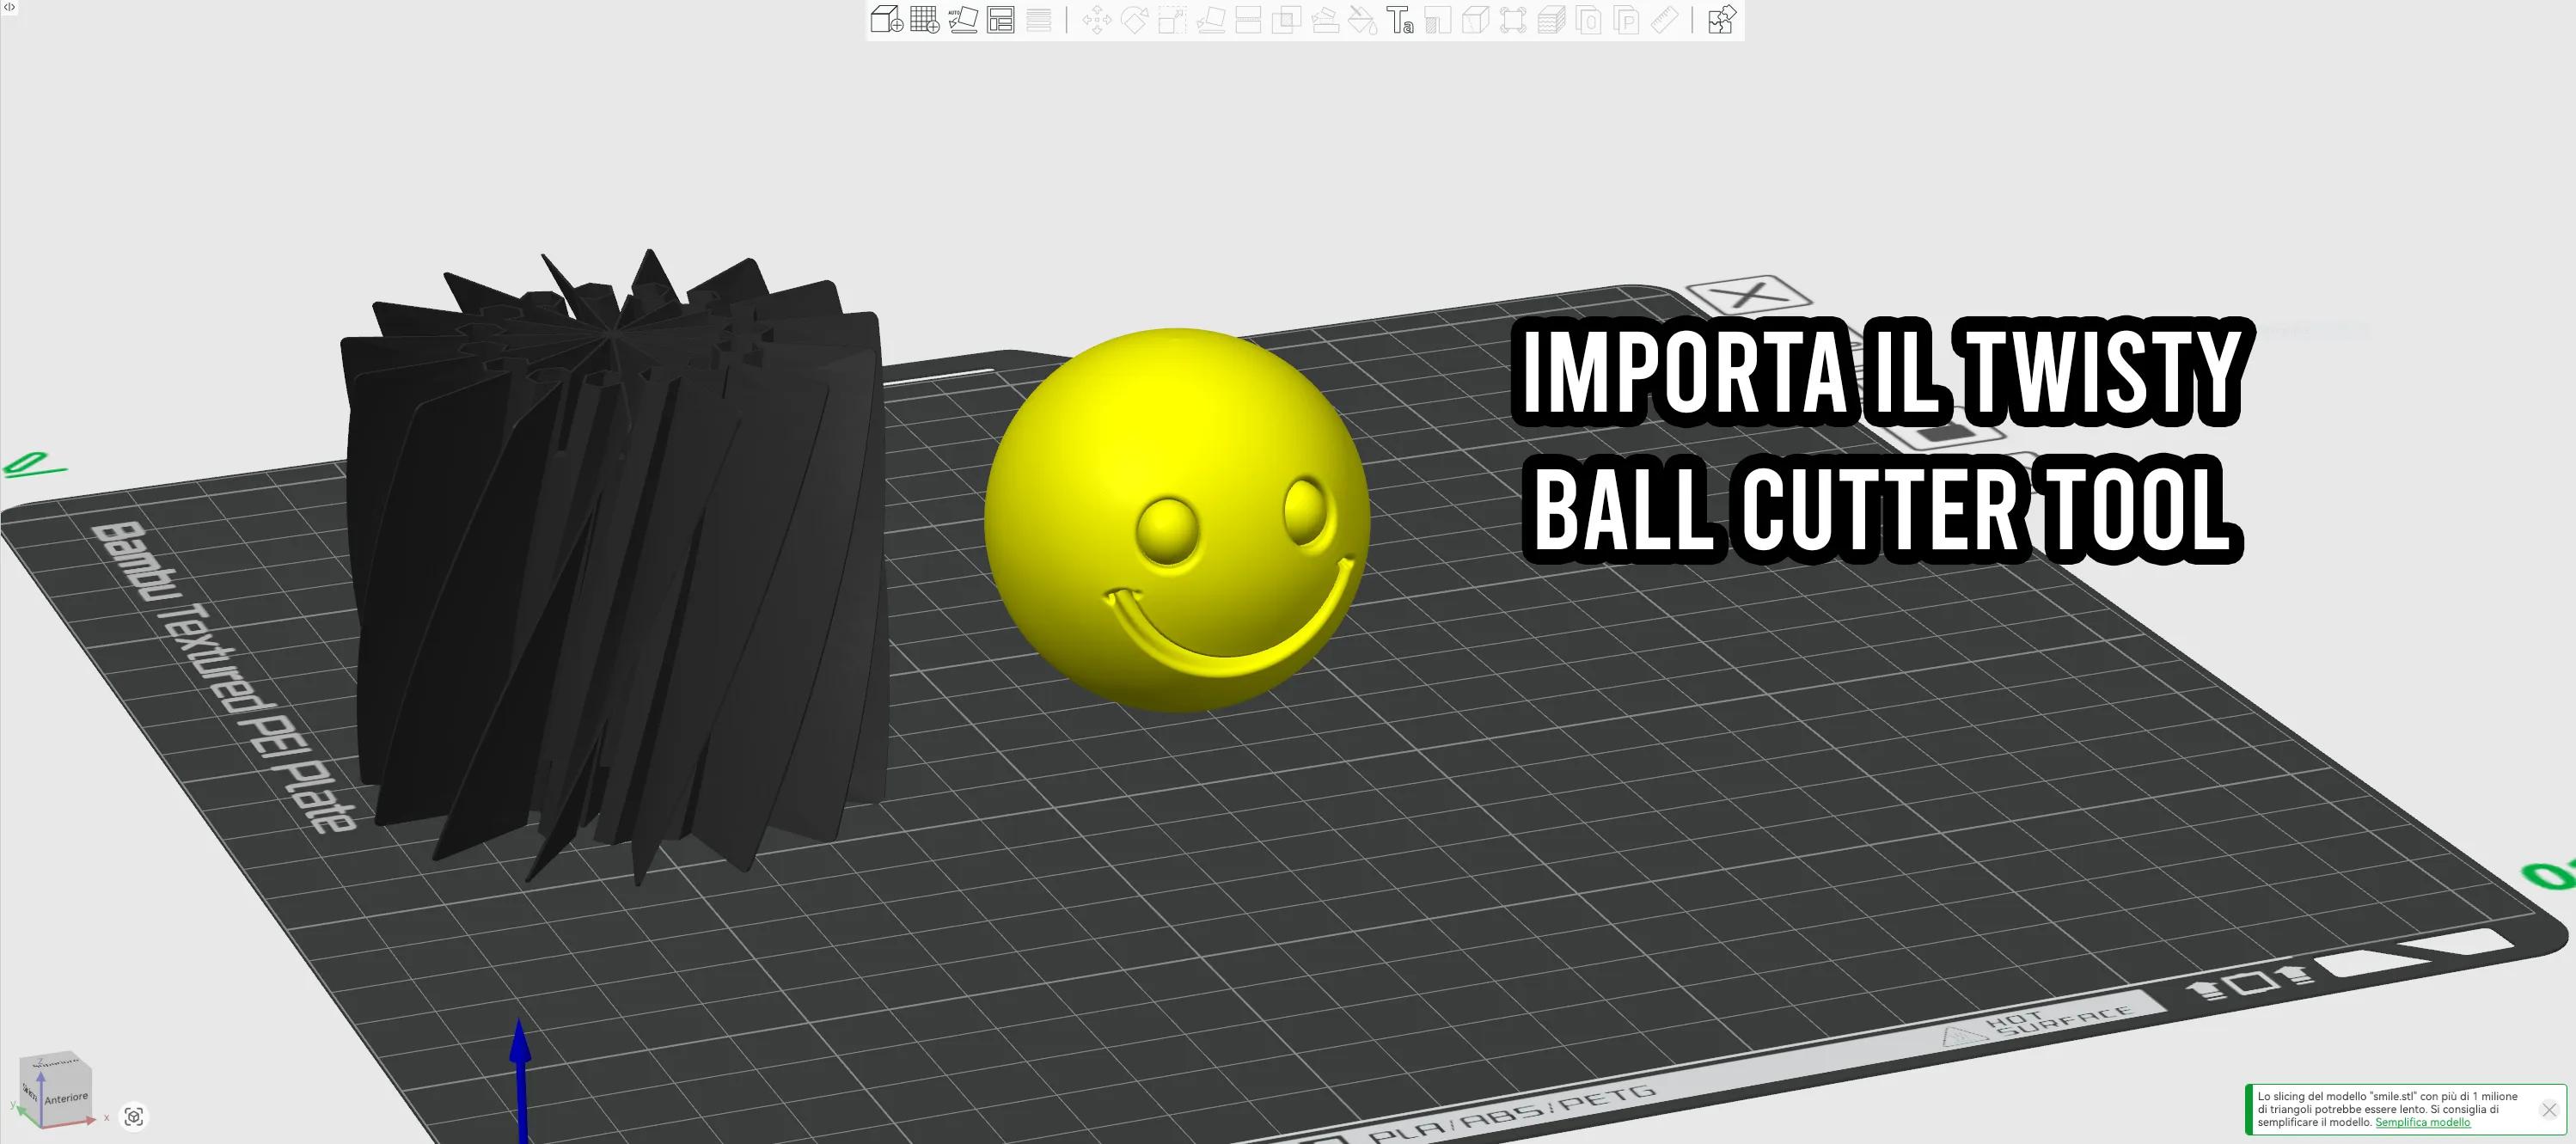
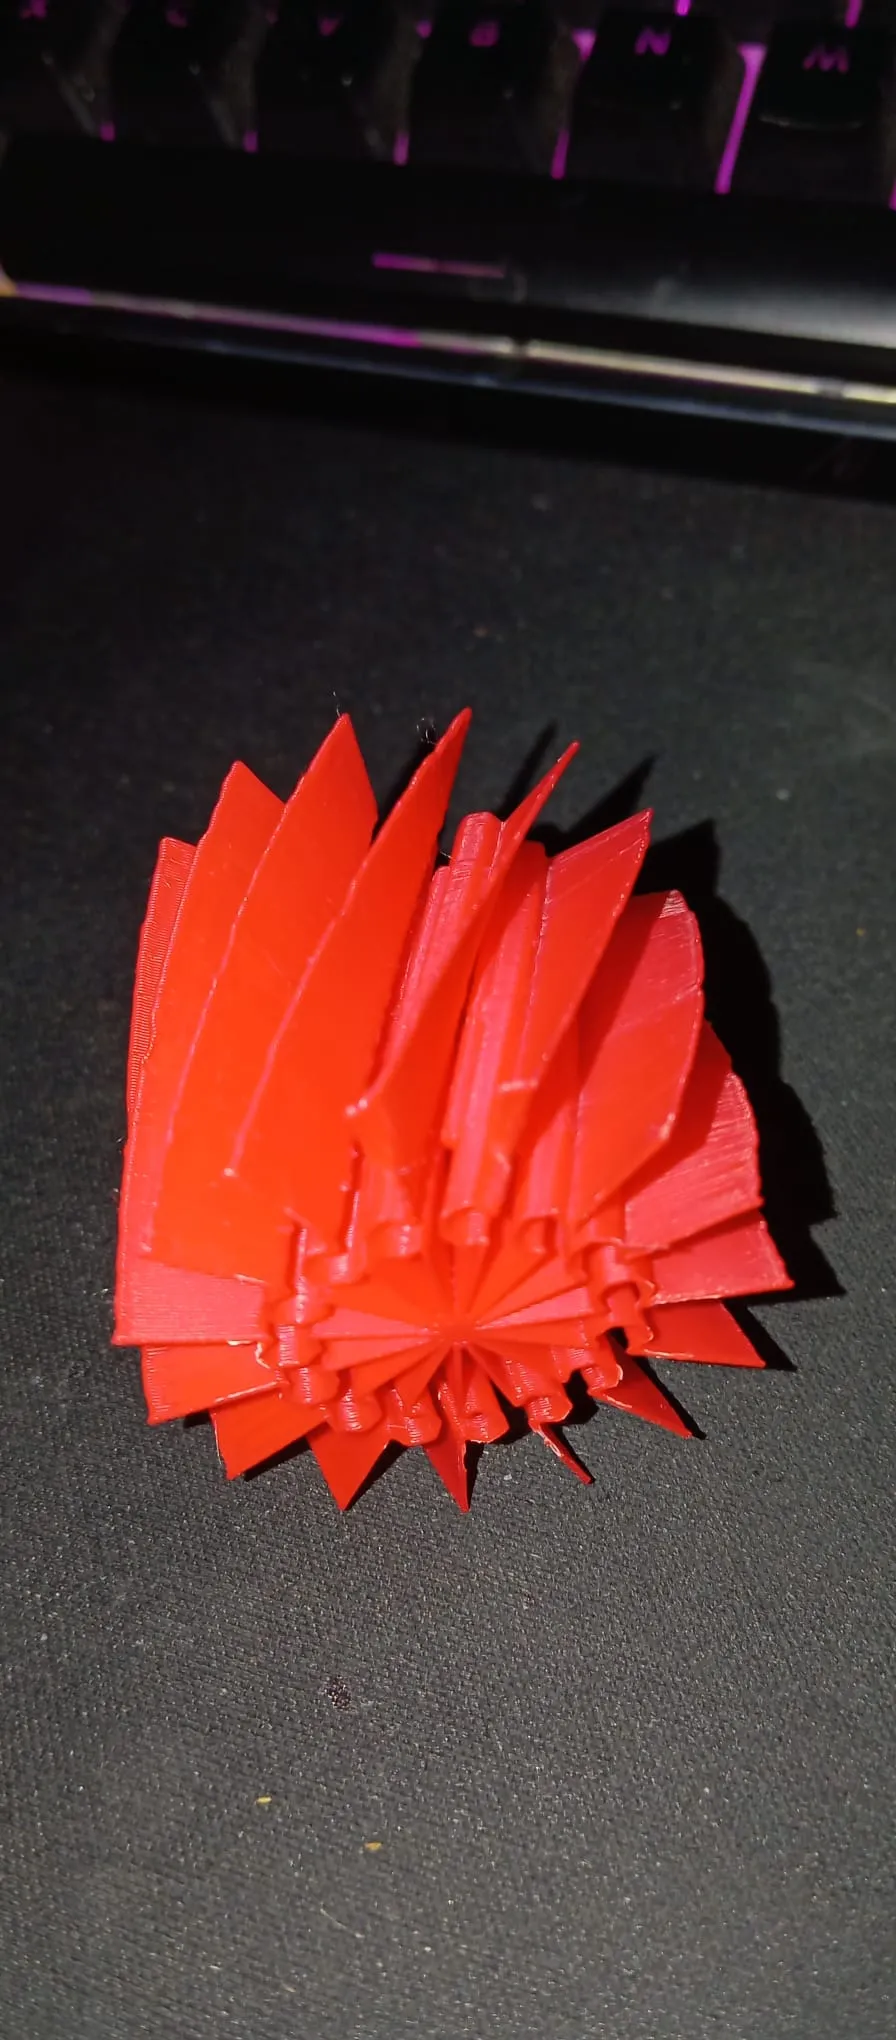
Now you need to import the cutting tool that will be used to transform the model into a twisty ball.
This tool will divide the sphere into twisted segments that will remain connected but can rotate.
Step 3 – Center the Twisty Ball Cutter
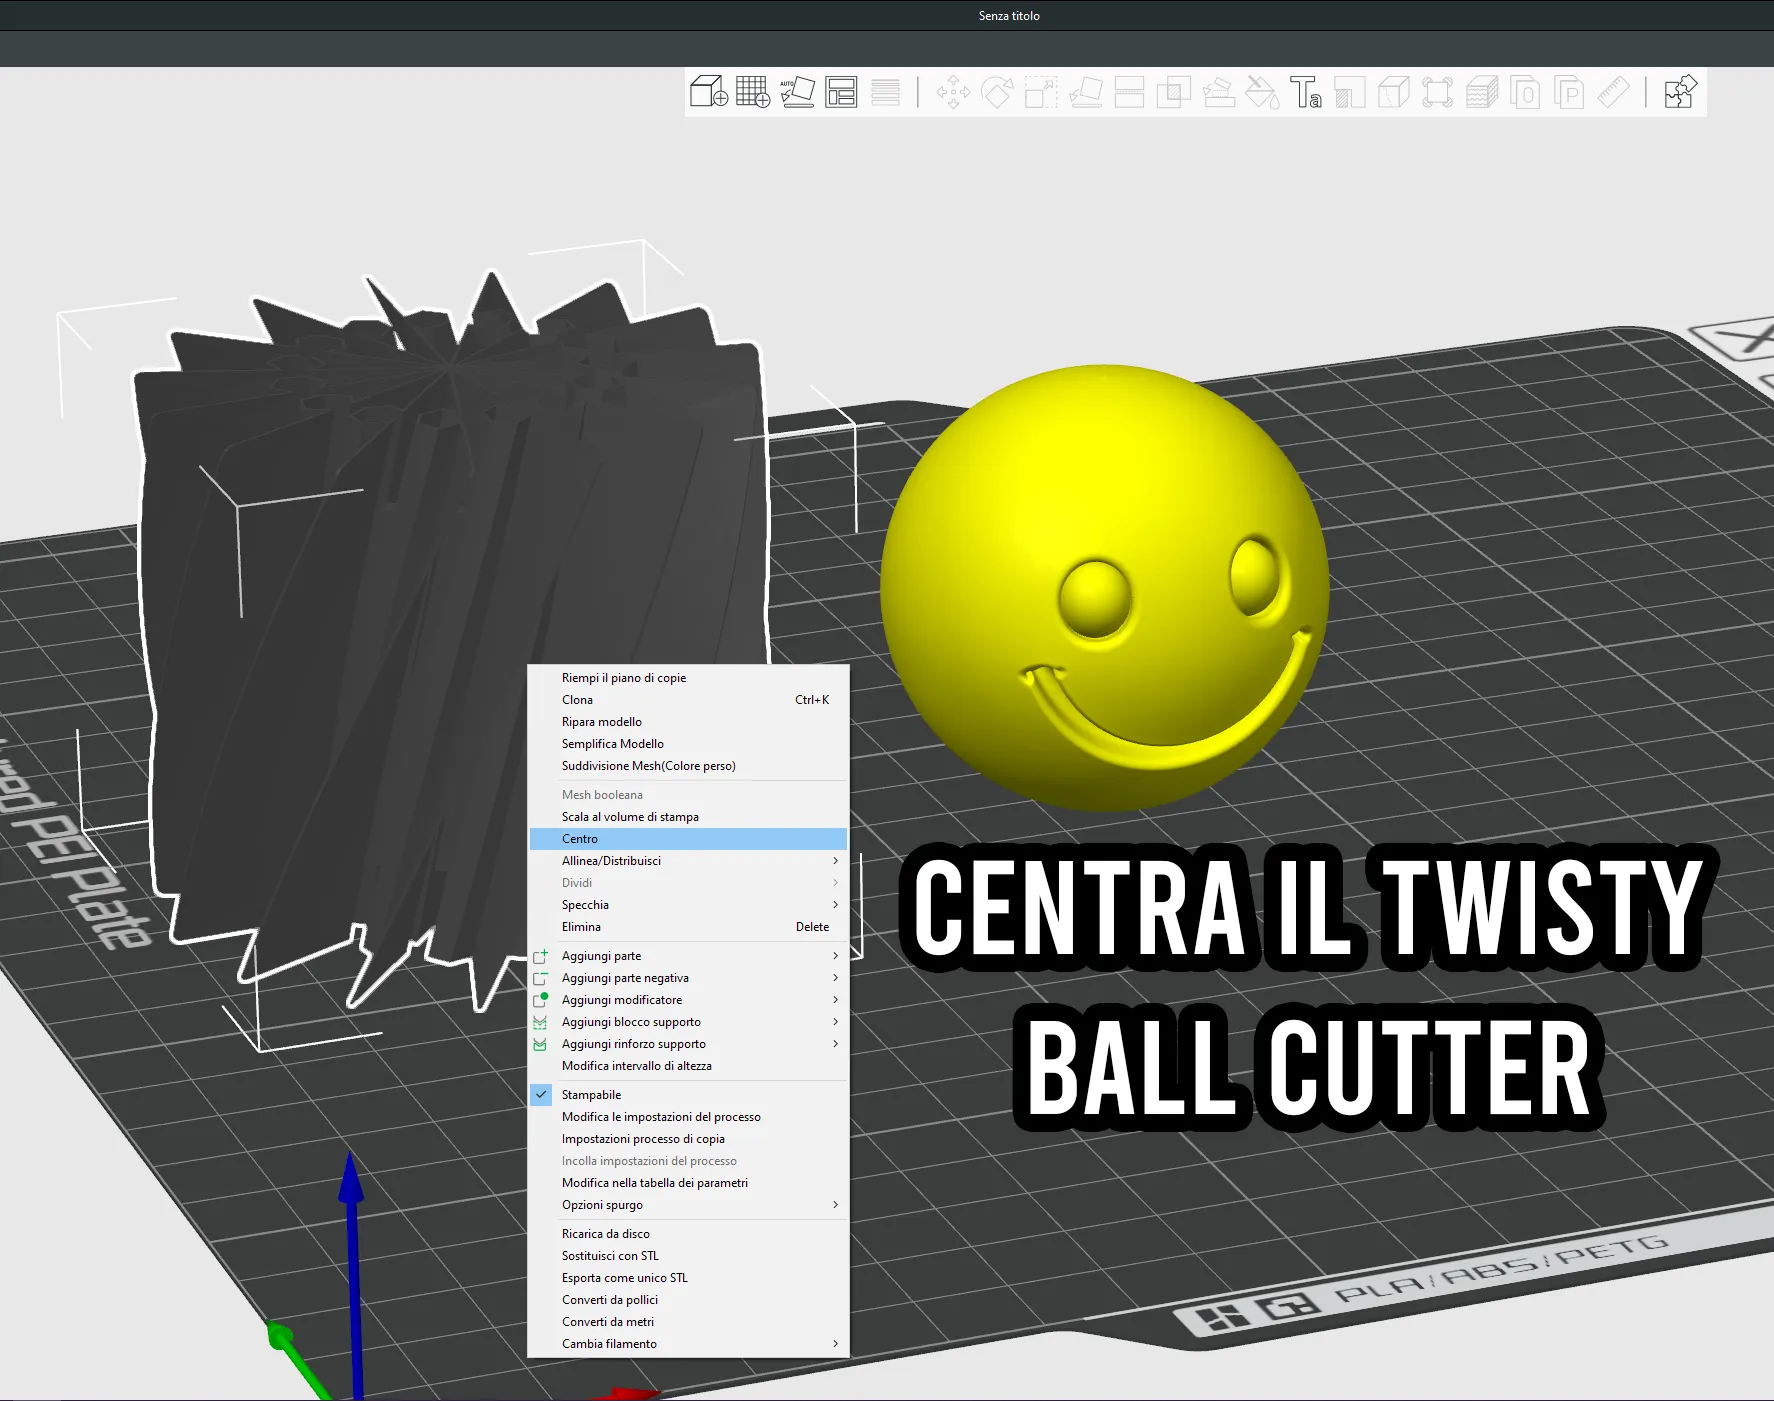
Now you need to place the cutter exactly in the center of the plate.
This is crucial because the cut works radially from the center.
Step 4 – Scale the cutter to the correct size
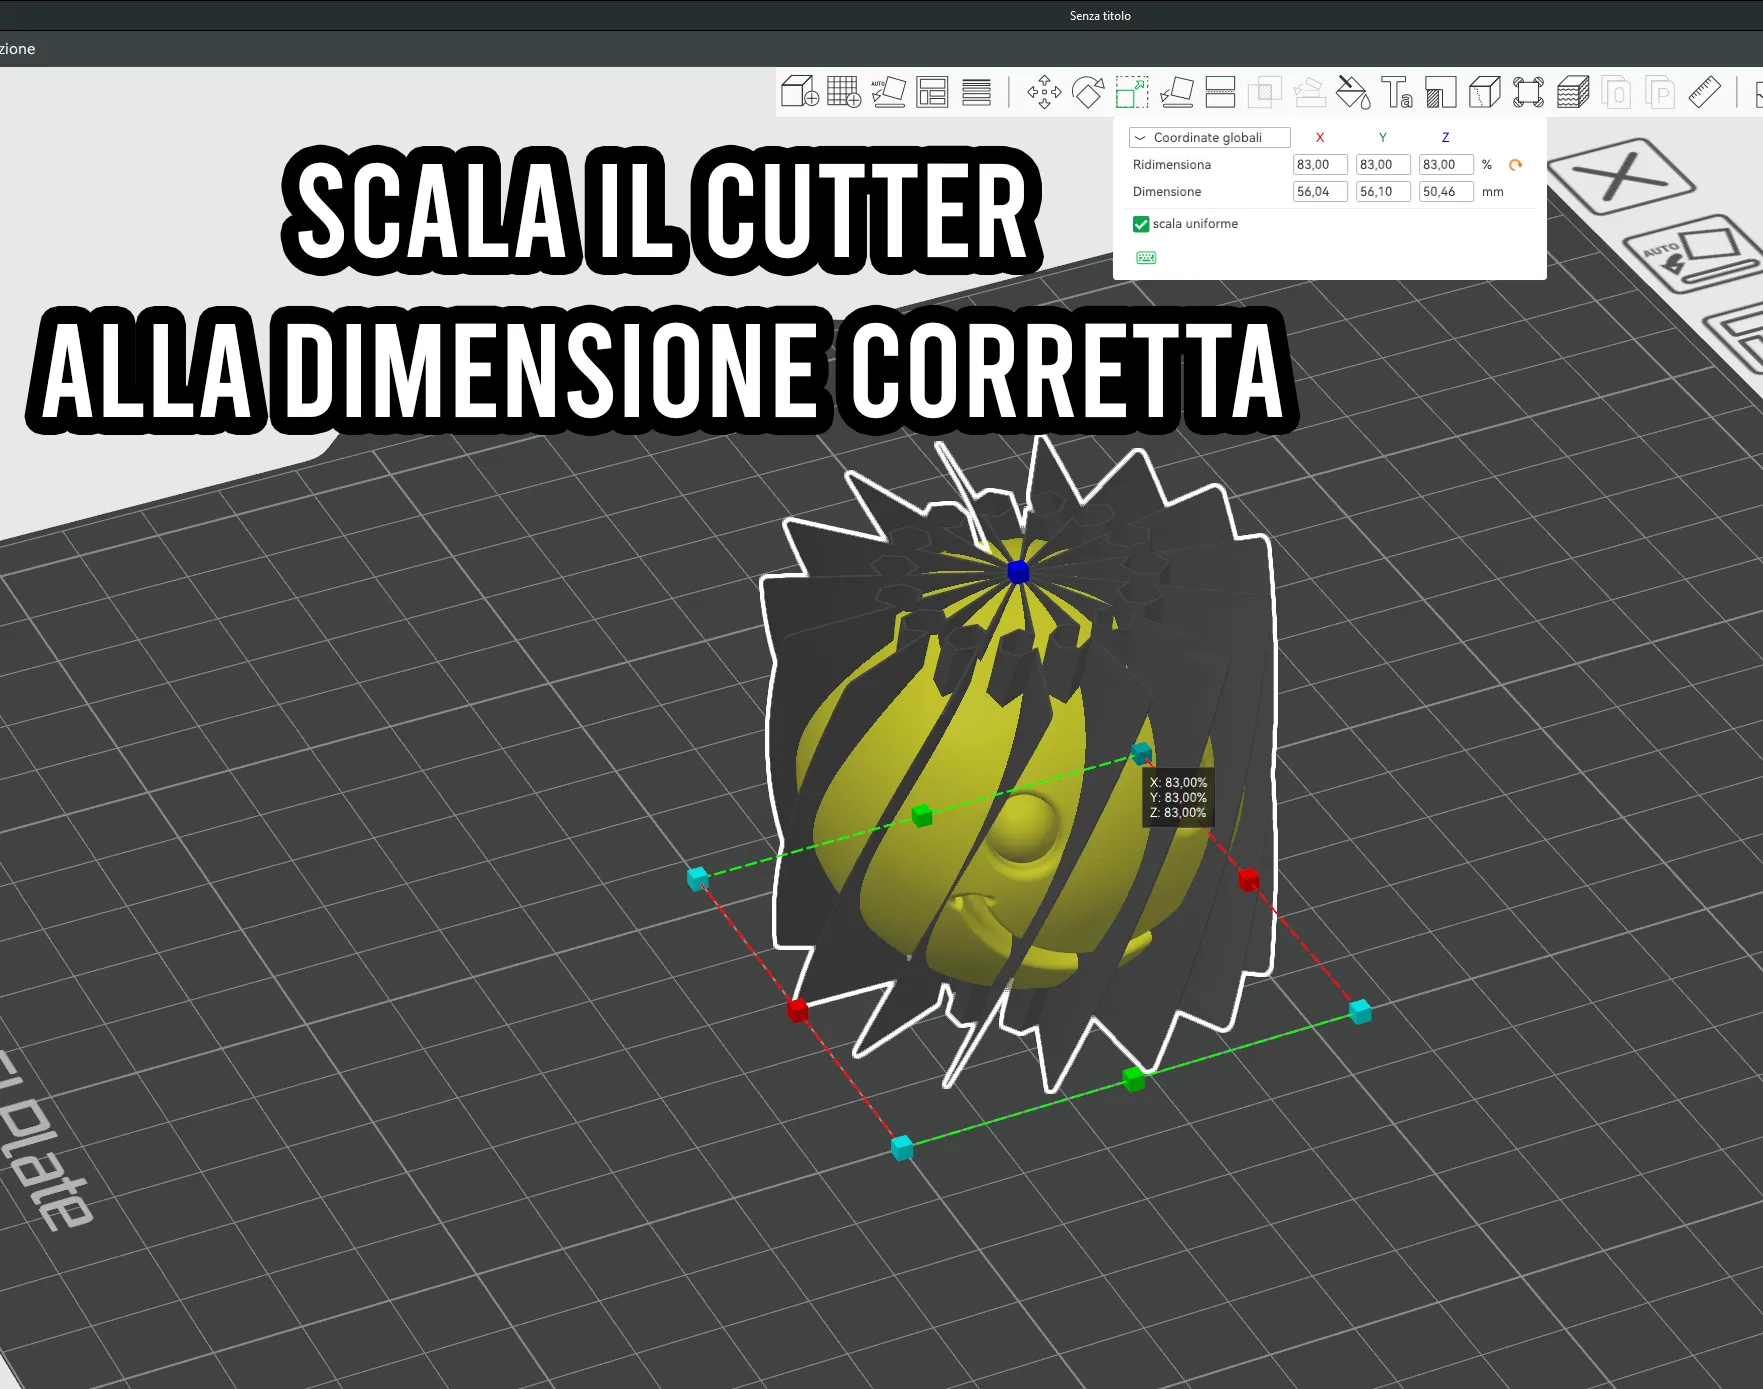
Now you need to scale the cutter so that it completely covers the sphere.
The cutter must be slightly larger than the model you want to transform.
Step 5 – Join the model and the cutter
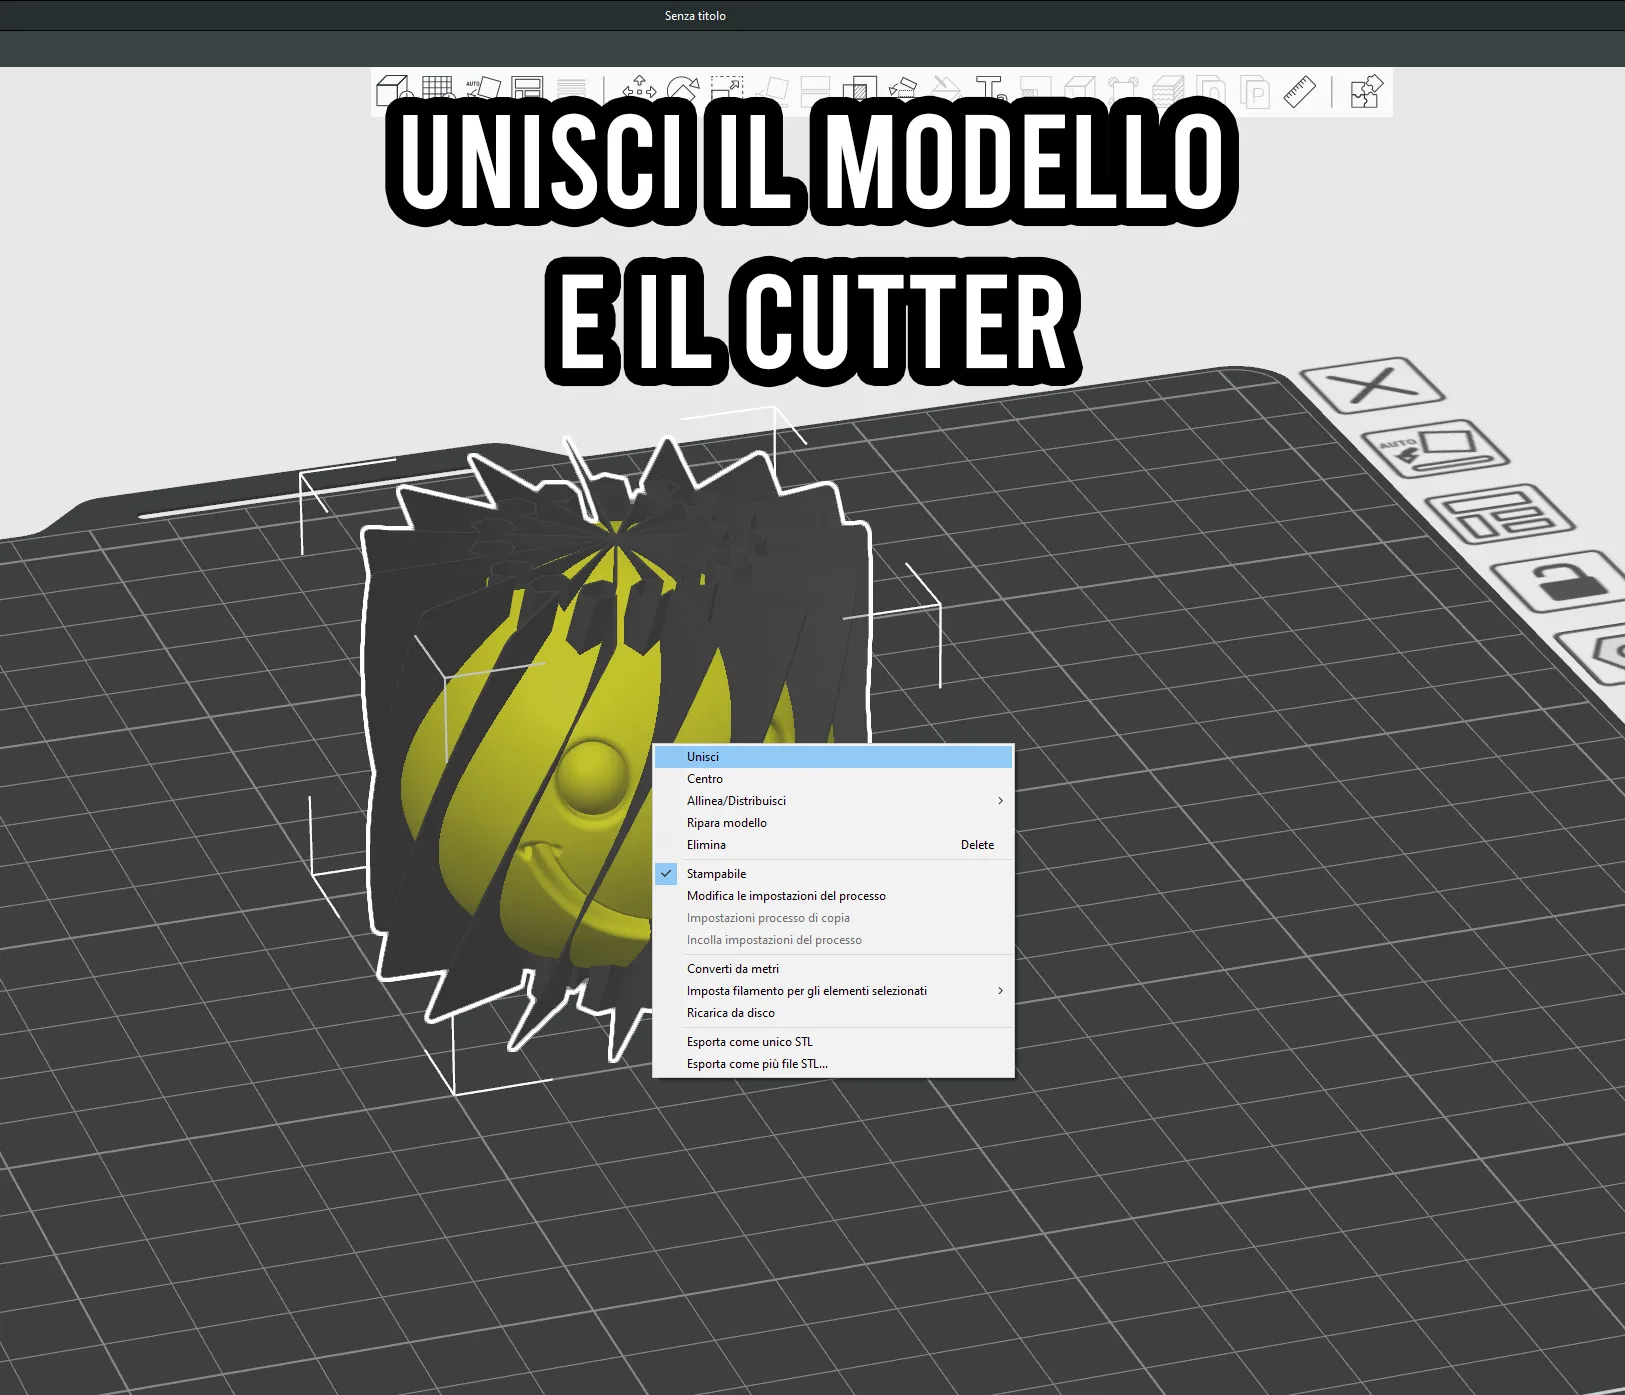
Now you need to join the sphere and the cutter into a single object.
This is necessary so that the slicer can correctly apply the subdivision.
Step 6 – Apply Boolean Mesh (Difference)
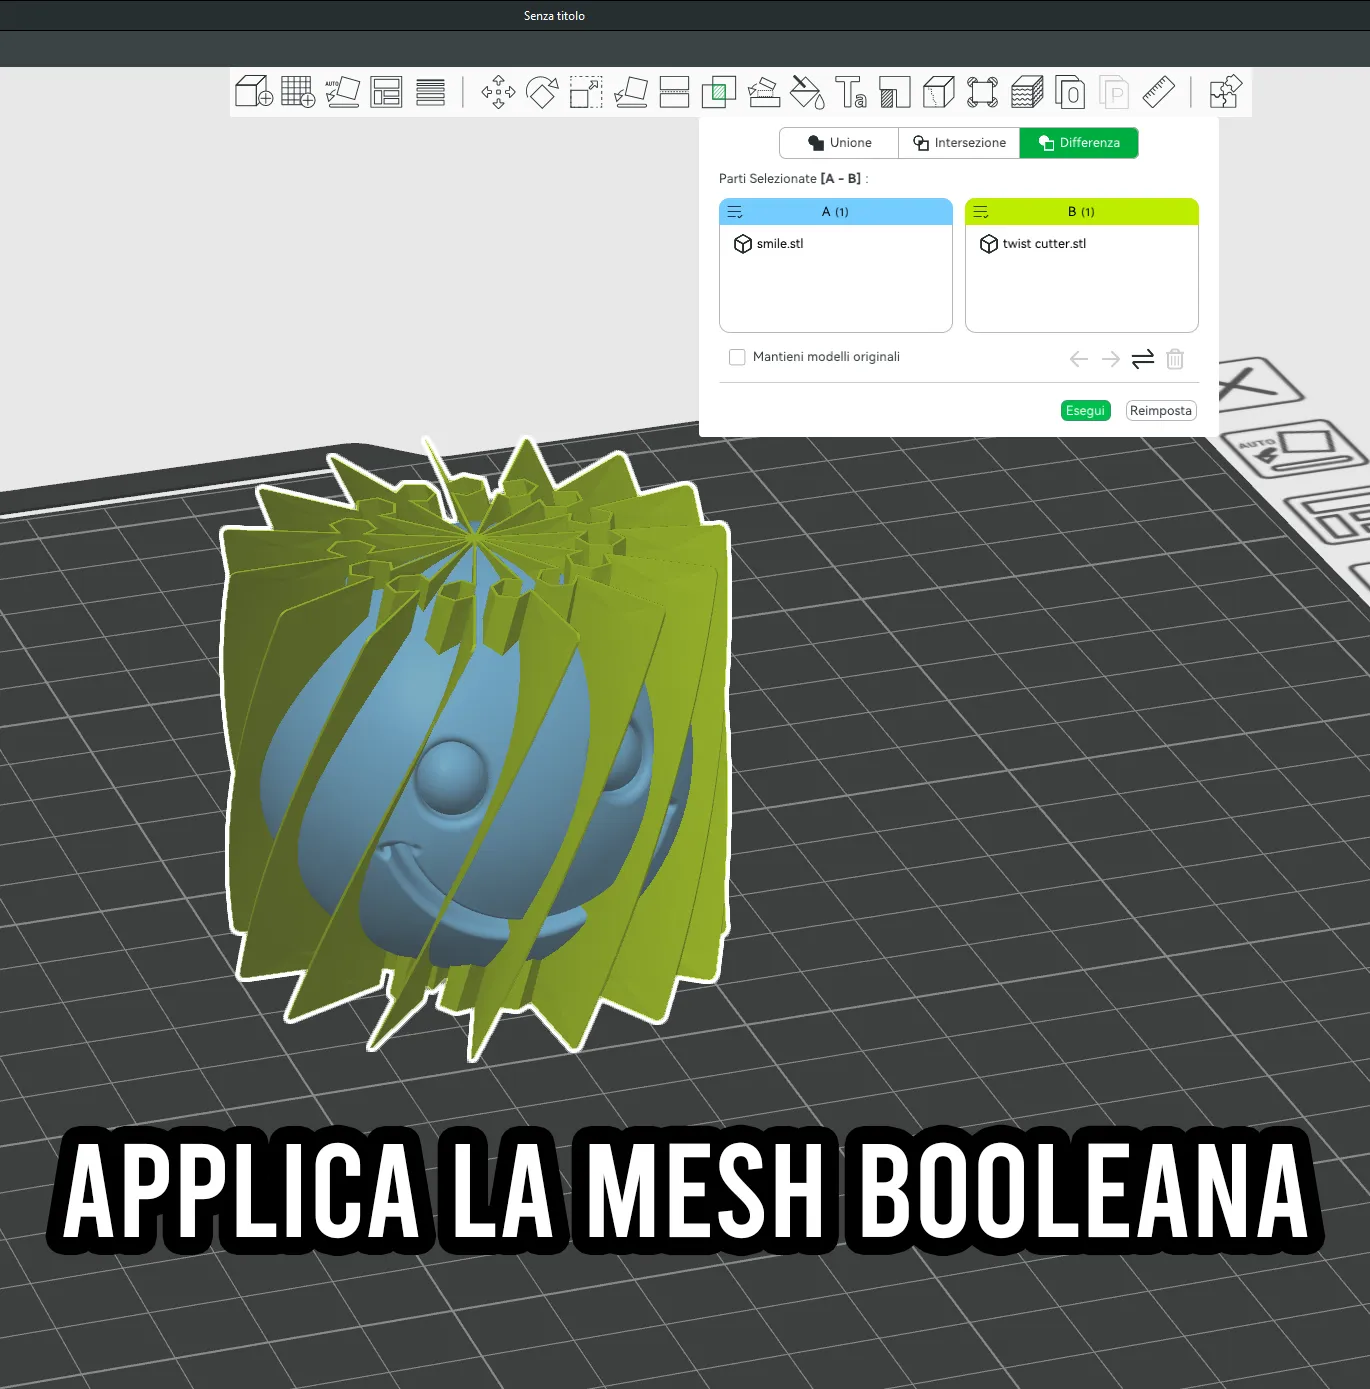
How to do it
- Select the joined object
- Press the B key on the keyboard
or
click on the Boolean Mesh icon in the top bar
- Select the Difference option
Correct object selection
You must ensure that:
• the sphere is highlighted in light blue
• the cutter is highlighted in yellow
This means that the cutter will be subtracted from the sphere.
Meaning of colors
• Light blue = main object (the one that will be kept)
• Yellow = subtraction object (cutter)
Step 7 – Final model ready for printing
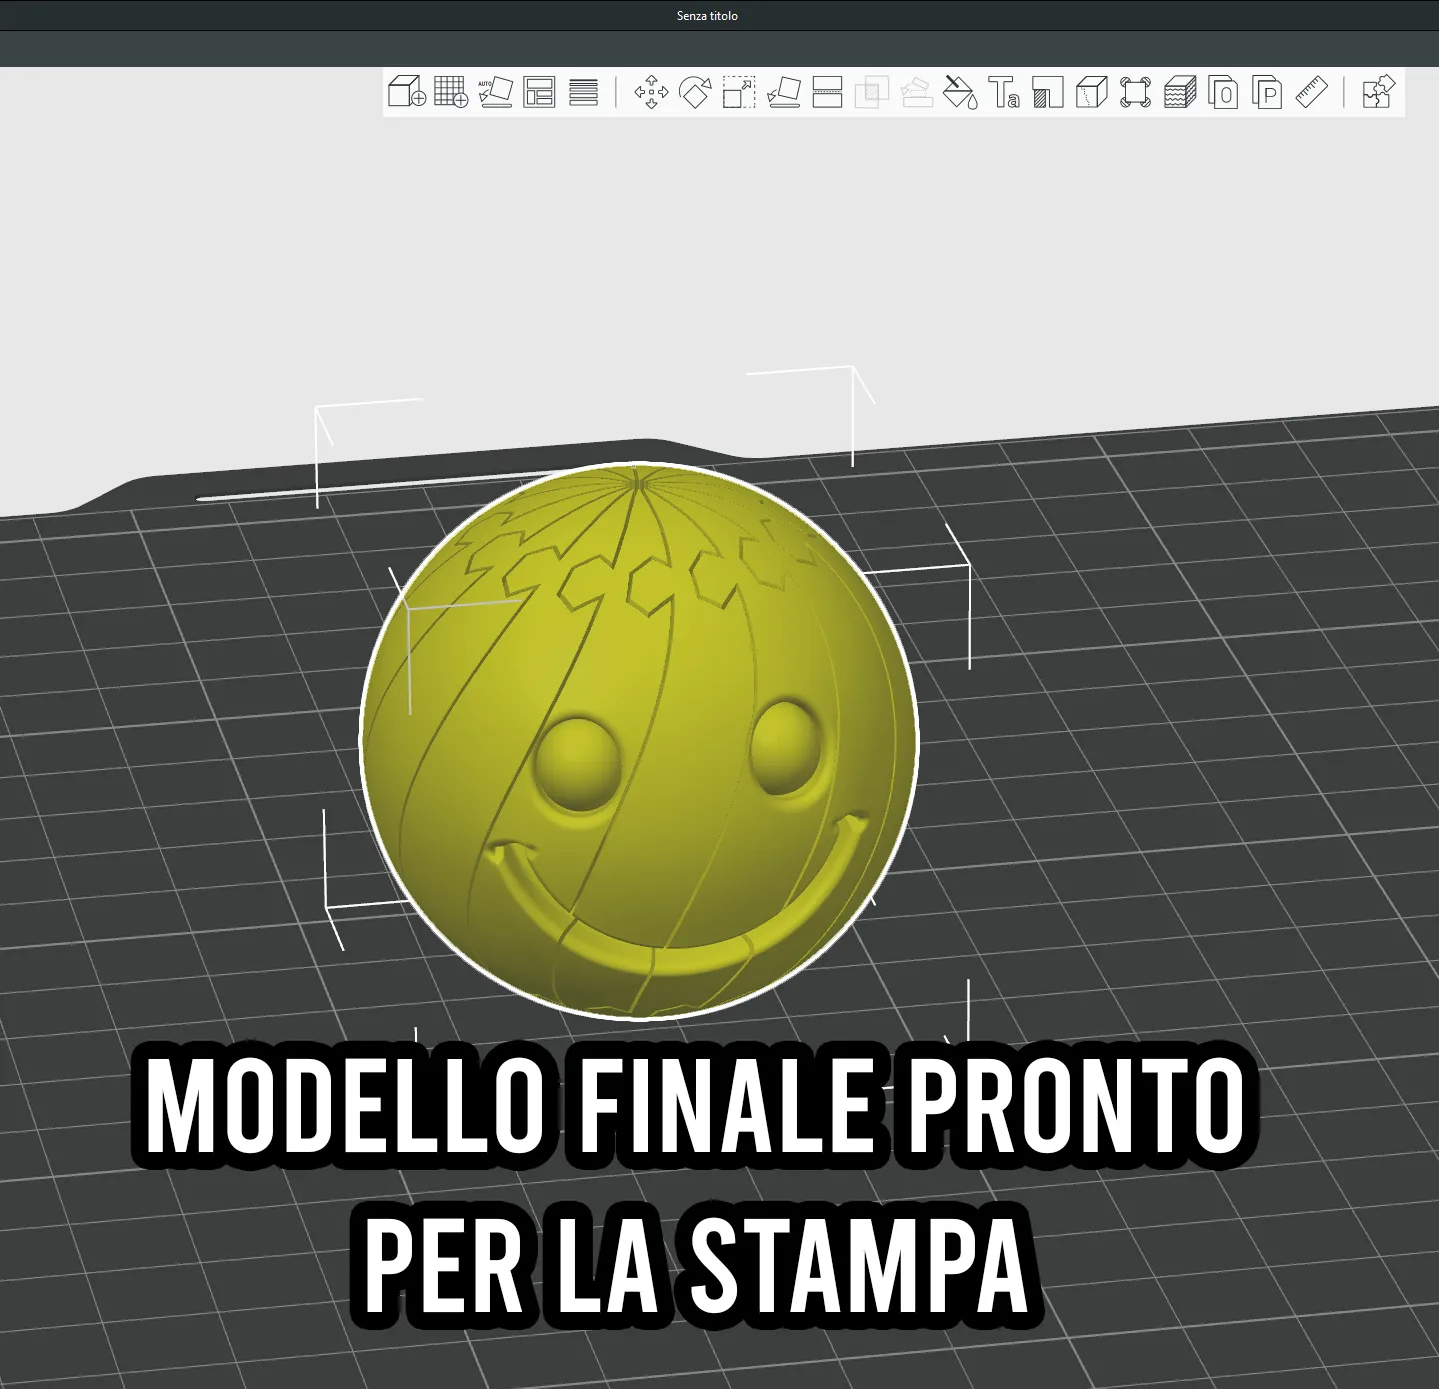
After performing all the steps, your model will now be correctly sectioned.
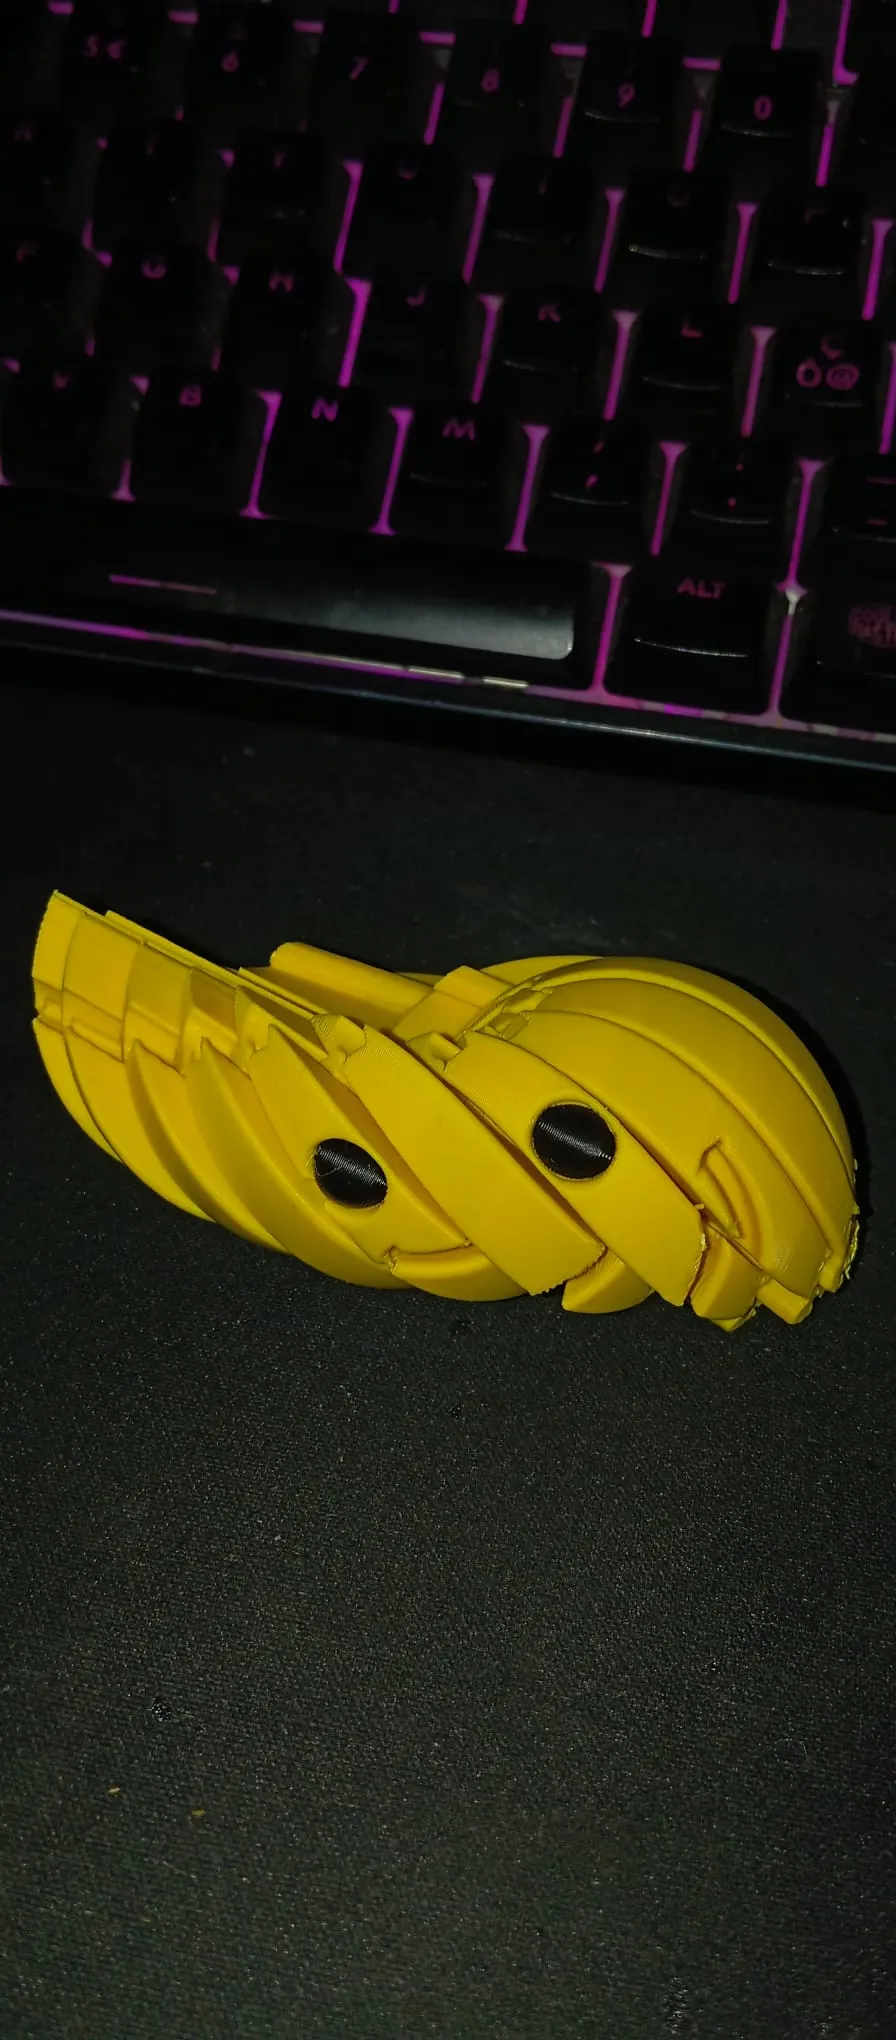
The sphere has been divided into twisted segments that remain connected to each other.
This allows the model to function as a Twisty Ball Print in Place.
Step 8 – Optional coloring of the model
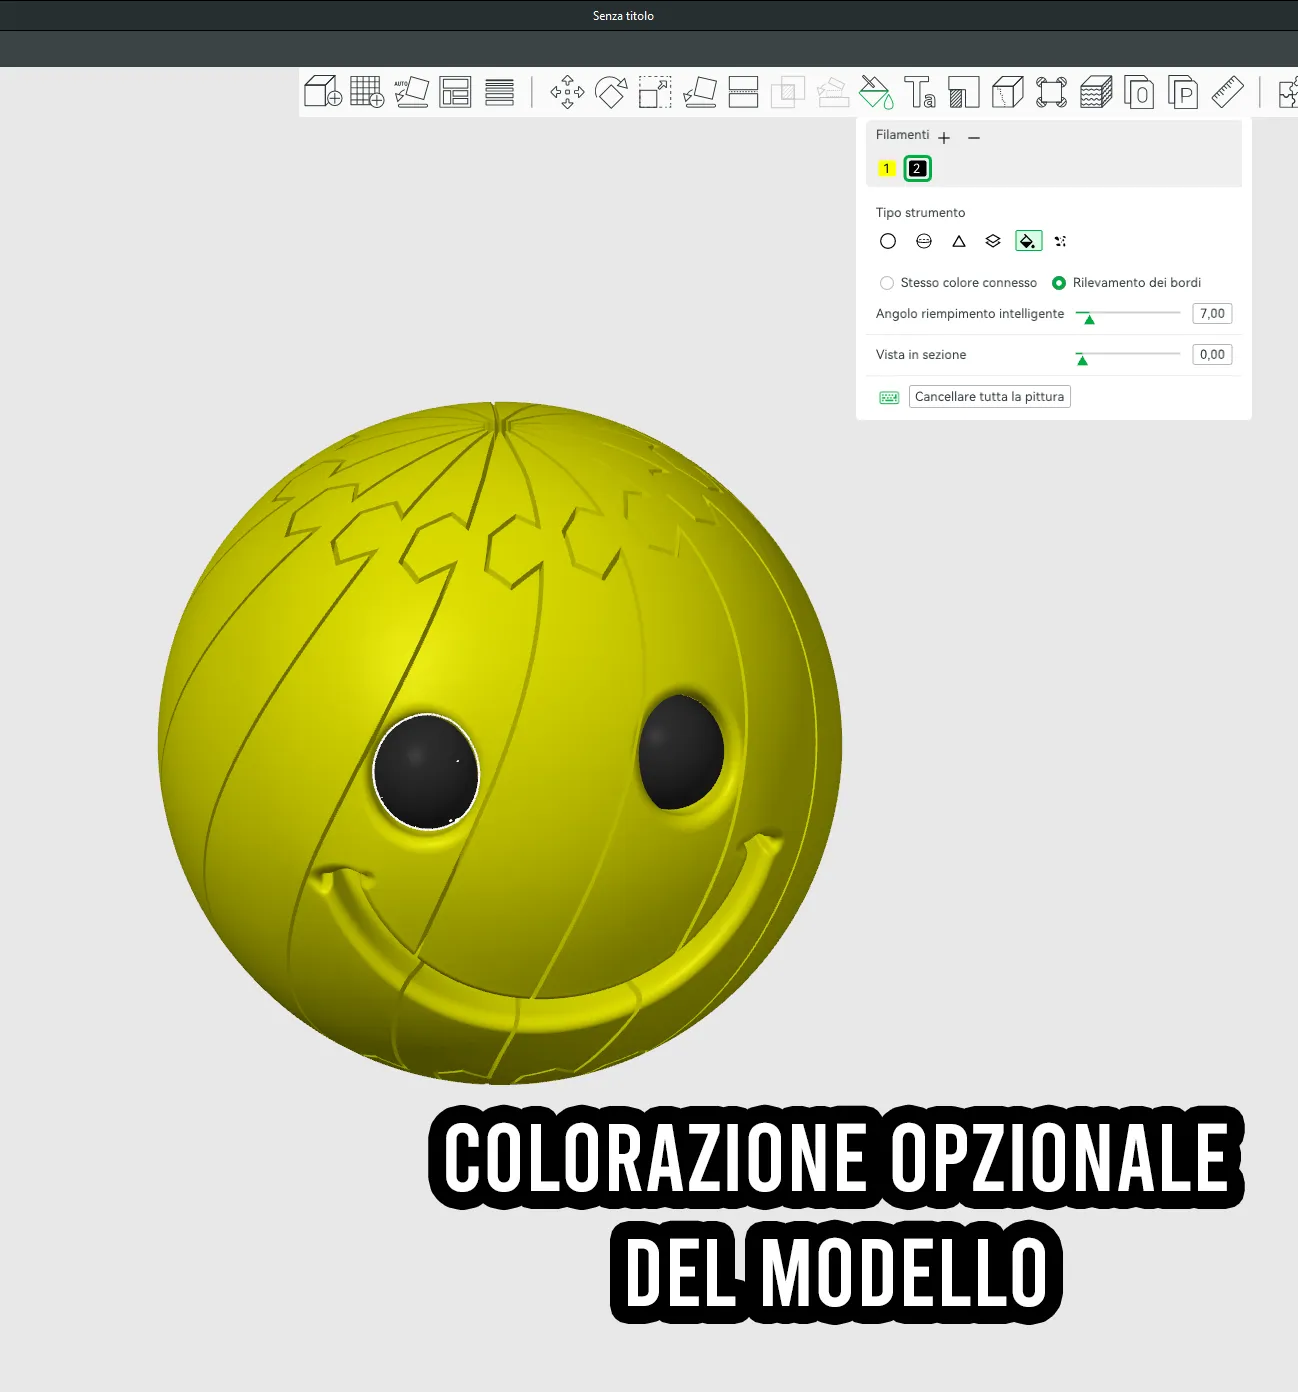
As a final step, you can color the model using the integrated painting tool in Bambu Studio.
This is completely optional, but it allows you to achieve a much more interesting and personalized result.
License

You shall not share, sub-license, sell, rent, host, transfer, or distribute in any way the digital or 3D printed versions of this object, nor any other derivative work of this object in its digital or physical format (including - but not limited to - remixes of this object, and hosting on other digital platforms). The objects may not be used without permission in any way whatsoever in which you charge money, or collect fees.


Comment & Rating (121)