
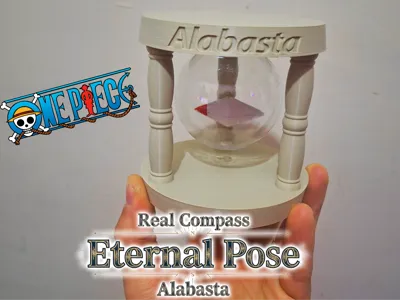
Alabasta Eternal Log Pose - Functional Compass

Print Profile(3)

Description
Boost Me (for free)
💬 If this project was helpful, leave feedback – it's free for you, but it's a huge help for me as I create and share new content! 🔔 Follow me to stay updated: lots of new and original projects coming soon!
✨ Want to sell my designs? Subscribe to my Patreon to get a commercial license.
☕ Or, if you'd like, buy me a coffee to support my projects!

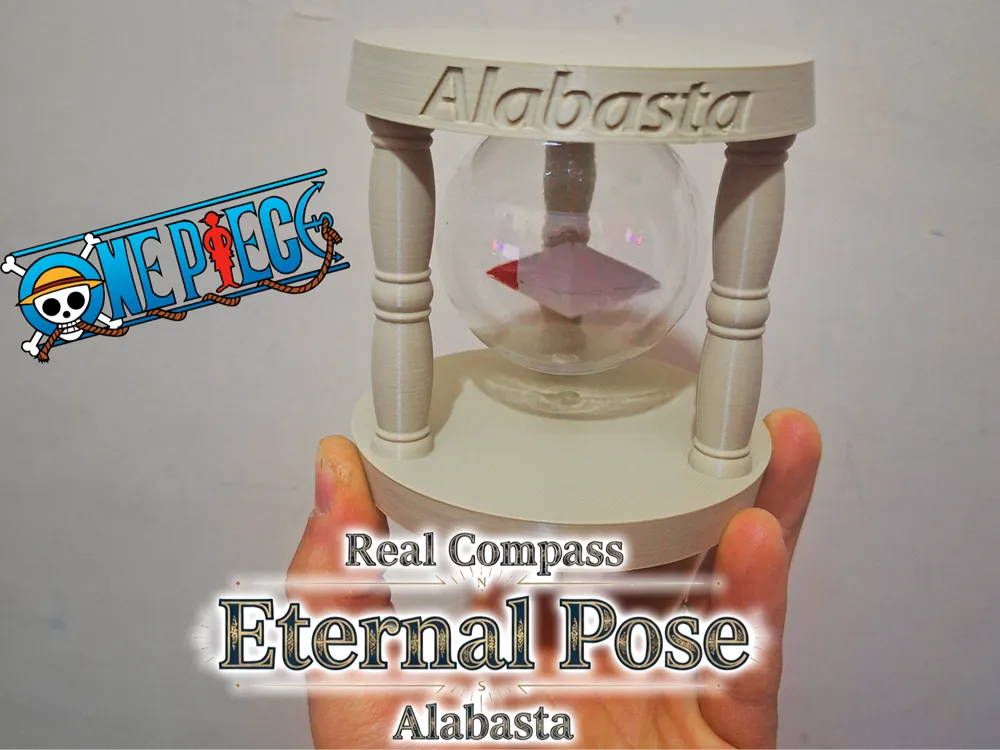
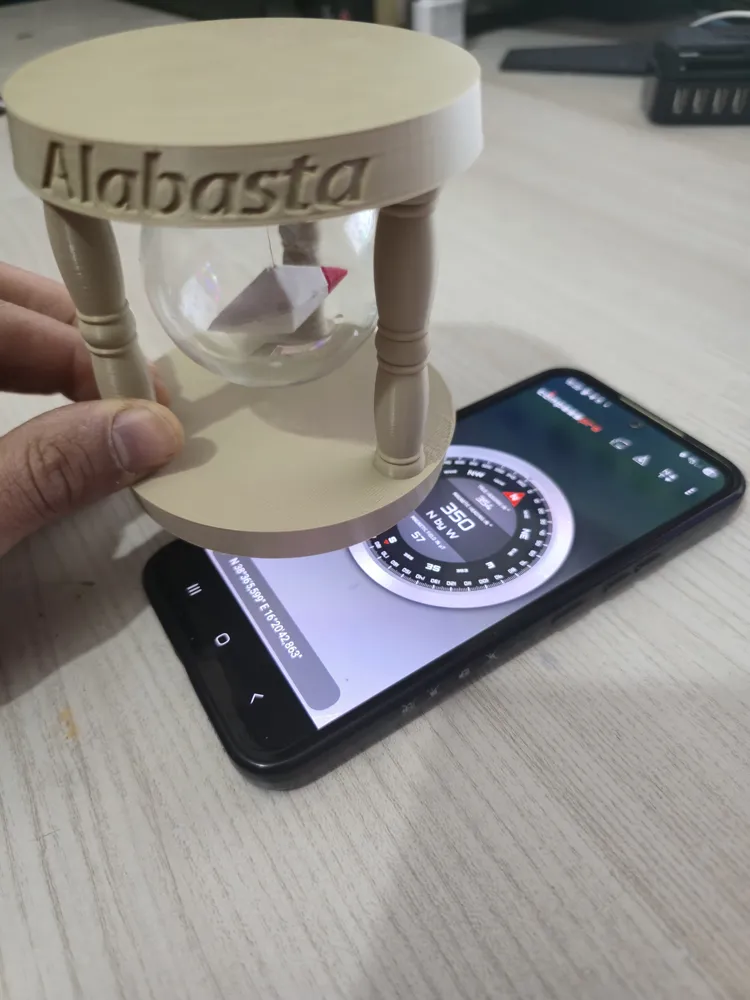

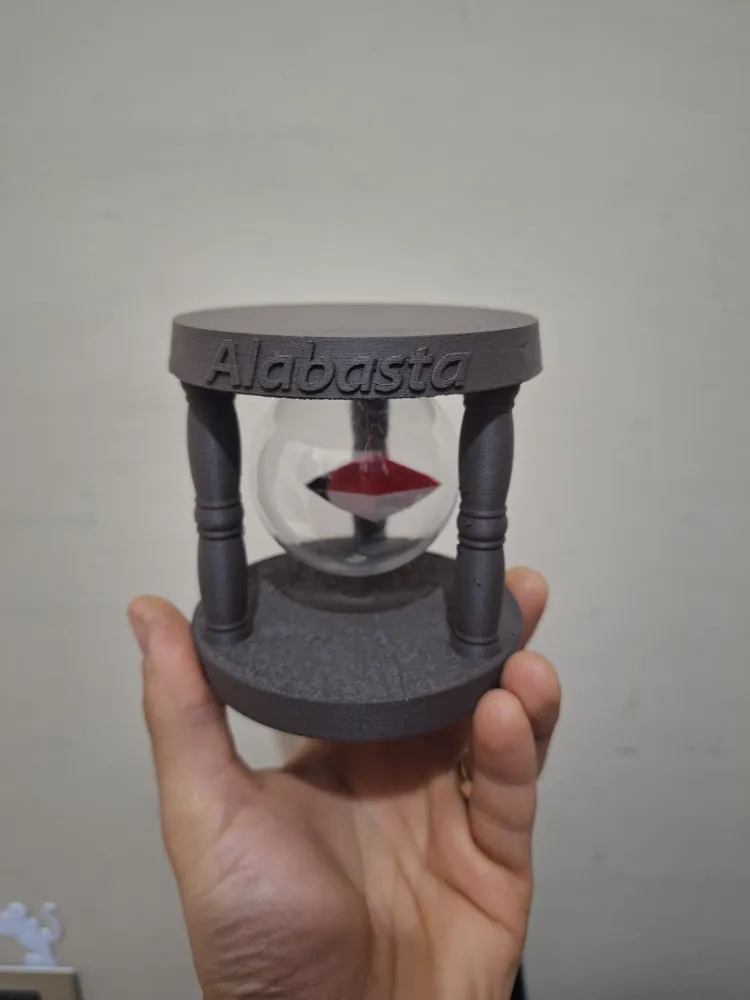
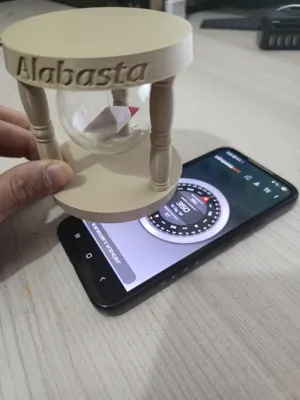
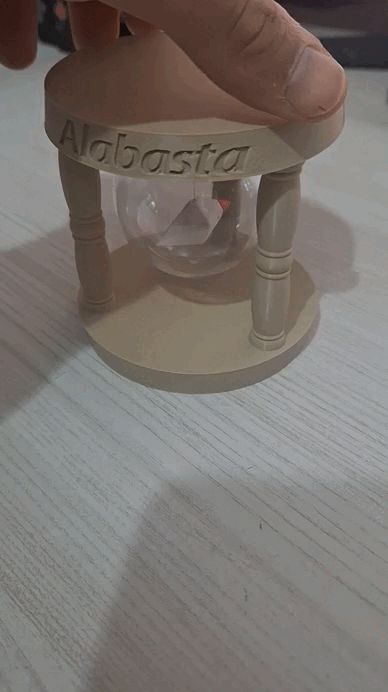
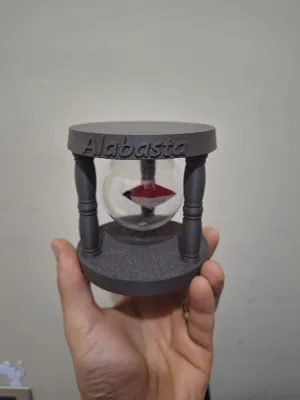
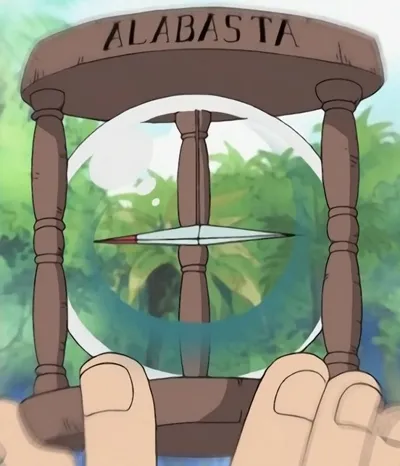
Bring the world of One Piece to life with this high-quality 3D printable Eternal Log Pose! Unlike decorative props, this model is a real working compass that points North, making it the perfect companion for your desk or your next cosplay adventure to Alabasta.
- Anime Accurate: Faithfully recreated based on the Alabasta arc design.
- Functional: Engineered to house a magnetic needle that points North.
- Easy to Print: Optimized for FDM printing with minimal supports.
- Collector's Piece: Essential for every One Piece fan collection.
Boost Me (for free)
💬 If this project was helpful, leave feedback – it's free for you, but it's a huge help for me as I create and share new content!
🔔 Follow me to stay updated: lots of new and original projects coming soon!
Materials Needed
- Thread / Use a very thin cotton or microfiber thread. If using fishing line, it must be extremely thin; otherwise, it will create resistance and the needle won't move.
- Magnets: 3x Round Neodymium Magnets ($3 \times 8 \text{ mm}$).
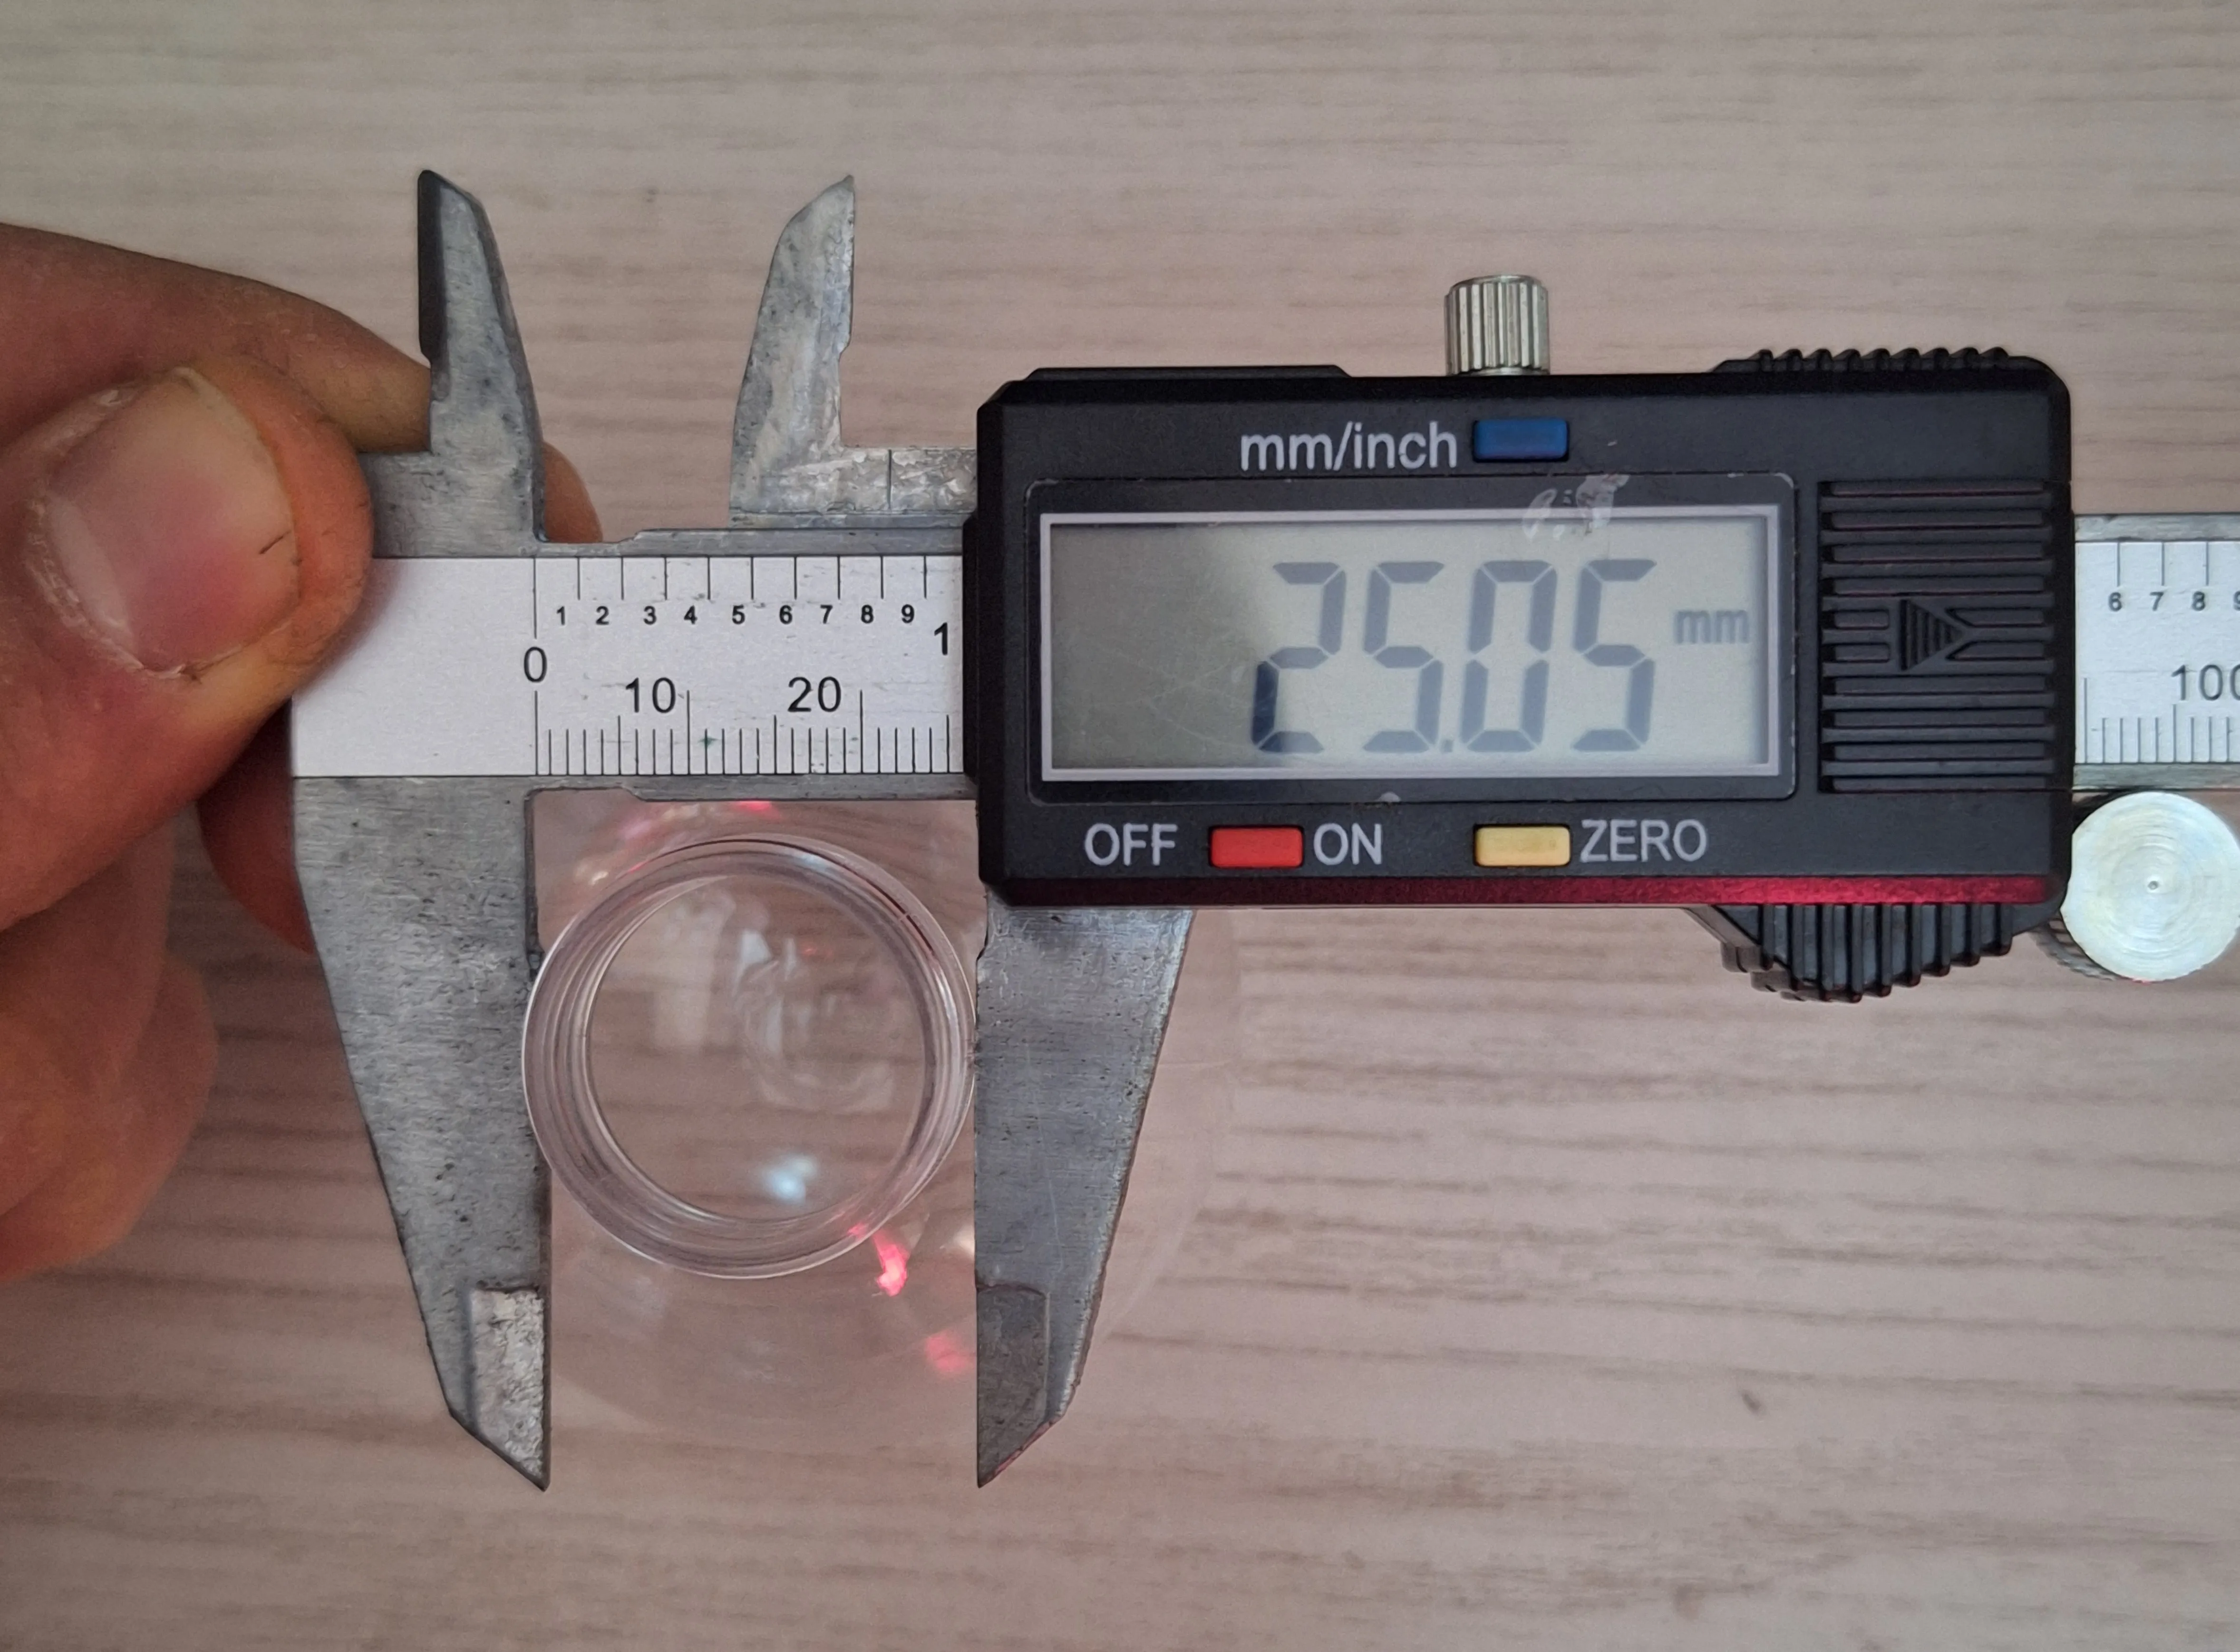
Clear Sphere: One clear plastic Christmas ornament 6Cm (fillable sphere).
Link to recommended sphere: Here
DO NOT use metal wires or similar rigid materials. Metal is not elastic and will prevent the compass from working. Use these rigid materials ONLY if you are interested in a static prop and do not care about the compass actually working.
📝 Step-by-Step Assembly
Magnet Orientation: Insert the magnets into the needle. Crucial: Ensure the "North" pole of the magnets faces the red tip of the needle. Use a smartphone compass app to test the magnets before inserting them.
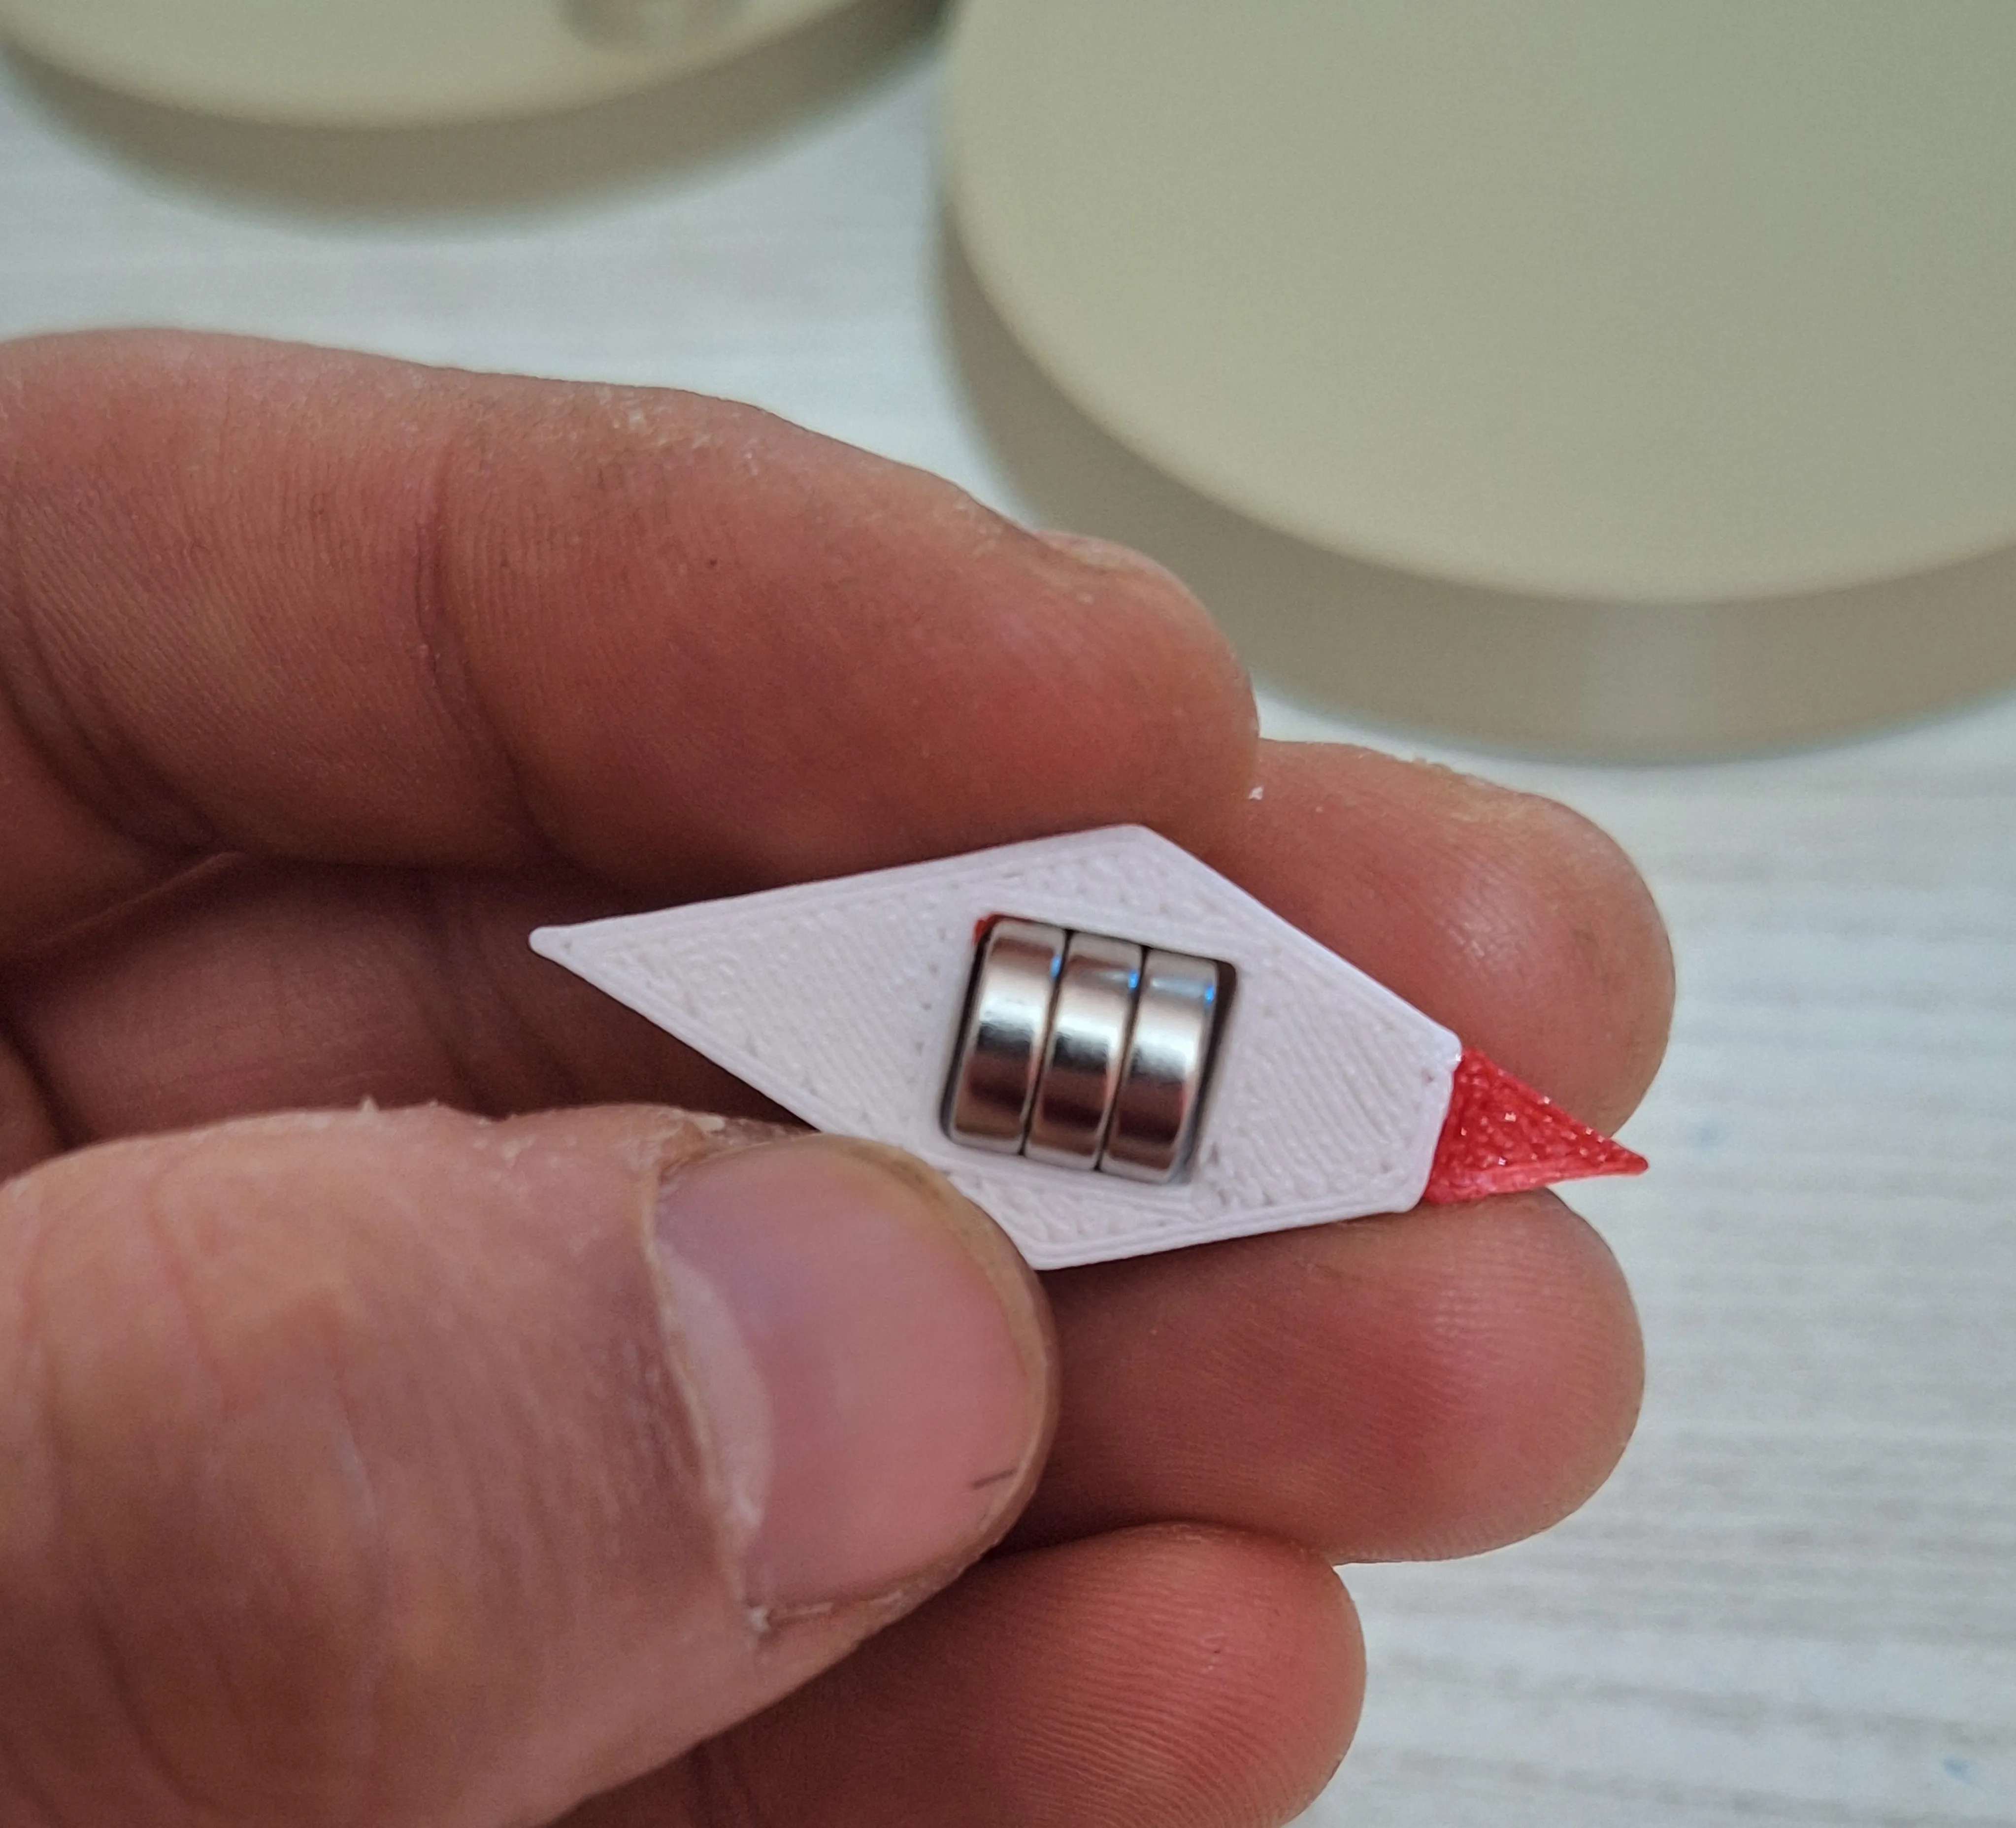
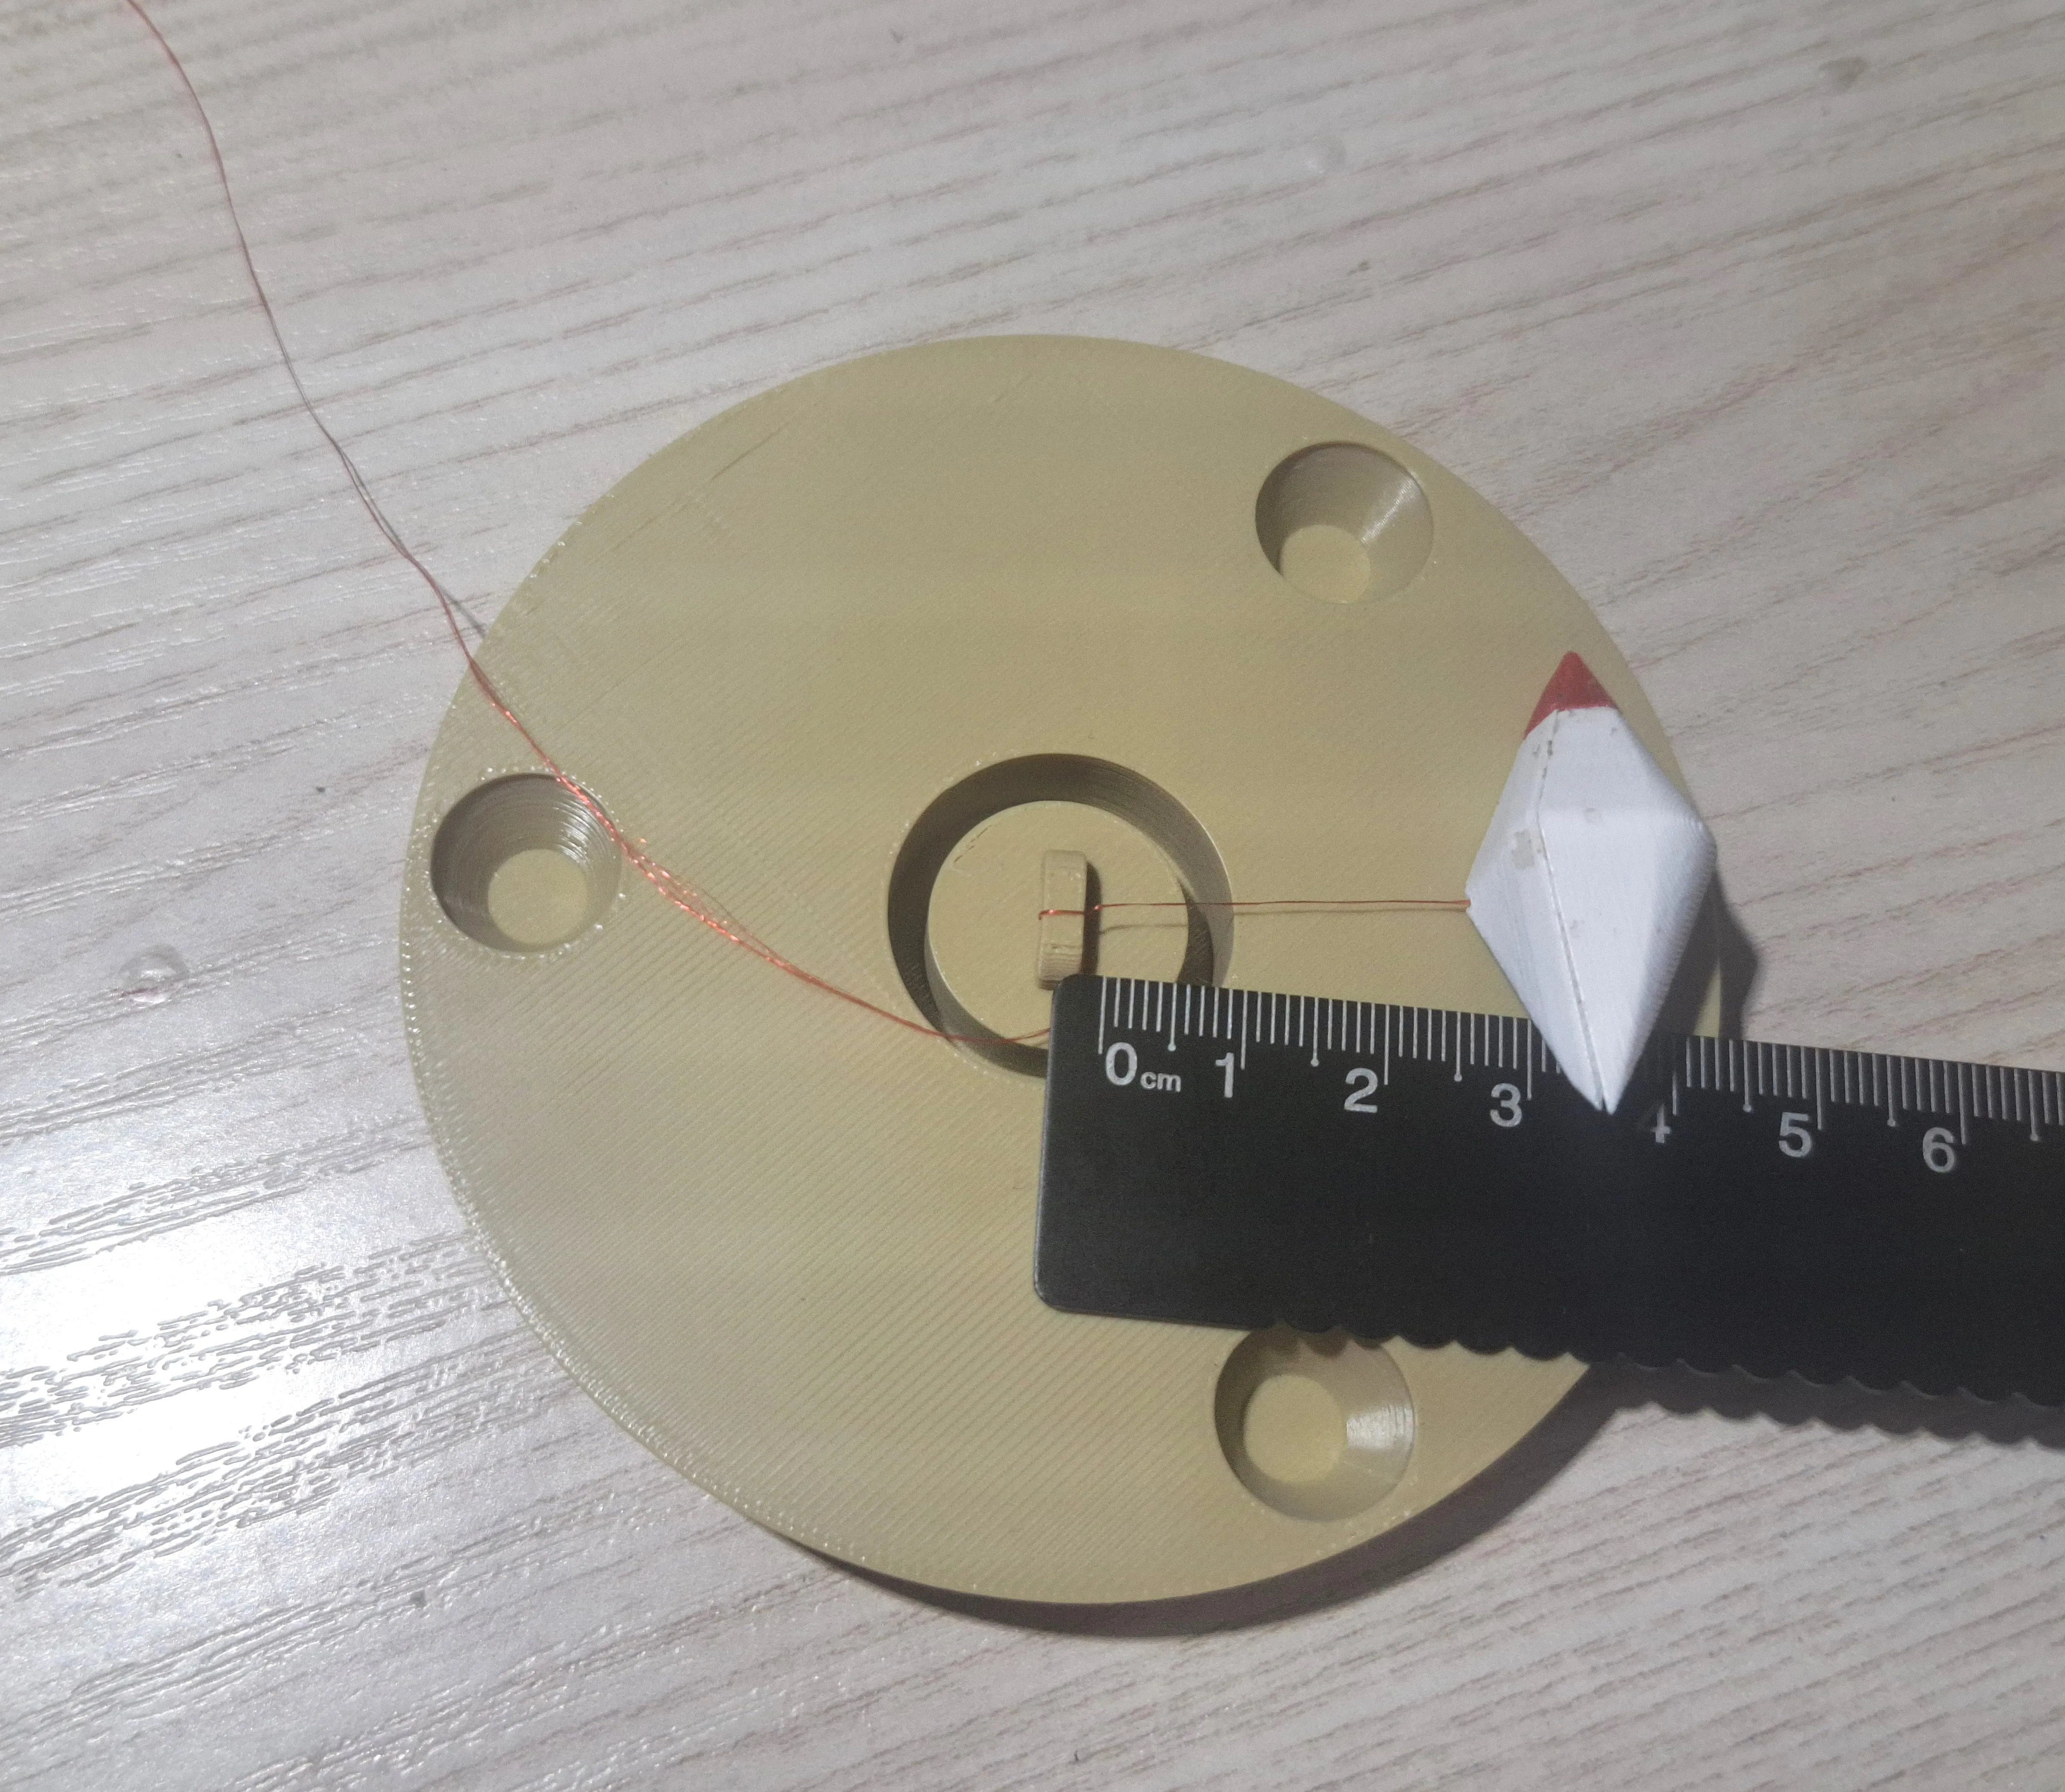
- Threading: Insert the thin thread through the small hole located on the top part of the needle.
- Seal the Needle: Join the two halves of the needle together and secure them with a drop of superglue.
Suspension: Tie the other end of the thread to the top support of the Log Pose structure. Leave approximately 2.5 cm of thread so the needle can rotate freely.
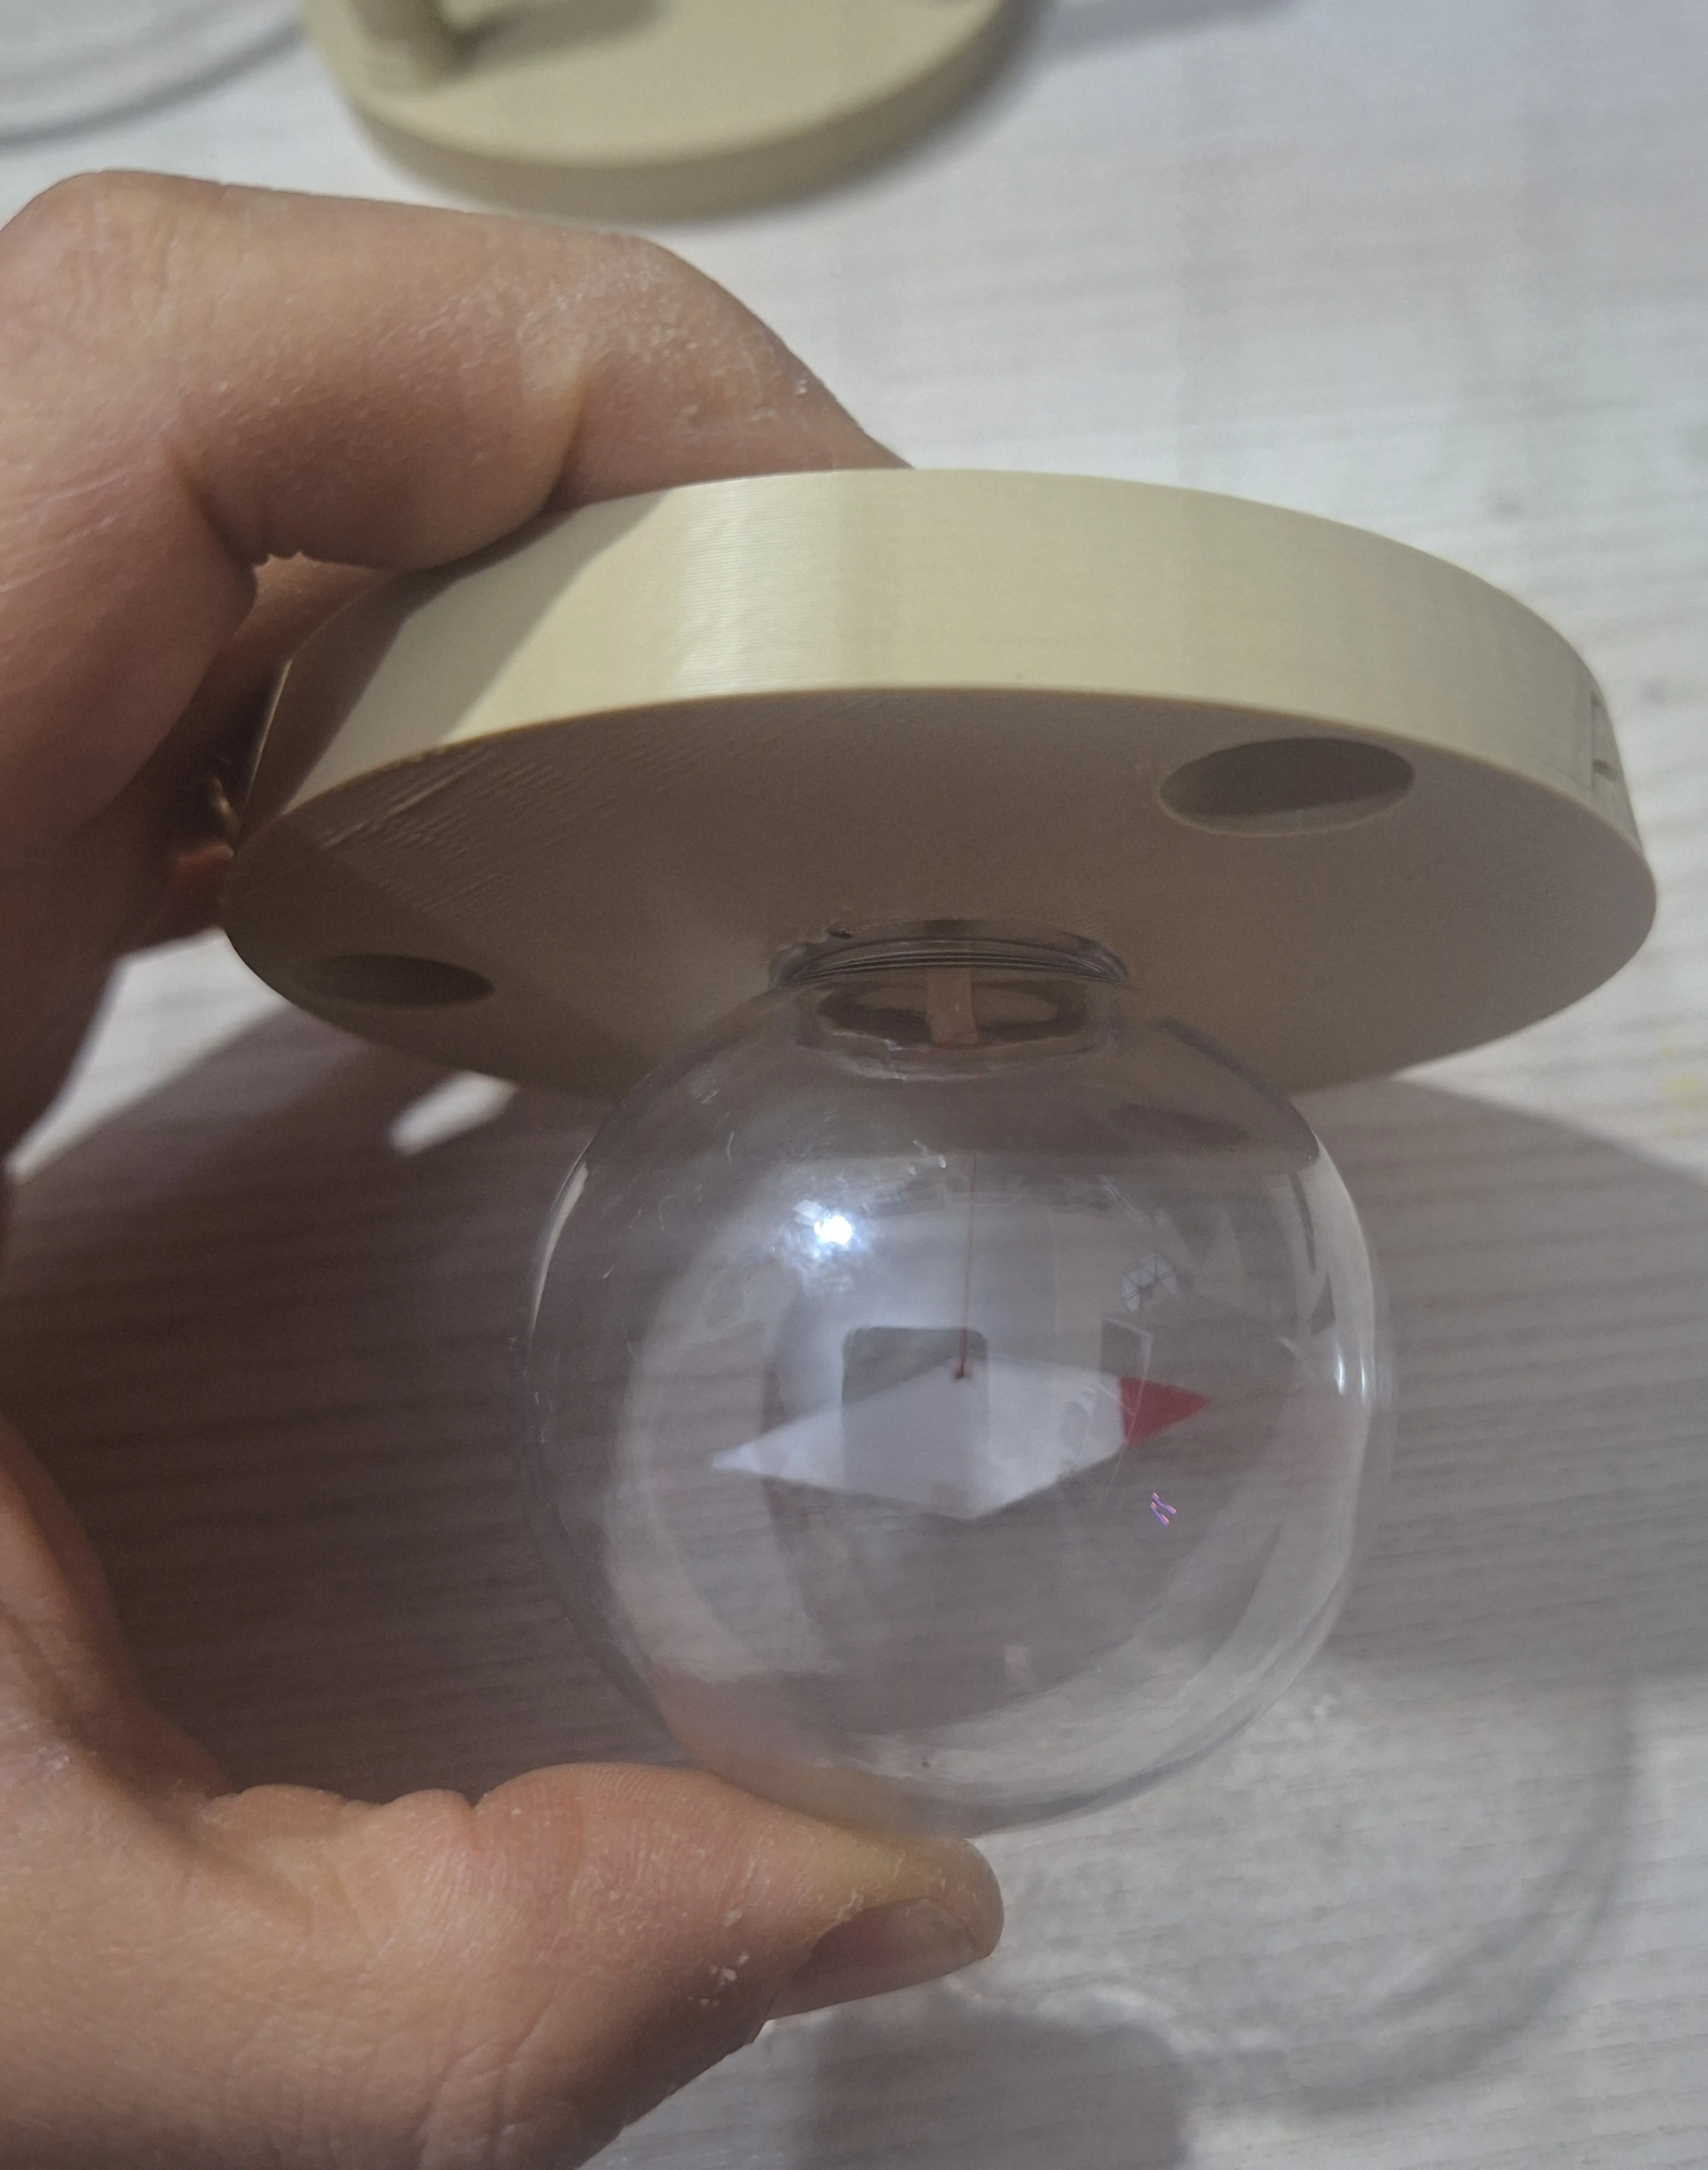
Final Enclosure: Place the needle assembly inside the clear sphere and close it. Snap the sphere into the 3D printed frame.
💡 Pro Tip
Balance is key! Make sure the needle hangs level so it can spin without touching the sides of the sphere.
License

You shall not share, sub-license, sell, rent, host, transfer, or distribute in any way the digital or 3D printed versions of this object, nor any other derivative work of this object in its digital or physical format (including - but not limited to - remixes of this object, and hosting on other digital platforms). The objects may not be used without permission in any way whatsoever in which you charge money, or collect fees.


Comment & Rating (25)