Search models, users, collections, and posts
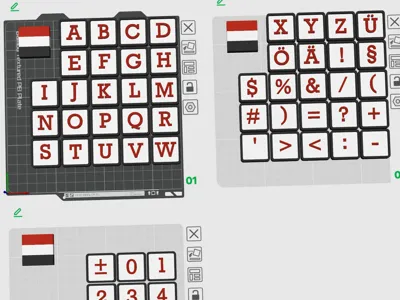
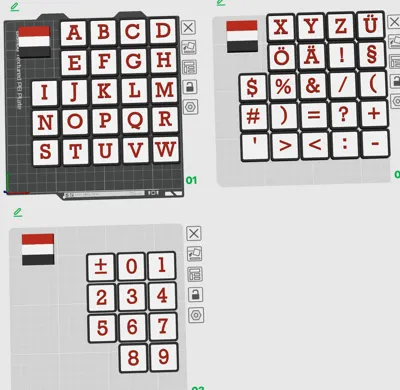
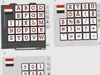
Alphabet, Numbers, Special Characters Magnet


Print Profile(1)
0.2mm layer, 2 walls, 15% infill
Designer
9.5 h
3 plates
Open in Bambu Studio
Boost
0
1
0
0
2
1
Released
Bill of Materials
Maker's Supply Kits and Parts
Select all


Description
Content has been automatically translated.
This is an alphabet including numbers and special characters in the Rockwell font
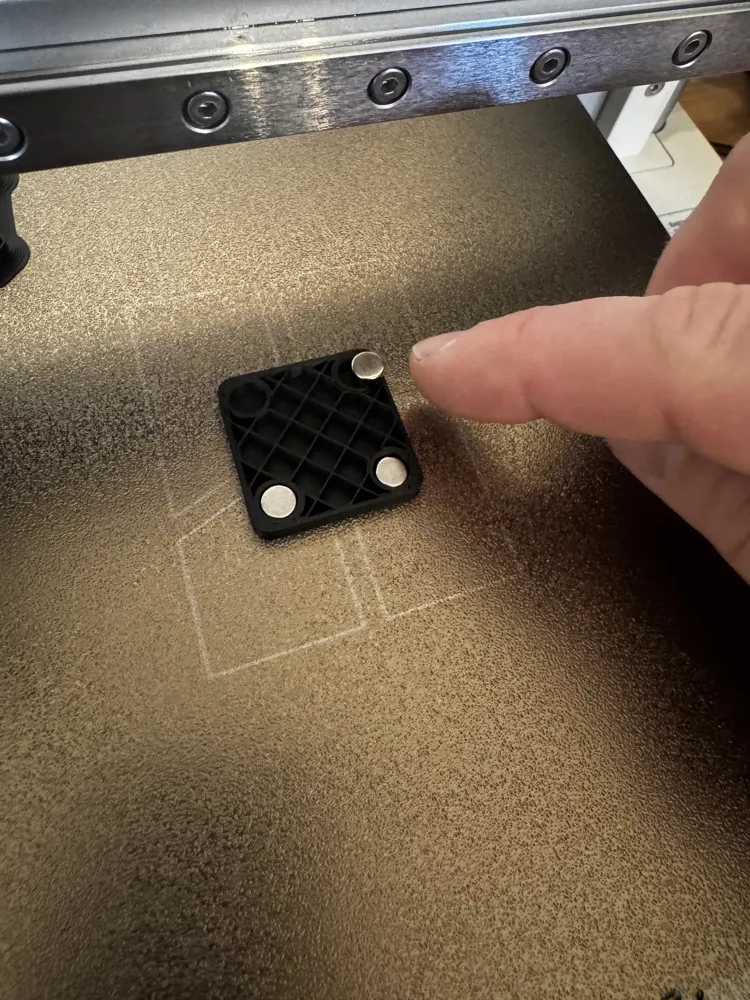
The objects are 30 × 30 × 8 mm
The objects allow internal magnets to be inserted
This way the magnets are not visible from the outside, do not add extra height, and no gluing is required
The magnets are standard round magnets, 6 mm diameter and 3 mm height
Procedure
- The pause should already be correctly set in the 3mf file and should be on layer 18. This should then be visible in the Slice Plate menu. If that is not the case, please add the pause by dragging the green marker on the right bar to layer 18 → right click → Add Pause
- Start the print. The print will then pause at layer 18
- Then insert the magnets. One magnet is enough. Two, three, or four are, of course, even better
- Then continue the print (this can be done directly on the printer display)
If you don’t want the objects to be magnetic, you can either remove the pause directly in the slicer menu or simply press continue printing when the pause occurs
Possible Adjustments
Adjusting the size
The objects can be scaled to any size. It is best to place each object on its own plate.
Note: The magnet slots will scale as well :-)
- Click the second icon in the symbol menu: “Add Plate”
- Then move one object onto the new plate
- Click “Scale” in the symbol menu and enter the new dimensions.
Note: You may want to disable the “uniform scale” checkbox so the height does not increase proportionally.
Changing the color
- In the left menu under Process, click “Objects”
- Then select the object you want to change on the plate. It should now also be highlighted in the left menu
- Open the dropdown menu there. This allows you to change the color of the object and the text separately
- To change the white color underneath the text, select the object and click “Color Painting” in the symbol menu
- Then select the color and click “Fill”. Important: enable “Edge detection”
Changing the text
- Both the font and the entire content can be changed. For example, if you want the number 50 for a birthday
- Double-click the text. If that doesn’t work, find the object the same way as described in the color section → select “text_shape” and click “Text Shape” in the symbol menu
- Now you can modify everything as needed
Additional note
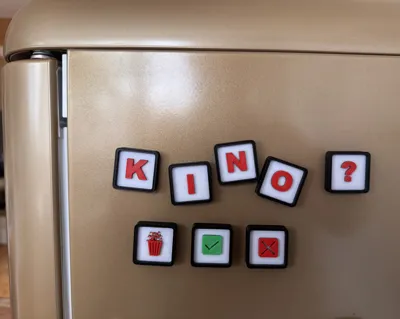
- In the attached photo, the print was made using the Arial font. However, afterwards I liked Rockwell better
- In the photo, I also included some special icons. These can be found in my other print models:
https://makerworld.com/de/models/2393989-magnet-30x30-diverse-designs#profileId-2623093
Boost Me (for free)
Like it -> Boost Me
License
This user content is licensed under a
Creative Commons Attribution-Noncommercial-Share Alike
Comment & Rating (0)