
Inexpensive Loom for Warp-Weighted Weaving
Print Profile(1)
Bill of Materials
- wood board x 1: I think I'm using a scrap piece of 1x4 about 44" long. Whatever you've got that's long enough for what you want to weave is good!
- bolts and nuts x 4: I used four 1.5" long 1/4"-20 bolts and four 1/4"-20 wingnuts to secure the printed parts to the board. M6 works, too!
- 5/8" dowel x 1: I already had this size of dowel laying around due to printing a different style of loom that used a lot of it. Really, any stick you can fit through the 5/8" holes in the post part will work
Description
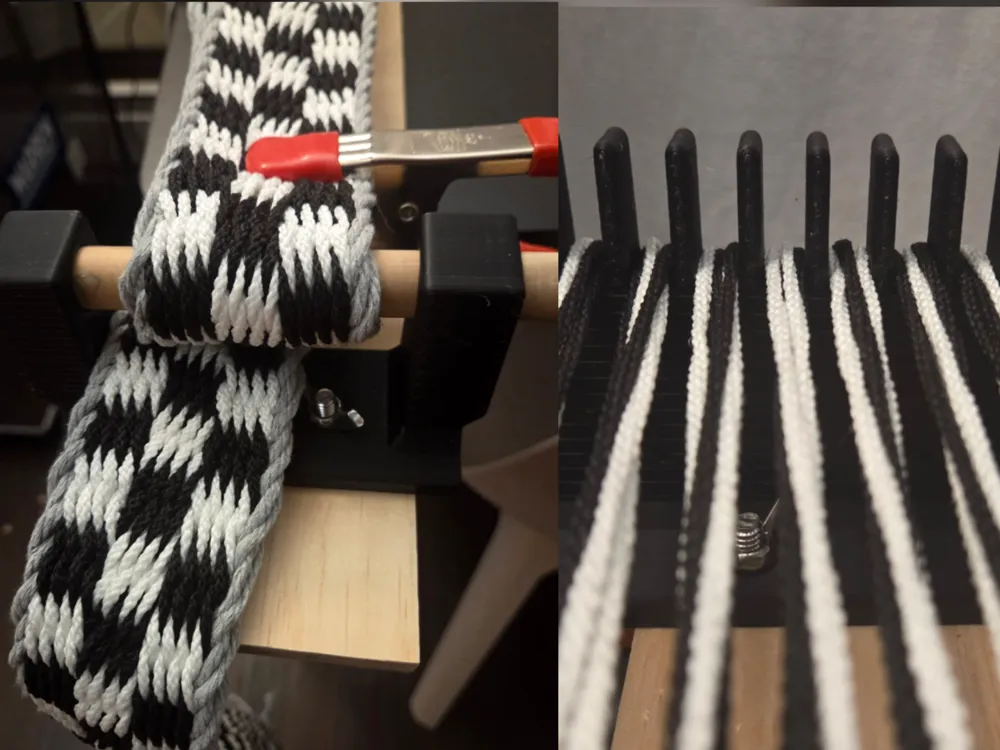
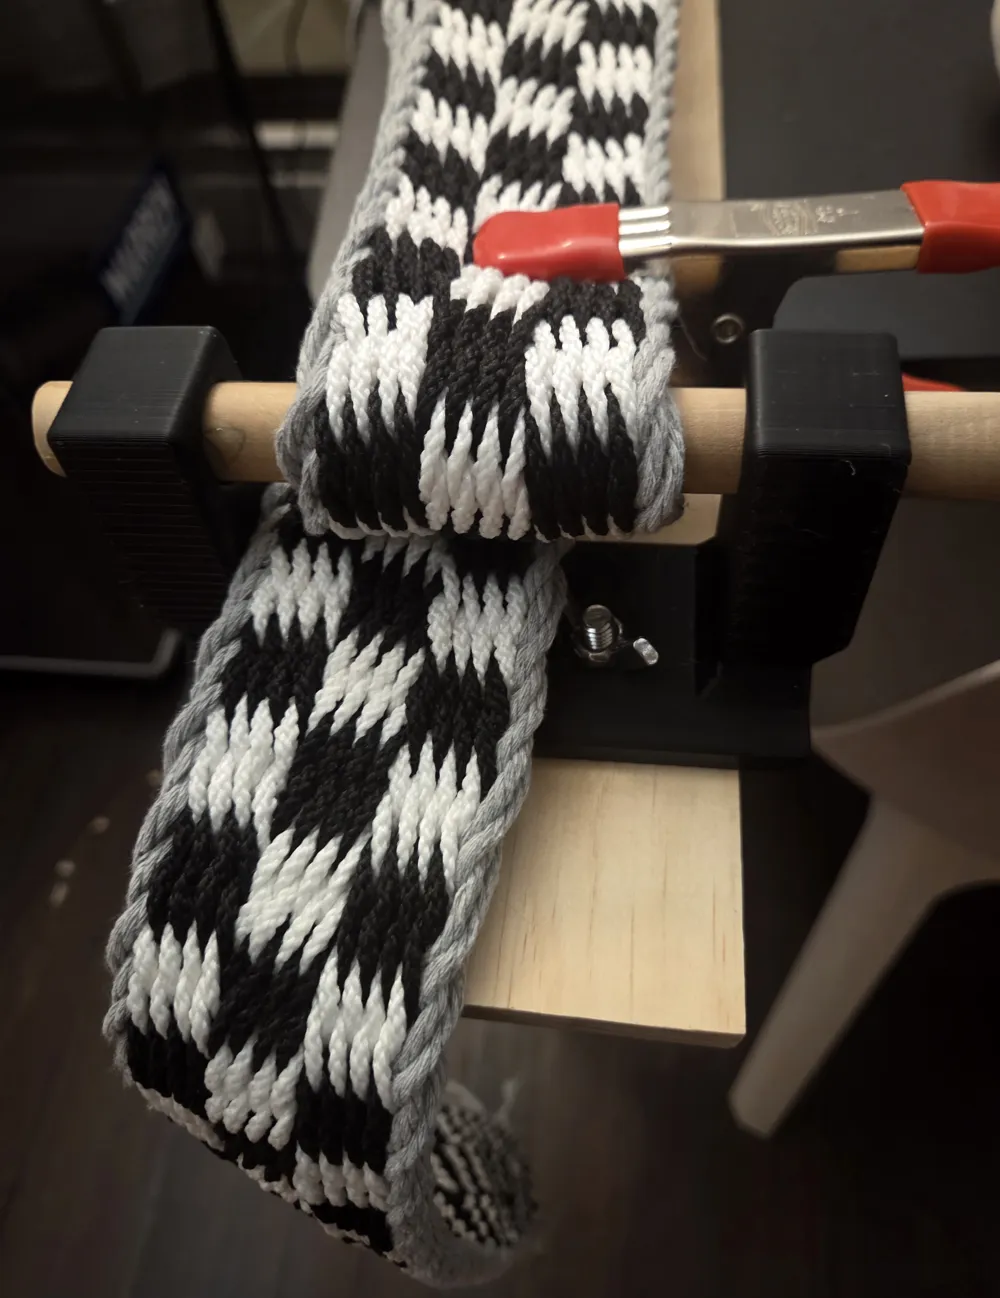
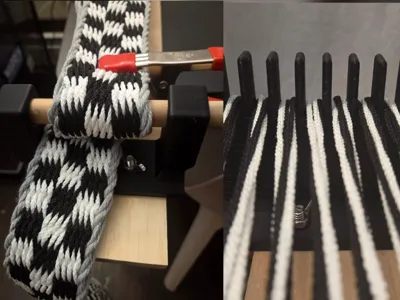
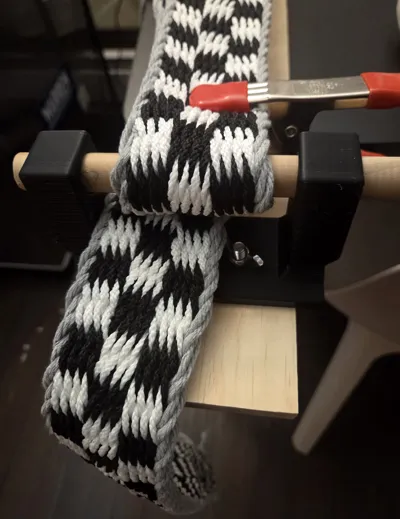
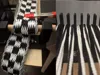
This is two printable components that, combined with some easy-to-acquire scrap hardware, produces a very capable warp-weighted band loom for various kinds of narrow band weaving. I use this loom for tablet weaving using macrame cord! I make class sashes and belts for one of the LARPs I play, Amtgard, using it! I hope you find it useful, as well.
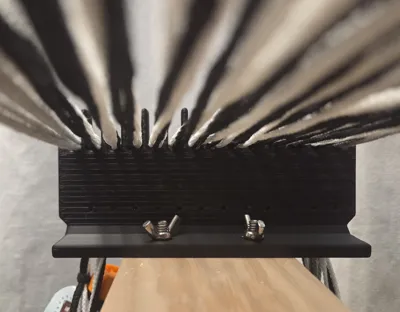
Building the loom: Just print the two pieces (PLA is fine in my experience) and then mount them on either end of a board! To mount, place each piece where you'd like it and mark where the ¼" holes need to be. Drill the holes out, test fit, adjust the holes a bit if needed, and bolt the pieces to the board. I used carriage bolts and wingnuts to make it easy, and smooth on the bottom, too. Cut a short length of 5/8" dowel to slide into the post piece to hold the near end of your warp and you're done!
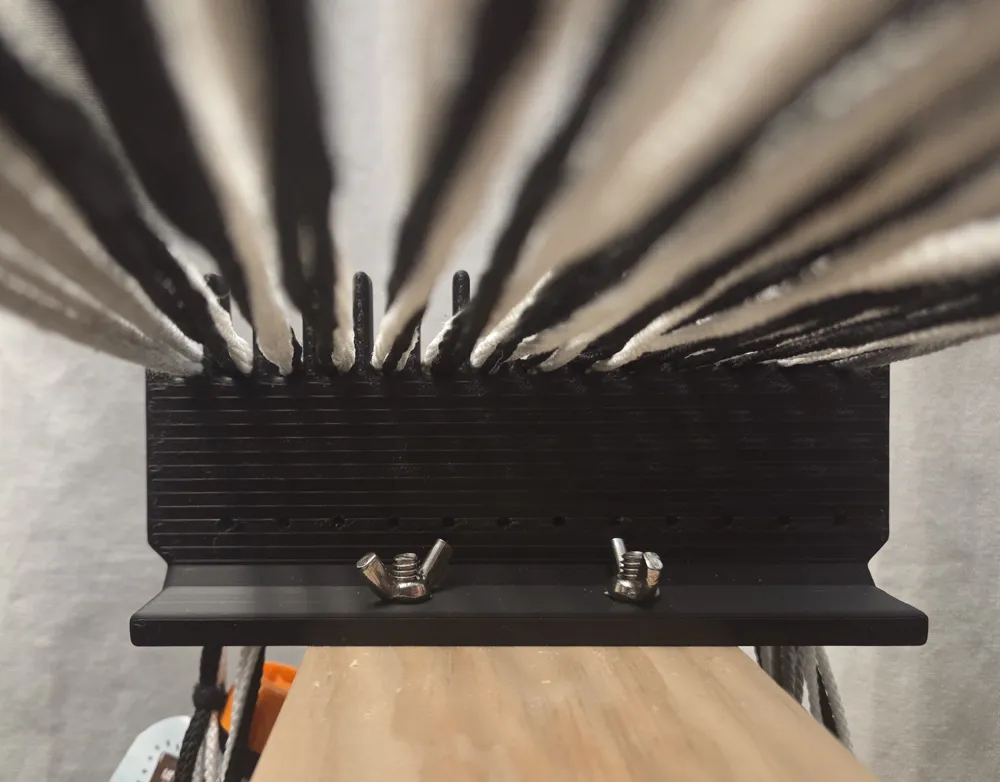
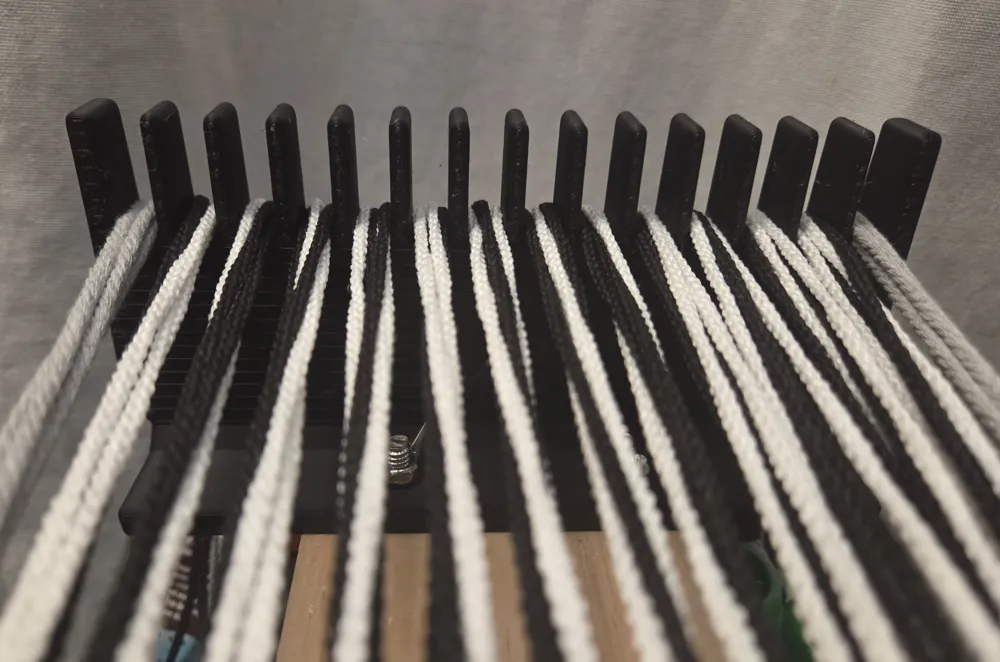
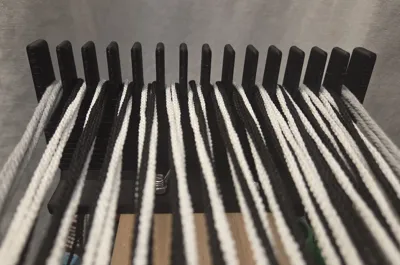
Setting up to weave: Warp up using whatever your usual method is (warping posts, an upside down chair on a table, whatever) and affix one end to the dowel/post, either by looping around the dowel or putting a ring on it or tying the warp on with a leader string, or however you like. Thread your cards (I'm using various sizes of printed cards with holes sized to the different cords I want to use), then run the bundles through the warp spreader slots and tie up the excess length, then weight your warp bundles as you like. I find that an applesauce pouch or two attached to the bundle by means of a hair elastic is just about the perfect cheap DIY warp weight for my weaving.
Swivels: I also included a bunch of holes in the warp spreader to try tying in fishing swivels. Some people like to warp up around those and then use them to push out twist in non-twist-neutral patterns! See: here for an example. I haven't tried this yet, though. Let me know if you try it!
As usual, I've uploaded this as CC-BY-SA, so go nuts on remixes, just credit and linkback and share your designs under the same license! <3 If you have any ideas for improvements or any feedback on the design, feel free to reach out, as well.
Happy printing, and weaving,
rmwphd
aka
Ld. Sq. Arrakis of Crystal Groves
License



Comment & Rating (4)