P2S /H2D/H2S Systainer tool box


Print Profile(2)
Description
The accessories included with Bambu P2S/H2D/H2S are important for product installation and maintenance and must be stored correctly.
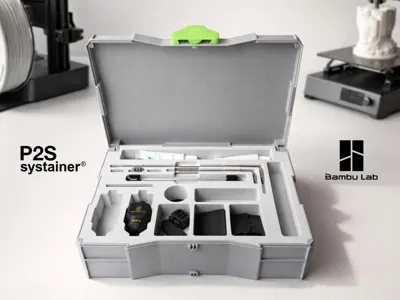
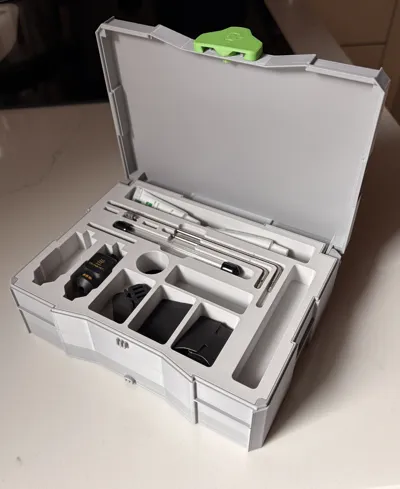
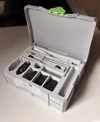
This storage box, designed specifically for Bambu P2S/H2D/H2S, can effectively organize all original tools and accessories, preventing them from getting lost or mixed up It provides a clean and dedicated storage space for your 3D printer maintenance tools Practical and hassle-free, it's a must-have for Bambu P2S/H2D/H2S users!
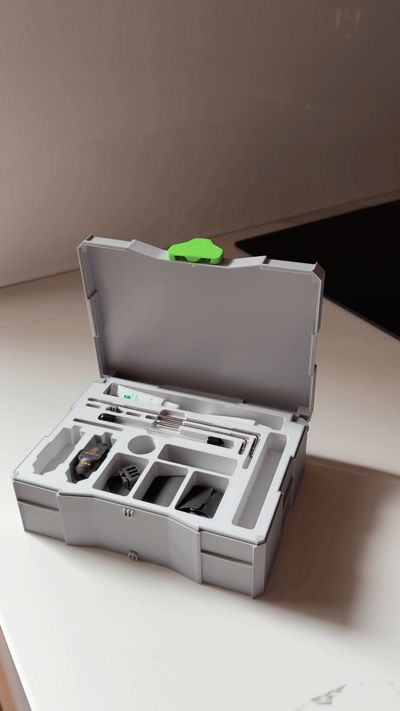
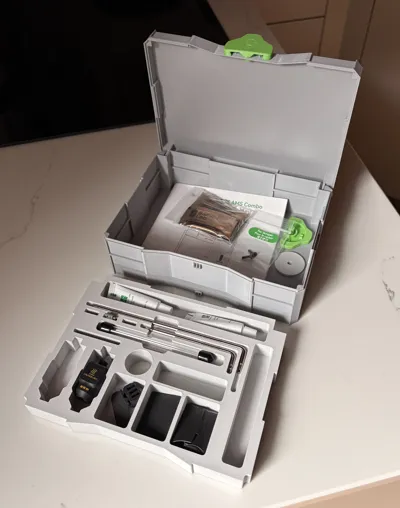
The double compartment allows you to neatly store all accessories supplied with the printer in the upper part and to keep all consumables like greases, oils, and other frequently used tools in the lower part.
I have put a lot of effort into this project I thank you in advance if you would like to support me by printing and giving a Boost HELLO EVERYONE!
To assemble the lid, simply push the 2 pins into their hinge seats, paying close attention to the orientation because they have a specific way The pin's bevel must match the Systainer's bevel I usually, to avoid stressing the pin structure, place them in position then, holding the Systainer, I rest the pin against a wall or a solid surface and gently pushing the Systainer the pins immediately go into place.
Regarding the T-lock (rotating front closure), you need to push the pin into the appropriate hole on the front until the end here too, tolerances are minimal to prevent excessive play between the parts, so it's a bit difficult but don't worry to insert it, rotate it gently but with constant pressure until it is fully inserted.
As mentioned above, tolerances are minimal and once assembled it will seem a bit stiff opening might also seem difficult, but after about ten open/close cycles, everything will settle in perfectly and smoothness will be perfect.
You will also find two print profiles:
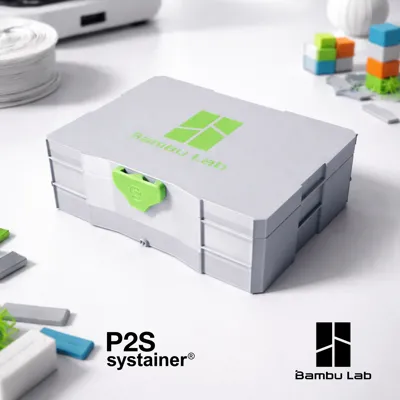
- with Bambulab logo on the lid
- without logo on the lid
Boost Me (for free)
For you, a Boost is free, but for me it makes a big difference because it encourages me to share my projects for free... I will be immensely grateful if you decide to give me one.

License
You shall not share, sub-license, sell, rent, host, transfer, or distribute in any way the digital or 3D printed versions of this object, nor any other derivative work of this object in its digital or physical format (including - but not limited to - remixes of this object, and hosting on other digital platforms). The objects may not be used without permission in any way whatsoever in which you charge money, or collect fees.
Comment & Rating (134)