
Muzi Works Base Duo/Uno Super IO Gameboy Case
Print Profile(1)
Description
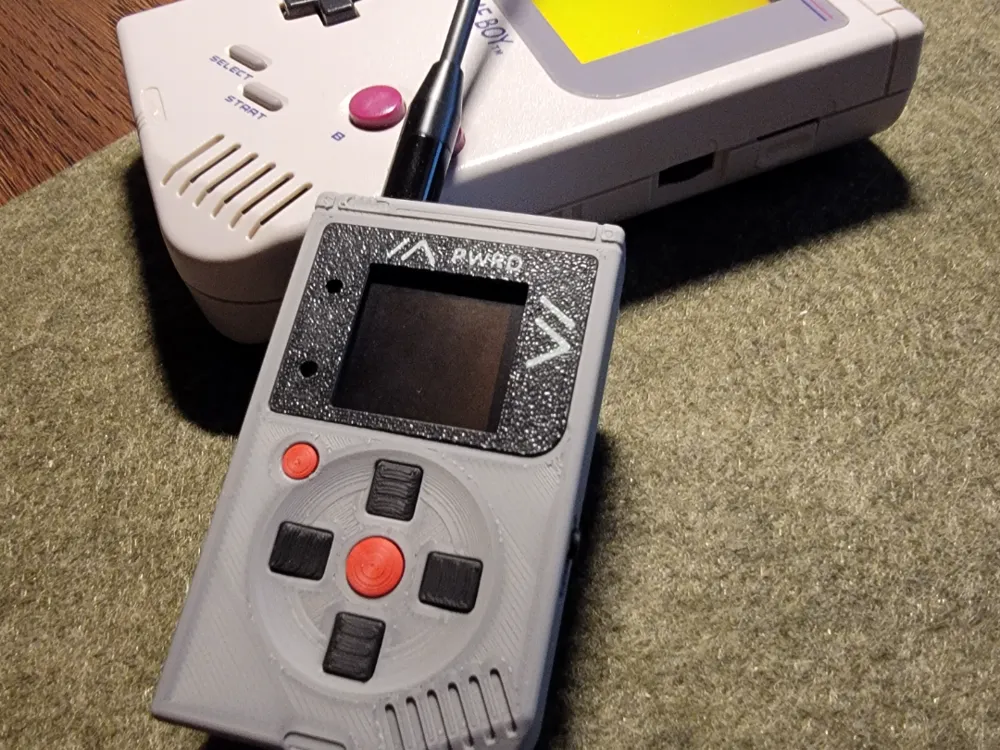
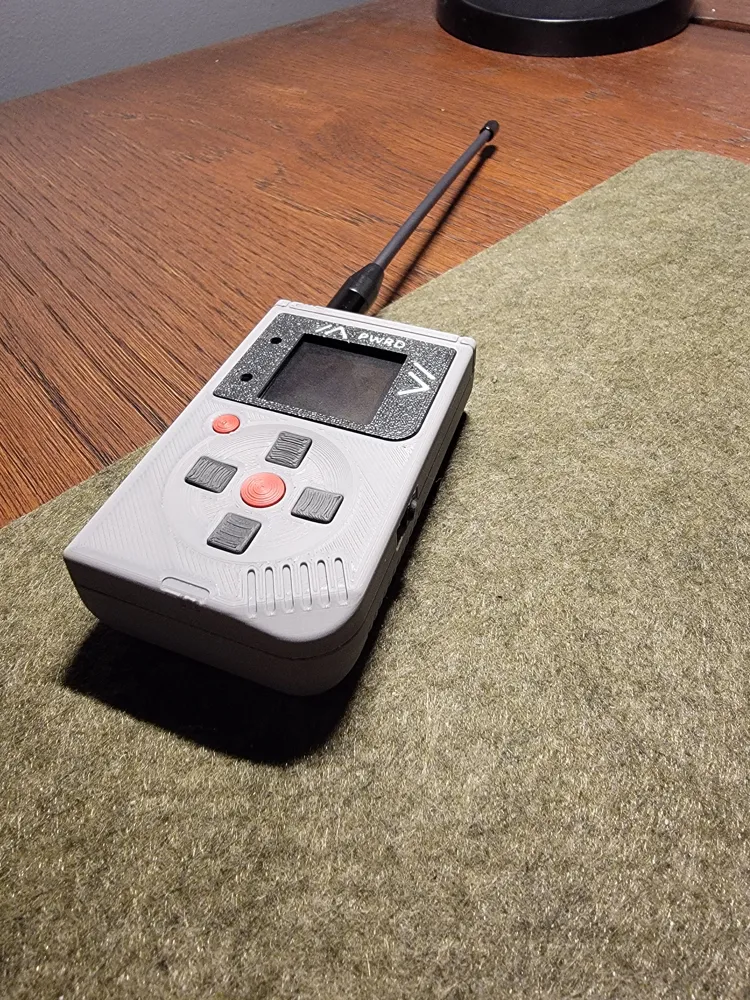
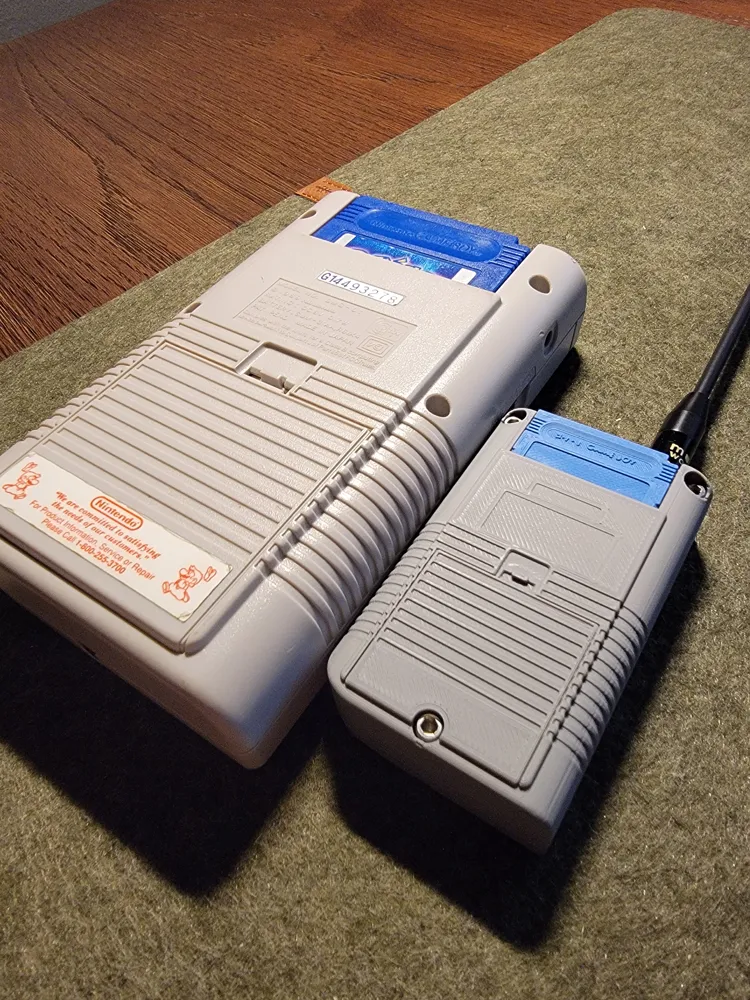
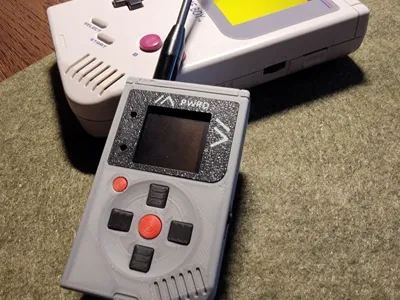
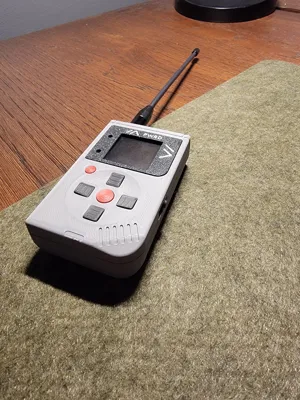
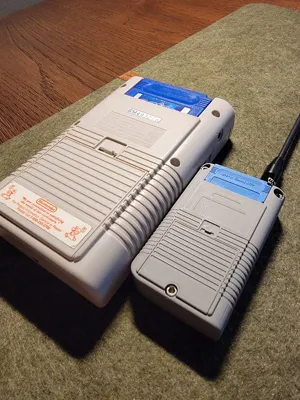
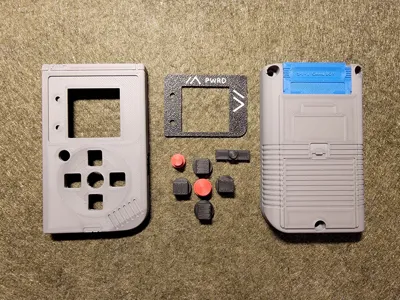
This is a case I made for the Muzi Works Base Duo//Uno. I use mine for Meshtastic.
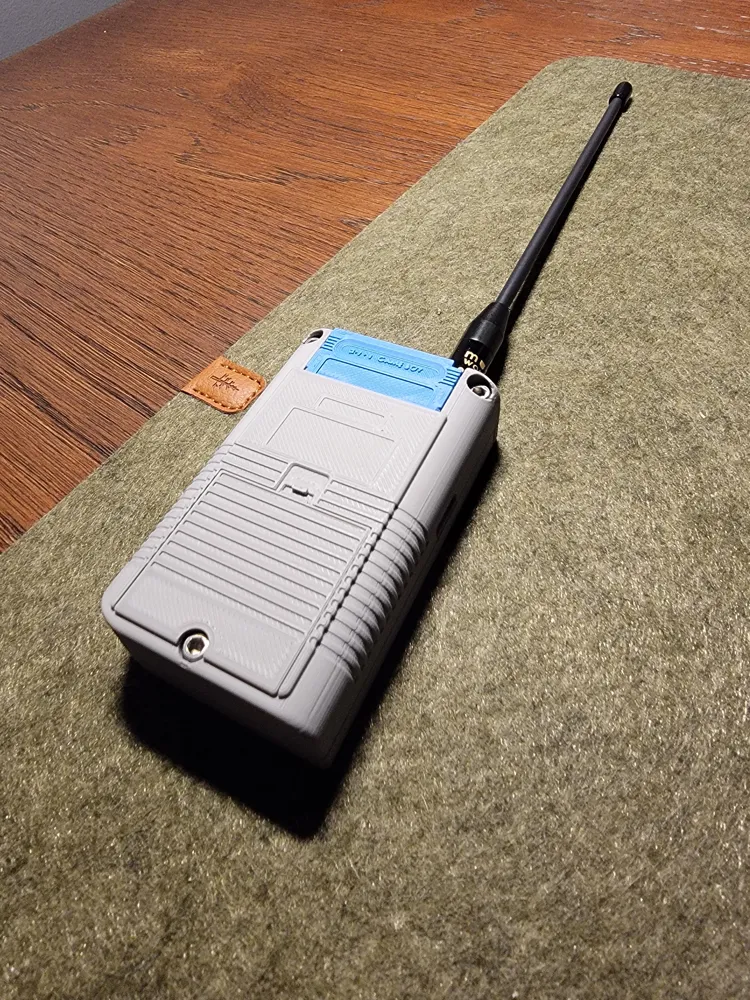
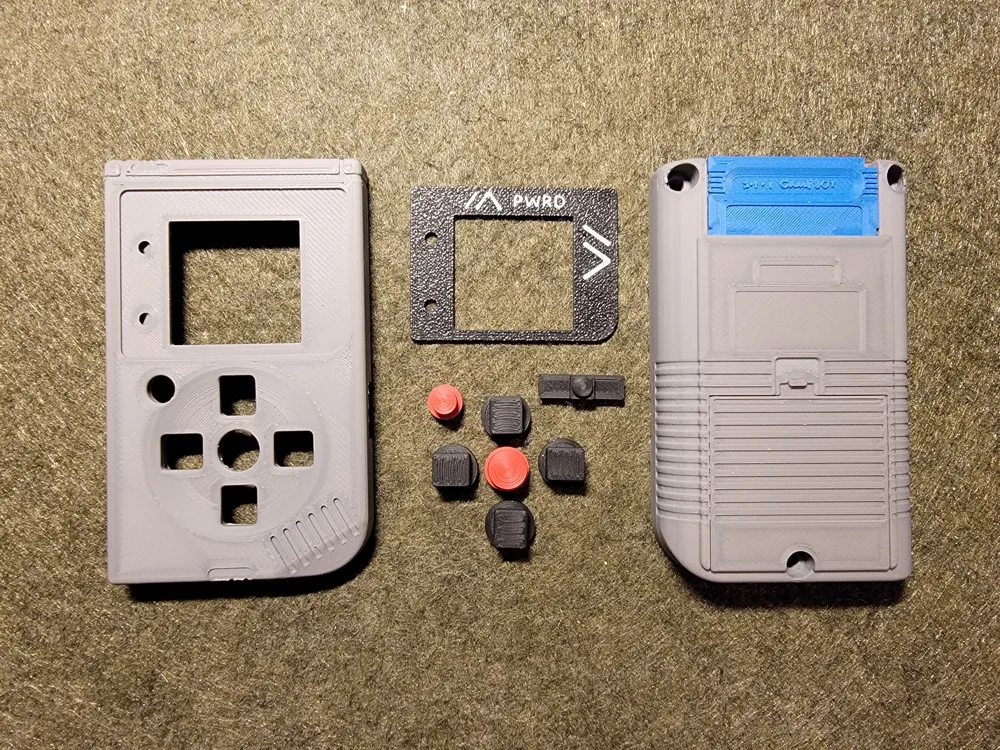
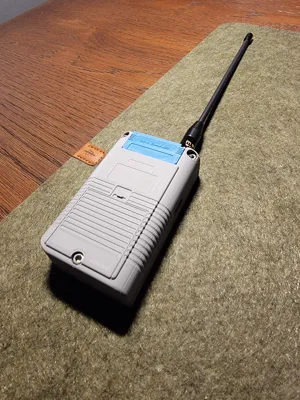
All multi color parts are separate objects for easy color changes with the fill tool. The Gameboy cart could theoretically be separated and printed on its own though I have not tested that. The screen includes 2 styles of logos, you can choose one, both or neither, it's up to you. It also includes 2 spots for the LED indicators, you can leave them closed if you're not a fan of flashing lights or you can choose to delete them. It might even work out if you print them in a translucent color to help diffuse the light.
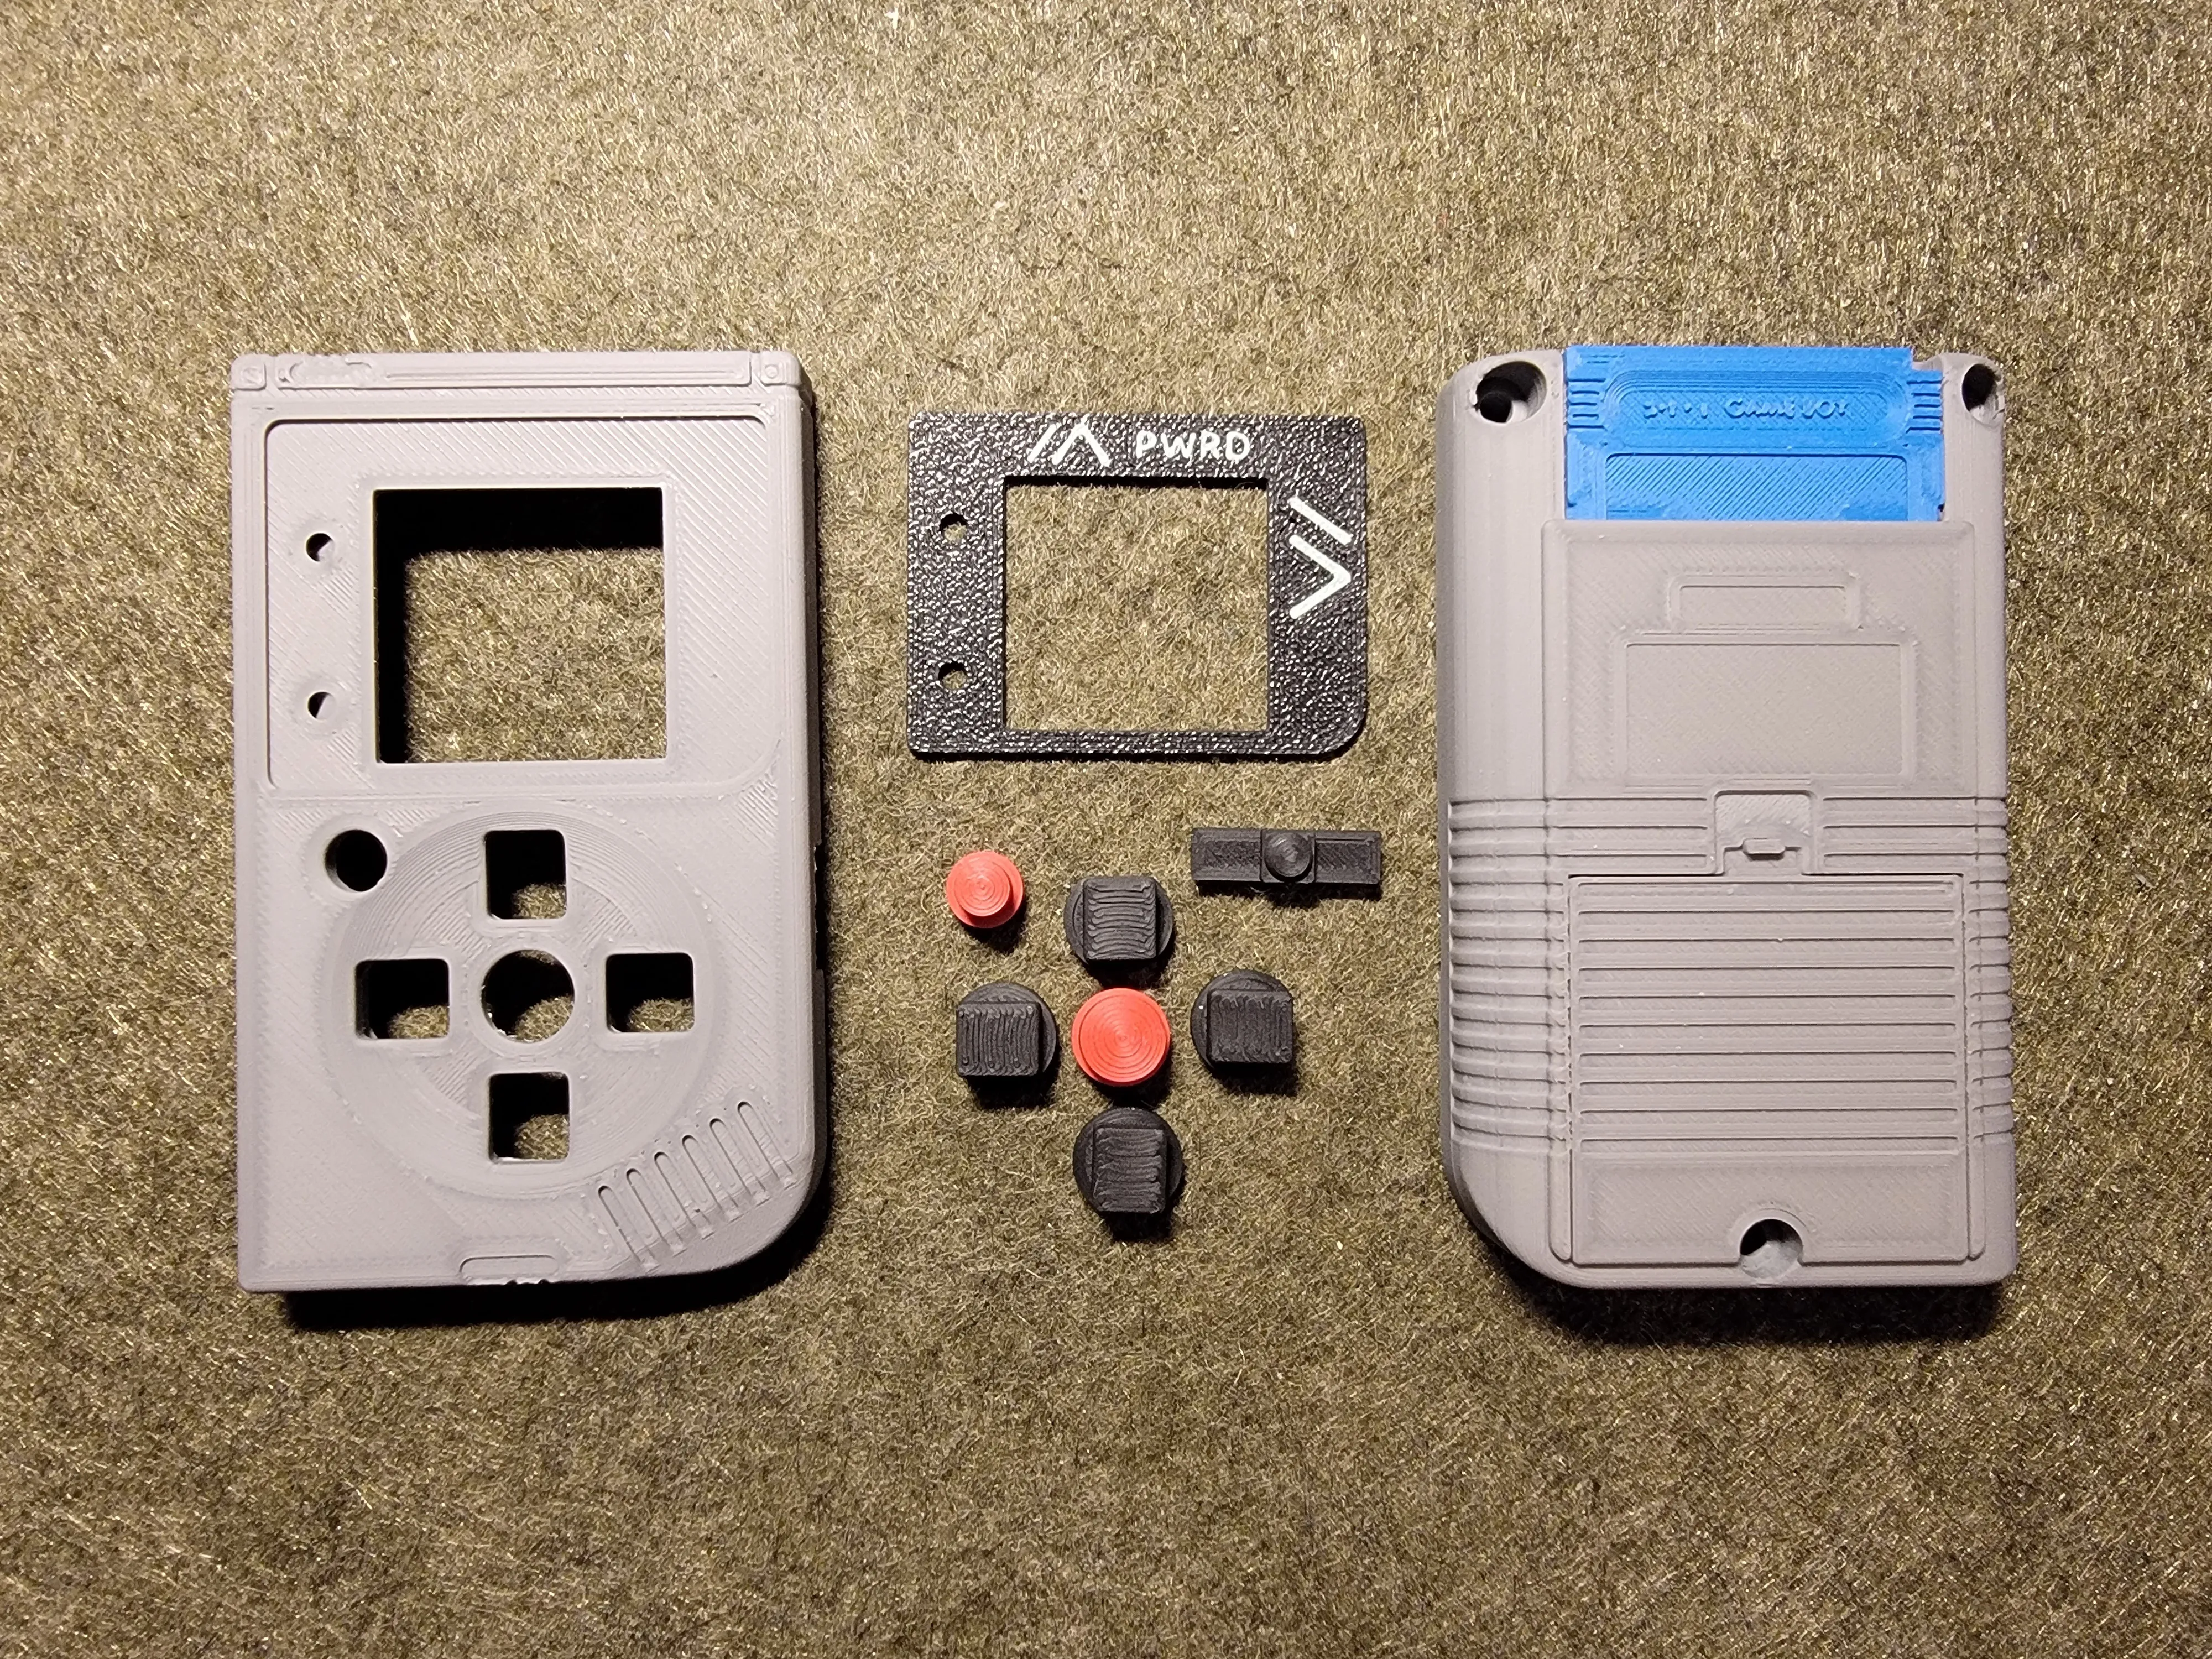
These are all of the 3D printed parts you will need. I print the shells facing up, so it is a support heavy print, though I think its worth it for the quality. Supports seem very inconsistent though, some test prints they came off with ease and others were a little work. You can flip the screen whichever way you'd like. I prefer giving it the textured face outwards. You will want to glue the screen onto the front shell. The lettering on the cart doesn't come through completely, but they can be scraped off with a finger nail easily if you don't like it. Typical print clean up is needed to make sure everything fits well. I do some minor sanding, filing, scraping to get things where I want.
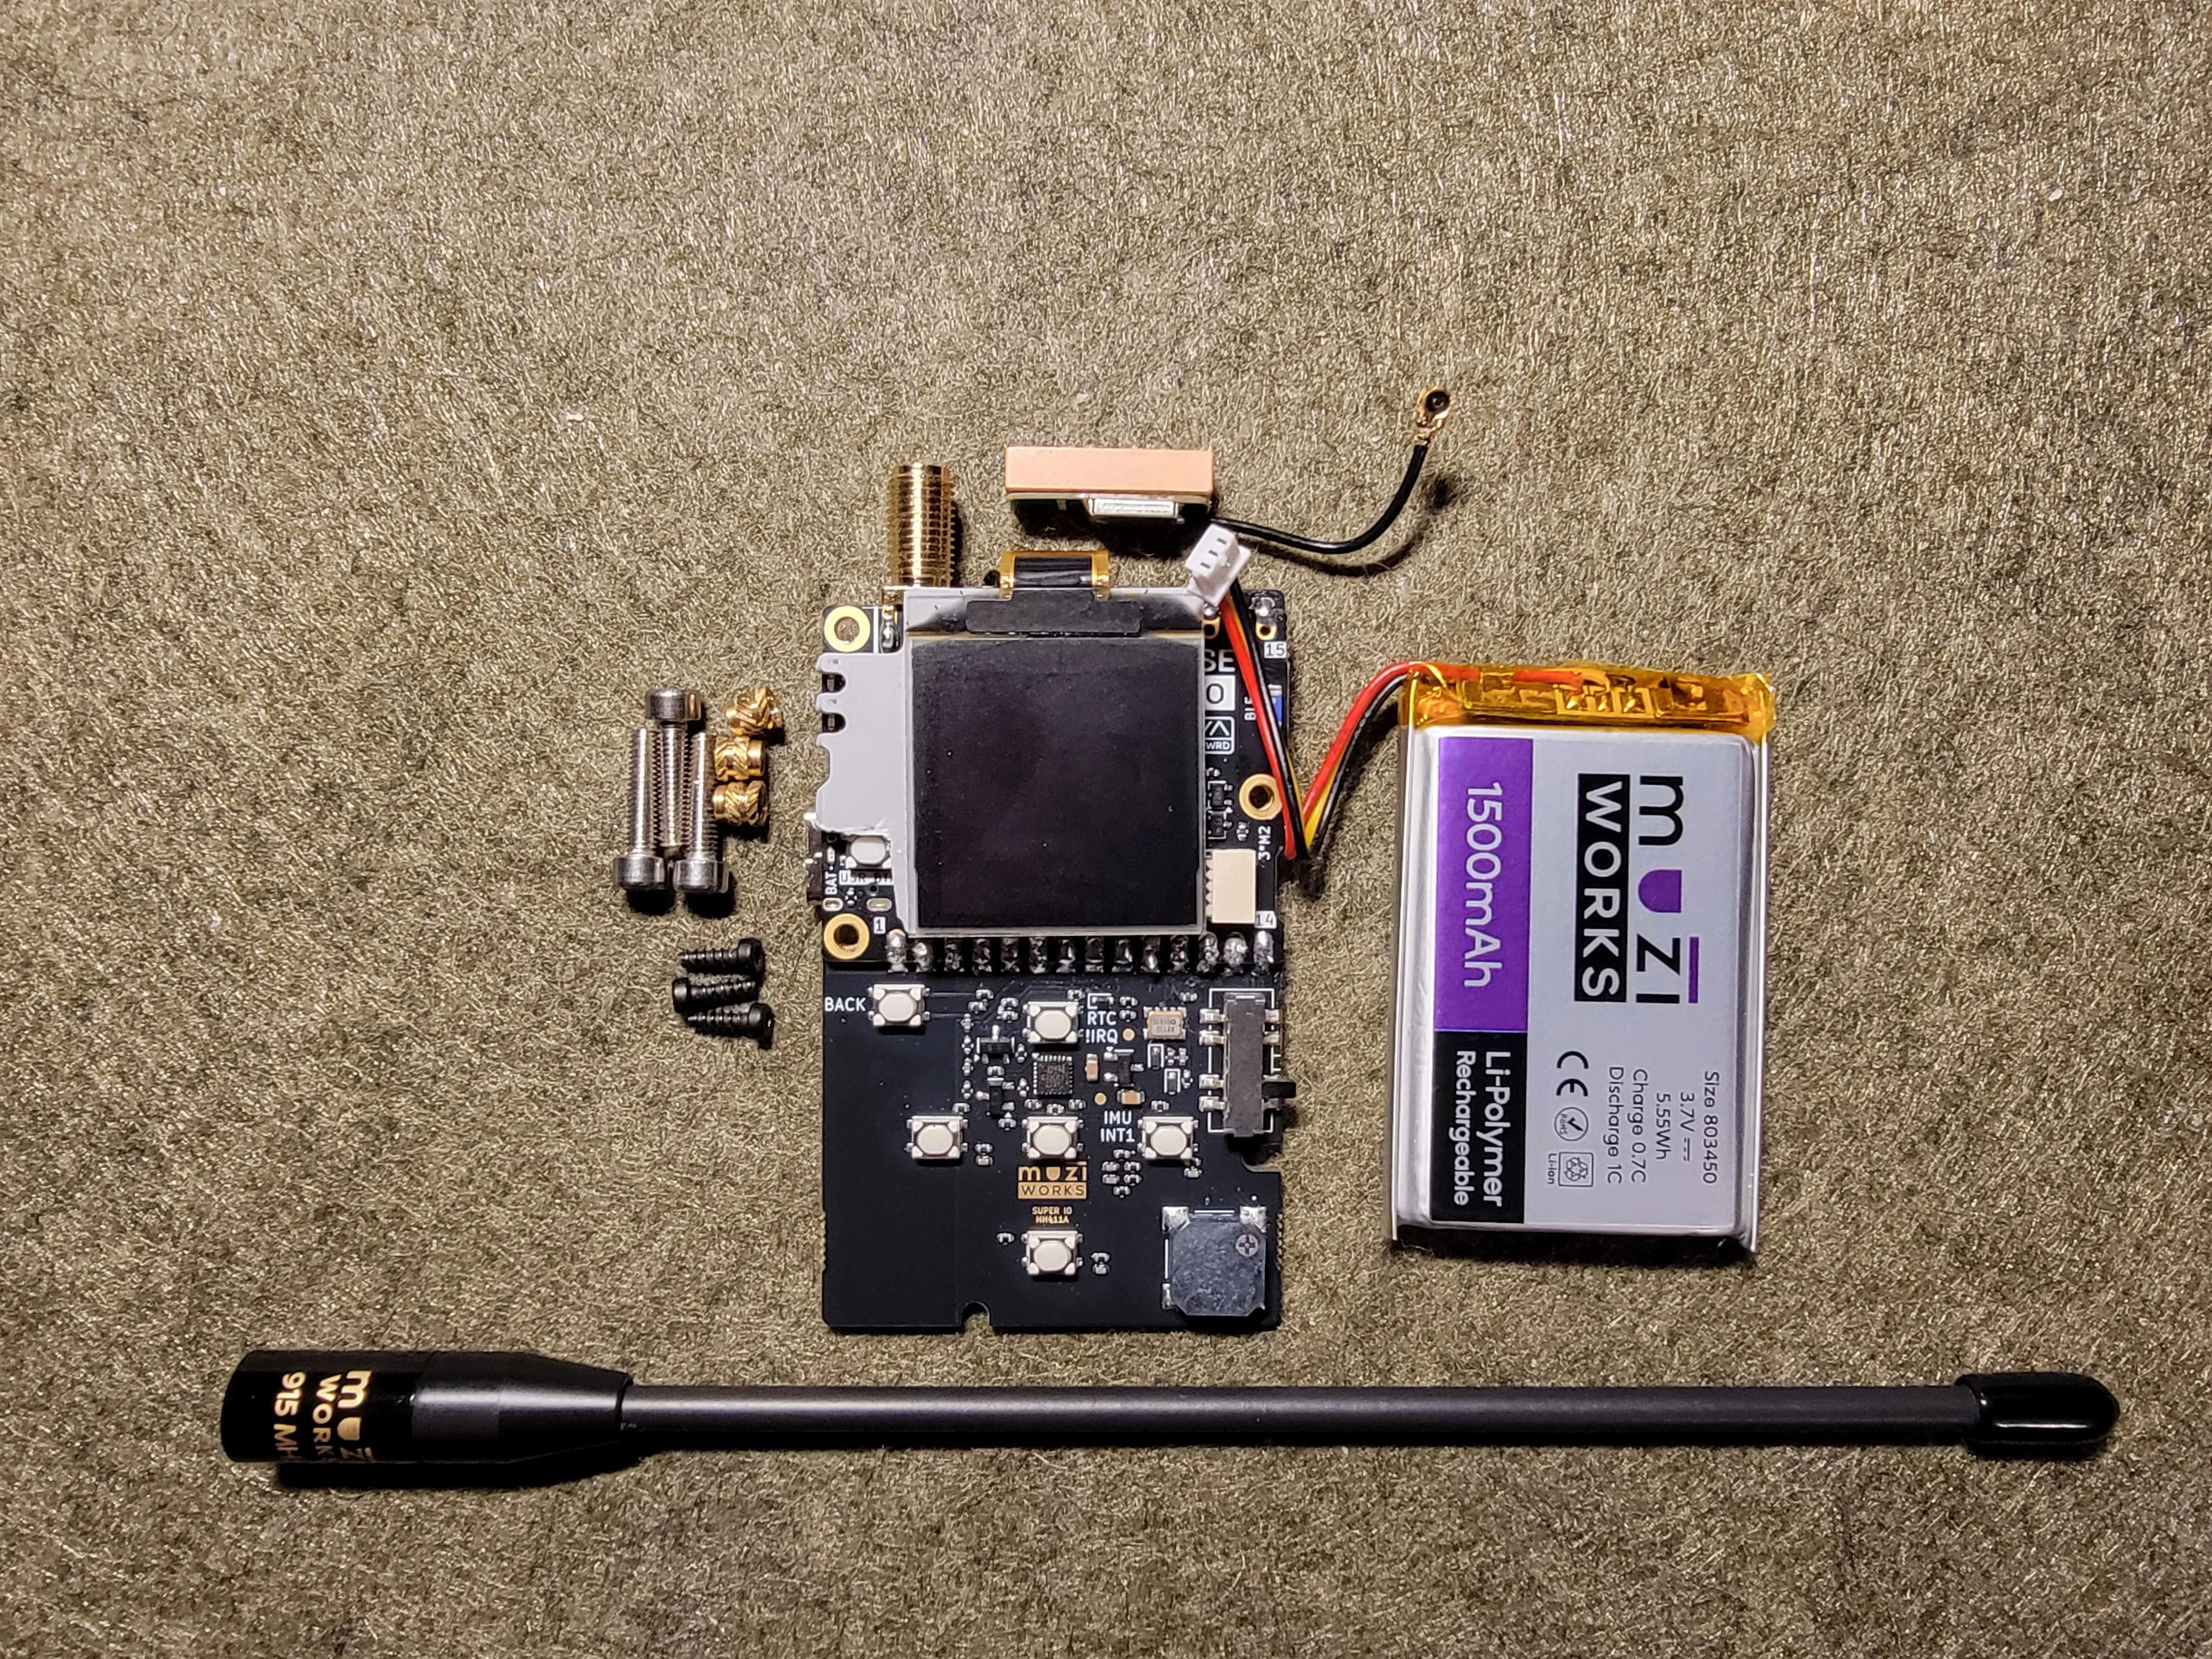
These are the Components you will need.
- Muzi Works Base Duo or Uno and the 3 included screws
- Muzi Works Super IO *
- Muzi Works 1500mAh Base Battery
- LoRa antenna of your choosing, SMA Male
- 3 m3 heat inserts with 12mm screws
*Note that I did modify the screen holder to uncover the user button. This needs to be done or the case will press and hold that button when the board is screwed down.
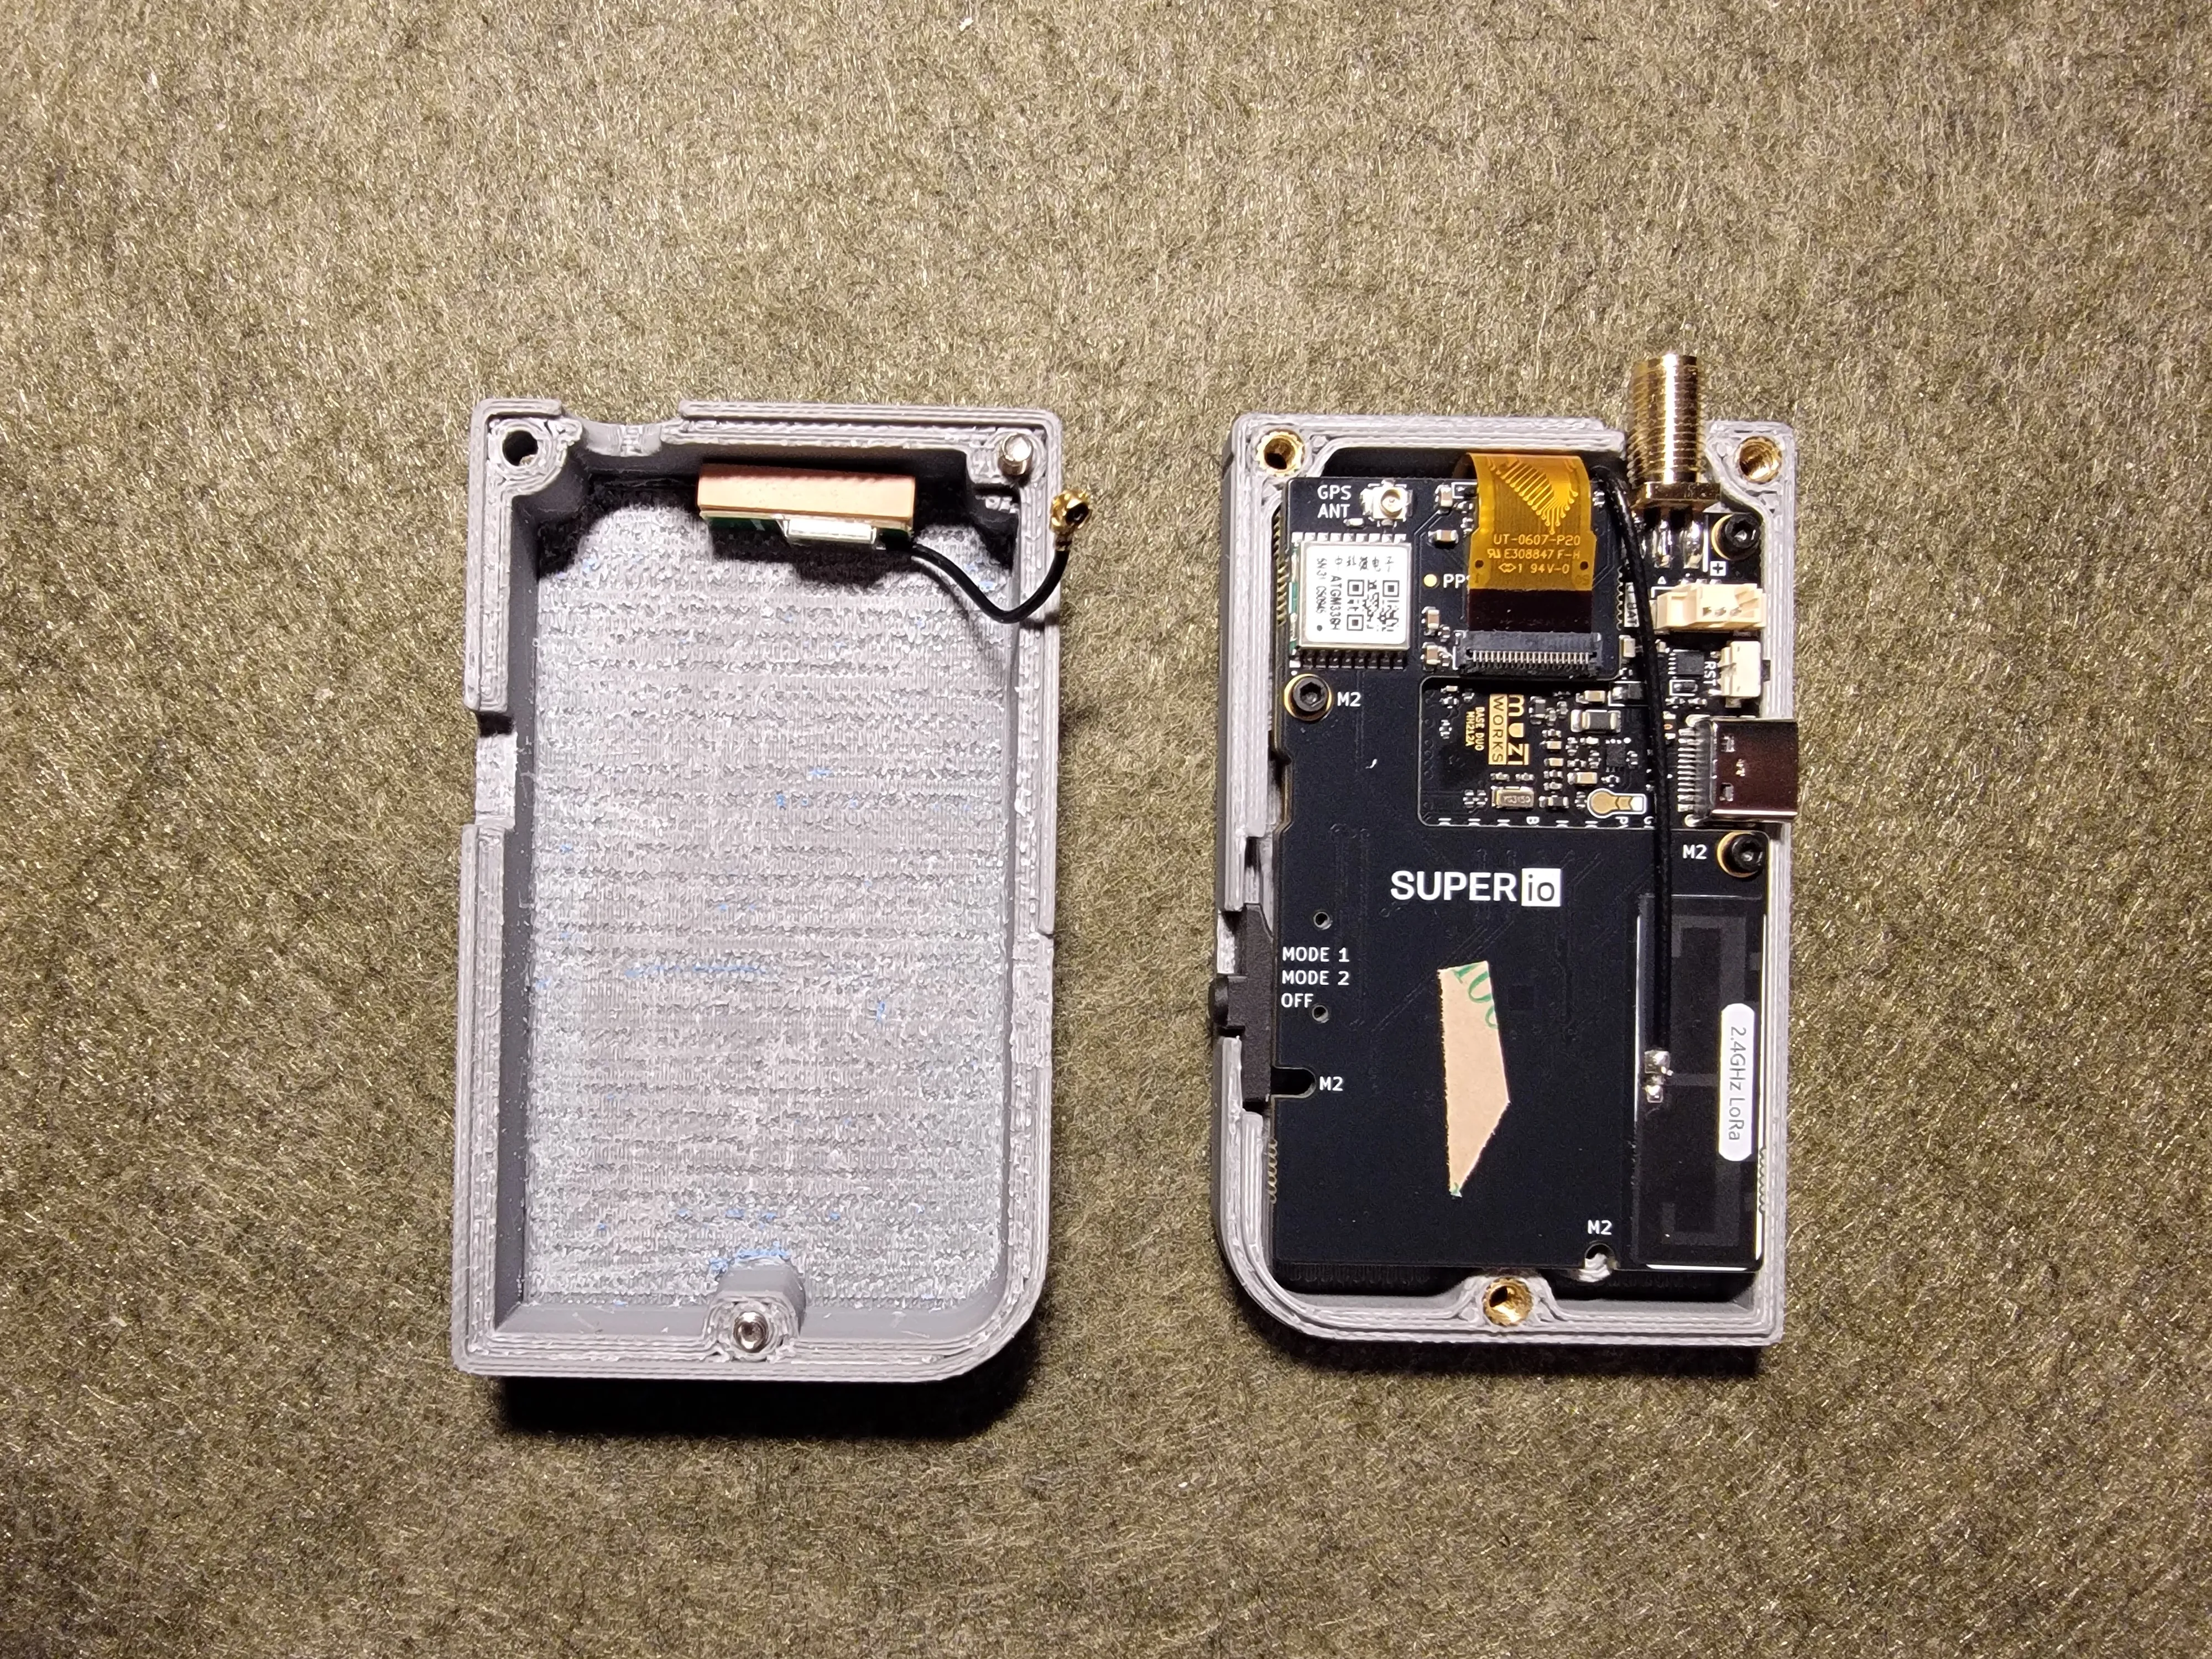
When installing the board, you first want to put the power slide over the mode switch. You want to make sure the chamfered side is up. You may need to file small notches off the edge of the board itself. They exist only for manufacturing and will not harm anything. I don't find the fourth screw at the bottom to be necessary but you can install it if you'd like. I use double sided tape to hold the battery and the GPS in place, but they're not necessary if you're up for fiddling with it to get everything in place and closed up. Don't forget to put the switch to OFF before plugging in the battery, the antenna must always be installed before powering on the device.
That's it, you're ready to sport a Gameboy node out there while you're meshing. I'd love to hear any feedback, suggestions, or issues anybody has with this case. If anybody can and wants to try printing out stickers for the back/cart, I'd love to see that and would provide blank SVG files to help facilitate it.
License

You shall not share, sub-license, sell, rent, host, transfer, or distribute in any way the digital or 3D printed versions of this object, nor any other derivative work of this object in its digital or physical format (including - but not limited to - remixes of this object, and hosting on other digital platforms). The objects may not be used without permission in any way whatsoever in which you charge money, or collect fees.


Comment & Rating (0)