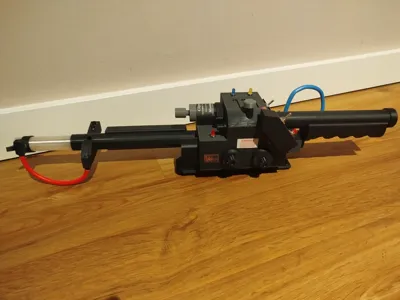
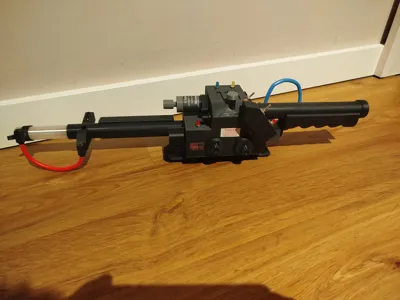
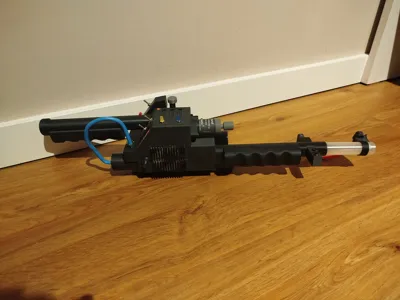
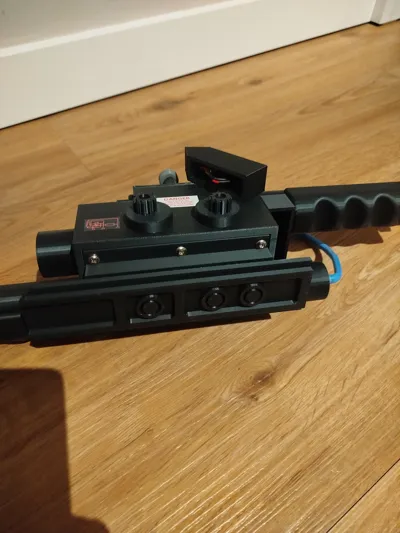
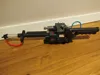
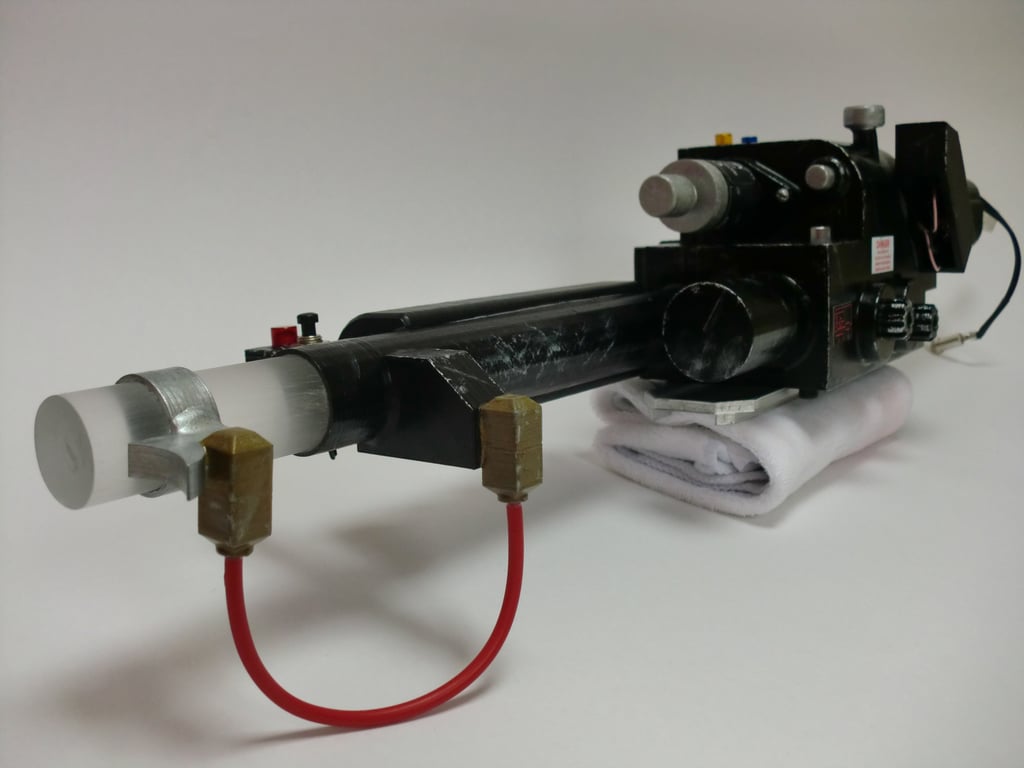
Ghostbusters Proton Gun Remix, fully working


Print Profile(1)
Description
This is a remix of an existing 3D model of the Ghostbusters Proton Gun. The outer shape and most of the mechanical components still correspond to the original design – only a few specific parts have been modified and optimized for the installation of electronics and functionality
The focus of this remix is **not** on new printed parts, but on the **fully functional electronics, wiring, and programming of an ESP32**, so that light and sound effects, just like in the film, can be reliably implemented
What's new in this remix?
- Adapted mounts and housing parts for ESP32, speakers, and power supply/battery
- Complete guide for electronics assembly and ESP32 firmware/code
Most of the original printed parts are still used
Main Feature: Fully Functional Electronics (ESP32)
This model includes detailed step-by-step documentation for:
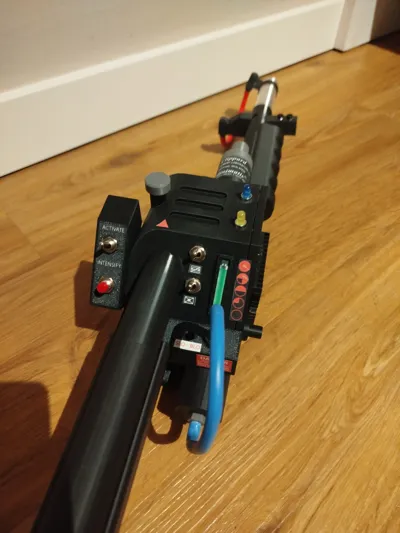
- Wiring of all LEDs, buttons, and switches
- Connecting the audio module and speaker
- Power supply
- Flashing and configuring the ESP32 firmware
The goal is that even makers with little experience can build the Proton Gun to be fully functional
Functions
- Light sequences like in the films
- Sound effects (start, loop, shutdown, etc)
- Trigger and mode switches
- Synchronized audio and light control
- Stable operation on ESP32
Printing Instructions
- All unmodified parts can be taken directly from the original model. The complete model is in the 3mf file and colors have been added compared to the original
- Recommended: PLA+ or PETG for structural components
Support only needed where indicated in the STL
Electronics & Firmware
You can find the complete guide including circuit diagram, pin assignment, and firmware in the "Electronics / ESP32 Guide" section
If you like the model, please leave me a like or even give it a boost.
Boost Me (for free)
Youtube Video of the finished project:
Note on the original model
All credits for the base design go to the original creator of the Proton-Gun model
This remix focuses exclusively on functional adaptations and electronics integration
Have fun building – and don't forget:
Don’t cross the streams!
Electronics / ESP32 Guide
Required Components:
- 1 x ESP32 Controller (https://amzn.to/4tN8X1Y)
- 3 x 220 Ohm Resistor (https://amzn.to/3MLc8X4)
- 1 x 1000 Ohm Resistor (https://amzn.to/3OMdDEW)
- 1 x 2000 Ohm Resistor (https://amzn.to/4cwyDJJ)
- 1 x blue LED (https://amzn.to/4kE1v4K)
- 1 x red LED (https://amzn.to/4kE1v4K)
- 1 x yellow/orange LED (https://amzn.to/4kE1v4K)
- 1 x white LED (https://amzn.to/4kE1v4K)
- 1 x DFPlayer Mini (https://amzn.to/3MOSt8E)
- 1 x micro-SD card (1GB sufficient) (https://amzn.to/4rXepNV)
- 1 x button (https://amzn.to/4b0TOl5)
- 4 x switches (https://amzn.to/3OtTWSf)
- 1 x speaker (8 Ohm) (https://amzn.to/4c122f4)
- 1 x mini USB-C Powerbank (https://amzn.to/3ZIrApO)
- 1 x 470 Microfarad Capacitor (https://amzn.to/4aCS7d0)
- various cables (https://amzn.to/4rnpaci)
- 1 x thick red cable (decoration only, non-functional)
- 1 x thick blue cable (decoration only, non-functional)
Prepare SD card:
- Format SD card to FAT32
- you can find the MP3 files for download
Folder structure:
/mp3
0001.mp3
0002.mp3
0003.mp3
0004.mp3
0005.mp3
Wiring:
Power Supply
ESP32 GND → common GND
ESP32 5V / VIN → DFPlayer VCC (5V)
DFPlayer GND → common GND
All GNDs must be connected
DFPlayer ↔ Speaker
| DFPlayer | Speaker |
|---|---|
| SPK1 | + |
| SPK2 | - |
DFPlayer ↔ ESP32
| DFPlayer | ESP32 |
|---|---|
| VCC | 5V |
| GND | GND |
| TX | GPIO16 |
| RX | GPIO17 (via voltage divider!) |
Voltage divider for RX:
- ESP32 GPIO17 → 1000 Ohm → DFPlayer RX
- DFPlayer RX → 2000 Ohm → GND
Capacitor:
- between VCC and GND (mind polarity!)
DFPlayer ↔ ESP32
| DFPlayer | ESP32 |
|---|---|
| VCC | 5V |
| GND | GND |
| TX | GPIO16 |
| RX | GPIO17 (via 2000 Ohm resistor) |
Connect Switches/Buttons
| Switch/Button | ESP32 |
| Switch 1 | between ESP32 5V and Powerbank (+) |
| Switch 2 | GPIO32 |
| Switch 3 | GPIO33 |
| Button | GPIO25 |
Connect LEDs
- long LED pin (Anode) → 220 Ohm Resistor → GPIO
- short LED pin (Cathode) → GND
| LED | ESP32 |
|---|---|
| 1 | GPIO4 |
| 2 | GPIO19 |
| 3 | GPIO21 |
| 4 | GPIO22 |
Arduino Code
Here is the complete code for the ESP32. You can also find it as an attachment in a zip file
#include <DFRobotDFPlayerMini.h>
#include <HardwareSerial.h>HardwareSerial mySerial(2);
DFRobotDFPlayerMini player;
bool dfplayerOK = false;// Inputs
const int switch1Pin = 32; // Master
const int switch2Pin = 33;
const int buttonPin = 25;// LEDs
const int ledPower = 4; // LED 1
const int led2 = 19;
const int led3 = 21;
const int led4 = 22;// Tracks (MP3/0001.mp3 ... 0004.mp3)
const int trackOnMaster = 1; // MP3 1 when Master ON
const int trackButton = 2; // MP3 2 when button pressed (as long as held)
const int trackOffMaster = 3; // MP3 3 when Master OFF
const int trackSwitch2 = 4; // MP3 4 optional with Switch 2
const int trackInit = 5;int currentTrack = 0;
// States for edge detection
bool lastMasterOn = false;
bool lastSwitch2On = false;// Timer for blinking
unsigned long lastBlink23 = 0;
unsigned long lastBlink4 = 0;
bool led23State = false;
bool led4State = false;// DFPlayer Retry
unsigned long lastDFPlayerRetry = 0;
const unsigned long dfplayerRetryInterval = 2000;// ---------- DFPlayer Init & Fallback ----------
bool initDFPlayer() {
for (int attempt = 1; attempt <= 5; attempt++) {
if (player.begin(mySerial)) {
dfplayerOK = true;
player.volume(20);// gentle wake-up (briefly trigger + stop)
player.playMp3Folder(trackInit);
delay(5);
player.stop();currentTrack = 0; // state clean
return true;
}
delay(300);
}
dfplayerOK = false;
return false;
}void ensureDFPlayerReady() {
if (dfplayerOK) return;
if (millis() - lastDFPlayerRetry > dfplayerRetryInterval) {
lastDFPlayerRetry = millis();
initDFPlayer();
}
}void playOnce(int track) {
ensureDFPlayerReady();
if (!dfplayerOK) return;
player.stop();
delay(10);
player.playMp3Folder(track);
currentTrack = track;
}void stopSound() {
if (dfplayerOK) player.stop();
currentTrack = 0;
}// ---------- Setup ----------
void setup() {
delay(1500); // Power-On-Delay (give Powerbank/DFPlayer time)
pinMode(switch1Pin, INPUT_PULLUP);
pinMode(switch2Pin, INPUT_PULLUP);
pinMode(buttonPin, INPUT_PULLUP);pinMode(ledPower, OUTPUT);
pinMode(led2, OUTPUT);
pinMode(led3, OUTPUT);
pinMode(led4, OUTPUT);digitalWrite(ledPower, HIGH); // Power LED always on
mySerial.begin(9600, SERIAL_8N1, 16, 17);
initDFPlayer();
delay(800);
if (!dfplayerOK) initDFPlayer(); // second attempt for safety
}// ---------- Loop ----------
void loop() {
ensureDFPlayerReady();bool masterOn = (digitalRead(switch1Pin) == LOW);
bool switch2On = (digitalRead(switch2Pin) == LOW);
bool buttonOn = (digitalRead(buttonPin) == LOW);// Master edge detection
if (masterOn && !lastMasterOn) {
// OFF -> ON
playOnce(trackOnMaster);
}
else if (!masterOn && lastMasterOn) {
// ON -> OFF
playOnce(trackOffMaster);
}// LEDs with Master
if (!masterOn) {
digitalWrite(led2, LOW);
digitalWrite(led3, LOW);
digitalWrite(led4, LOW);
} else {
if (millis() - lastBlink23 > 500) {
lastBlink23 = millis();
led23State = !led23State;
digitalWrite(led2, led23State);
digitalWrite(led3, !led23State);
}
}// Button: Sound 2 as long as pressed + fast blinking LED4
if (masterOn && buttonOn) {
if (currentTrack != trackButton) {
playOnce(trackButton);
}
if (millis() - lastBlink4 > 100) {
lastBlink4 = millis();
led4State = !led4State;
digitalWrite(led4, led4State);
}
} else {
digitalWrite(led4, LOW);
if (currentTrack == trackButton) {
stopSound(); // stop on release
}
}// Switch 2: play once on edge (only if Master is on)
if (masterOn && !switch2On && lastSwitch2On) {
playOnce(trackSwitch2);
}lastMasterOn = masterOn;
lastSwitch2On = switch2On;delay(5); // brief relief
}
I hope I haven't forgotten anything. Please give feedback if anything is missing or if more information is needed
Comment & Rating (3)