


Print Profile(2)

Description
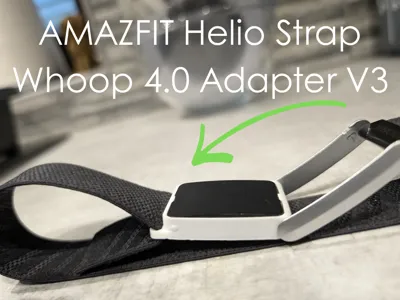
Hey All Me Again!
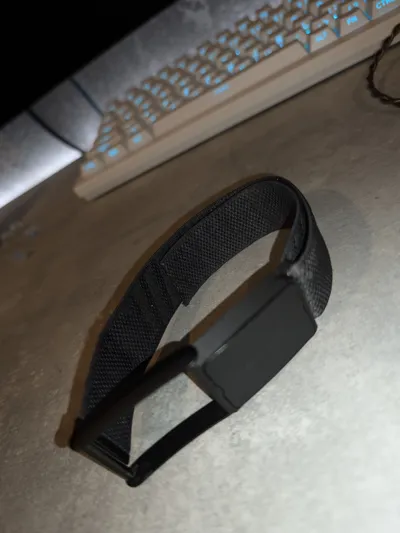
After a lot of feedback, critiques and trialling, I have built upon the "Original" and the "v2" adapters that I Previously Released!
I Have spent alot of time dialing in the tolerances on this model, such that it fits the helio with a nice click! However, as some will have noticed, a .2mm nozzle is REQUIRED to print this adapter this time round! Unfortunatly it is required to print the walls around the adapter to insure the clasp doesnt buckle.
Print as is, laying flat, not fast, not slow, no supports, no brim
Ko-fi: https://ko-fi.com/x169_
Some improvements:
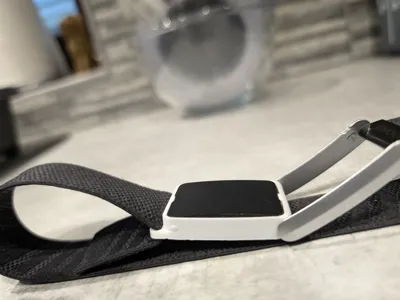
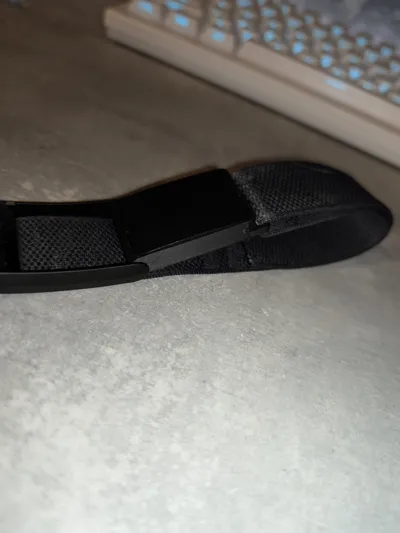
-> strengthening of the loop lug by adjusting the print direction of the strap.
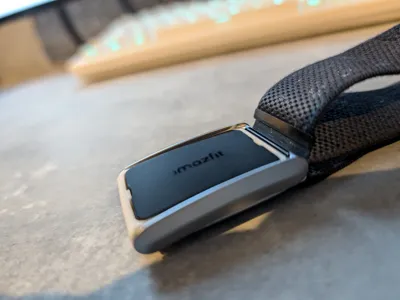
-> Added the most requested feature... A BETTER Latching system, Which Perfectly meets the original whoop clasps design!
-> Major thickness decrease around the top section of the adapter, down to zero added thickness!
I would really appreciate any feedback. And if you like my work, please consider upvoting and boosting my post on Makerworld! Its Free and helps massively!
Any questions please feel free to ask!
Peace
License
You shall not share, sub-license, sell, rent, host, transfer, or distribute in any way the digital or 3D printed versions of this object, nor any other derivative work of this object in its digital or physical format (including - but not limited to - remixes of this object, and hosting on other digital platforms). The objects may not be used without permission in any way whatsoever in which you charge money, or collect fees.
Comment & Rating (56)