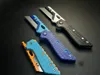
NMB - Beast Spine | Folding Utility Knife


Print Profile(1)
Bill of Materials


Description
The Inspiration
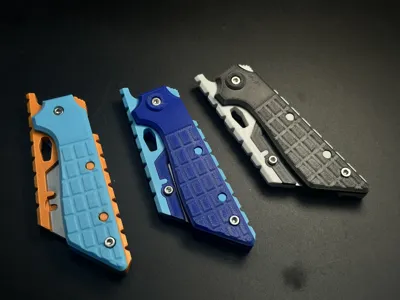
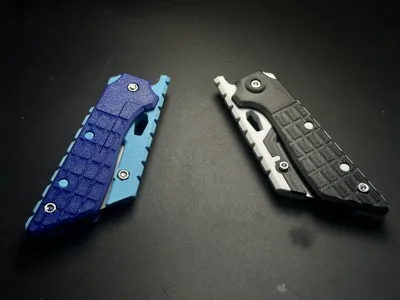
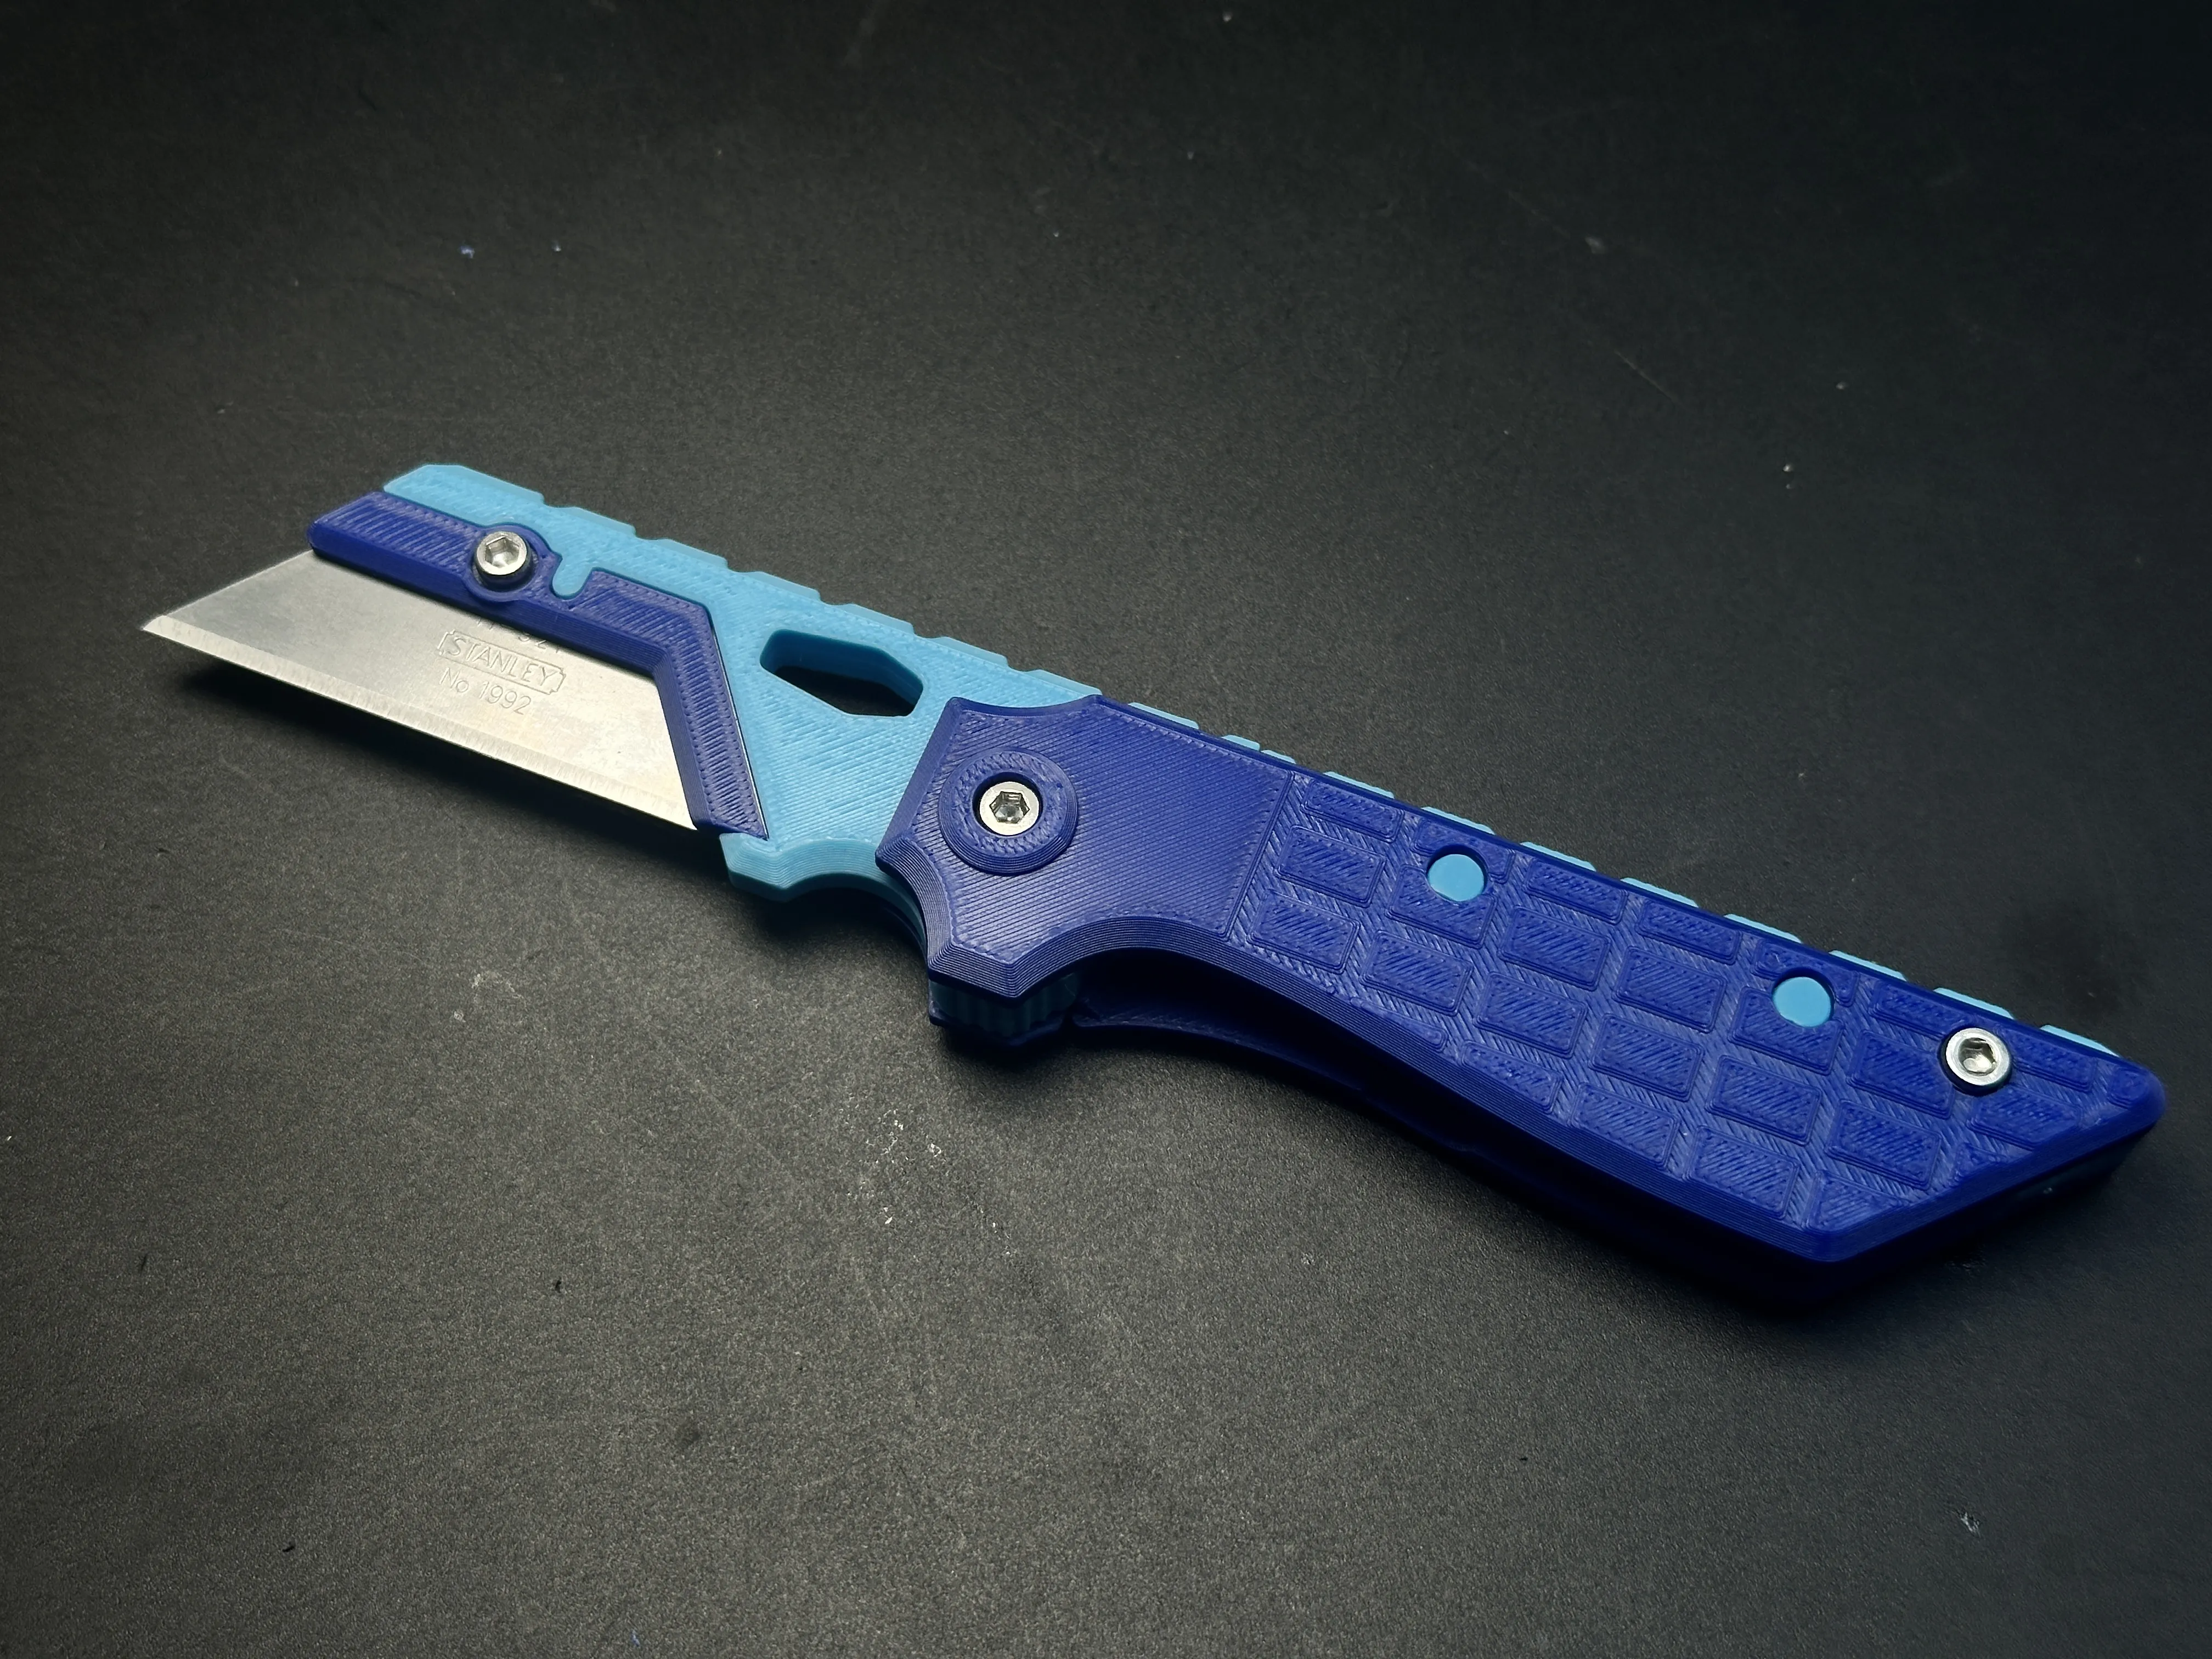
This design is a 3D-printed homage to the iconic "Beast Spine" (兽脊) by North Mountain Blade(NMB).
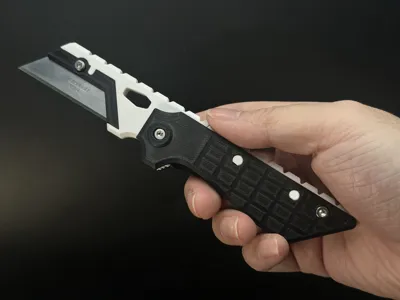
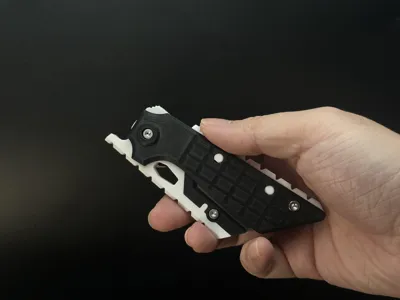
The most striking feature of the original knife is its incredibly thick, aggressive Spine. The back of the knife features complex, vertebrae-like textures that resemble the spine of a massive beast. This doesn't just provide a powerful visual impact—它还提供了极其出色的防滑指撑感 (excellent thumb traction). I have also incorporated the hidden lanyard hole tucked inside the spine, just like the original. I've always been a fan of this bold aesthetic and wanted to challenge myself to recreate that "heavy-duty" soul in a 3D-printed folding utility knife.

Features
- Easy Printing: Optimized for simplicity. It only requires two tiny spots of support, which I have already manually placed in the included .3mf file.
- Blade Compatibility: Designed specifically for Standard Stanley Utility Blades (62mm). Please note that larger or smaller blades will likely not fit or function correctly.
Hardware Required:
You will need one M3-6mm screw, one M3-12mm screw, one M3-14mm screw, and three M3 nuts.
Assembly Instructions
1.Parts Overview: Lay out all 3D printed parts as shown in the image.

2.Internal Assembly: Refer to the internal view diagram. Carefully assemble the spine and the blade carrier according to the layout.

3.Closing the Handle: Place the second handle scale on top and secure it with two screws:
Use the M3-14mm screw and nut to secure the Pivot .
Use the M3-12mm screw and nut to secure the Tail of the handle.

4.Installing the Blade: Place your Stanley blade into the carrier and lock it in place using the M3-6mm screw and nut.

5.Finish
The strength of 3D-printed knives cannot be guaranteed and they are suitable only for light-duty tasks, such as cutting paper or opening Amazon packages. Unless otherwise specified, all of my knife designs are intended for light-duty use only.
My similar projects, click on the picture

Membership
License
You shall not share, sub-license, sell, rent, host, transfer, or distribute in any way the digital or 3D printed versions of this object, nor any other derivative work of this object in its digital or physical format (including - but not limited to - remixes of this object, and hosting on other digital platforms). The objects may not be used without permission in any way whatsoever in which you charge money, or collect fees.
Comment & Rating (17)