
DARTS for Acoustic Panels (Drill-Free Mounting)
Print Profile(2)

Description
Note:
The model was successfully printed and is easily printable with a simple print profile.
Since every 3D printer behaves differently, individual adjustments to temperature, support, speed, or cooling may be necessary.
Optimized print profiles are welcome to be shared so that everyone can benefit from them.
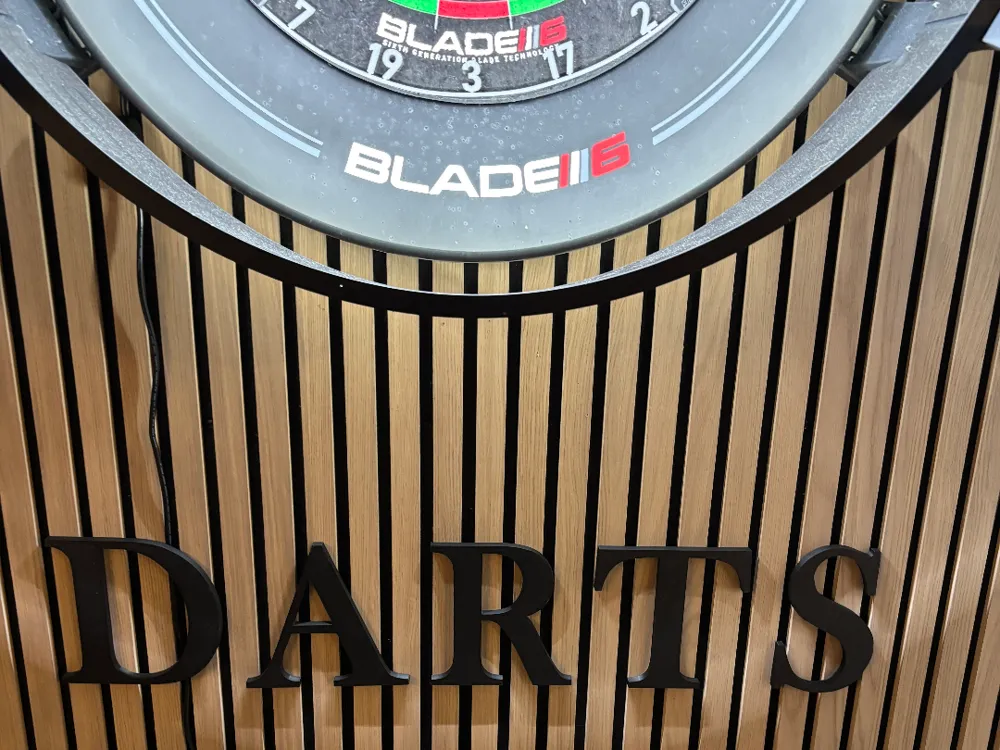
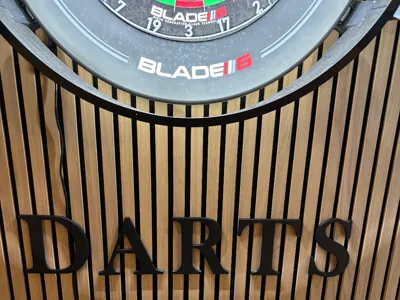
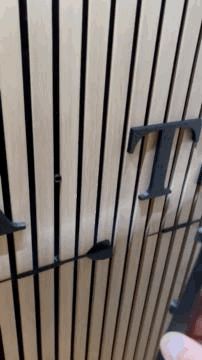
DARTS: Letters for Acoustic Panels (Drill-Free)
Decorate your acoustic wall with individual letters or symbols! This system was designed for panels with a groove width of 13 mm and a slat thickness of approx. 10 mm (e.g., suitable for OBI panels). The system allows for secure mounting completely without drilling.
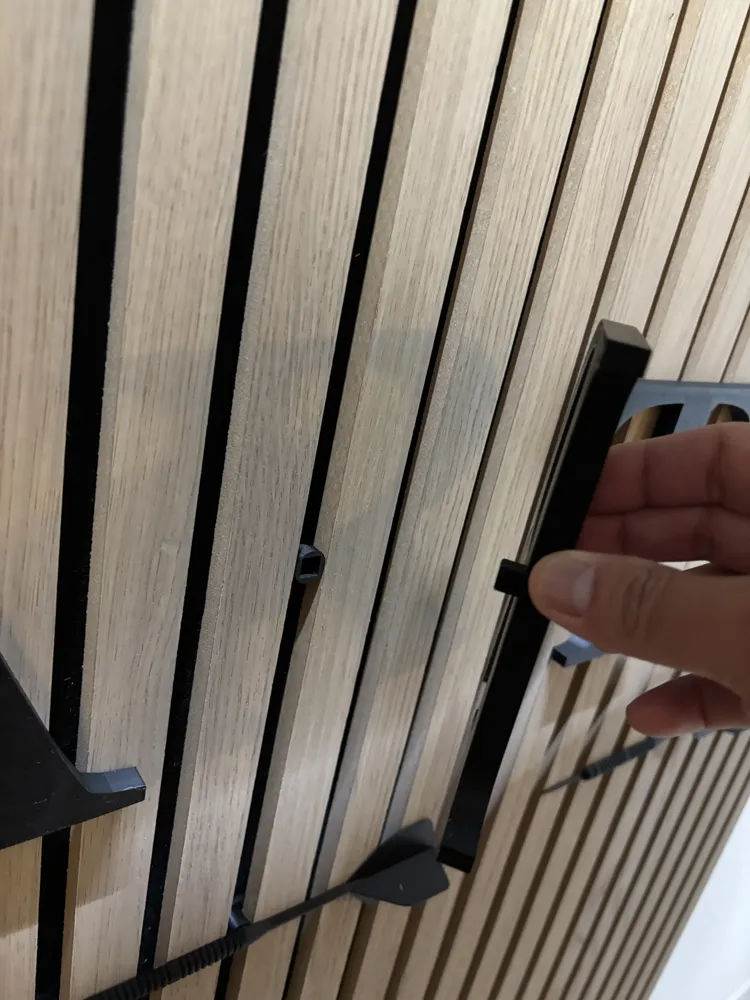
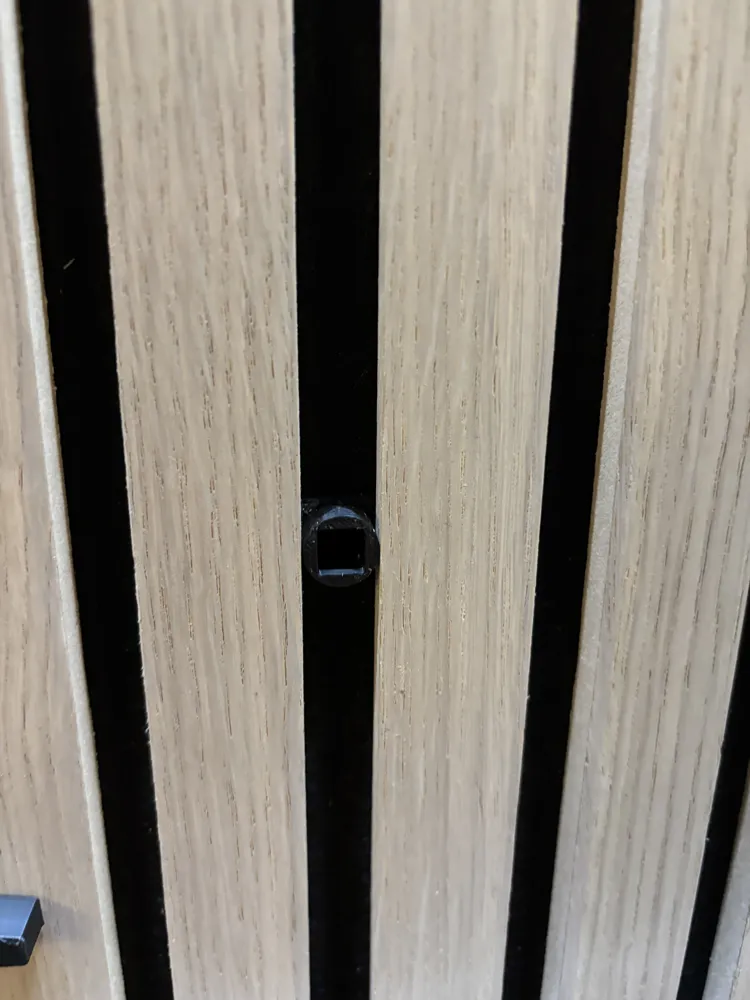
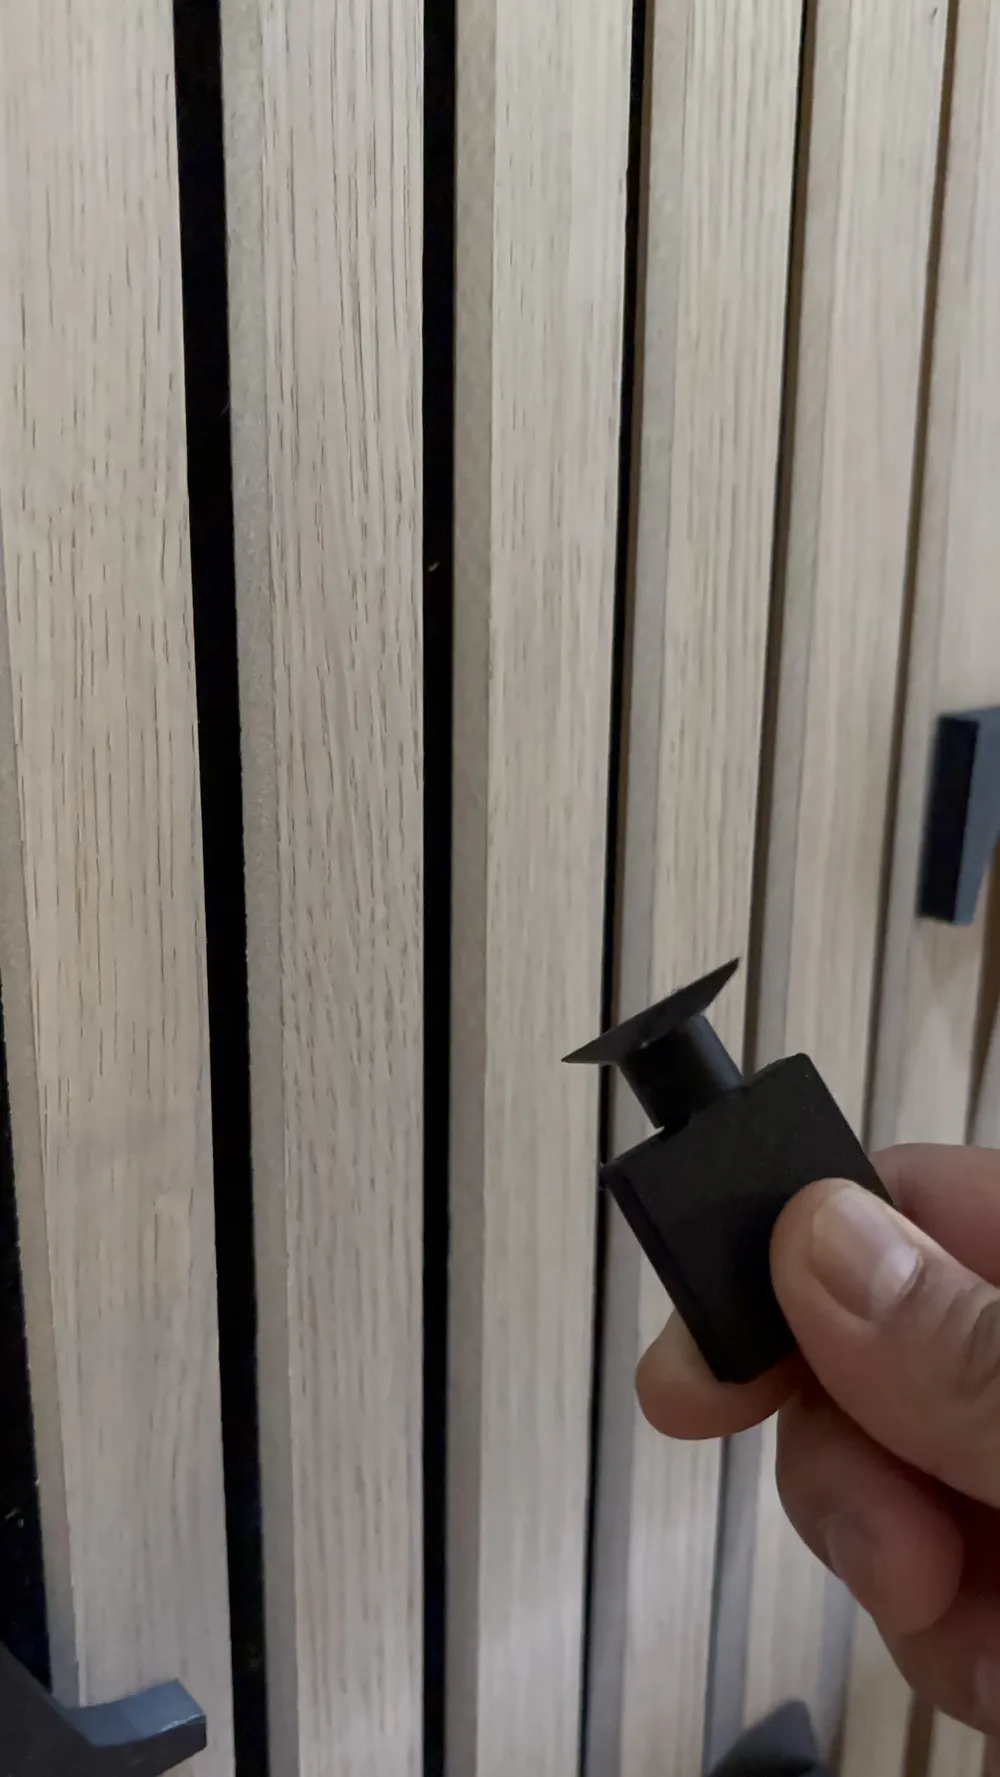
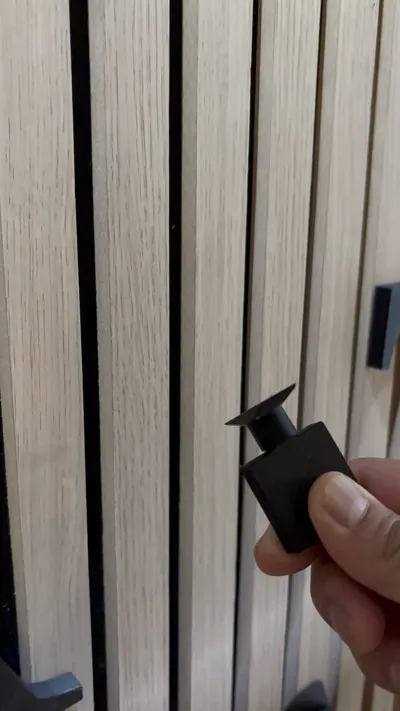
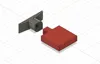
Groove Clamp Variants
- V1 (Round): Rotates 360°
- V2 (With Rotation Stop): integrated stop..
- Mounting Key: for rotating the groove clamp.
Print Recommendations
- Material: PLA (PETG is more stable)
- Darts / Letters: Low infill (approx 15%) is completely sufficient.
- Groove Clamp & Key: Stability is crucial here! Use a high infill so that the key does not break after repeated rotation.
Assembly Instructions
- Create Line Template: Stick a strip of masking tape horizontally across the panels. This serves as a guide for groove clamps to align the letters at the same height, correct if necessary.



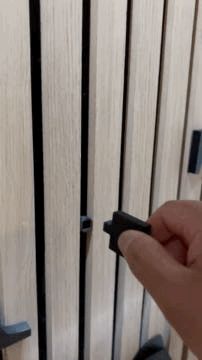
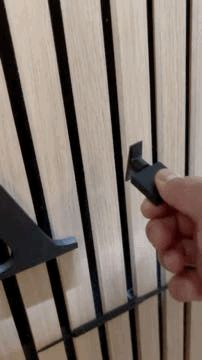
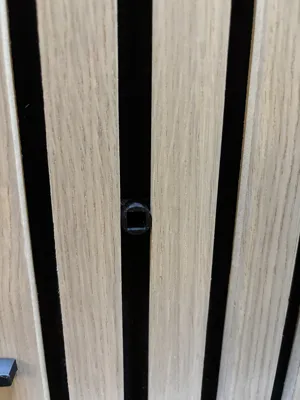
- Insert: Insert the groove clamp vertically into the panel's groove.
- Secure: Use the mounting key to rotate the clamp by 90 degrees. The clamp is now firmly seated in the desired position.
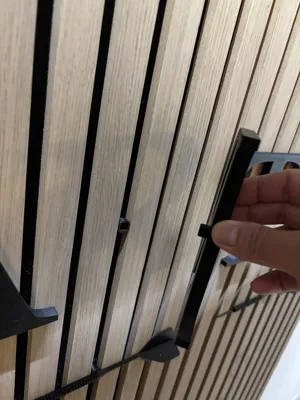
- Finish: Simply press the letter onto the fixed groove clamp.
- Correction: If the spacing between the letters is not right: remove the letter, loosen the clamp, and simply reinsert it one groove further left or right.
Disassembly
Disassembly is simply done in reverse order. Your wall remains completely undamaged!
Have fun decorating your walls! If you like the design.
I would be very happy about a Boost & a photo of your project!
Boost Me (for free)
License

You shall not share, sub-license, sell, rent, host, transfer, or distribute in any way the digital or 3D printed versions of this object, nor any other derivative work of this object in its digital or physical format (including - but not limited to - remixes of this object, and hosting on other digital platforms). The objects may not be used without permission in any way whatsoever in which you charge money, or collect fees.


Comment & Rating (15)