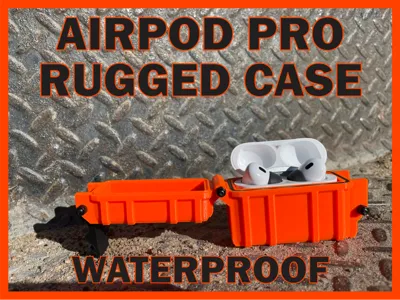
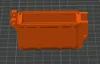
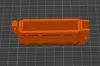
Rugged Waterproof Airpod Pro 1 & 2 Case


Print Profile(5)


Description
Description
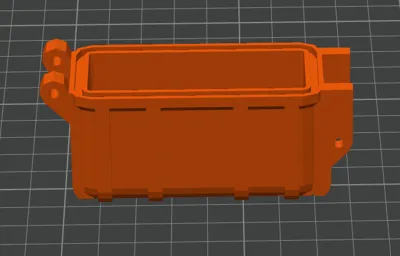
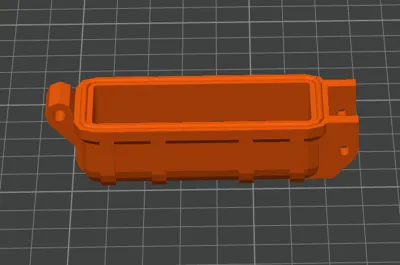
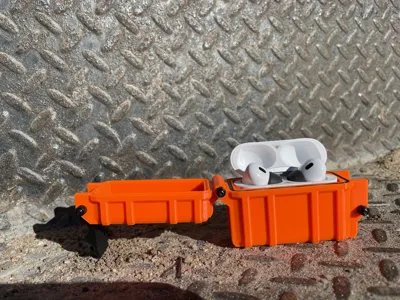
I created this Rugged Case so I could just toss my Airpods in my bag. I needed them to be tough. This case was designed for Apple Airpod Pros 1, but will work with Pros 2 - as I just learned. I created the case with the help of an awesome generator here at MakerWorld, HERE is the link to Iceman's page.
Summary
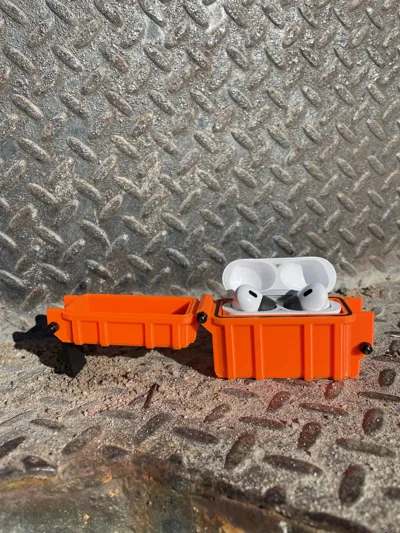
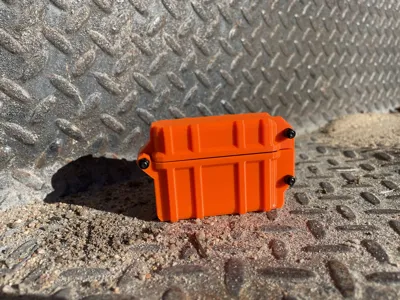
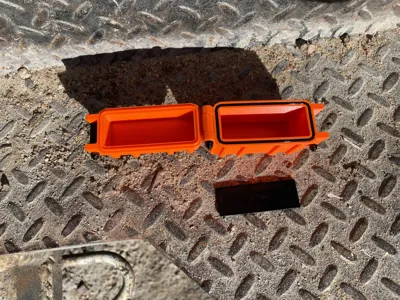
This model will take some time, materials and effort to create. I used PETG filament for the clasps and case for the best durability. The gaskets were made with TPU 95A and are required for the ultimate fit. The TPU consists of a seal for the lid and a dampening base for the bottom of your actual Airpod case. I designed it this way to give it a bit of cushion. You can use this print without the TPU, but it won't be the same experience of having the gasket and bottom. You can also try PLA, although my tolerances are calibrated for PETG.
There are no holes for adding your charger cable or to show the indicator light. These are waterproof, and very rugged.
Item Needed
- TPU Filament - 95A
- PETG Filament - Prusament Orange & Black
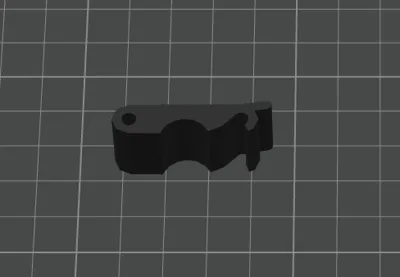
- 3 - M3x30mm Hex socket head bolts Amazon link
- 3 - M3x.5 nylon insert lock nuts Amazon link
- These are not affiliate accounts.
- Apple Airpod Pros 1 or 2
Assembly
This is pretty strait forward, and the photos will show you which direction to install the bolts. I used locking nuts to get a secure "locking" fit.
Assembly
This is pretty strait forward, and the photos will show you which direction to install the bolts. I used locking nuts to get a secure "locking" fit.
Comment & Rating (5)