Multi Stage Filter System for P2S/X2D


Print Profile(1)

Bill of Materials

Description
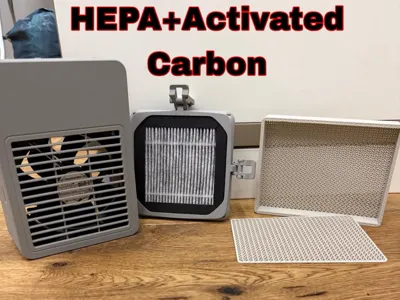
Dual-Stage Filter System for the Bambu Lab P2S/X2D External Fan Kit
I strongly recommend using the original print profile!
Please use temprature resistant Filament, at least PETG! especially for the part that holds the pellets
If you do not use it, you must manually disable the top and bottom layers for the filter box and adjust the infill percentage yourself.
The profile has been specifically tuned and tested for different pellet sizes. To ensure proper airflow and filtration performance, use the provided print profile as is.
Do Not fill the pellets to the top, fill them just to the line wwhere the lid sits! oterwise the lid wont close properly.
This filtration system is designed for the official Bambu Lab Exhaust Kit and adds an efficient dual-stage external filtering solution to the existing internal printer filtration. It improves air quality by combining activated carbon for odor control with a HEPA stage for fine particle removal.
Bill of Materials
• Official Bambu Lab Exhaust Kit (required base system)
• Printed filter housing and HEPA holder parts
• 100 × 100 × 10 mm HEPA filter, for example Creality K1 Max format (tested and confirmed to fit well)
• Loose activated carbon pellets, preferably around 4 mm diameter, though exact size is not critical
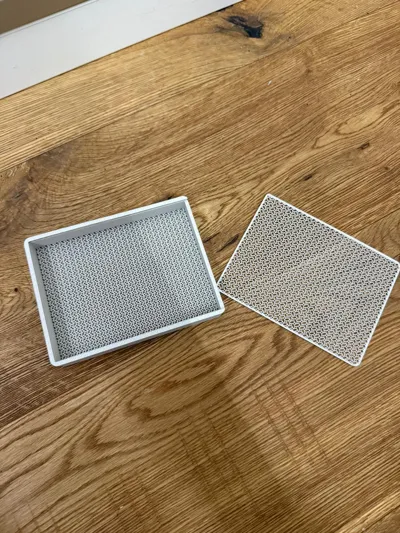
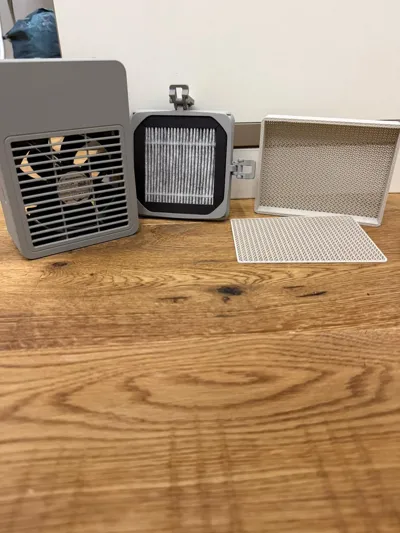
The system consists of a printed housing that is mounted inside the external exhaust assembly and filled with activated carbon pellets. After printing the housing, it is filled with carbon and closed using a slide-on lid. The lid is slightly flexible, allowing it to snap into place securely while maintaining a tight seal. The filled unit is then inserted into the exhaust kit with the lid facing outward, where it sits firmly within the airflow path.
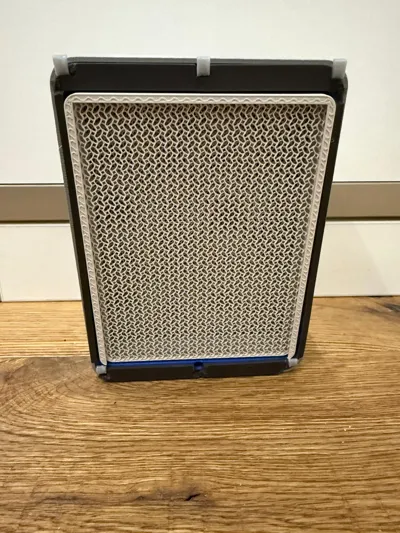
On the outside, a standard 100 × 100 × 10 mm HEPA filter (The ones from the Creality K1 Max fit, and ist what i used)
is placed into a precisely designed holder(Youll Need the screws from the Kit for Screwing the hinges Together) . The filter fits cleanly without modification. Once positioned in the holder, the complete HEPA module is clicked onto the external mounting points of the exhaust kit. The snap-fit design uses tight tolerances to ensure a secure, wobble-free, and nearly airtight connection.
Together with the internal printer filter, this creates a triple-stage filtration system: the built-in internal filter, the activated carbon pellet chamber inside the external housing, and the externally mounted HEPA filter.
During testing, the system significantly reduced noticeable odors and airborne particles when printing ASA and ABS. The typical smell associated with these materials was clearly minimized, and the exhaust air felt noticeably cleaner compared to running the exhaust without the dual-stage system.
License
You shall not share, sub-license, sell, rent, host, transfer, or distribute in any way the digital or 3D printed versions of this object, nor any other derivative work of this object in its digital or physical format (including - but not limited to - remixes of this object, and hosting on other digital platforms). The objects may not be used without permission in any way whatsoever in which you charge money, or collect fees.
Comment & Rating (20)