

Print Profile(1)
Description
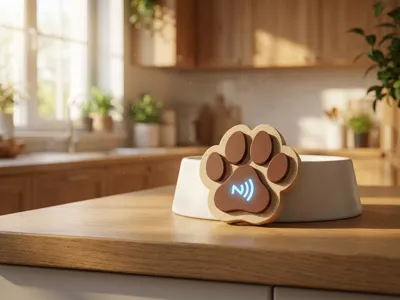
🐾 PetSync: The Connected Paw (NFC)
The simplest and most fun way to synchronize your pets' meals!
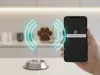
Have you ever wondered if someone had already fed the dog? Or worse, accidentally fed it twice? With PetSync, a simple gesture is enough to notify the whole house.
💡 The Concept
This model is not just a simple wall decoration. It's a battery-free smart button. By integrating a small NFC sticker, it becomes a magical trigger: bring your phone close, and an automatic message (WhatsApp, SMS, or notification) is instantly sent to your family to say: "The dog has eaten! 🐶".
✨ Why you'll love it:
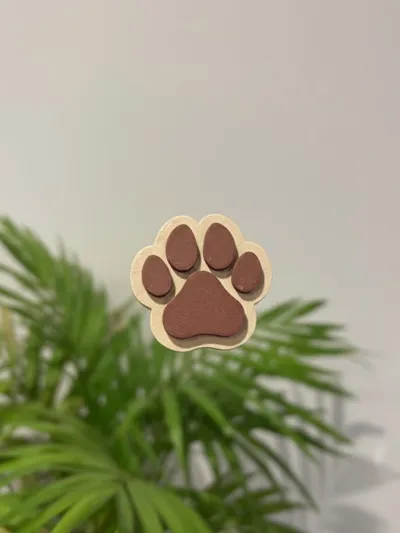
- Iconic Design: A stylized dog paw in relief, perfect for decorating the feeding area.
- Zero Complex Electronics: Uses your phone's NFC technology. No batteries, no recharging, no tricky Wi-Fi.
- Easy Printing: Optimized for 3D printing with no supports. Very clean in multi-colors (AMS) or with a simple filament change.
- Real Utility: Time-saving and peace of mind for the whole family.
🛠️ What you need:
- The "brain": An adhesive NFC sticker (type NTAG213, very inexpensive).
- The app: Shortcuts on iPhone or MacroDroid on Android.
📋 Printing Instructions:
- Material: PLA (Beige and Brown recommended for a natural look).
- Layer height: 0.2mm.
- Infill: 5%.
- Supports: None.
- Multi-color: Simply paint the paw pads in your slicer.
🎨 No AMS? No problem!
This model is designed to be printed in two colors, even without an automatic system. You can get a perfect result with a simple manual filament change:
- Manual change: Program a pause in your slicer at layer 36.
- Procedure: The printer will automatically stop at this layer. Then change your filament (for example, switch from beige to brown for the paw pads) and resume printing.
- Result: You will get a very clean two-color paw with a distinct relief!
💡 Tip for tag placement:
The NFC sticker simply adheres inside the object once printing is paused (layer 18). Place the sticker inside and let the printer cover the tag.
License
You shall not share, sub-license, sell, rent, host, transfer, or distribute in any way the digital or 3D printed versions of this object, nor any other derivative work of this object in its digital or physical format (including - but not limited to - remixes of this object, and hosting on other digital platforms). The objects may not be used without permission in any way whatsoever in which you charge money, or collect fees.
Comment & Rating (0)